14 DAY TRIAL //
 Everyone agrees that it's impossible to shoot video perfectly on the first try. Even birthday videos or amateur productions can use the kind of touch-ups that a video editor has to offer, like titles or transitions. The truth is that the open-source world lacked a proper non-linear video editor with similar features to the ones found on other proprietary platforms for a long time. This aspect is certainly changing, and one of the applications that come with that change is Kdenlive.
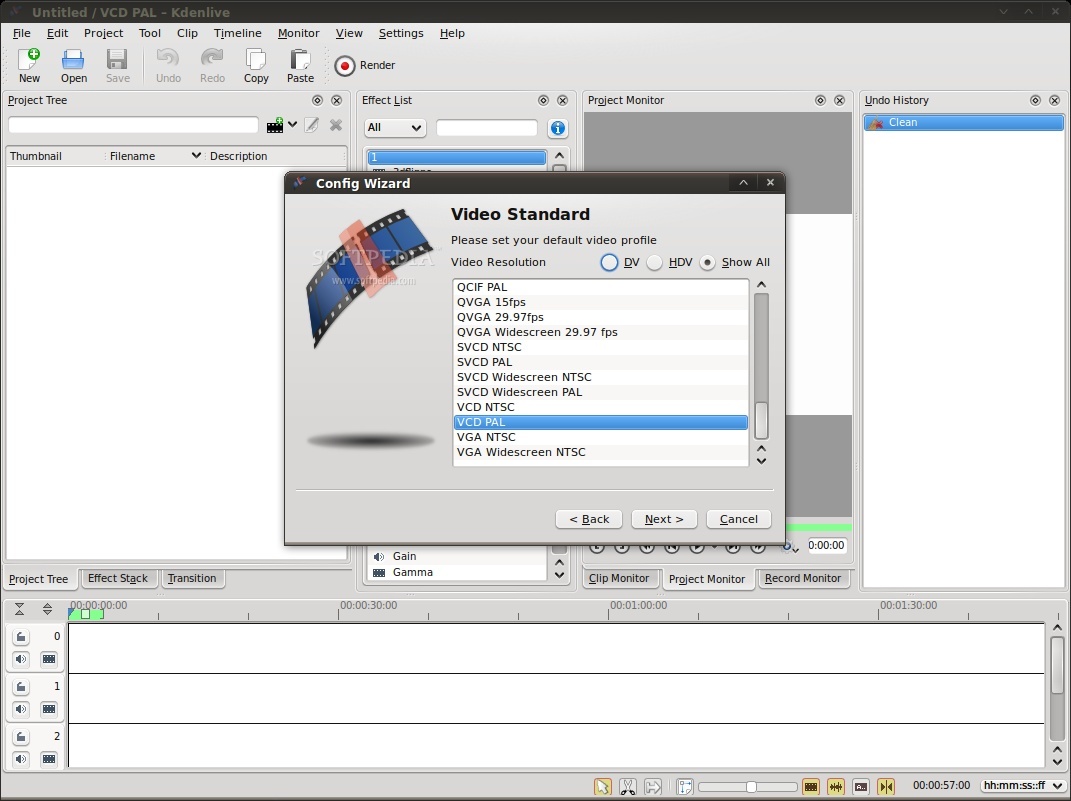
Kdenlive's name stands for KDE Non-Linear Video Editor, and that pretty much summarizes what this application is all about. It supports all the formats that FFmpeg can handle (and it's quite an impressive list), multiple aspect ratios for your videos, various standards (PAL, NTSC, AVCHD, HDV), capture and export to DV devices, DVD creation. I can safely say that if what you need is video editing related, then there's a strong chance that Kdenlive can do it.
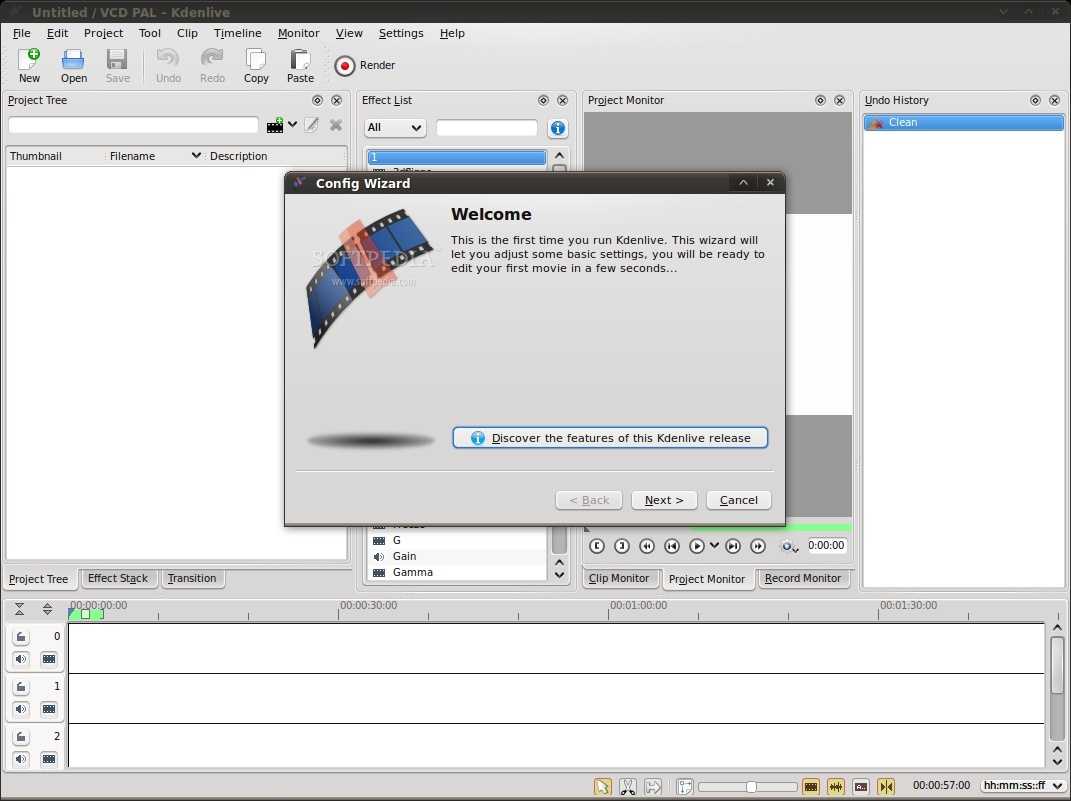
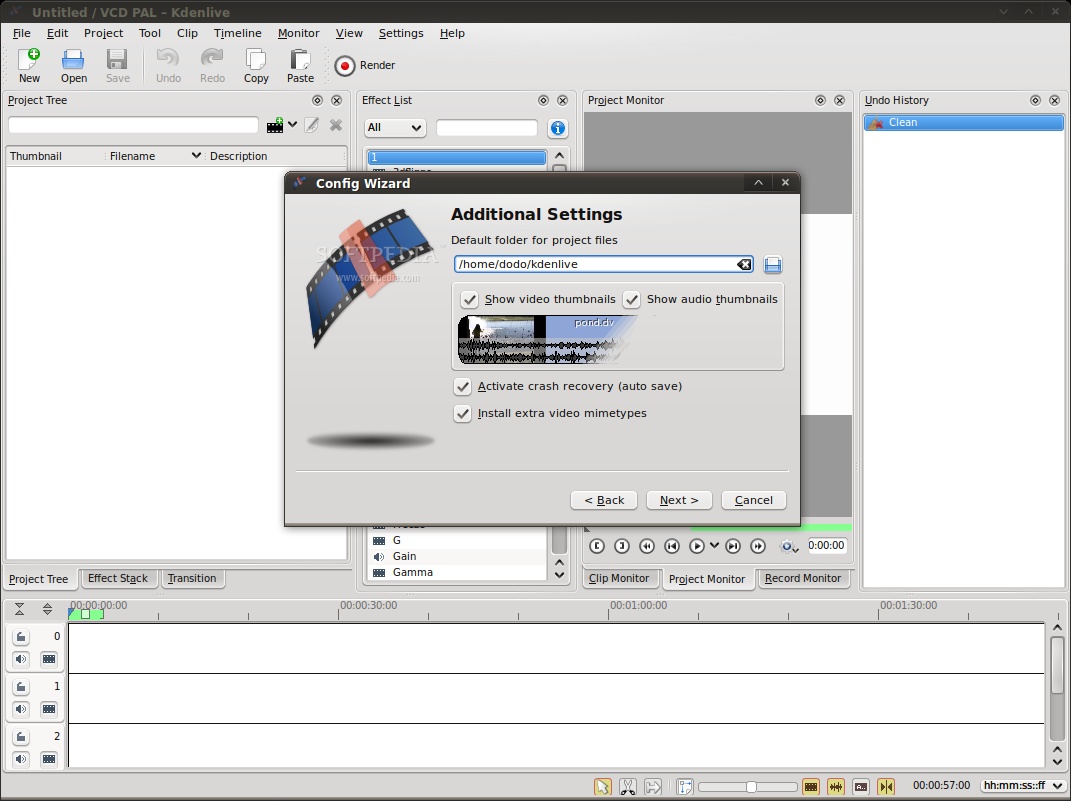
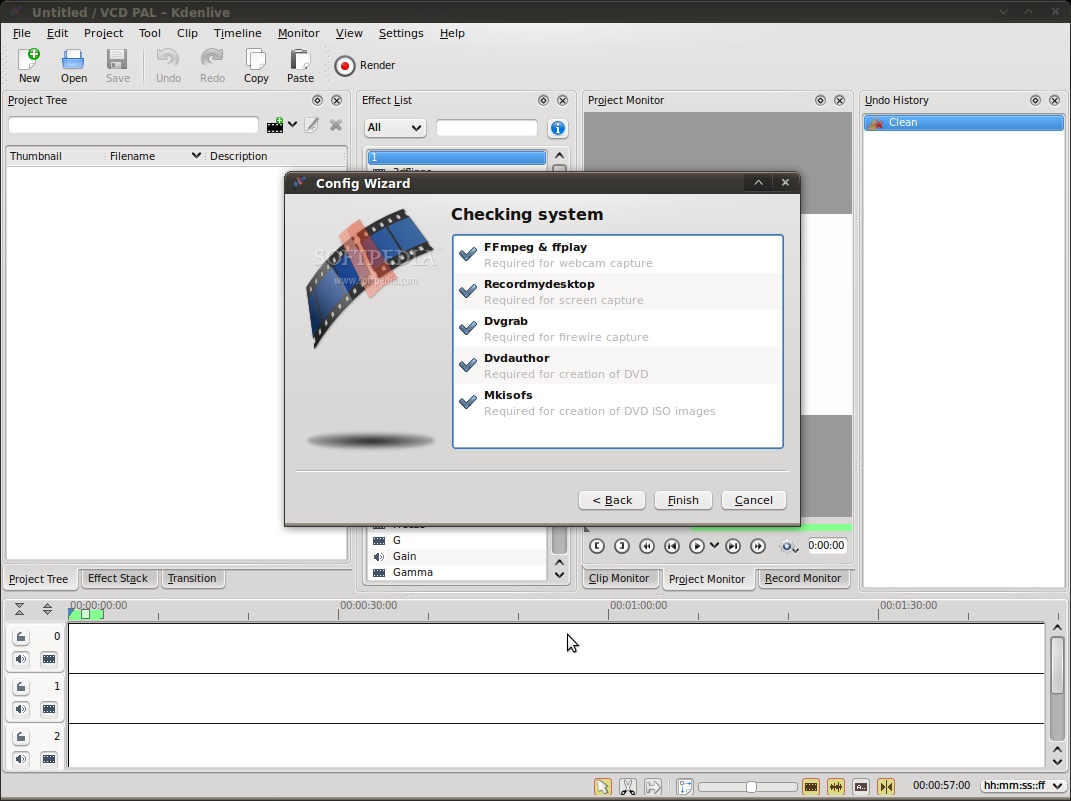
If you've just set up Kdenlive on your computer, the first time configuration wizard will definitely give you a smooth introduction to it. You'll have the opportunity to check out the features of that release, make sure your software configuration is correct, choose the default format of your video files and configure some basic options.
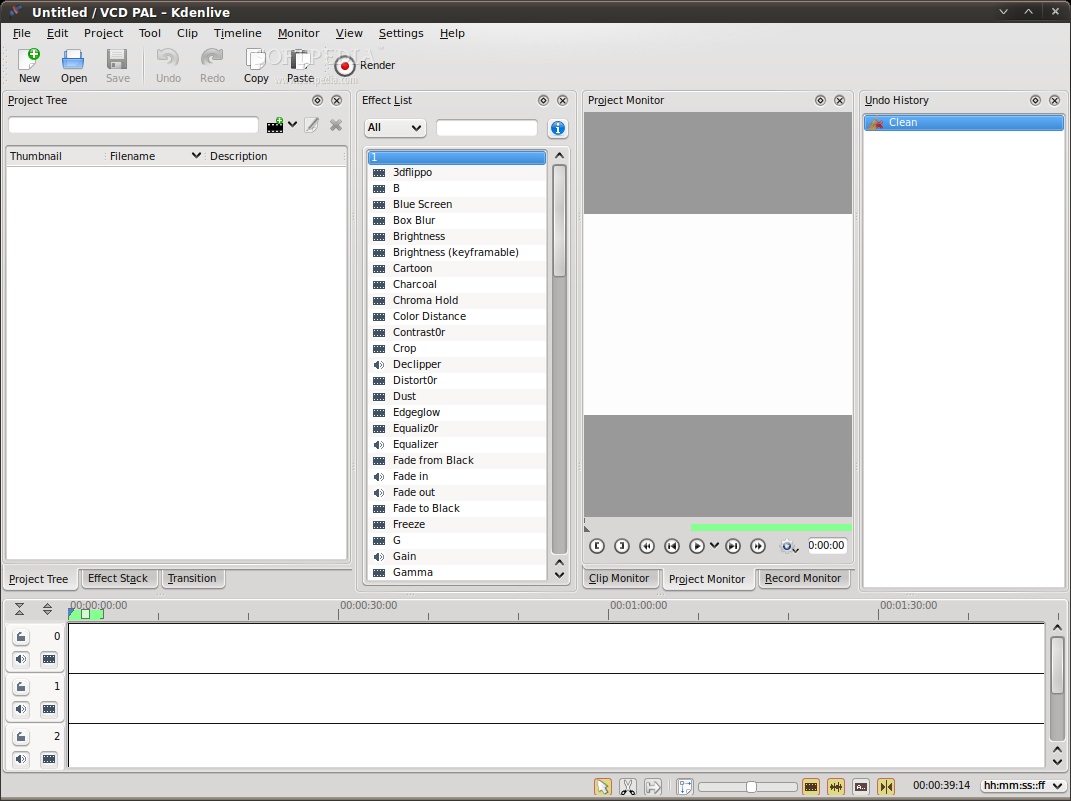
What you will immediately notice about the main window is the clear division between the different panes. The user interface model that they work on allows you to reorder them, drag them out into separate windows or size them up as you will. You won't notice on the spot, but the tabs that appear on the bottom of the panes aren't built in them, but change according to what panes you have aggregated into that particular frame. This way you can group functions than you don't expect to use simultaneously into a single place on the user interface, thus reducing clutter. Video editing by nature requires you do to a lot of input, dragging and reordering so, even with all of Kdenlive's graphical flexibility, your workflow will be greatly impaired by using this application on a small screen. Still, there is one more trick that you can do to gain a little more space: enable the full screen mode.
Having overviewed the graphical interface, let's see how we can put a video through its paces. Adding one can be done in a multitude of ways, from right-clicking somewhere on the Project Tree's list, to left clicking the little film roll icon on it, or by using the Project -> Add Clip menu. If you have many videos to handle in a single project, you will surely find the search box in the Project Tree useful. The same applies for the Effect List category and search filter. Once you have some videos added, the next natural step is to drag them over down to the timeline and order or align them to your liking.
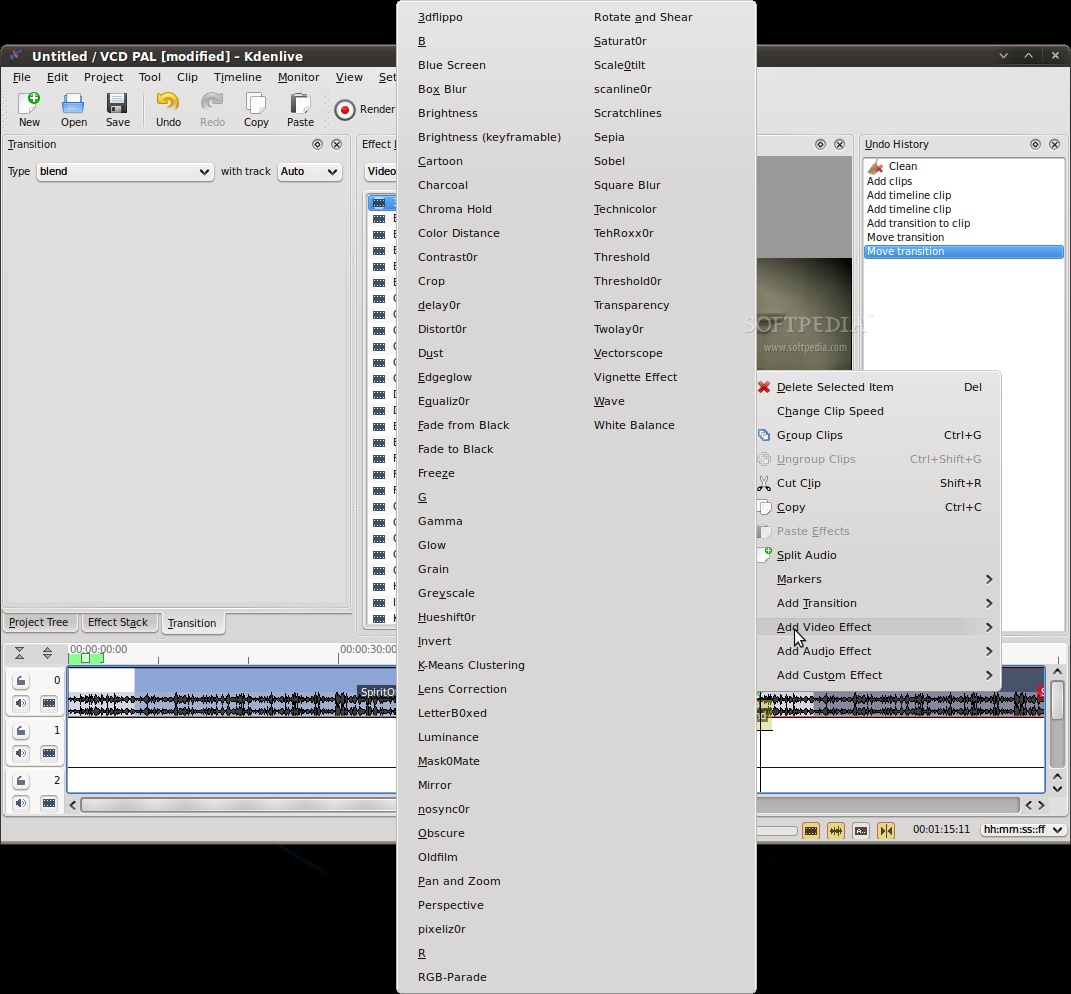
Once you get familiar with the way the timeline works, managing the media in it becomes a snap. The contextual menu that appears when right-clicking has all the essential functions, like cutting and deleting clips, changing their speed or applying effects. When you think you're finished working with some clips, you can also group them, essentially managing them like a single clip.
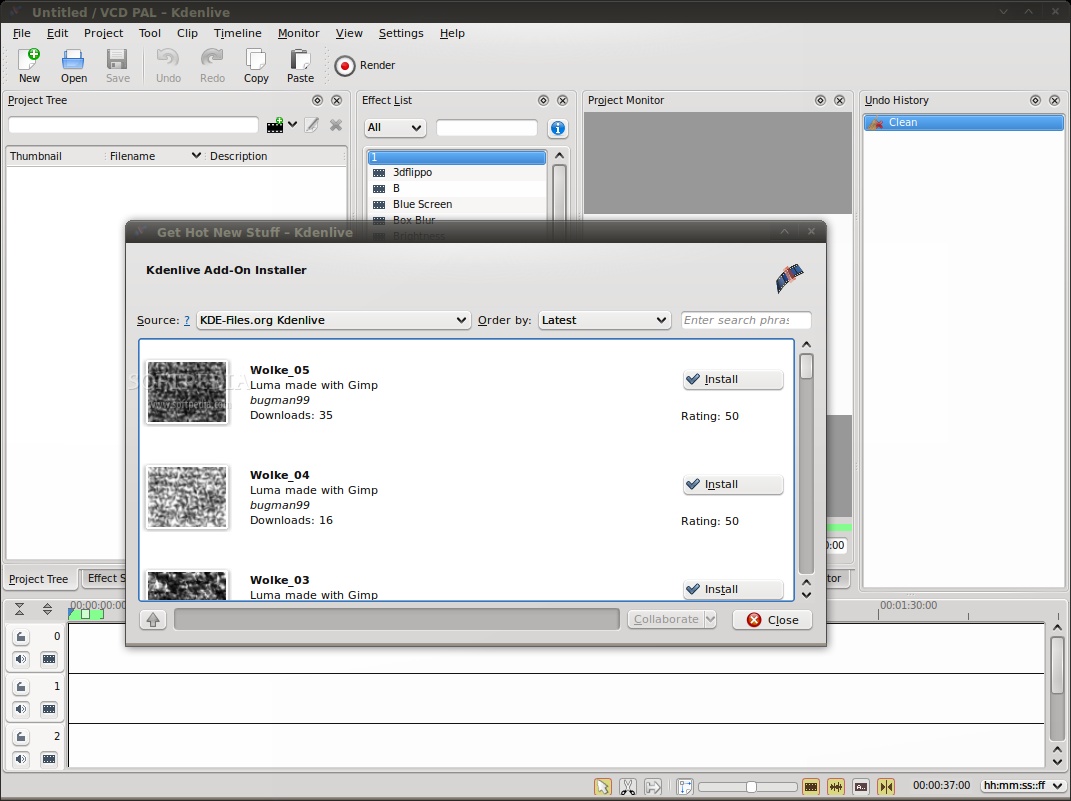
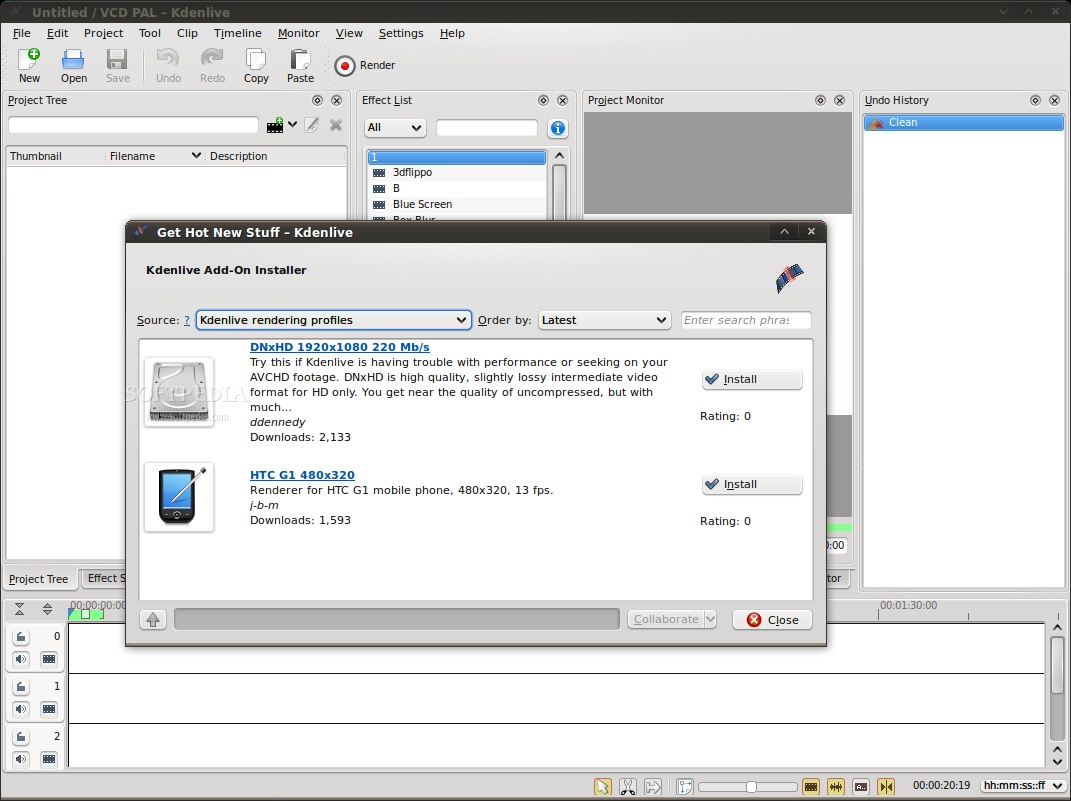
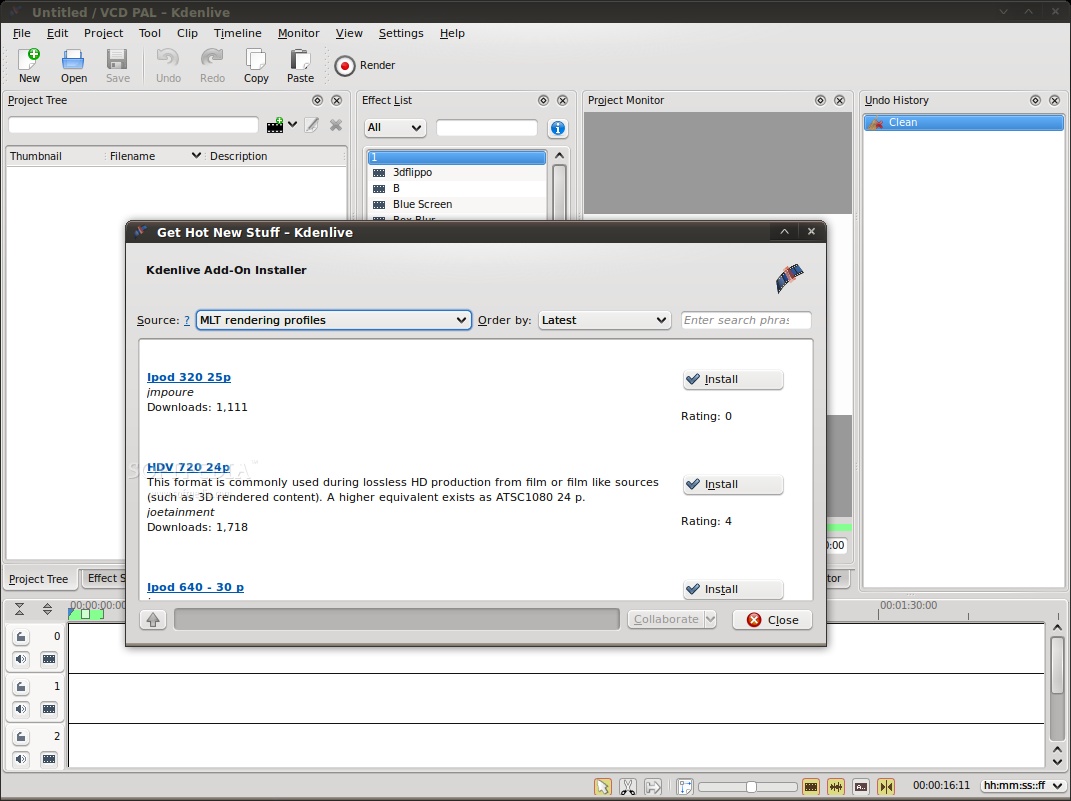
If you get the feeling that the built-in transitions and effects aren't enough for you, Kdenlive has a quick way to help you add more. Just go to the Settings menu, and you'll find the option to Download New Wipes. Also, if you think that the video you are making may require specific encoding parameters, try the "Download New Project Profiles..." or "Download New Render Profiles..." since someone may have already shared them.
When the sound for your project doesn't suit your ideas, you don't need to go running to Audacity or another audio editor, as Kdenlive has inbuilt support for LADSPA and SoX plugins. That way you can concentrate on creation, not on switching applications.
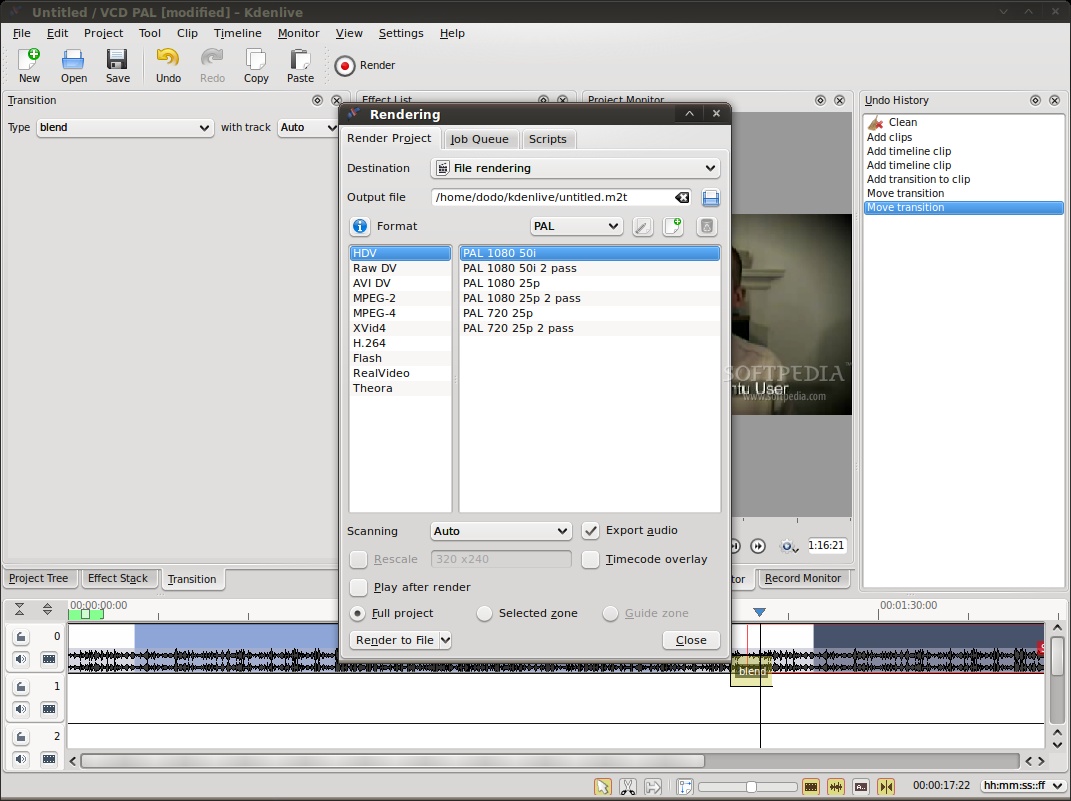
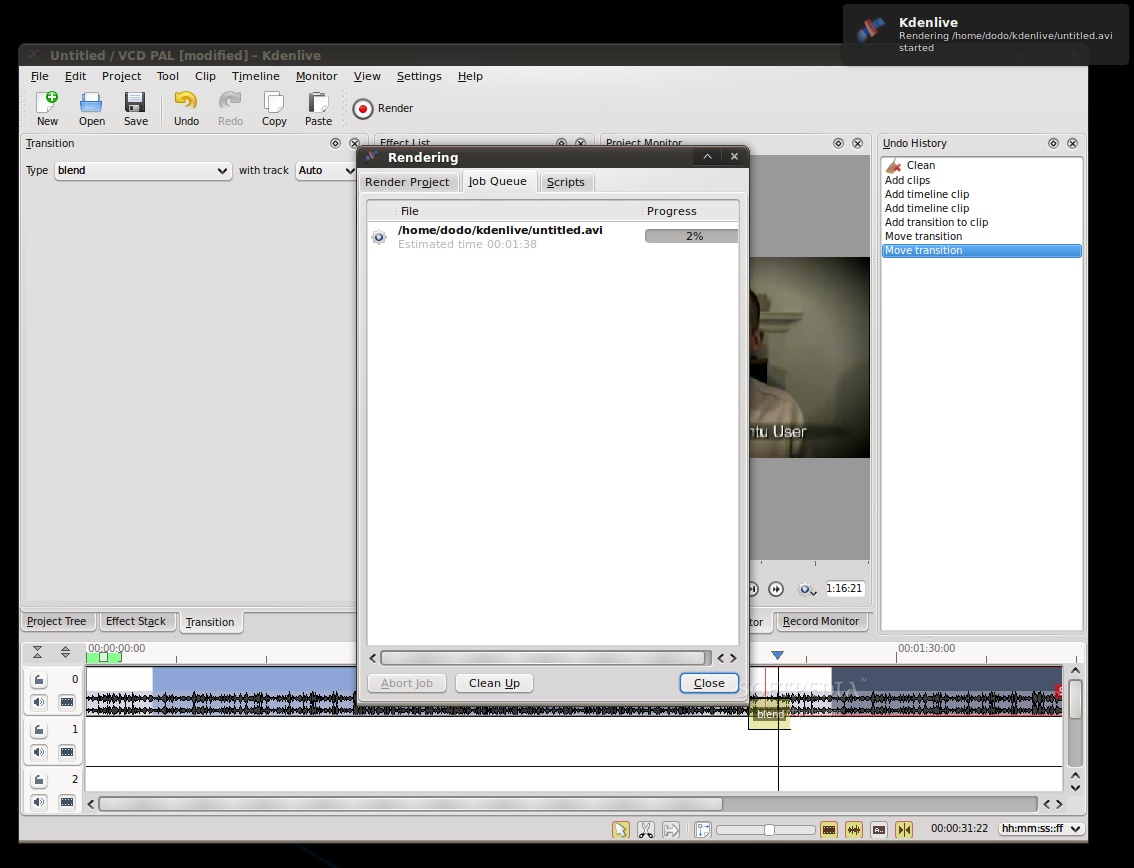
When your project reaches a state that you're happy with, it's time to hit the Render button and have a first glance at the results. You'll need to have a look at the "Destination" drop-down menu, since it has options that can better optimize your video for sharing websites or specific devices. Hitting the "Render to File" button won't behave exactly as you expect. Instead of displaying a big progress bar and locking up the application, Kdenlive will put your file in the job queue and let you work on other projects or even improve the current one while rendering. Of course, you need a pretty powerful computer to do both editing and rendering simultaneously. If you don't have one, there is another option to help you keep working: you can create a script for your current operation by clicking the down arrow on the "Render to File" button. Then, upon finishing all your video projects, you just have to load up the scripts and fire up the rendering process, leaving it overnight for example.