14 DAY TRIAL //
 PhotoQt is a simple image viewer written in Qt that tries to do things a little bit differently. It succeeds for the most part, but the user also needs to adapt to a new way of doing things. If that is a good thing remains to be determined by the users.
Linux doesn't lack image viewers, and if anything, there are too many of them. It’s difficult to turn a corner and not run into an image viewer, so when you release a new one you’d better have to offer something that others don't. In the case of PhotoQt, the novelty element is a new approach to how we use such applications. It seems novel at first glance and it might be just the thing you were looking for to make things a little bit more interesting.
This is not exactly a new application, but the developer changed its name a while ago from Photo to PhotoQt. As you can imagine, looking for Photo in Google would not return results with this application, so the reason for the name change is quite obvious. It was a far too common name and the application remained pretty much unknown, although it's as good as anything that you will find on the Linux platform.
Installation
The developer of PhotoQt provides all kind of sources for the installation, depending on the operating system. We installed this application in Ubuntu 14.04 LTS and it's pretty easy to do, although you have to remember that you need to remove the PPA immediately after the installation completes. Open a terminal and enter the following commands (you will need to be root for this to work):
sudo apt-get update
sudo apt-get install photoqt
Unfortunately, whoever has put that PPA in place also has a number of other packages in there. So if you happen to have the PPA added to your system and you decide to do a system upgrade, you might pull some updates for core components, especially for the KDE desktop. This is the reason why you need to remove the PPA right after the installation. It also means that installing updates for PhotoQt might prove to be a hassle.
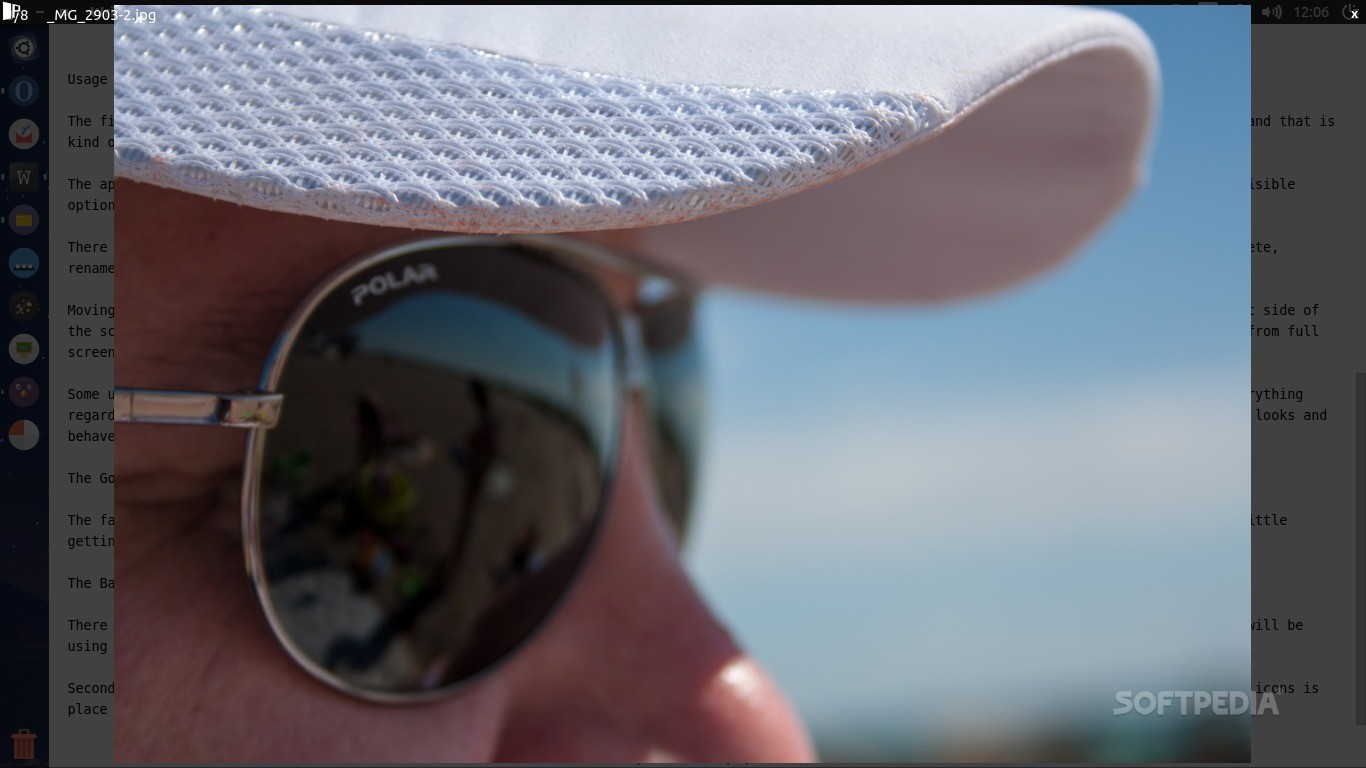
Usage
The first thing that you will notice when you open it is that it acts like a transparent layer over everything that you have opened at that moment and that is kind of cool. It can be minimized by pressing the small icon in the top left and it remains there, which is also quite interesting by itself.
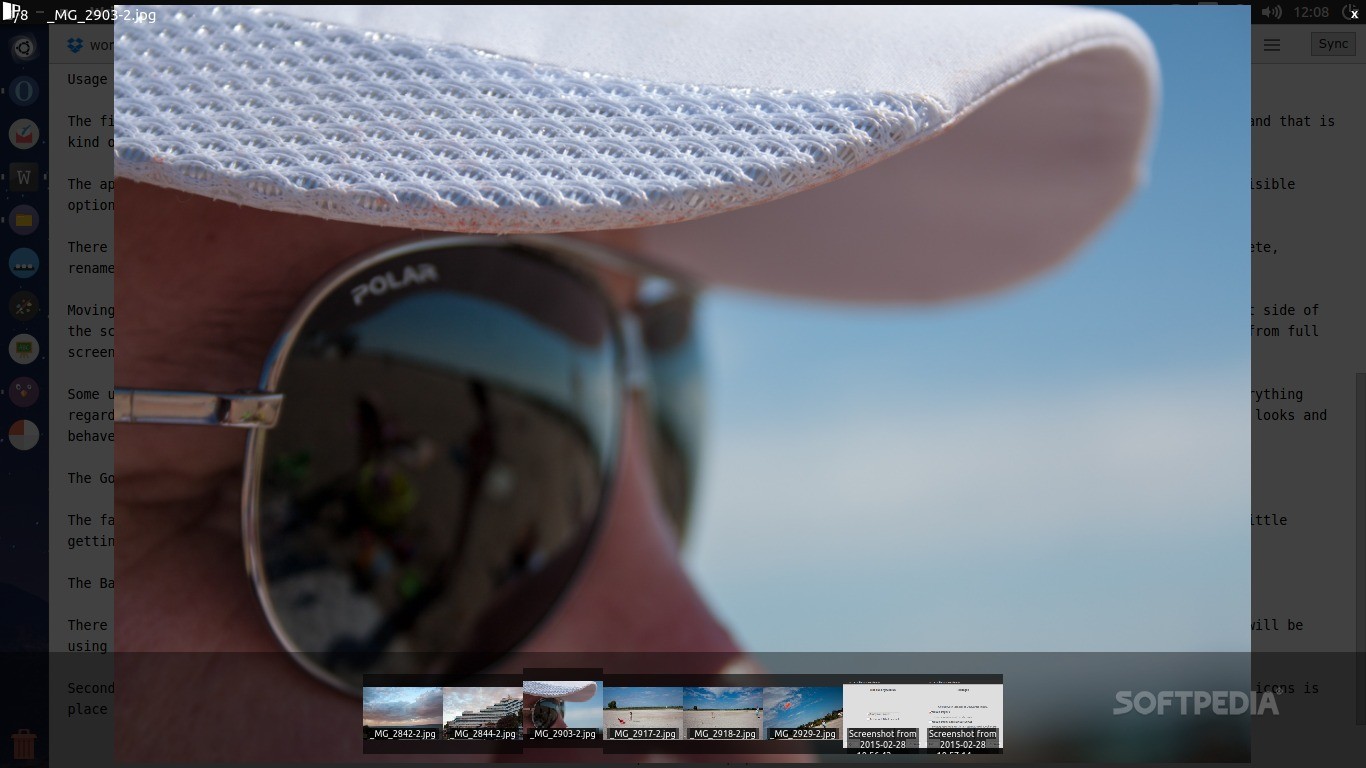
The application will ask you to open a single image from the folder and then you can navigate that folder with the arrow keys. There are no other visible options on the screen, but users do have the possibility to make some changes and see some details about the loaded images.
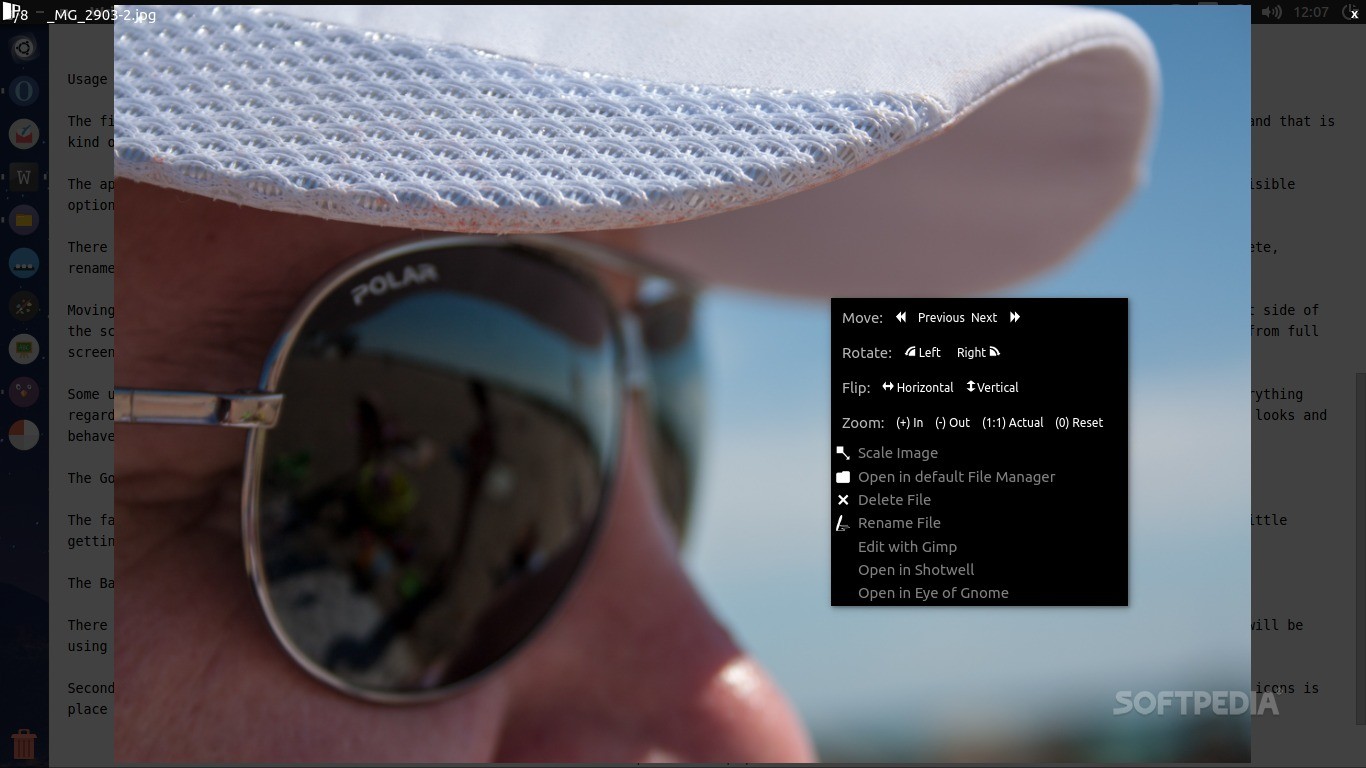
There is a right-click menu that provides some basic options like image rotate, flip, zoom in and out, scale (with replace or save as new file), delete, rename, edit in Gimp, open in Shotwell, and open in Eye of GNOME. Some of these options might be different depending on the operating system.
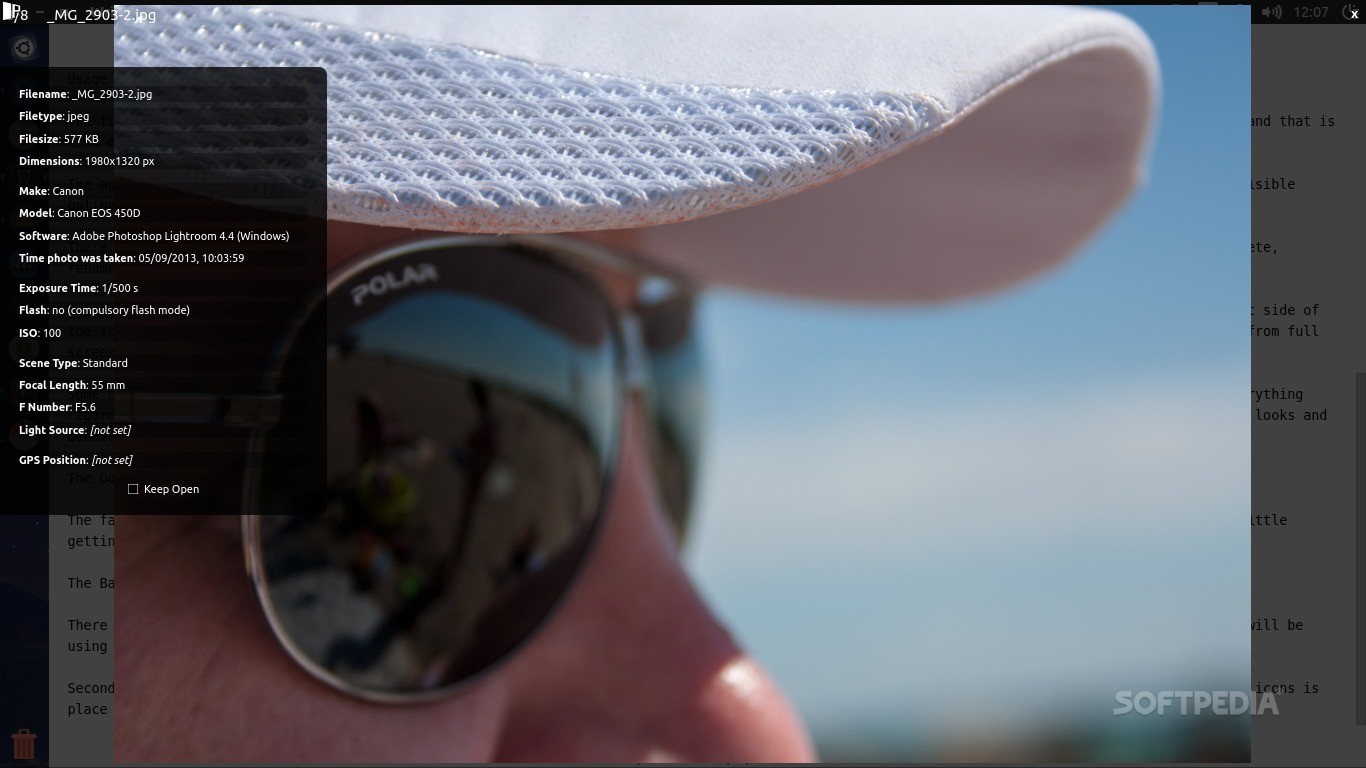
Moving the mouse to the left side of the screen will reveal more information about that image, from EXIF if available. Moving the mouse to the right side of the screen will reveal a new set of options for the application itself. It's possible to change the default transparency of the PtotoQt, to switch from full screen to window mode, and to determine if you want to close the app or to minimize it.
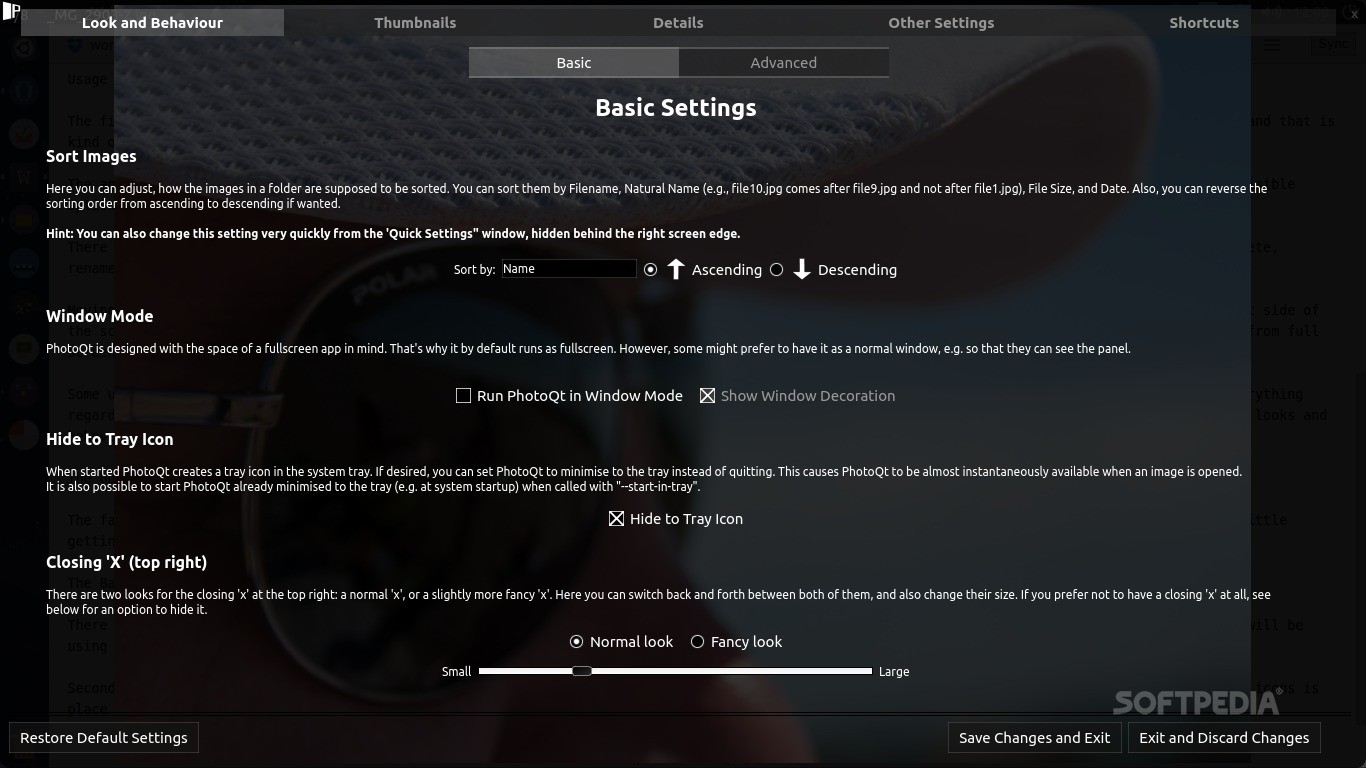
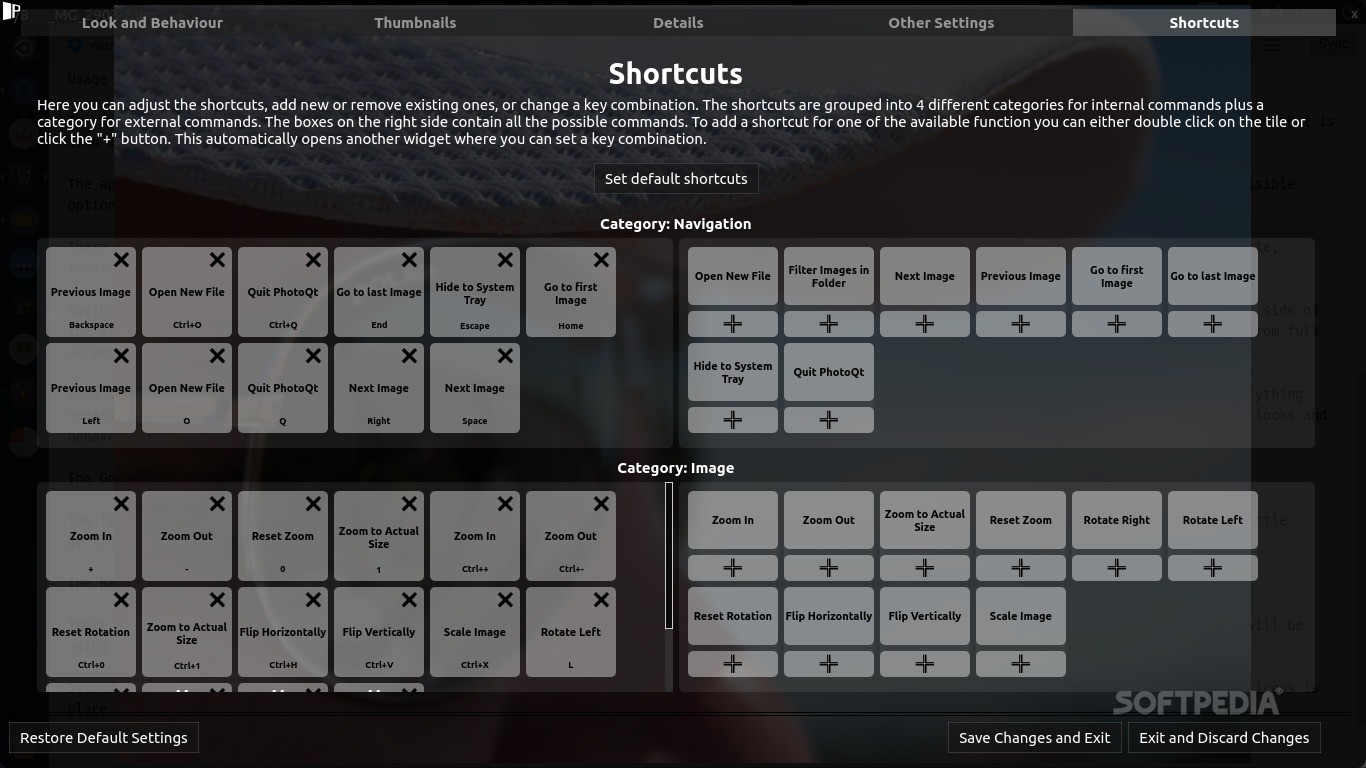
Some users will notice a button called Full Settings that will take to the advanced menu. In there you might spend an hour or more. It includes pretty much everything regarding the application and its behavior. For the most part, the default settings work just fine, so unless you really need to change the way it looks and behaves, you should really leave them alone. However, even if you do mess up the options, it's possible to reset the defaults.
The Good
The Bad
Secondly, PhotoQt can be minimized with a single click on the top left icon and it remains there. It might be fine in any other DE, but in Unity, that icon is placed over the close button for maximized windows. It has an option named hide to system tray, but it doesn't seem to work, at least not in Ubuntu.