14 DAY TRIAL //
 Virtualization is the method by which 'guest' operating systems are run under another 'host' operating system, with little or no modification of the guest OS. Until recently, it was very difficult to implement a general virtual machine on an x86 processor because its architecture did not meet the virtualization requirements introduced by Gerald J. Popek and Robert P. Goldberg in 1974. Fortunately, in 2005 and 2006, Intel and AMD added extensions to their respective x86 architectures which resolved this and other virtualization difficulties. Nowadays, virtualization is easily provided by various programs, but unfortunately, several obstacles such as proprietary licenses and a different method of operation are keeping end-users to use such software. However, on Jan 15, 2007, the InnoTek company has reached an important milestone in the development of PC virtualization software by releasing VirtualBox, the first professional PC virtualization solution product as open source, under the GNU General Public License (GPL). VirtualBox is a virtual machine product targeting desktop computers, enterprise servers and embedded systems. Due to its modular architecture, VirtualBox can be deployed in any environment where x86 systems are to be virtualized on systems with the same architecture. The x86 term is referred to 32bit CPUs made by Intel and AMD, other compatible CPUs from various vendors, as well as 64bit CPUs running in 32bit mode.
VirtualBox allows users to run an unmodified operating systems, including the software embedded on them, directly in a special environment on top of the currently running operating system by forcing the guest OS to 'think' it's running on a real machine. Currently, VirtualBox supports the following host operating systems: Fedora Core 4/5, Gentoo, Redhat Enterprise 3/4, SuSE 9/10, Ubuntu 5.10/6.06/6.10, Windows 2000/XP/Server2003 and the following guest operating systems: FreeBSD, Linux 2.4/2.6, OpenBSD, OS/2 Warp, Windows NT/2000/XP/Server2003/Vista.
Before installing VirtualBox, your Linux OS has to satisfy some software requirements: in particular, you will need libxalan-c, libxerces-s and version 5 of libstdc++. Unfortunately, these packages are found under different names in the repositories of various Linux distributions so installing them will most likely cause problems, not the VirtualBox installation itself. On my Ubuntu Edgy system, the packages are called libxalan110 and libxerces27. I already had libstdc++5 installed so I only had to install the first two with apt-get. After that, I've downloaded the .deb package of VirtualBox for Ubuntu Edgy and installed it with dpkg -i. The whole installation process took less than two minutes and no head ache at all. Big plus here.
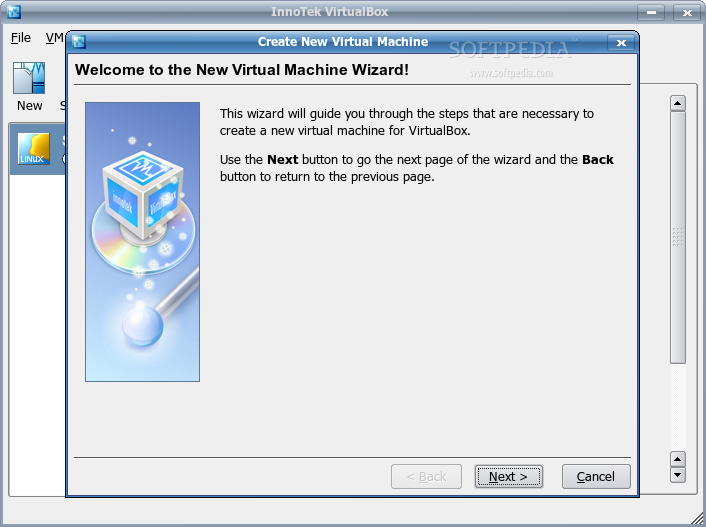
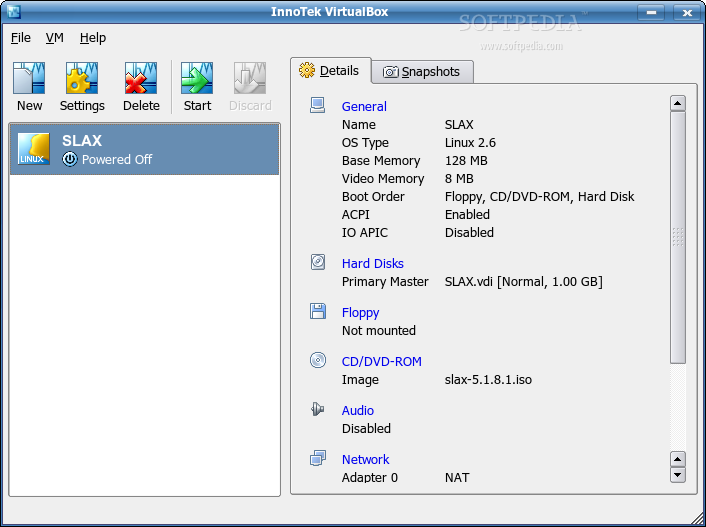
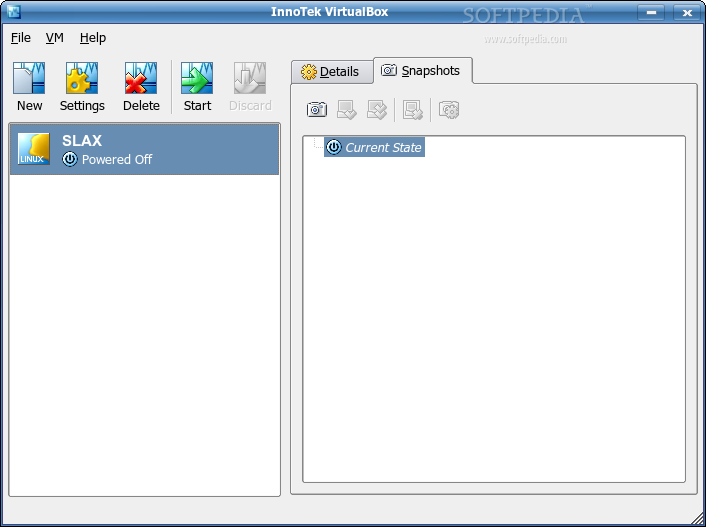
Once installed, I found the VirtualBox shortcut under 'System' in Kmenu. It started almost instantly after clicking on it and showed-up a window which, at first sight, was divided into two sections: in the left part, it's supposed to list the operating systems available for virtualization, while the right part is reserved for details regarding each OS and a tab designed to list the available snapshots for each OS. We'll talk about this later on. The toolbar had 5 nice buttons: New, Settings, Delete, Start and Discard. There are three menus available also: File and VM which provide most of the options found in the taskbar and Help, which unfortunately doesn't contain documentation. Under Help, you'll find a link to the VirtualBox homepage, an about screen and the ability to reset all warning. Yes, missing help is a bad thing but once you see how nicely the documentation is arranged and displayed on its website, you won't be all that disappointed. You will however need an Internet connection to view the documentation. As a first impression, its interface is quite pretty, clean and very, very easy to understand.
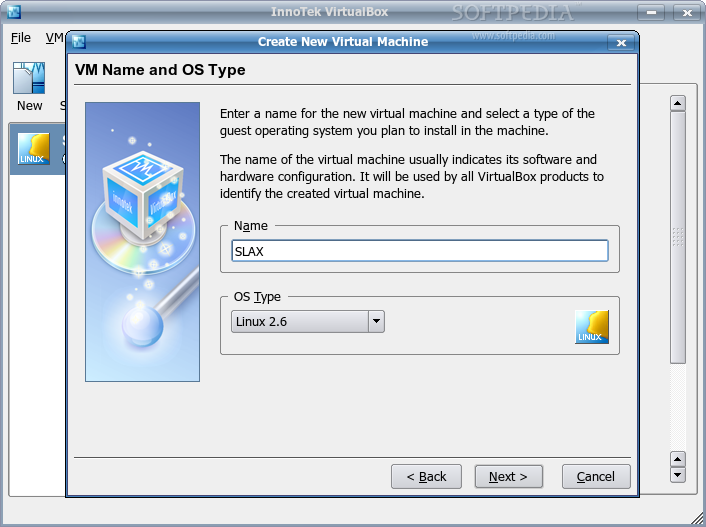
After a quick look around the menus, I've decided it's time to start a new virtualization so off I go to click the "New" button. Unsurprisingly, the 'easy to understand' interface continues to impress me by displaying a well documented wizard for creating my new virtual machine. On the first step, I was asked to name the VM and to select the OS type. I had to choose from Other/Unknown, DOS, a list of Windows versions, OS/2 Warp 3/4/4.5, Linux 2.2/2.4/2.6, FreeBSD, OpenBSD, NetBSD, Netware, Solaris and L4. I thought to myself, this list covers just about every operating system ever used by more than 10 people. Before starting this wizard, I've downloaded the SLAX 5.1 ISO, which is a LiveCD distro based on Slackware and kernel 2.6 so I knew which option I had to choose.
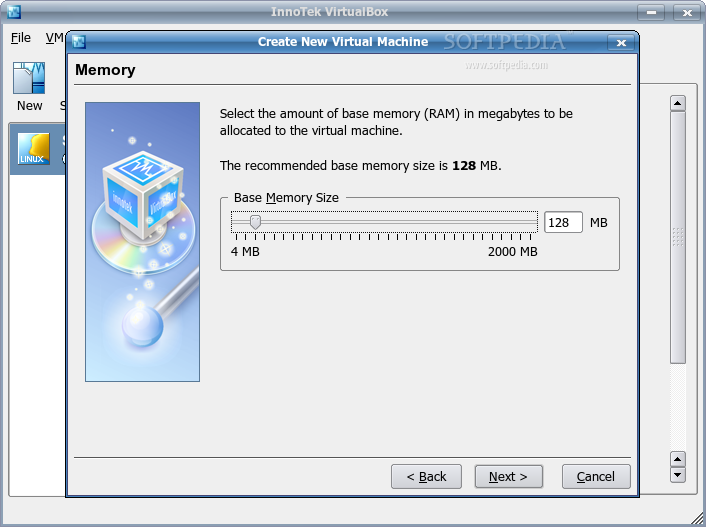
The next step was about setting an amount of RAM to be allocated to the virtual machine. Keep in mind that the memory you give to the VM will not be available to your machine while the VM is running so don't specify more than you can spare. So, always be sure your computer will have 256-512 RAM left at all times, otherwise it will excessively swap out memory to your hard disk, bringing it to a standstill.
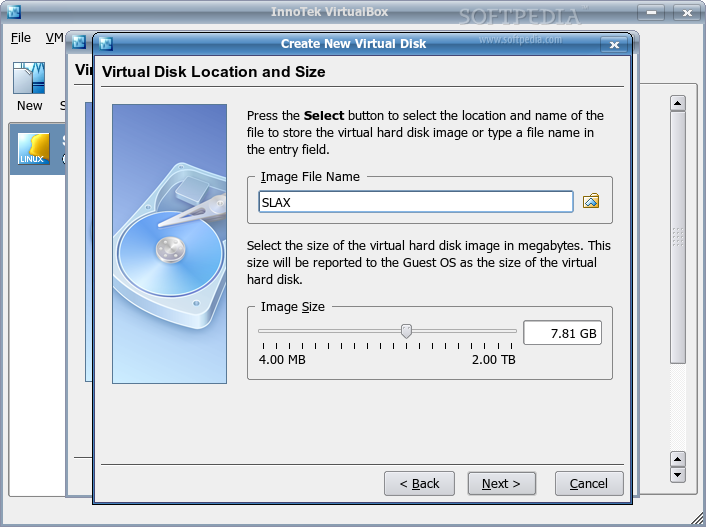
Next, I had to specify a virtual hard disk for the VM. There are several ways I could provide disk space to a VM but I've chosen the most common one, by creating a virtual disk image (.VDI file) on my real disk, whose contents VirtualBox presents to the VM as a complete hard disk. To create a new disk image, I was presented with another wizard, just as clean and easy to follow as the main one. I've chosen a fixed-size image with a size of 1.0 GB (should be enough for a 700mb LiveCD), which was saved in my home directory, under .VirtualBox.
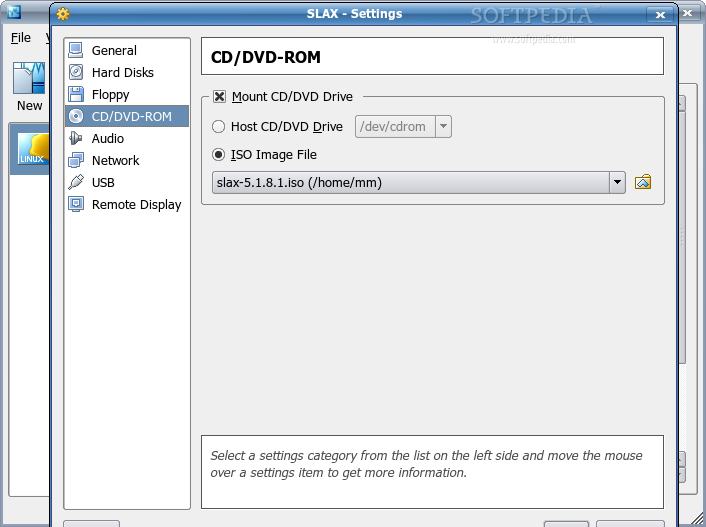
After that last step, the first wizard was done as well and the new SLAX OS showed-up in the left part of the VirtualBox main window. However, at this time, the VM is empty and I have to open the Settings dialog for this VM and select a CD/DVD-ROM in order to install the guest operating system. In the Settings dialog, I've noticed a lot more options that just the CD image related ones. From the General tab, I could increase or decrease the RAM or video memory size provided to the Virtual Machine and I could define the boot order, enable extended features (ACPI and IO APIC) and choose the patch were snapshots of this VM will be stored. In the Hard Disks tab, I could choose from several Primary master devices (if I had created more than one hard drive), and I could select a primary and secondary slave. All these operations could easily be performed thanks to the tips box at the bottom of the window. The next tab, Floppy, allowed me to choose a floppy disk device from my host machine or an image file which will be emulated as a floppy disk. Wow! Finally, I've reached the CD/DVD-ROM tab, which allowed me to choose where the installation medium is found. I could either select one of my CD drives, or an ISO image file on my hard drive. I've chosen the last because I've just downloaded the SLAX iso and VirtualBox has the ability to present an iso file to the VM, just my CDROM drive would present an installation CD to my operating system. The next tabs allowed me to select various options regarding the Audio, Network, USB and Remote Display of the Virtual Machine. Every option in these tabs is, as well, explained in the tips box at the bottom of the dialog.
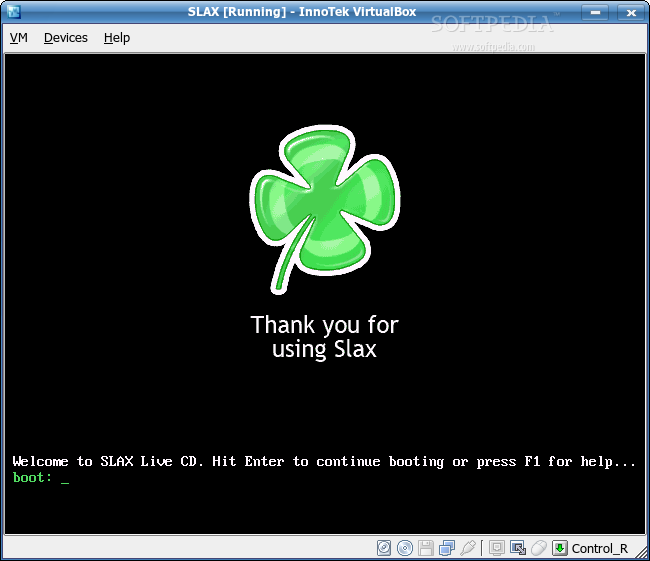
Once I've selected the iso file to be booted, VirtualBox was ready to boot the virtualized SLAX. Clicking on Start button would open a new window which will act as a virtual monitor to the virtualized OS. But before the booting process was started, I was presented with a notification that warns me about the auto capture keyboard option being turned on. This option will automatically capture the keyboard and mouse cursor every time the VM window is activated (clicked inside it). Since the virtualized OS doesn't know it's running on a real computer, it expects to have exclusive control over the keyboard and mouse. This will cause the mouse to be able to move confined to the limits of the VM window. The keyboard will work as well inside the window along with system keys such as alt+tab and so on. So the only way to get your keyboard and mouse back to the host OS is by pressing the host key, which is by default bound to the right CTRL key.
The host key (right CTRL) can also be used in combination with other keys which lead to various actions performed on the guest OS. These actions can also be found within the new window's VM menu. You can switch to full-screen, take a screenshot, close VM and so on. What's interesting here is the Close feature which once activated, will ask whether to save the machine state or power it off. The difference between them is crucial. The first will completely save its state to the local disk and will resume it when it's later started. When I've used this feature, I've found SLAX to be running the same programs it ran when I've closed it. The power off function, however, will stop the running VM without saving its state. This is equivalent with plugging the power plug off a real computer without properly shutting down. You will lose all your unsaved data and possibly, the system will begin a disk check on a next boot.
Also from this window's menus, you can mount or unmount a floppy disk or a CD-ROM image, either by using the machine's devices, or by selecting an image file (iso). You can also share an USB device or enable/disable remote desktop connections to the virtual machine. The last option is the most interesting one: Install Guest Additions. This feature will provide seamless mouse support, removing the need to 'free' the mouse from being captured by the guest OS. Other features include better video support, time synchronization, share folders and so on. The bad news about this feature is that it's only supported by Windows (or at least it only worked in Windows for me). There are, however, guest additions available for Linux but they are rather difficult to install (your system has to build external kernel modules) and it only offers video acceleration and high resolution graphic modes. Yes, it's something better than nothing but you'll be the judge of if it's worth the while.
As for performance, the guest host running inside the Virtual Machine runs almost if it's on a real computer, with no problems whatsoever. VirtualBox can easily be compared with the proprietary VMWare and the difference in the end will be the last one's price and a few other small features that nobody uses anyway.
The Good
VirtualBox is a very fast and easy to use virtualization software which provides a clean interface and advanced features found in other proprietary programs. VirtualBox is also released under the GPL license, which makes it a free program.
The Bad
Too bad the guest additions for Linux don't provide the same useful features as the ones for Windows.
The Truth
VirtualBox is an impressive piece of software. It allows you to boot and manage various operating systems within a Windows or Linux system, fast, easy and at a high performance level. All this at no cost whatsoever. Sure, there are some functions you gain once you purchase a specific license, but the most needed functions are free. VirtualBox has made a huge step towards virtualized desktops and naturally, it can only become a normal and popular thing to have on your PC.
Check out some screenshots below: