14 DAY TRIAL //
 I'm sure everybody has encountered problems related to file formats at least once in their lifetime. Just how many times have you found yourself not being able to use a file just because it wasn't in the right format? And I'm not referring only to files played on a PC. Think about those mp3 music files, for example, that just won't play on your cell phone, because it's an old model and it only supports midi or wav. Of course, there is a large number of audio converting software, available in different colors, types and price ranges. While some people are willing to pay big bucks for software that will convert their audio files with as few clicks as possible, others will settle with free programs, only if they offer the broadest set of options and the highest customization level related to the conversion process.
transKode is a program that will certainly be appreciated by the second category of people. It's basically a free, KDE/Qt based front-end for various audio transcoding tools. To install it, you'll need to have TagLib installed, as well as Amarok, if you want to convert the audio files while listening to them with this great media player. There are two versions of transKode available: the stand-alone version which can be downloaded, compiled from source and installed, and the Amarok script version, which is loaded through Amarok's script manager and used through it. Depending on your tastes and needs, you decide which one to install.
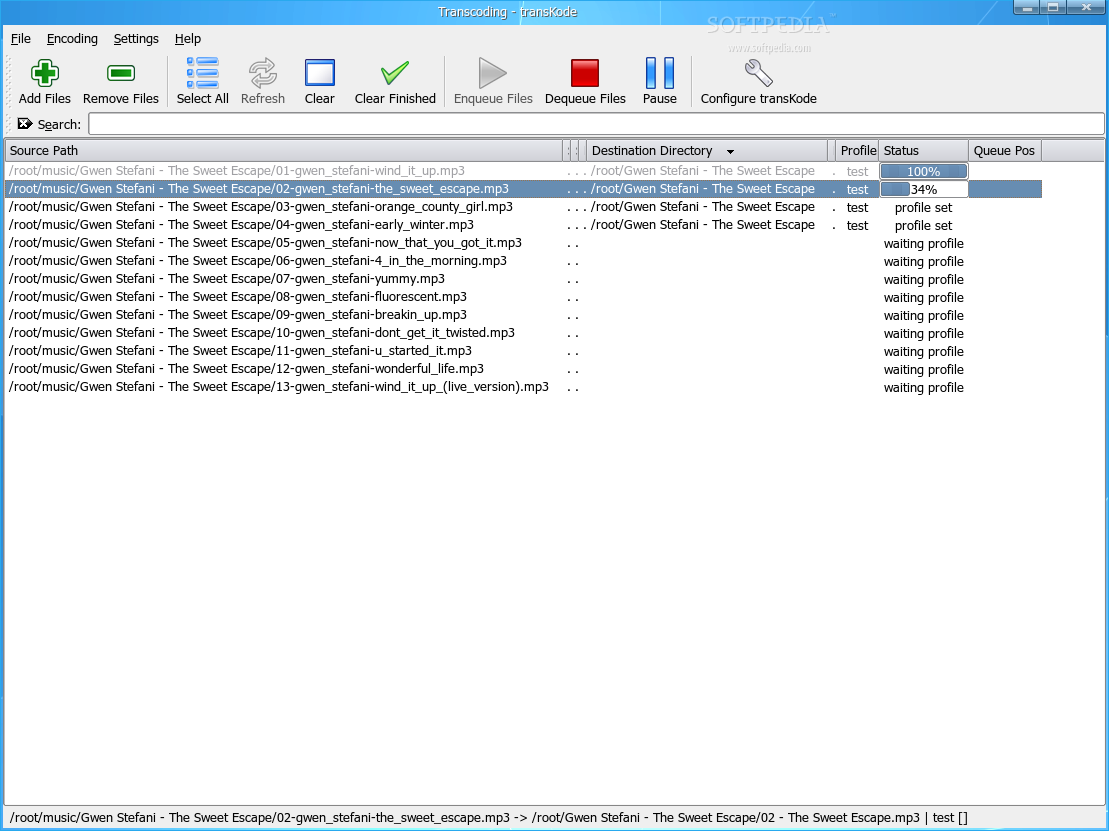
transKode doesn't really have too much of a GUI: it's just the main window and preferences dialog. The main window is divided in two sections: the toolbar and the file list. The toolbar consists of several buttons, linked to various actions. There's a button for adding and removing files from the list, a button for clearing the list. Also, there's a button for refreshing the file list, one for selecting all and one for clearing the finished files. The last buttons allow you to start, stop and pause the converting process. The file list will show all the media files that either wait to be processed or are done processing. The list is divided into several columns: source path, source directory, source filename, destination path, destination directory, destination filename, profile, status and queue position. The user can choose which columns, as well as which toolbar buttons, the window will display.
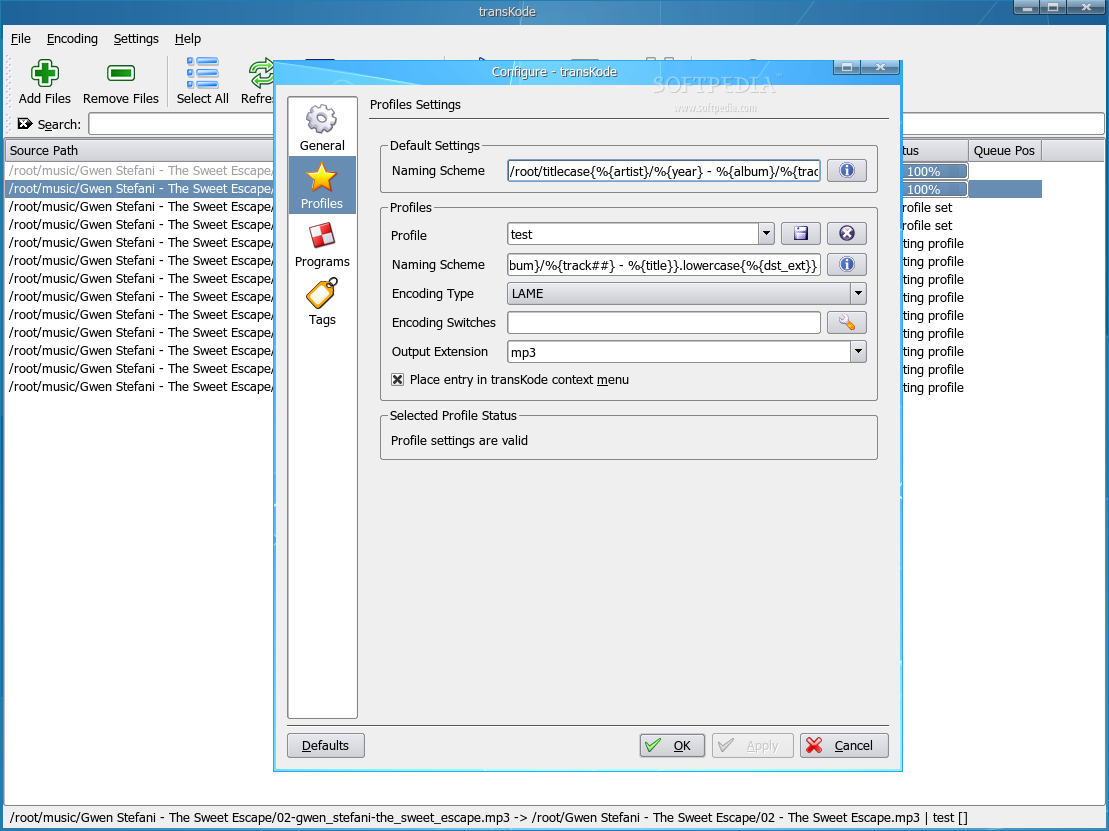
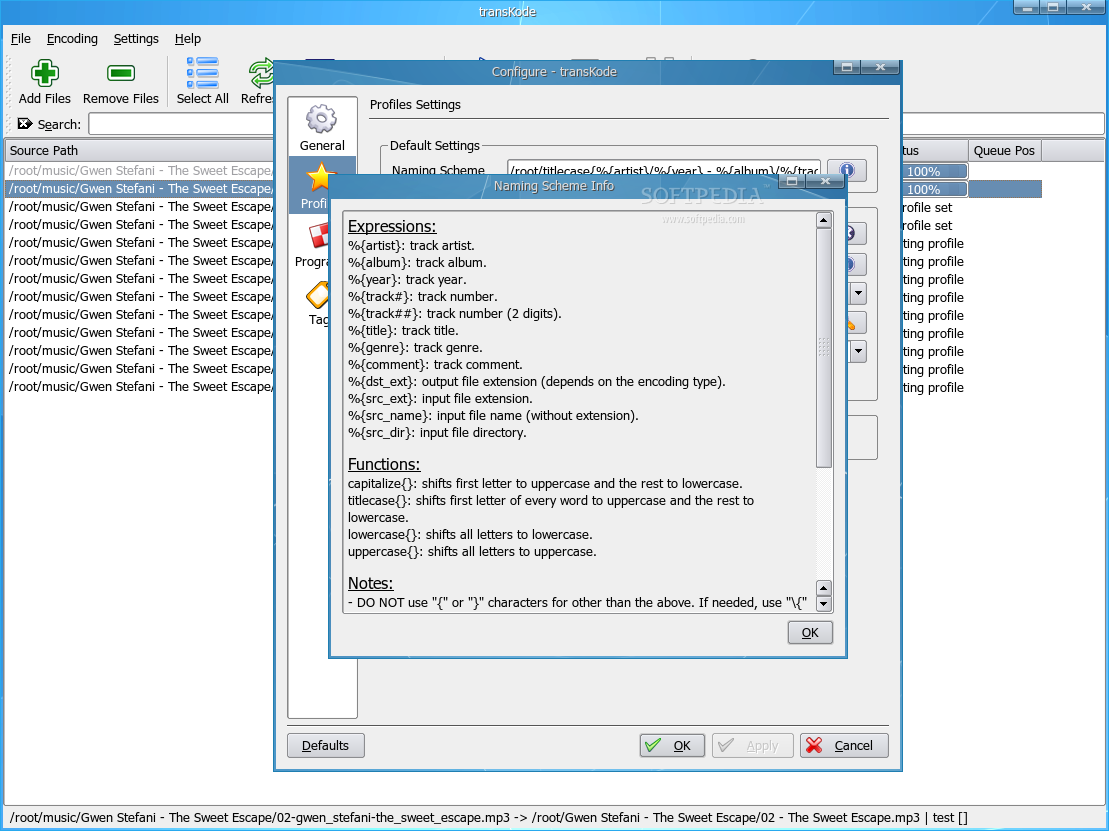
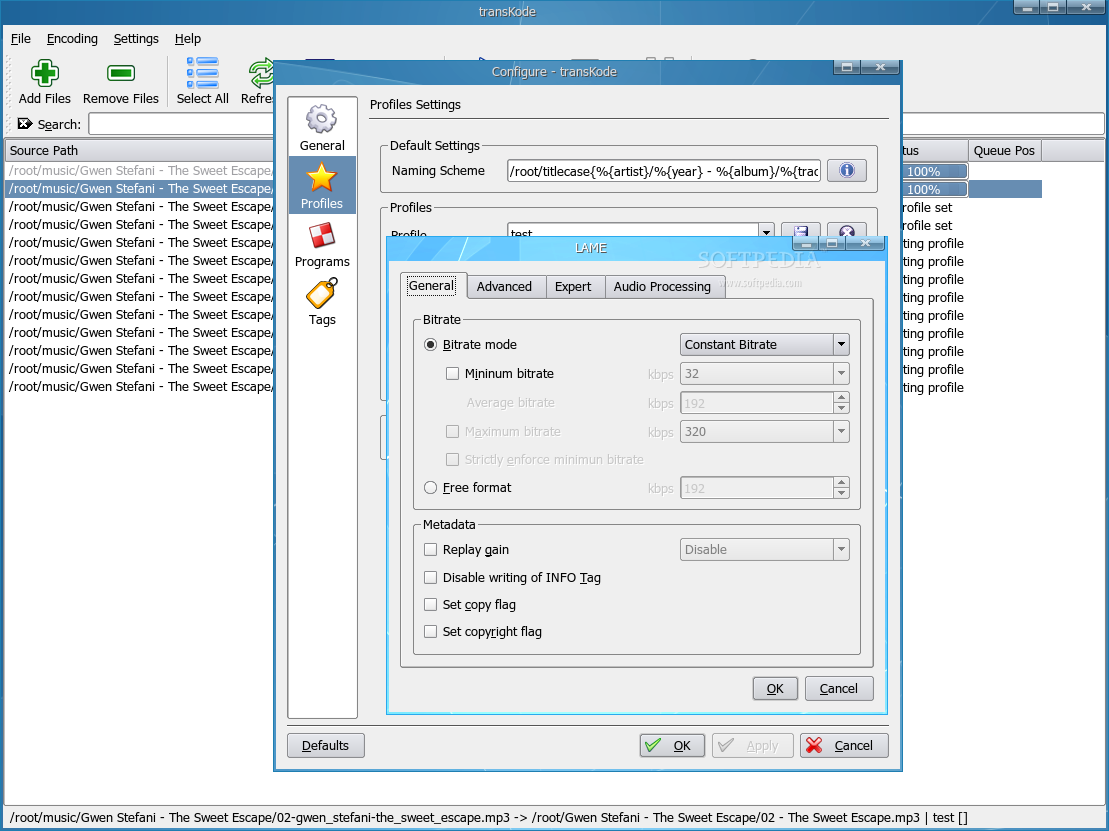
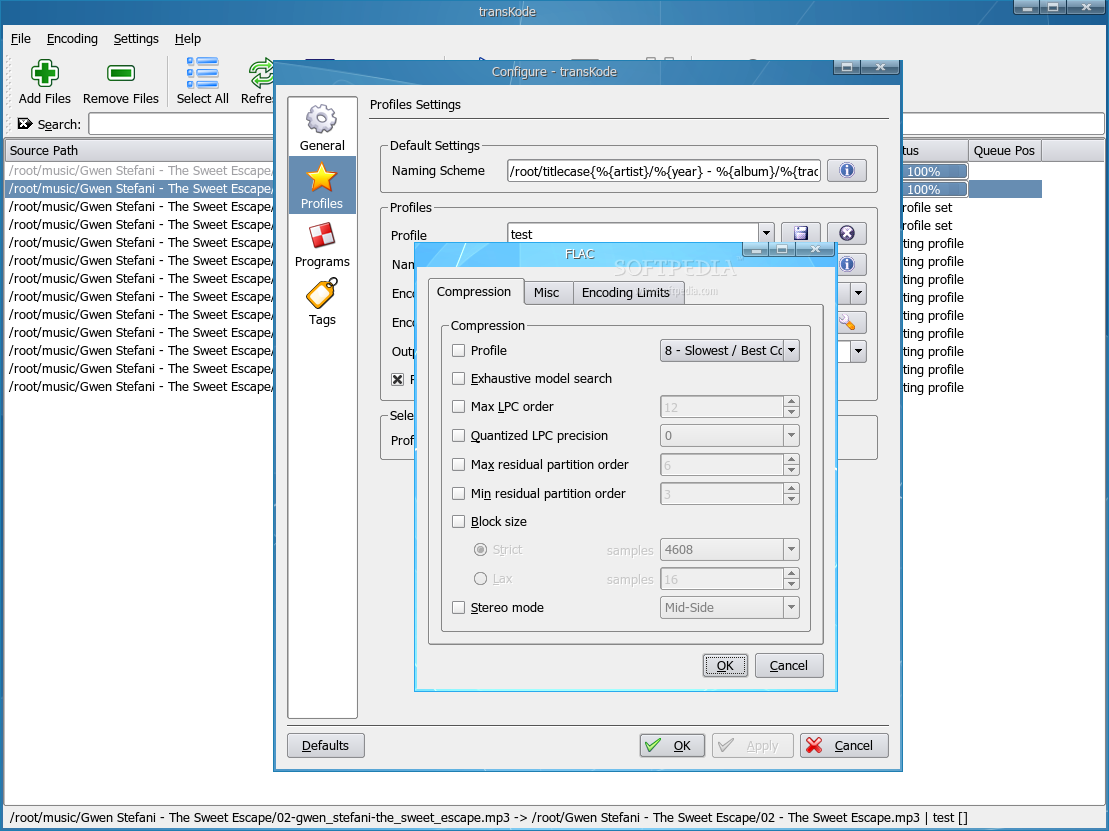
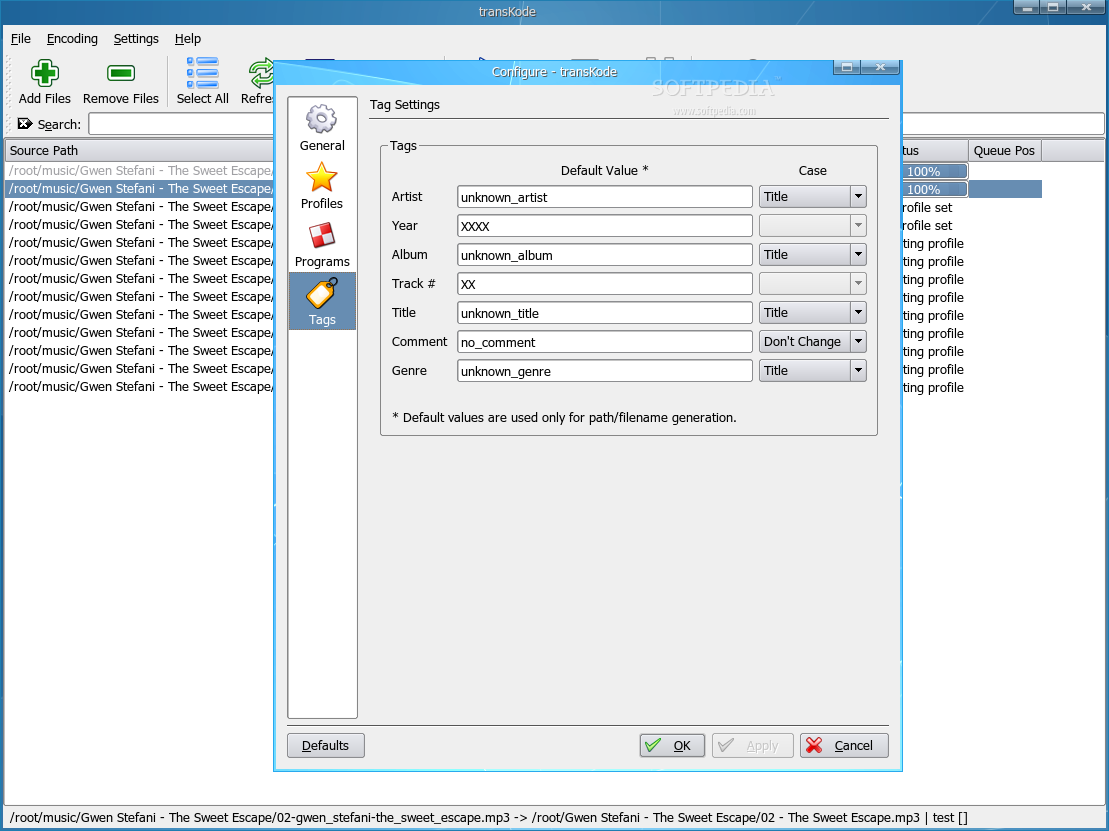
The configuration dialog can be found in the Settings menu from the main window. This dialog is divided into several tabs as well. The General tab contains general related settings, such as whether to: allow file overwriting, case insensitive filename comparisons or replace special characters with underscores. From the General tab, the user can also set the priority of the processes, as well as the temporary directory, whether to log events and show a system tray icon. The Profiles tab contains more advanced options, such as what naming scheme to use, the encoding type and its switches, as well as the output extension. The naming scheme is explained in a popup window but that's about all the documentation you'll get with this program. Unfortunately, the configuration dialog for each encoding type contains rather advanced options which aren't explained anywhere in the program. But on the other hand, each encoding type uses a different tool which probably has it's own documentation. The next tab, Programs, lists all the encoding tools that transKode supports and their paths. You don't have to install all of these programs, just the ones you'll use. The last tab, Tags, allows you to configure the values used for filename generation. Here, you can configure whether the output files will be named as something very simple, or their names will consist of artist and title.
To start using transKode, you must set at least one profile in the preferences dialog. Choose a naming scheme, an encoding type (with its eventual switches) and a profile name, then press the save button next to the profile name and click ok. If everything is set up correctly, you'll see the message "Profile settings are valid" in the profile status from the preferences dialog. Now you can load an audio file into transKode, select a profile for it and press the encode button. The output file will be saved in the home directory, unless transKode is ran from a different directory.
Here is the list of the supported output formats: ? ape/mac (needs mac) ? bonk (needs bonk) ? flac (needs flac) ? la (needs la) ? mp3 (needs lame) ? mp4/m4a (needs faac) ? mpc/mpp/mp+ (needs mppenc) ? ofr (needs ofr) ? ogg (needs oggenc) ? pac (needs lpac) ? shn (needs shorten) ? spx (needs speexenc) ? tta (needs ttaenc) ? wav ? wv (needs wavpack) ? ...plus output formats for which you have gstreamer encoding plugins (needs gst-launch with wavparse plugin).
The Good
transKode is free, it's relatively simple to install and use (if you're satisfied with the default encoding options). It supports a large number of input and output formats and can also be used from within Amarok.
The Bad
For starters, it doesn't offer almost any documentation at all. Besides those naming scheme examples, you won't find any documentation related on how to configure and use it.
The Truth
transKode is a small and reliable tool which can quickly convert from one audio format to another in a short while and without spoiling the quality. Unfortunately, it lacks documentation so you might want to try it only if you have used audio conversion programs before.
Check out some screenshots below: