14 DAY TRIAL //
 In an era when information is spreading at the speed of light, the presentation methods seem to gain more and more importance. In fact, many of us have tens of gigabytes of data on our computers that are never used just because we don’t have the time to organize them or their general appearance requires too much time to process. For example, in some situations, a video tutorial can be a lot more efficient than a written one mostly because it can compress the same information in a more attractive and, in some cases, more explicit format that requires less time to be acknowledged.
As a result, most people enjoy more a video presentation than a written document. One of the most obvious reasons is the fact that the discourse is reduced dramatically by the actual visualization of the action explained.
Hearing foreign speakers of a certain language say how they learned by watching movies is not uncommon and, indeed, a great deal of information can be accessed through this medium, but I’m afraid that there is a long way to go from one to the other: no matter how many movies you watch, I believe that basic theoretical knowledge is required. Still, once that requirement is met, there is no limit to what you can learn by simply watching a film.
Taking all this into consideration, the Cinedition developers are trying to provide support for easily managing your videos by organizing them in groups following different criteria that will eventually help you improve your language skills.
The Looks
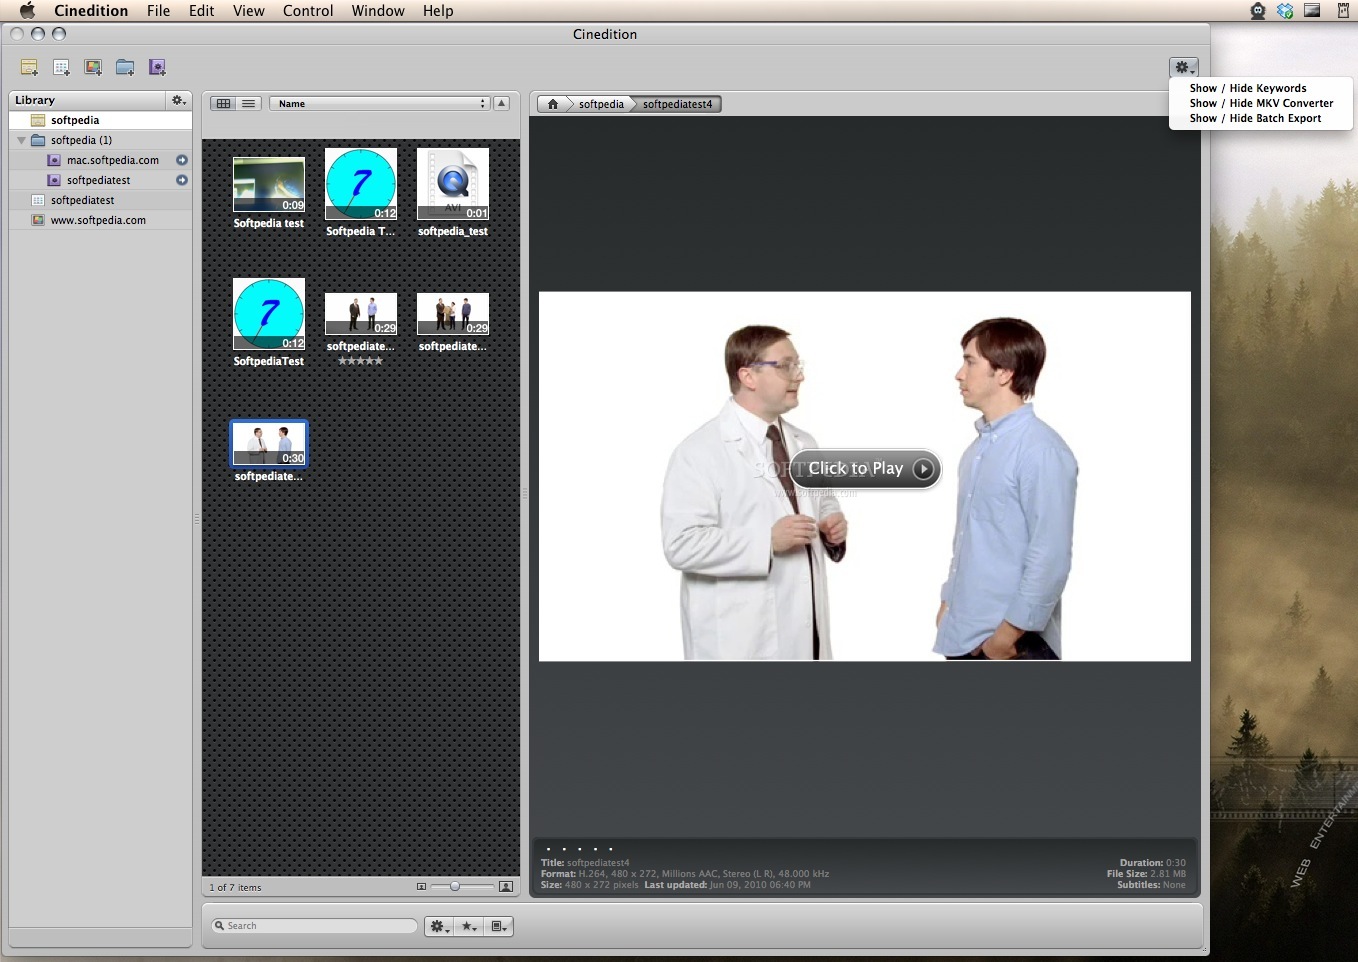
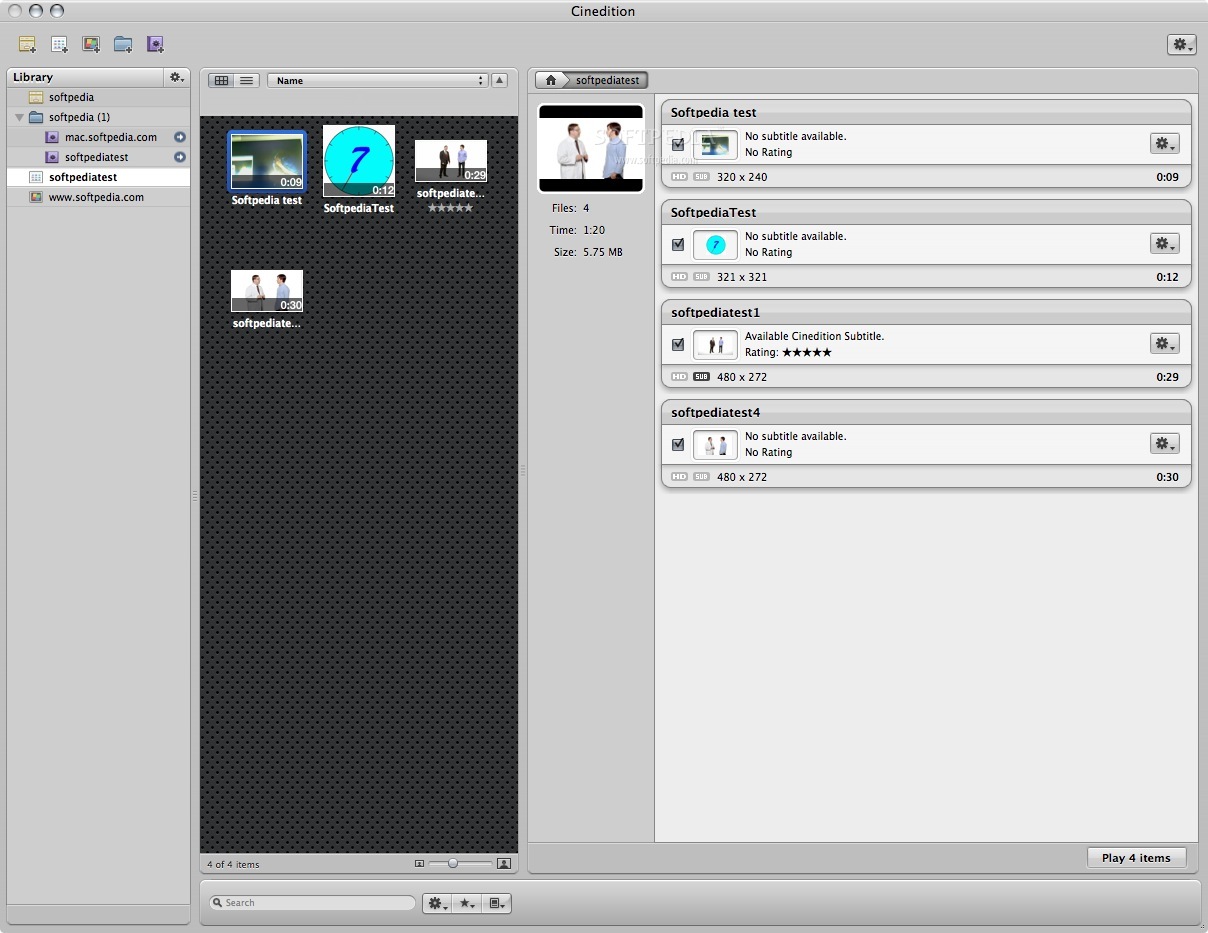
The overall appearance of Cinedition integrates easily with your system’s design. Most of your actions will take place in the main window, which provides a well-organized space with a very pleasant look. The window is separated in three different areas: the Library, the folder-browsing panel and the editor window. On top of that area, you will be able to see a button bar that gives you the possibility to quickly create any kind of assignment: project, playlist, movie trailer, folder or smart folder.
Cinedition is mostly revolving around the concept of project. A project is the unit that keeps together a number of video files that can be easily previewed, edited, and so on, in order to be used at a later time. The videos edited in any project can be added to a playlist or can be used to make a movie trailer.
If you are not sure what you want to do with your movies, you may also simply import them to a folder or a smart folder to be easier to find. The importing process is very quick and can be reduced to a simple drag-and-drop. Once a unit is created, its content can be browsed in the panel available on the right side of the Library menu.
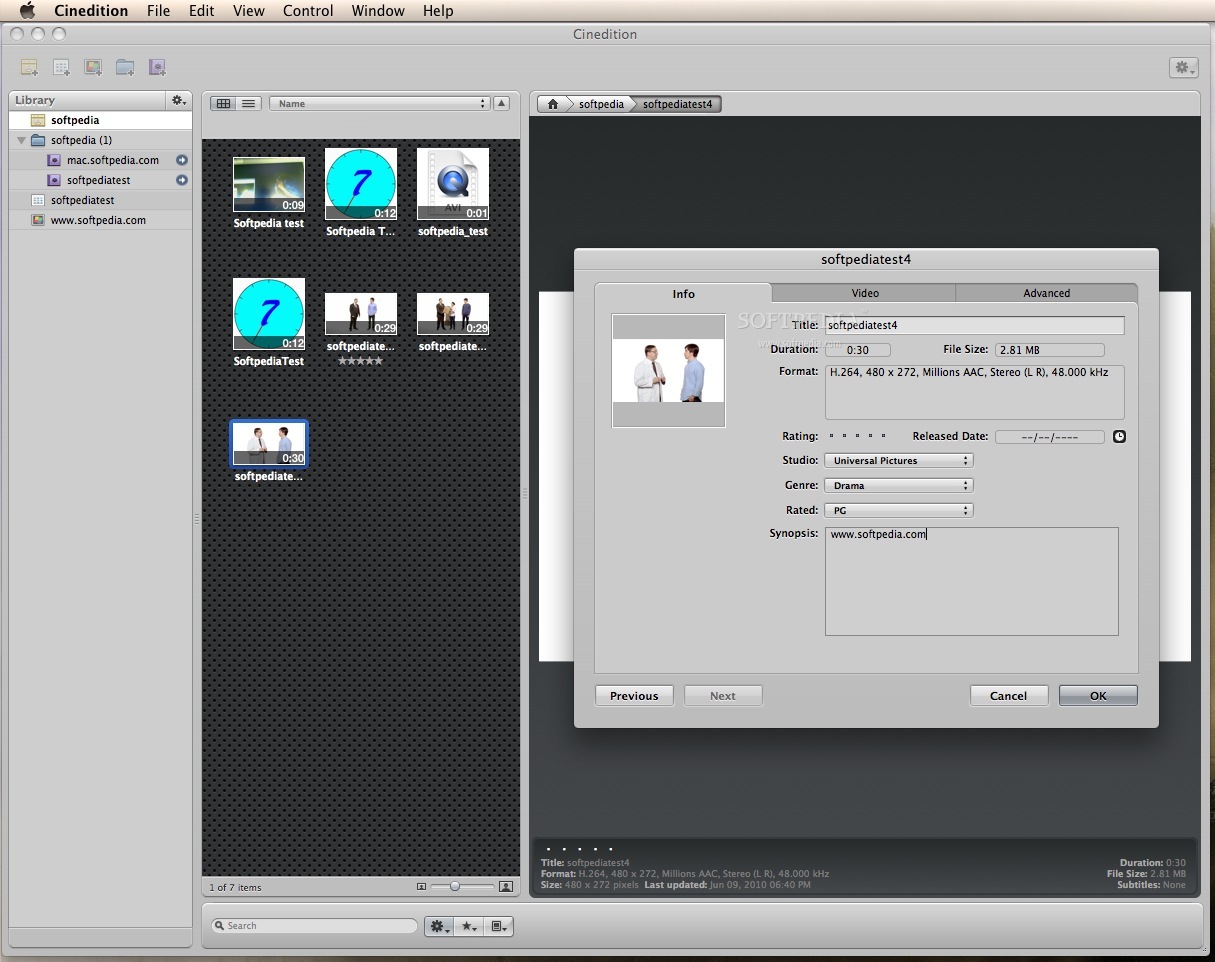
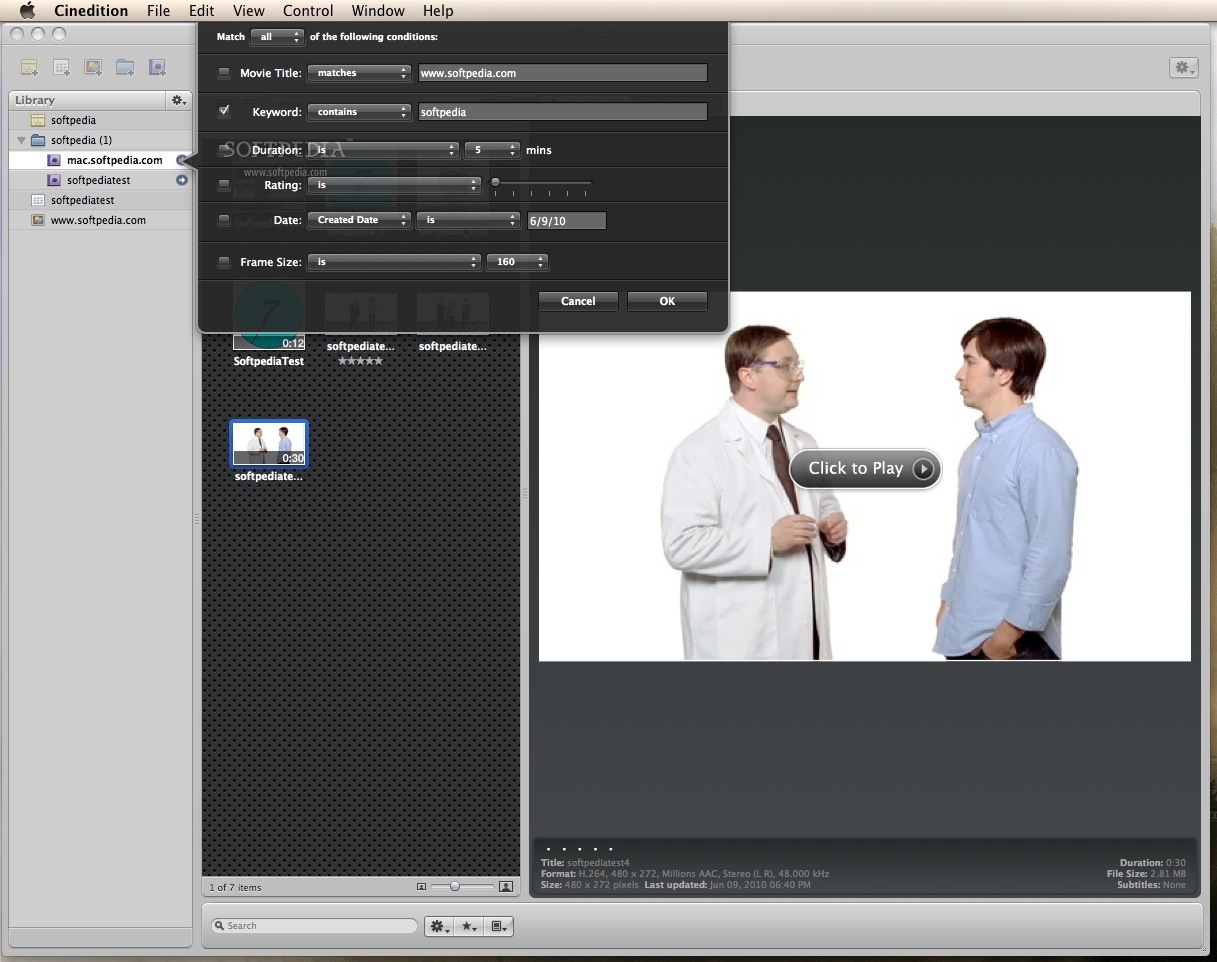
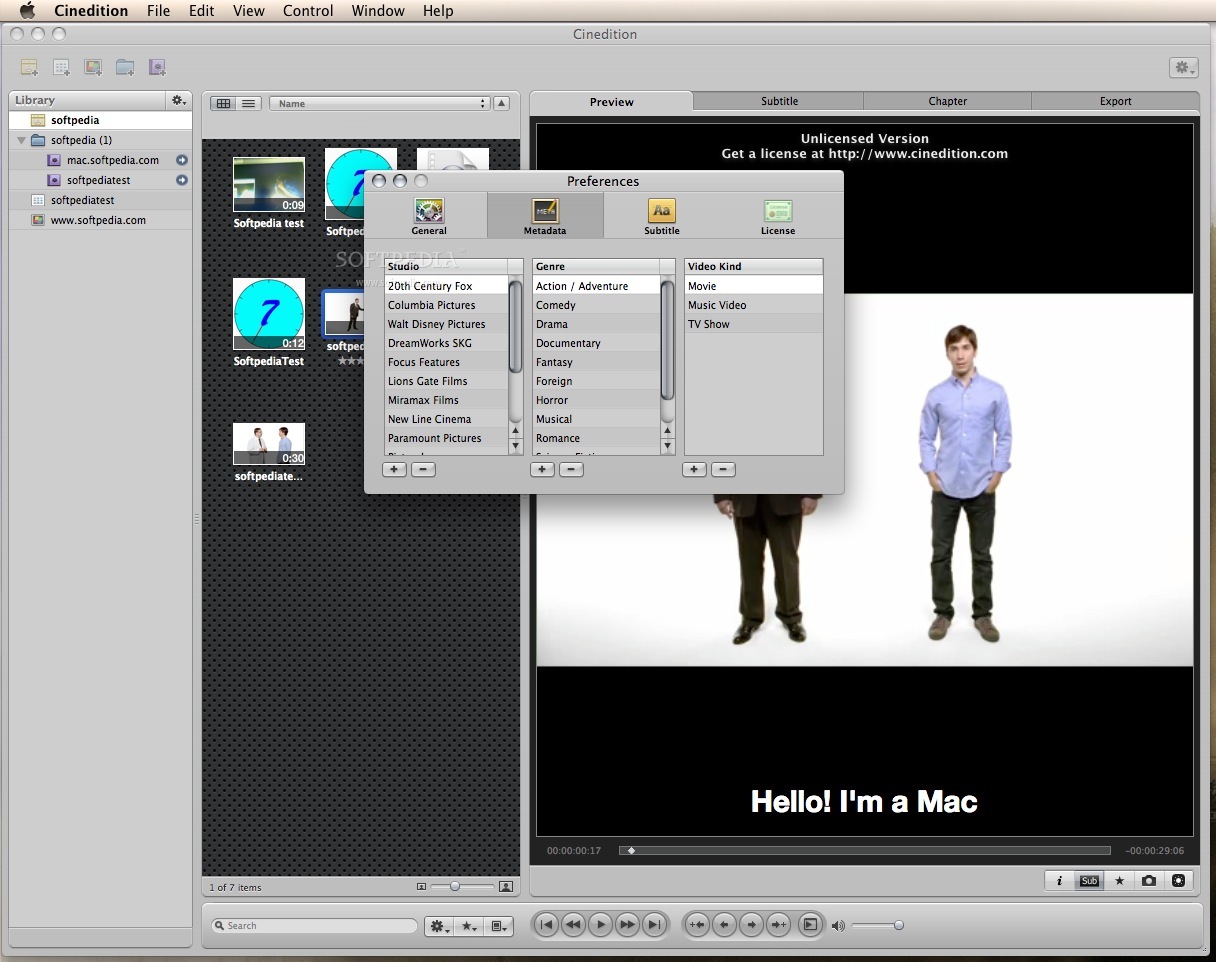
The browsing panel allows you to see the included items in list or thumbnail mode, it sorts them by different criteria, and gives you the possibility to see the number of currently selected items, the total number of items and to adjust the thumbnail size. At the bottom of the panel, you can find the entry point for the search feature, but the same area also allows you to set a rating for a certain movie and establish its genre. The Genre categories can be customized from the Metadata panel via the Preferences window, where you can add your own studios, genres and video types.
A big part of the window is used by the editor panel that is organized in four tabs. The first one allows you to preview the video and mostly acts like a player, while the others are dealing with the subtitles, the chapter creation and the exporting settings. The scenery might change a bit depending on whether you are editing a movie or creating a trailer, but most of these parameters remain constant.
The Works
Once a video is imported in Cinedition, all the editing process takes place in the big panel on the right side of the main window. The first tab of the editing window provides all the basic features of a decent media player: a time slider, a volume adjustment slider, play and pause buttons, the go to beginning/end option, the fast rewind/forward option, the step backward/forward option, the option to forward/backward ten seconds and also the full-screen option.
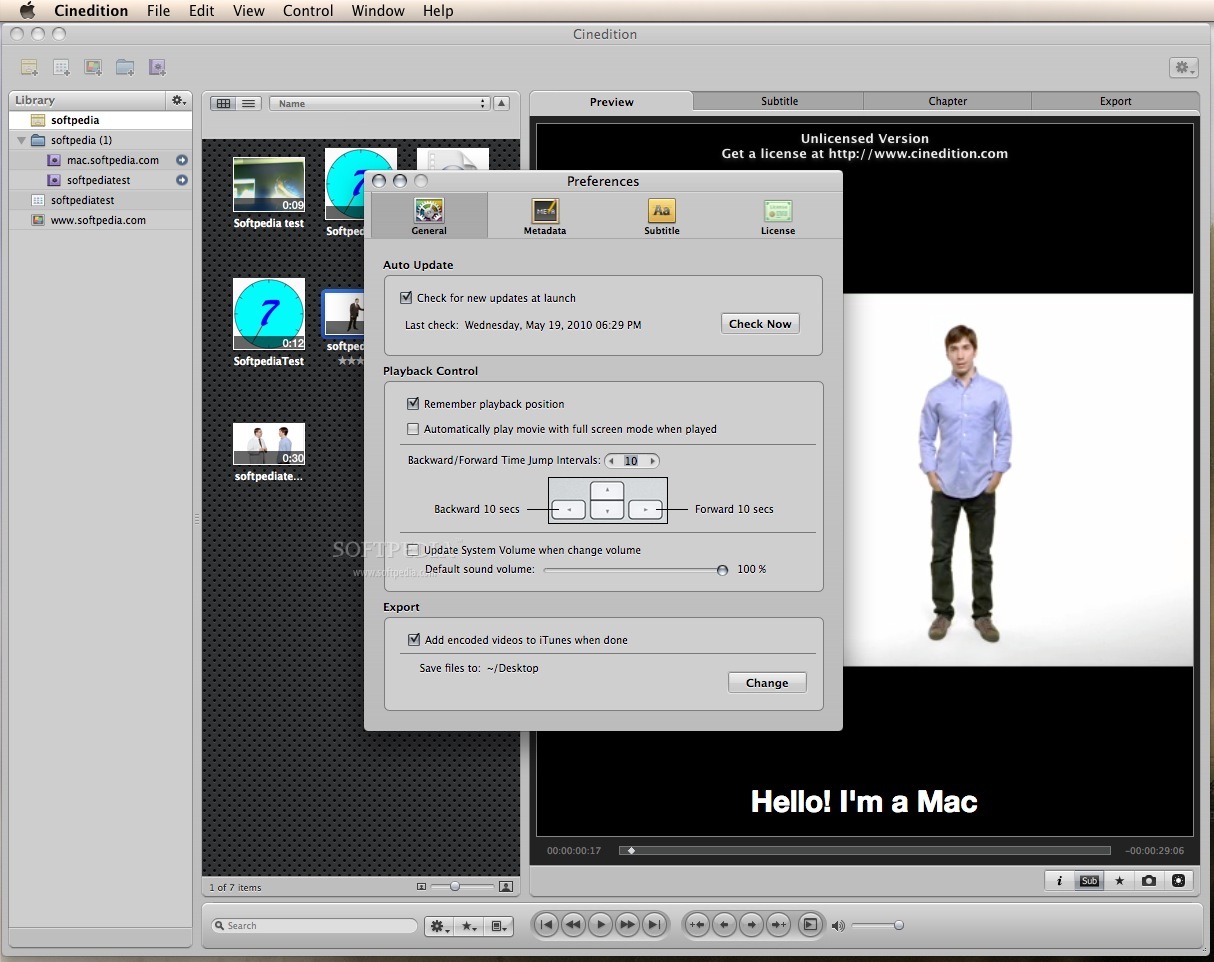
You can easily adjust the player behavior through the Preferences window. For example, Cinedition remembers the playback position by default, but you can disable this feature or choose to have the video automatically played in full-screen mode. The same area allows you to change the backward/forward default interval, choose to update the system volume when the Cinedition volume is changed, automatically add the encoded videos to iTunes when done, or change the default export location.
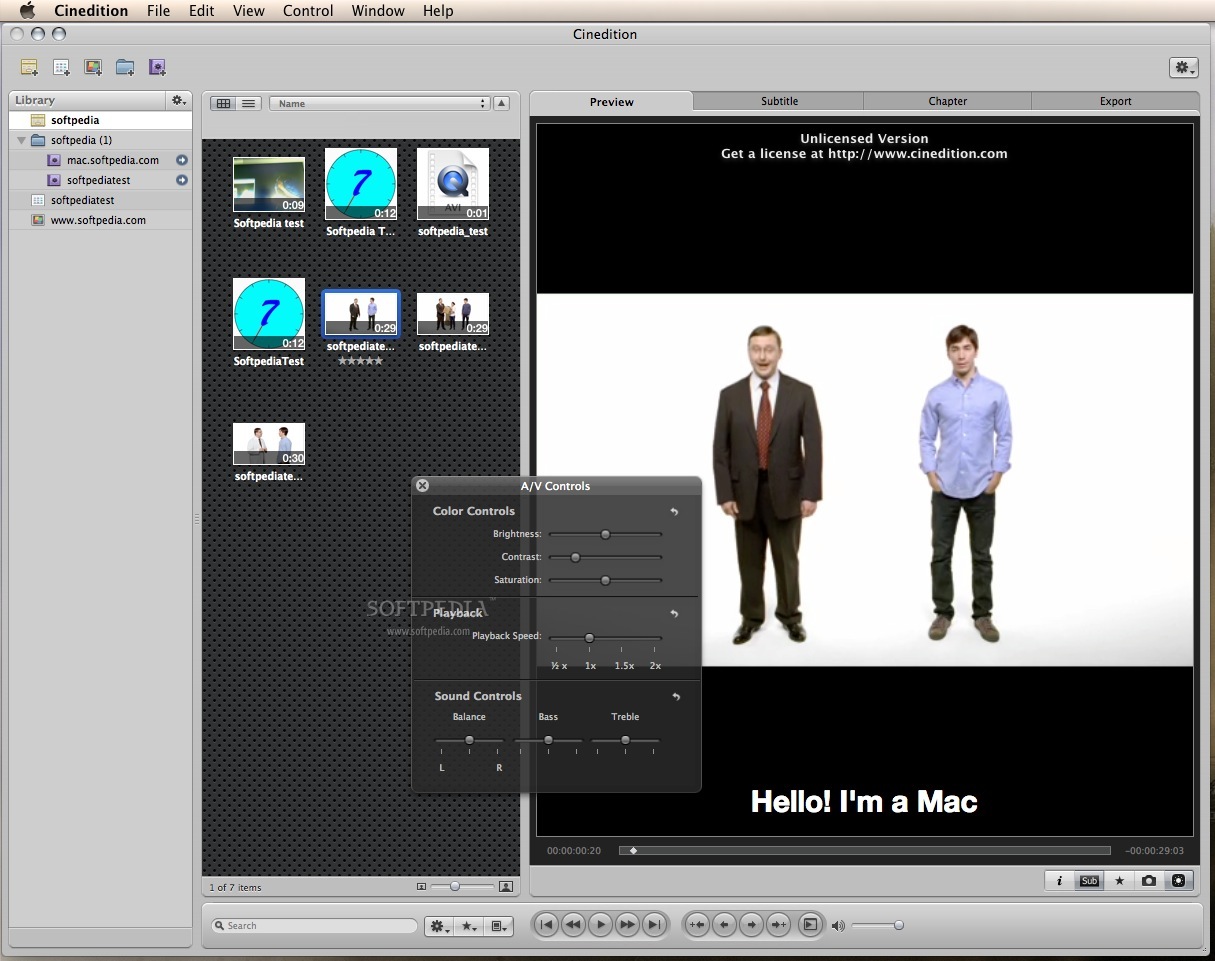
Between the time slider and the player’s buttons bar, you will be able to see the custom Cinedition buttons: show/hide movie info or subtitle, set the movie rating, set poster frame and show/hide the A/V Controls window. The last one provides access to color controls (brightness, contrast and saturation), playback speed and sound controls (balance, bass and treble).
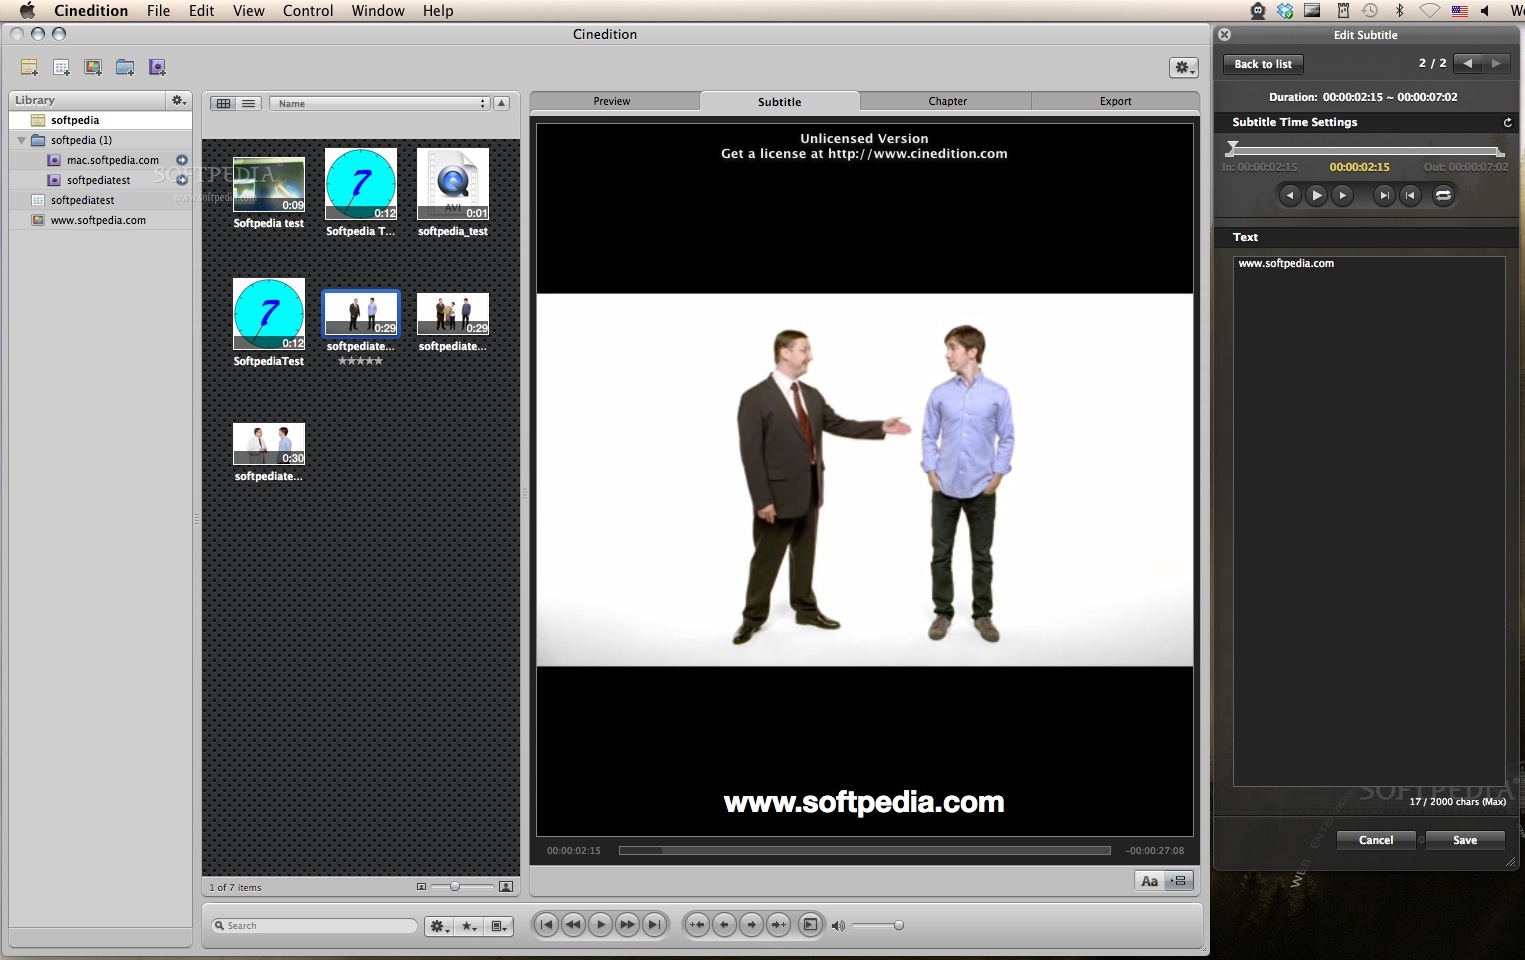
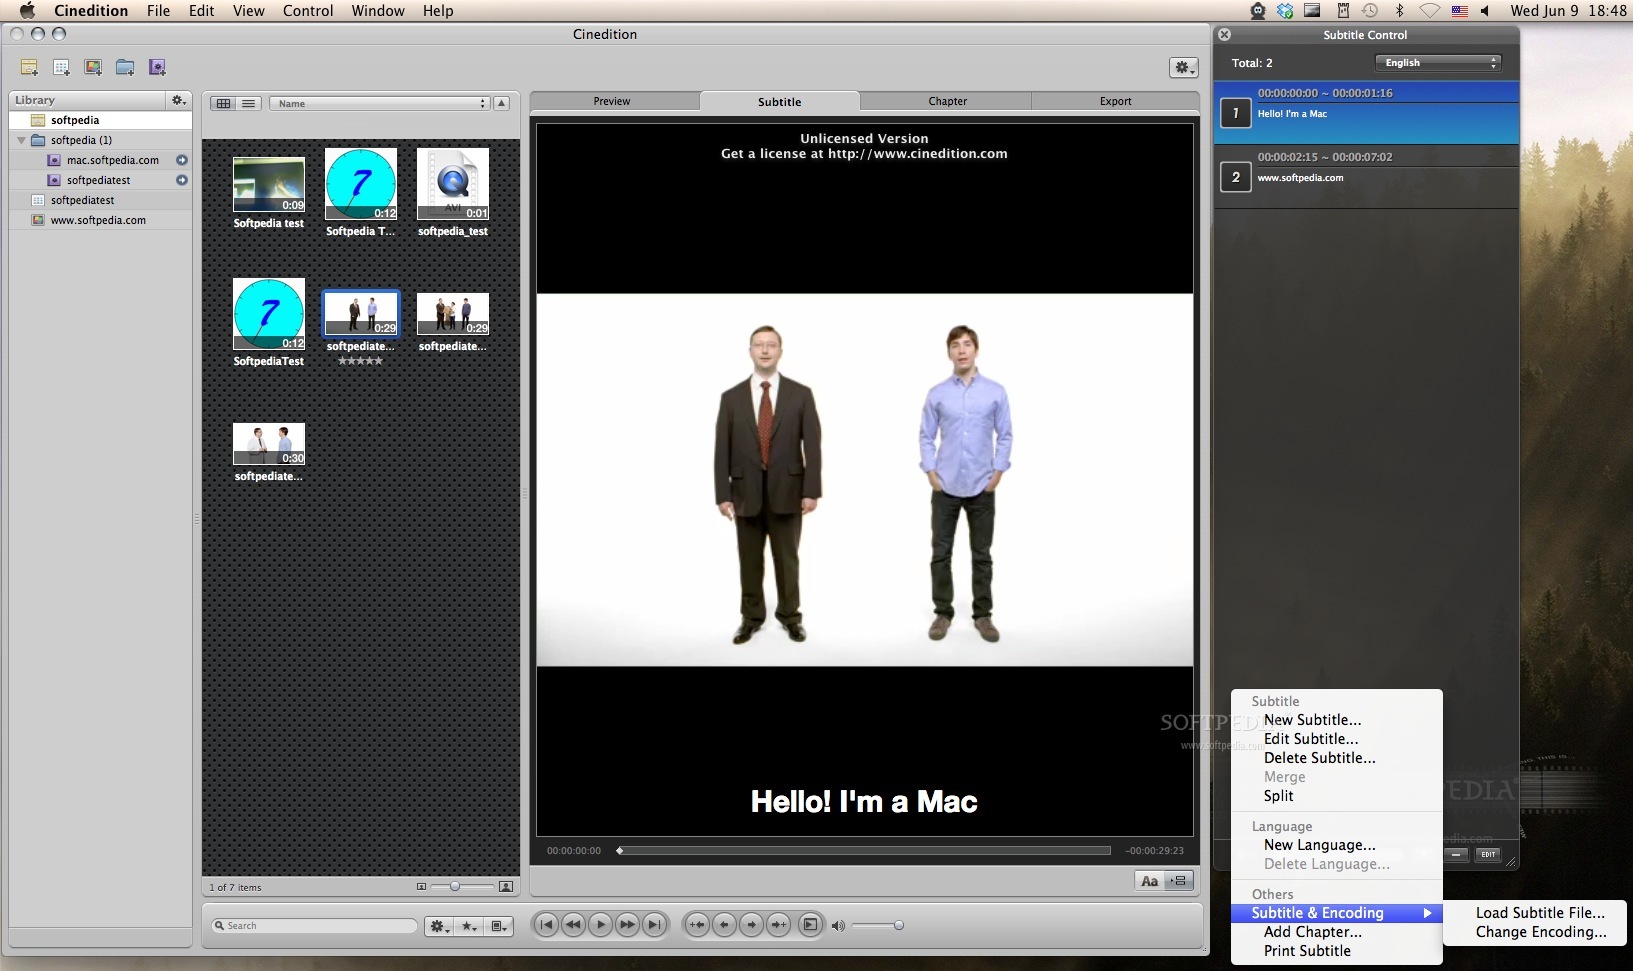
The second tab provides access to the subtitle editor window, where you get the chance to create your own subtitles or adjust an existing one. The same video can have multiple subtitles: all you have to do is make sure you change the language when importing/creating. Basically, you have the possibility to change the content of each line, its location and duration, or set it to a loop. The subtitles’ default appearance can be modified in the Preferences window, where you can set the default font style, color, shadow, offset, blur, alignment, lower margin, language and text encoding. By default, for each new subtitle line, Cinedition sets a five-second duration. The same area also gives you the possibility to change that period.
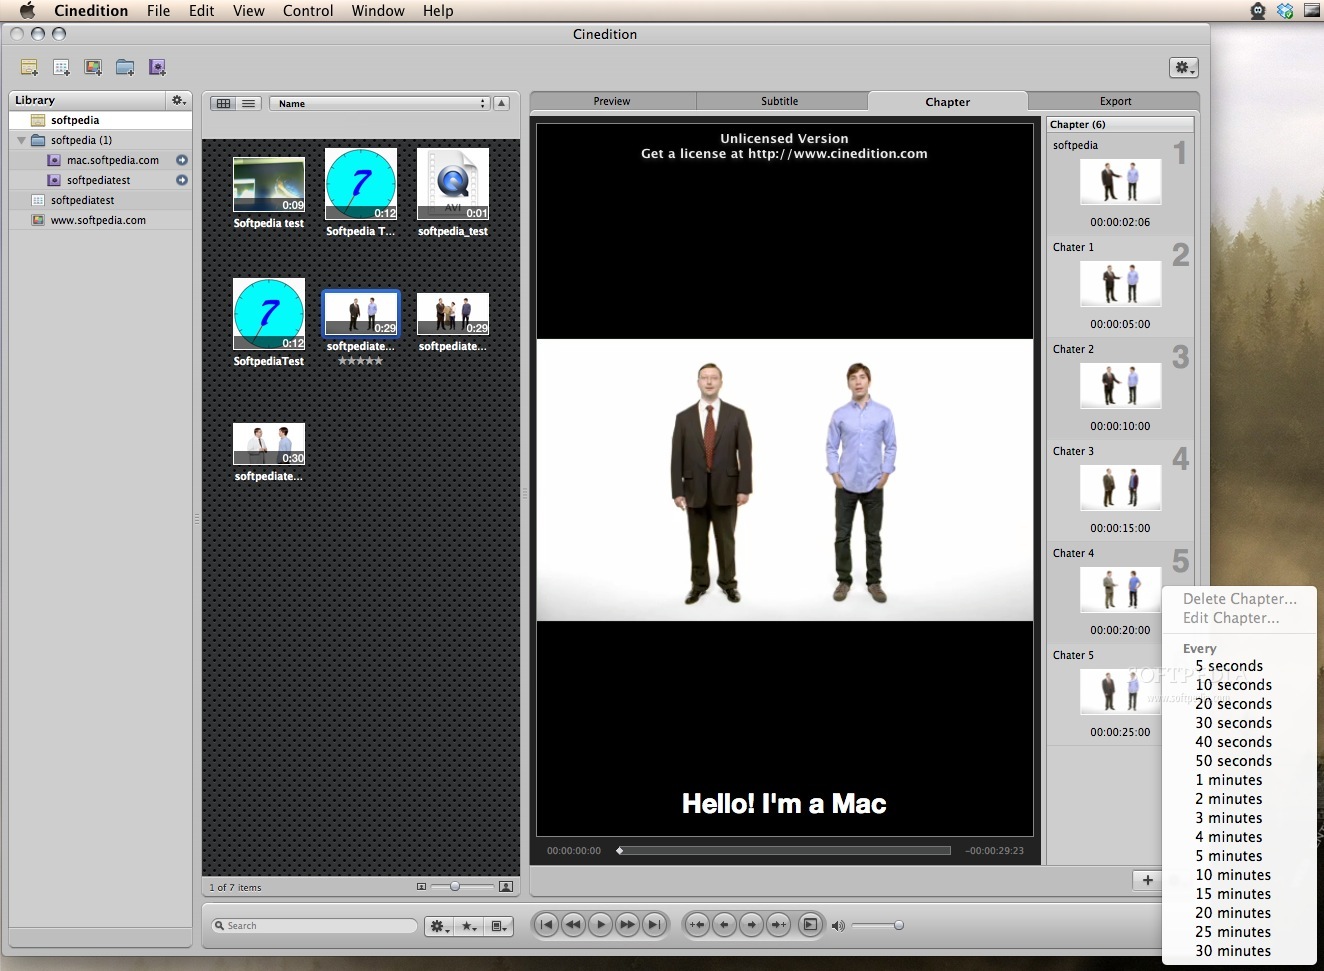
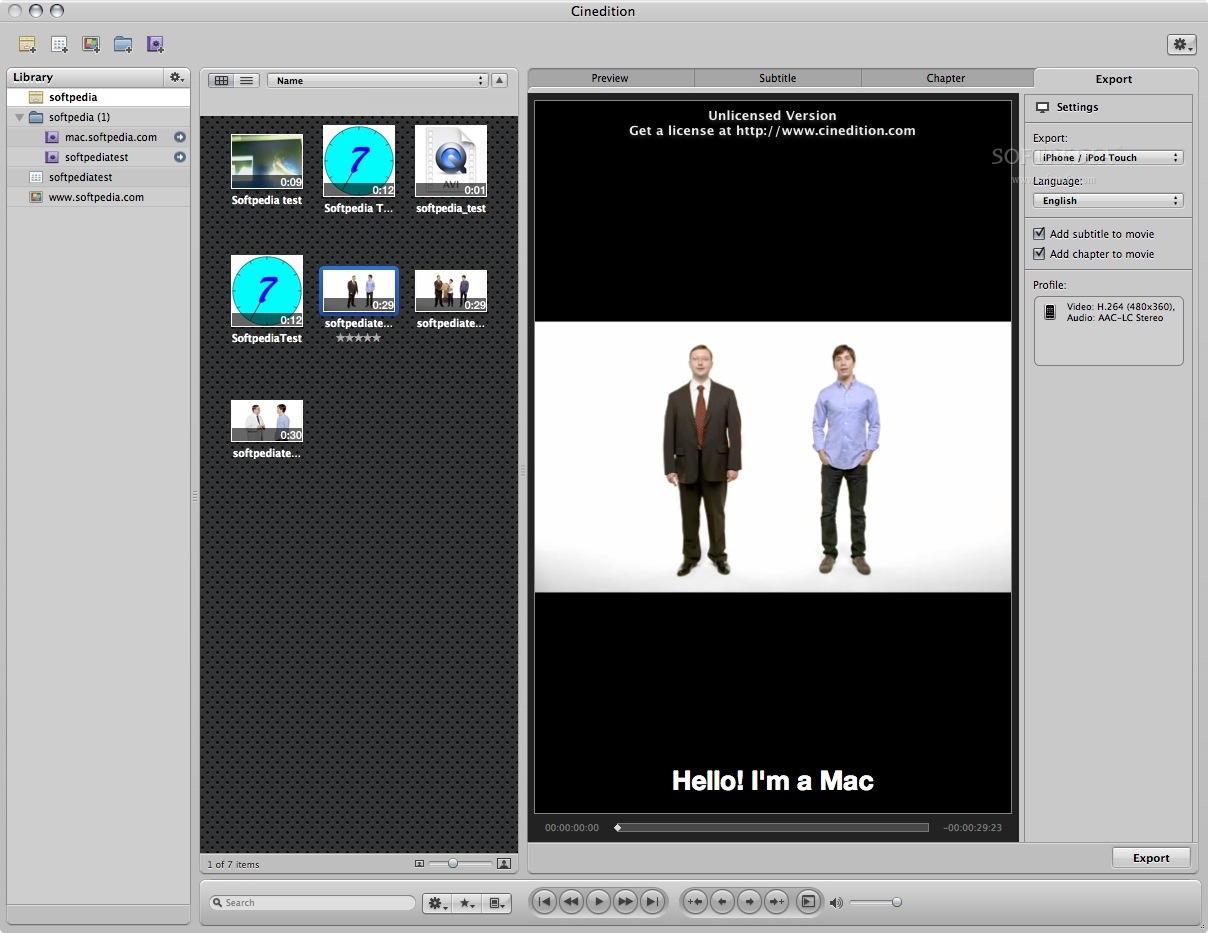
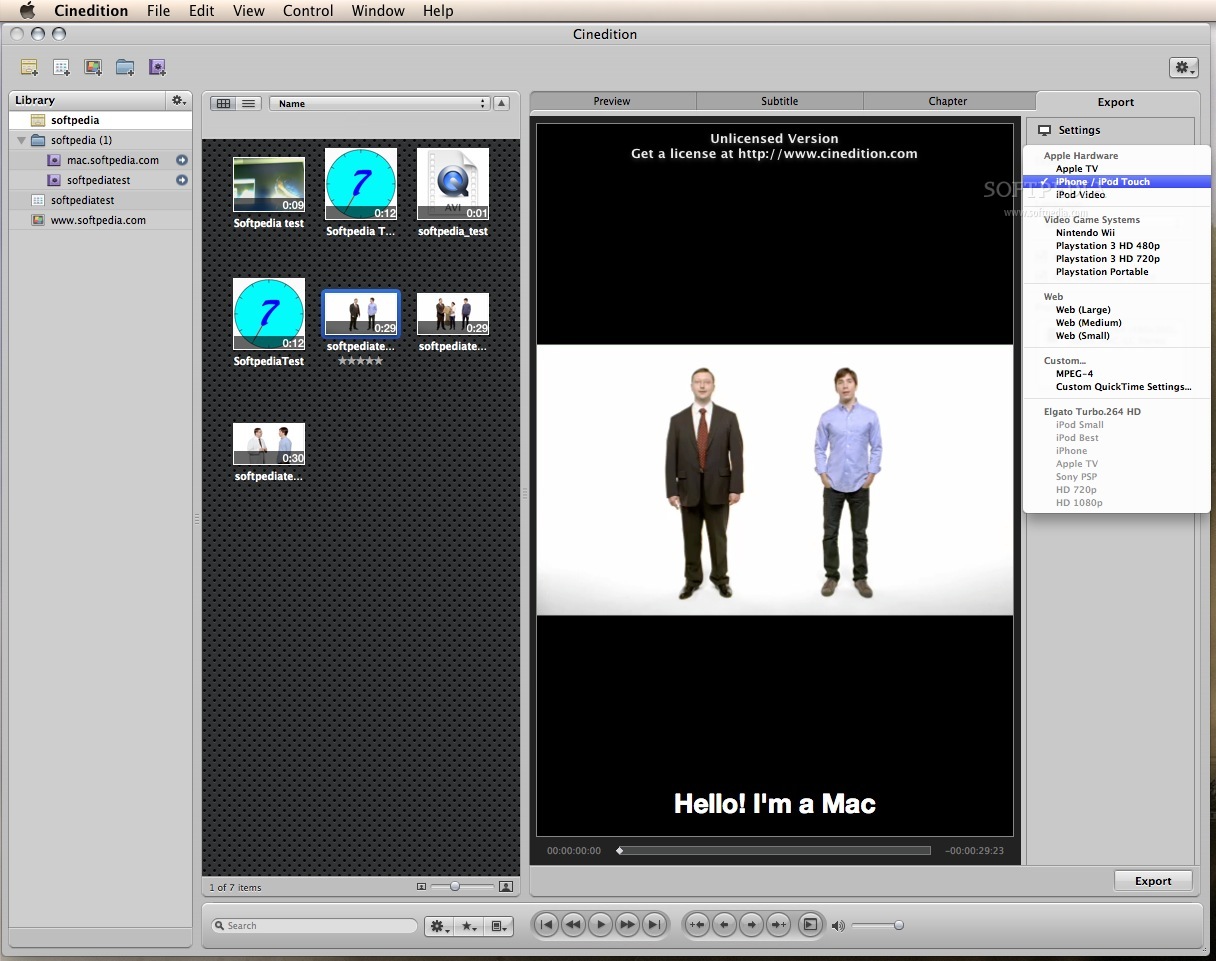
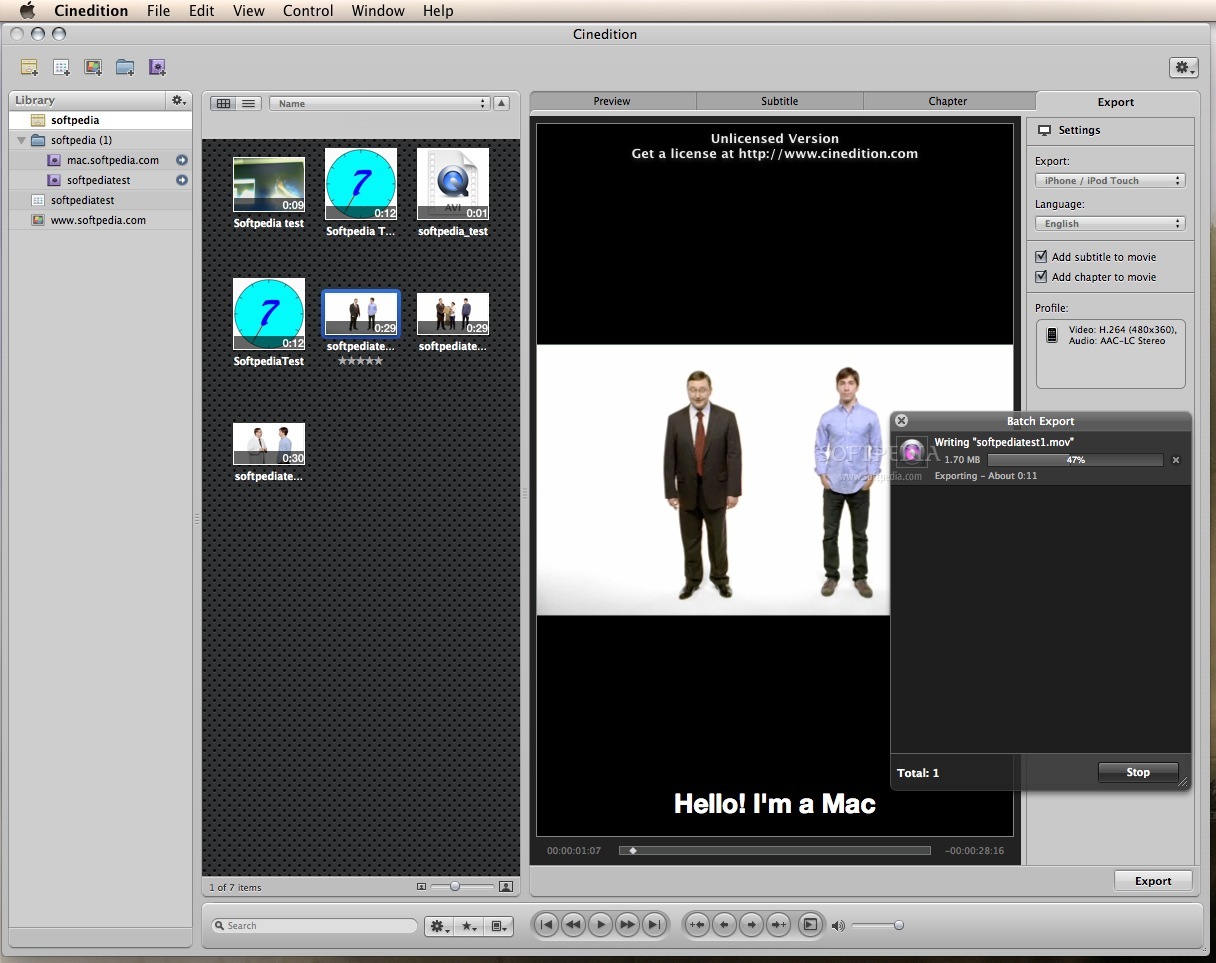
The Chapter tab allows you to split the media content into several parts that you can create manually or choose to generate automatically using different time periods. The feature is great if you need to browse fast, and it’s very efficient because you may also quickly preview each chapter. If you are satisfied with the changes that you made, Cinedition also gives you the possibility to simply export to one of the supported formats, allowing you to choose if you want to add a subtitle and set its language, or if you want to export the chapters. Make note of the fact that the original file will not be modified in any way. If you are determined to further study the video, you can do that through Cinedition and even integrate it into one of your playlists. The Cinedition Playlist panel allows you to see the included items, and general information about each one, and it gives you the possibility to include/exclude them from the loop through a simple check box.
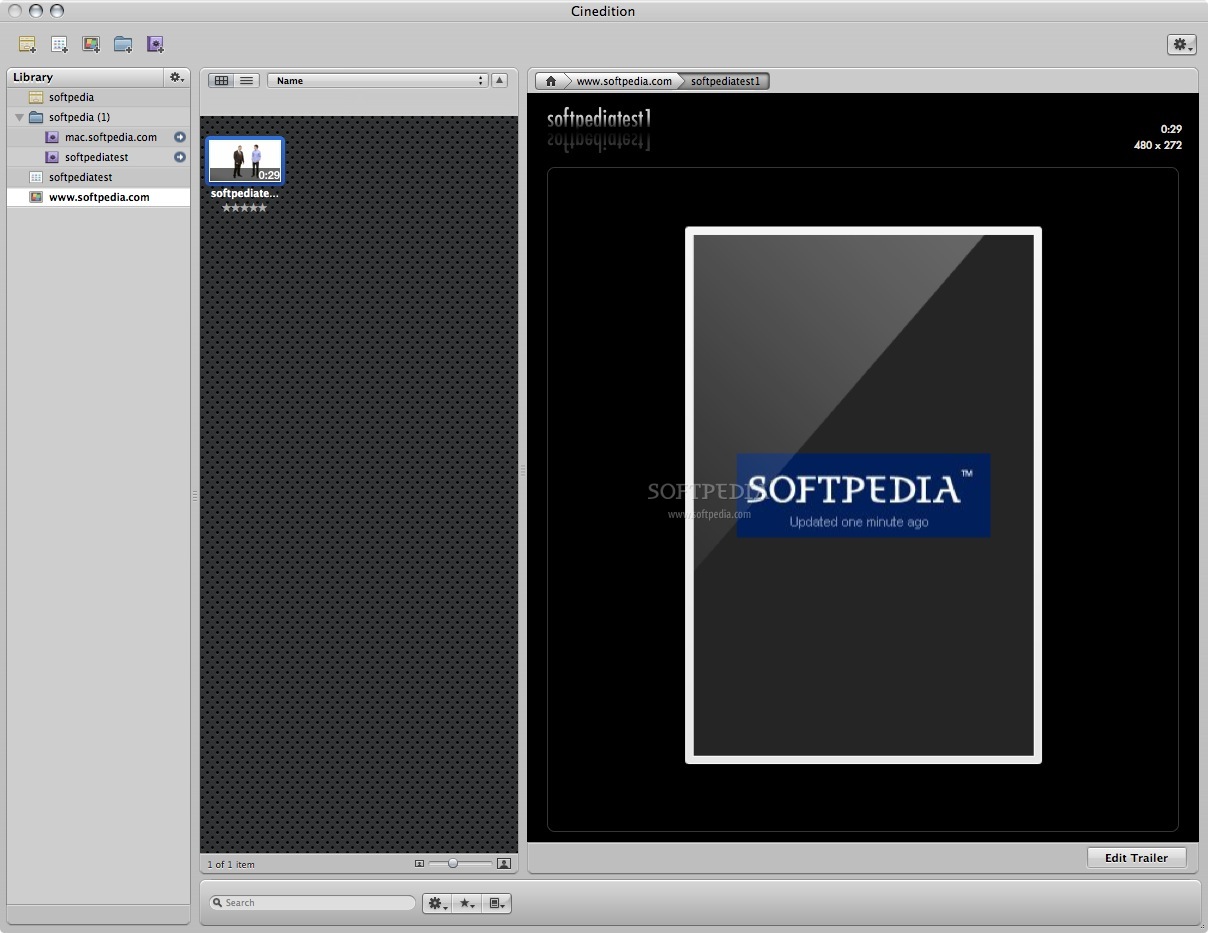
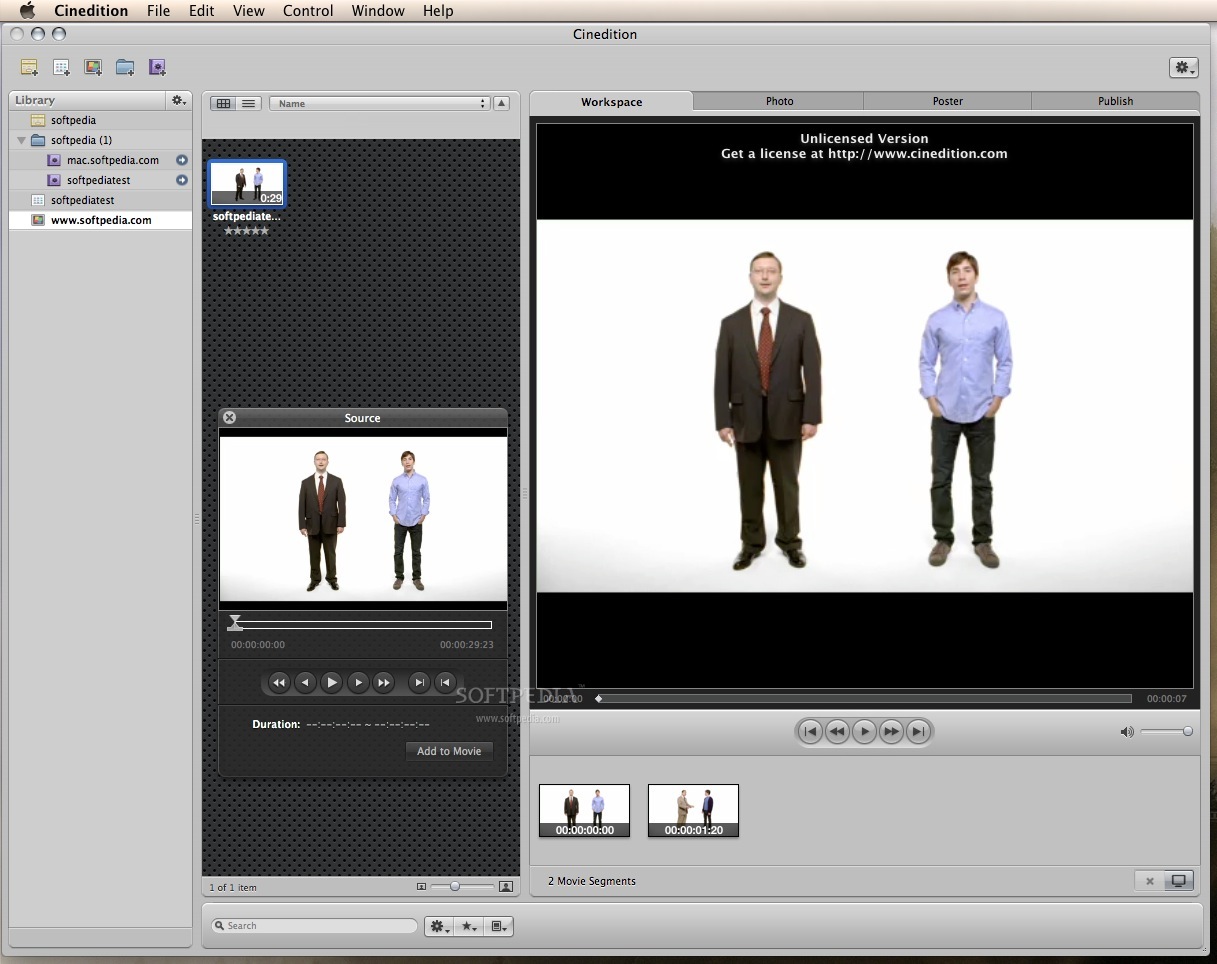
As a bonus, Cinedition also provides the tools needed to create movie trailers for any of your videos. In movie trailer mode, the video player window transforms into the edit trailer area and is also organized in four different panels: Workspace, Photo, Poster and Publish.
The Workspace panel allows you to preview the video file and select the segments that you would like to use. To do that, you must set the beginning and ending markers for each piece in the source window and press the Add to Movie button. Once a segment is added, you will be able to see its thumbnail at the bottom of the preview area.
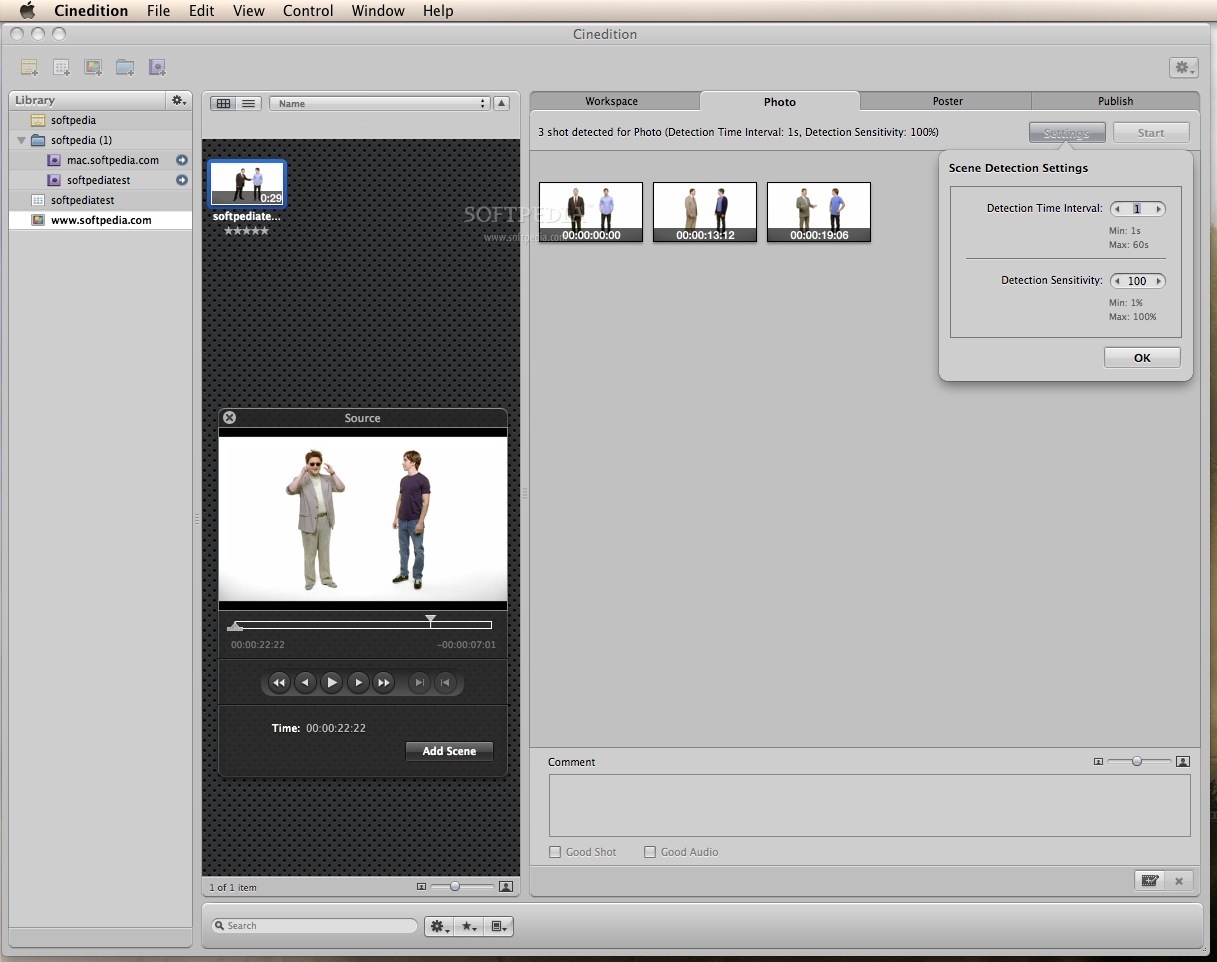
The Photo panel allows you to create an image gallery for your project and you can do that automatically by adjusting the auto-detection settings (detection time interval and detection sensitivity interval), or manually through the source window: once you see a scene that you want in your gallery, just press the Add Scene button. The collected pictures will be displayed in thumbnail mode in the panel’s main area, while, at the bottom, you can adjust the thumbnail size or rate and add comments for each image.
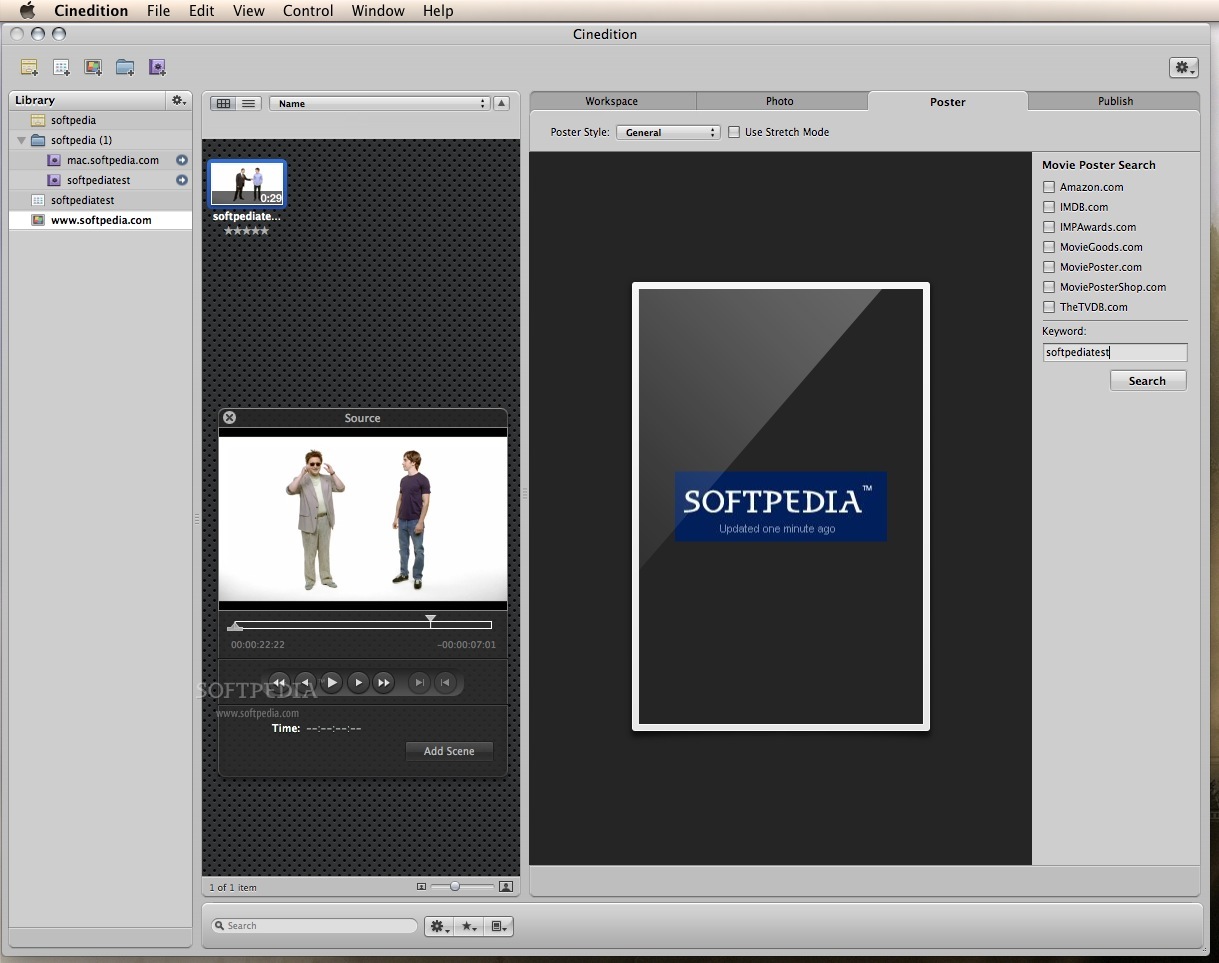
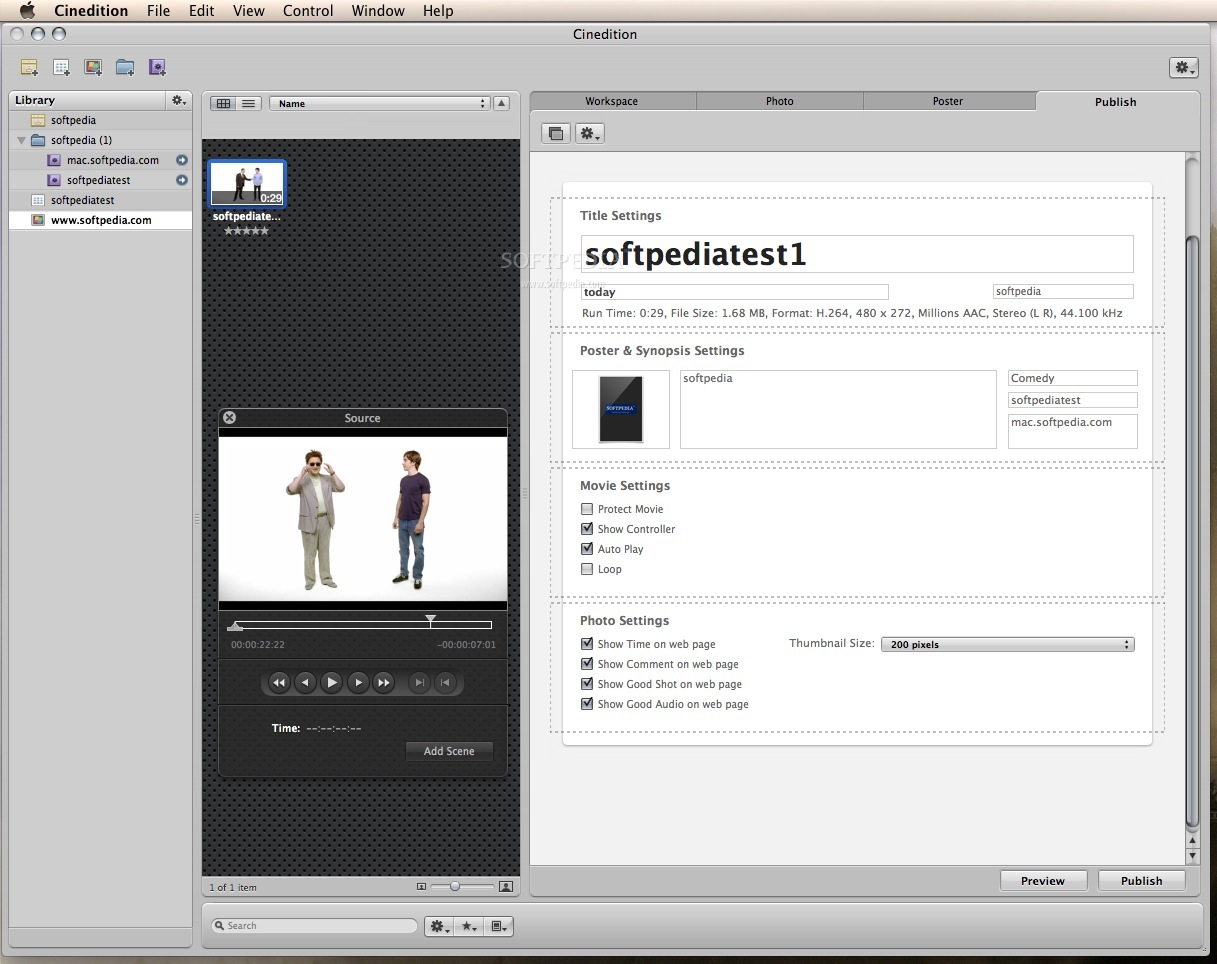
The Poster panel allows you to search for a movie poster on some of the most popular websites that deal with them, but it also allows you to add your own image, change the poster style and use the Stretch mode. The Publish panel is where you can add custom HTML elements or set the general data displayed on the final movie trailer webpage like title, synopsis, movie and photo settings, and preview the result. If you are satisfied, all you have to do is press ‘publish’ and you will have a great webpage that can be easily attached to any website.
The Good
The Bad
On the other hand, Cinedition is supposed to be a tool that would help you learn, but it does not provide any feedback areas where you could make your own notes or record your own videos. Unfortunately, that means that you will have to find other applications to keep your thoughts in order, find the translation of different words, and so on.
The Truth
Here are some snapshots of the application in action: