14 DAY TRIAL //
 Photography and videography are essential parts of our daily lives and provide us with a great way to express or induce an emotion, tell a story and, furthermore, can be used to entertain viewers or advertise products.
A mix between the two worlds would translate into a living photo, also known as a cinemagraph, a media form that stitches together elements from videos with high-quality still photographs in order to create a hybrid photo. The beauty of cinemagraphs is ensured by the illusion given to the viewer that he or she is watching a video.
Cinemagraph Pro is one of the few video and image editing applications specially designed to help experienced, as well as novice photographers and video makers create professional-looking cinemagraphs using their own footage or image sequences.
Although powerful and versatile, Cinemagraph Pro is quite a light OS X app that can be easily purchased and installed via the Mac App Store with just a few mouse clicks. The best part is that you can download the demo version of Cinemagraph Pro from our website and try out its features before making any buying decision.
In order for Cinemagraph Pro to run smoothly on your computer and for you to take advantage of all the features and tools it has to offer without encountering annoying problems, you first need to make sure your Mac runs OS X 10.9 or later and it has a 64-bit processor.
On top of that, your Mac should have 4 GB of RAM and, if you are interested in working with 4K videos, your system needs nothing less than 8 GB of memory. An OpenCL graphics card with 256 of VRAM (Video RAM) and 500 MB of free hard disk space are also required.
Take advantage of the uncluttered user-interface and focus on your project
The first thing we noticed about Cinemagraph Pro was the simplicity and practicality of its layout and the easiness with which we created our own cinemagraphs. This is due to the fact that it only takes a couple of minutes to get used to the interface and to understand how you can transform your media into a cinemagraph with its help.
To make things even easier and if you want to avoid the guesswork, you can watch Cinemagraph Pro’s tutorial before starting to import and process your files.
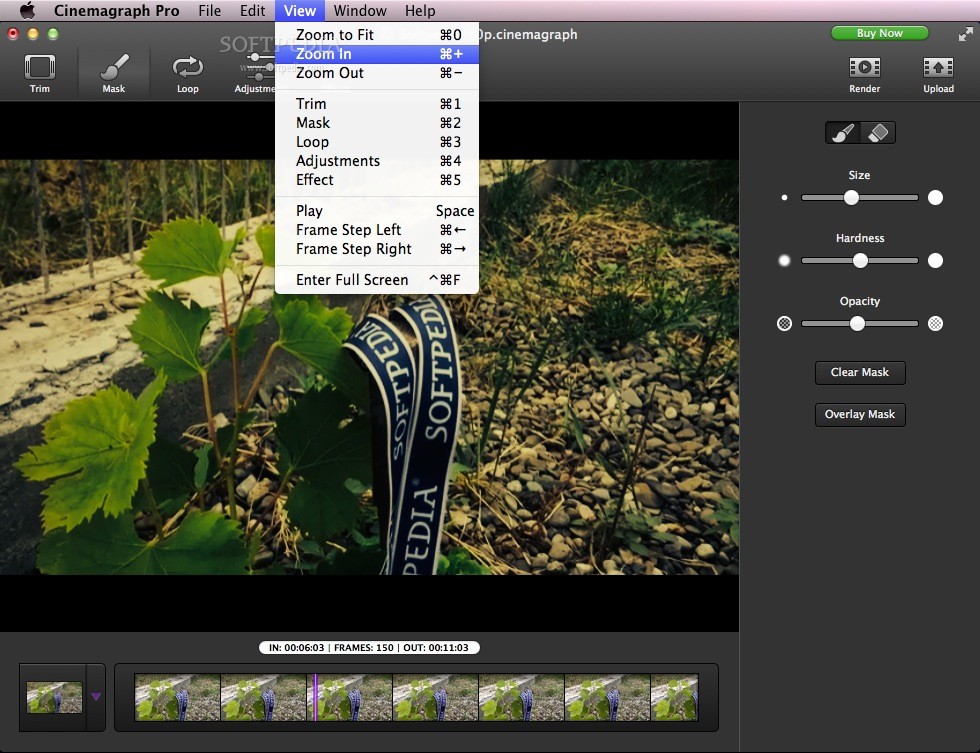
Most editing and adjustments tools are easily accessible from the top toolbar, the video timeline is placed at the bottom of the main window, while the content of the right sidebar changes based on the selected editing tool.
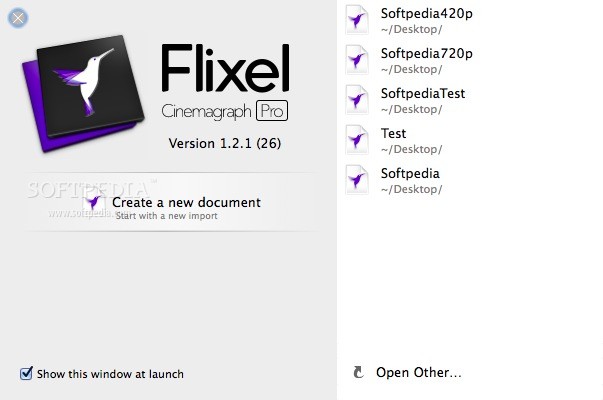
Before trimming, masking and rendering your project, you first have to create a new document or open an existing one directly from Cinemagraph Pro’s start window. If the project you want to work on is not present in the history list, you can always use the File menu to open any given Cinemagraph Pro document previously saved onto your Mac’s hard drive.
Carefully prepare your source footage or image sequence before creating your cinemagraph
Moreover, it goes without saying that you need to shoot a short video or take a sequence of photos in order to have the necessary material for your cinemagraph. After importing the media, you’ll be able to trim the video and choose the section of the footage that you want to use in your living photo.
Cinemagraph Pro makes it very easy to set “In” and “Out” points with the help of the built-in video trimmer and the video timeline. Additionally, highly useful editing tools like the Trim tool, Mask tool, the Loop tool and the Effects tool are available in the top toolbar.
As expected, the Trim tool helps you select the video section you want to use while the Mask tool enables you to mark the areas you want to remain in motion. With the Mask Tool selected, the side panel offers you access to a brush and an eraser, which can be both customized easily by adjusting their size, hardness and opacity.
Also, the Loop tool makes it possible to achieve interesting results by switching between “Bounce” and “Repeat” loop method and by adjusting the speed, delay and crossfade parameters. On top of that, you can visualize the effect of the delay and crossfade on the video timeline and even preview the results in real time.
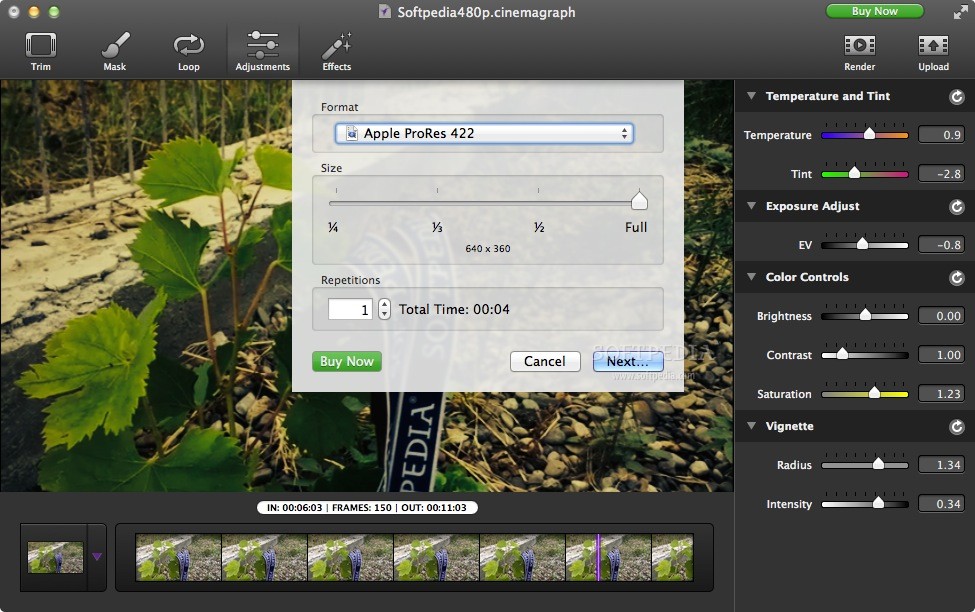
By the same token, experienced users will be happy to know that Cinemagraph Pro allows them to precisely adjust the color temperature and tint, tweak the image exposure, change the color brightness, contrast and saturation, and even control the vignette radius and intensity.
Try out different effects or manually adjust the color parameters and image exposure
Users who are not comfortable with making these types of color and vignette adjustments, have the option to access the Effects panel and try out some of the Instagram-like photo filters and effects Cinemagraph Pro has to offer.
All available effects are organized into groups such as Photo Effect, B&W, Instant, Faded, Fixel and Pop, and can be personalized by returning to the Adjustments panel from where you can make multiple changes.
Furthermore, Cinemagraph Pro is capable to export your hybrid photo to H.264, Apple ProRes 422 , Apple ProRes 444 and animated GIF files at full resolution, half, one third or a quarter of the original size.
In addition, Cinemagraph Pro’s upload feature enables you to quickly and effortlessly upload and share your cinemagraph via the Flixel community page, Facebook or Twitter.
When it comes to resource management and usage, the values vary based on the quality of the source video and on your system configuration. For example, a 2 GHz Intel Core 2 Duo iMac witnessed a 52% CPU load while rendering a 480p video and the RAM usage reached a maximum of 62 MB.
Clearly, if you work with 1080, 2K or 4K videos, these values will change dramatically as long as your Mac has the required resources. During our testing period, Cinemagraph Pro could not find the necessary CPU power and RAM resources to smoothly play the 1080p video.
The Good
On top of that, Cinemagraph Pro provides a customizable collection of photo filters and allows you to manually tweak your cinemagraph with the help of precise image adjustment tools.