14 DAY TRIAL //
 Traditional screenshot capturing applications don’t allow you to go further than taking images of your entire desktop, a certain area or window. Layers is able to do all and some more: each screenshot becomes an Adobe PSD document, allowing you to quickly process it in order to get the best results.
As many others have realized before us, an image can say more that a thousand words. Each time this phrase is mentioned the word cliché immediately pops into mind but I assure you there is nothing boring when it comes to Layers. In fact its entire approach concerning screen capturing is quite innovative.
When dealing with editing guides or manuals of any kind, you find yourself in need of efficient tools that allow you to express your ideas in a clean and clear manner. Layers is definitely the application that can fill in the spot if you plan to capture desktop images: the screenshot will be taken in PSD format, which means that it will include layers for each contained element.
This way the entire processing time is reduced, you don’t have to waste any time rearranging windows and making sure that all unwanted elements are hidden, and you have access to areas that are not usually available (a screenshot of an entire website can be taken without any trouble).
The Looks
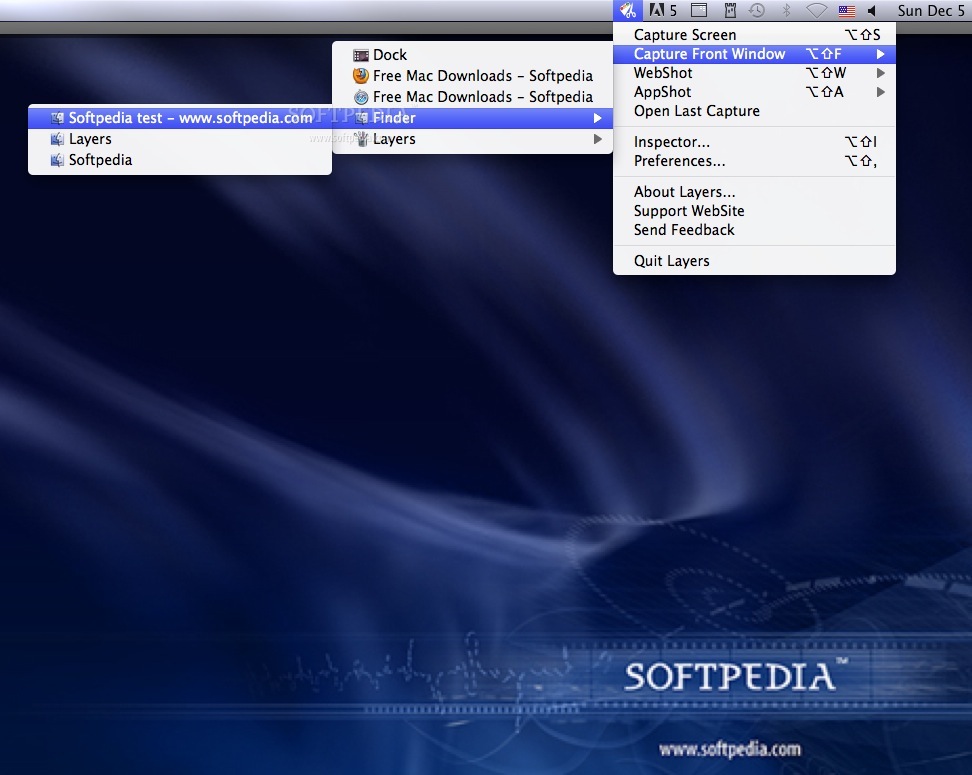
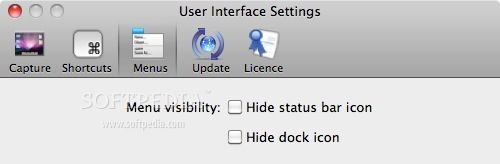
By default Layers capabilities can be accessed through the status bar menu, but if you want to make the application completely invisible the Menus panel from the Preferences window allows you to hide both the menu and the Dock icon. As a result you can take advantage of all its features without having it interfere with your perfect screenshots.
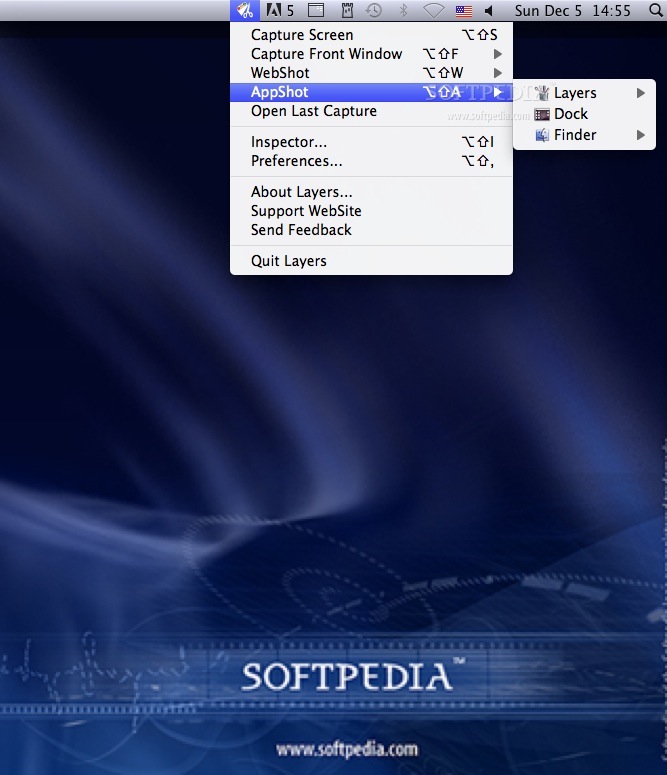
Still, the status bar menu is extremely useful if you don’t know the keyboard shortcuts by heart or if you want to select a certain application to capture its current front window or windows, even if the application is not on top.
If you cannot find the application you need in the automatically generated list make sure it's not hidden: Layers is only able to access the windows that are currently present on your desktop.
Note that the status bar menu icon changes in order to reflect the applications status: inactive, capture in progress, capture succeed or failed.
Although after each capture you will receive a Growl notification that will allow you to open the latest screenshot (if Growl is available, obviously) you can get the same result through the status bar menu.
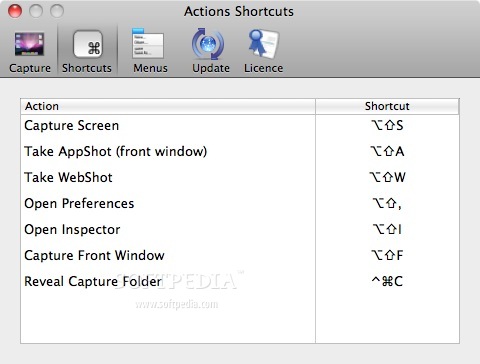
Layers seems to be focused on making things extremely accessible: the Preferences window allows you to change the capture folder, which is quite common, but also allows you to create a keyboard shortcut to open it. In fact, most of its important features can be accessed through shortcuts that can be easily customized.
The Works
Besides allowing you to capture layered images of the entire screen and applications windows, Layers introduces two original features: Appshot and Webshot. The first one allows you to also capture the not visible part of a scrollable window, while the second gives you the possibility to grab a snapshot for an entire website.
The original element of the Webshot feature is the fact that the webpage will be captured exactly how it is seen in the current browser, through a process of stitching images. The developers assure you that Layers will not use another browser to render the website before capturing, but also recommend to enable the assistive devices support in the Universal Access panel for better results.
The Webshot function also allows you to capture each frame in a different layer, so you will be able to easily access only the information of interest. As a result, you can quickly process and make available only the most relevant data, without wasting resources.
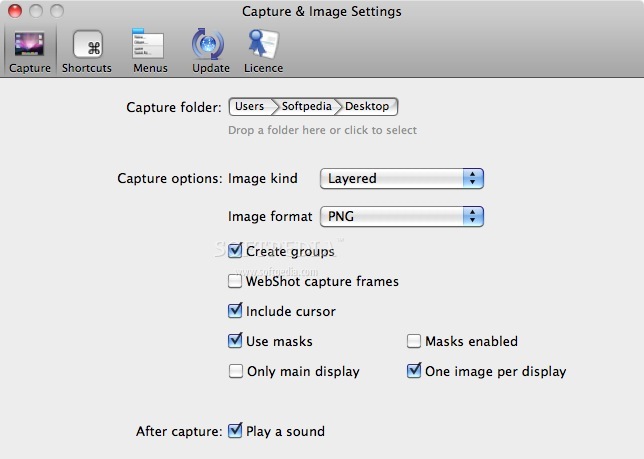
Before starting to use the application you should become aware of some customization options that you can find via the Preferences. Layers allows you to change the image kind (layered, bunch of images or composite) and format (TIFF or PNG) but also allows you to adjust the application’s behavior
You can choose if you want to have groups created, include the cursor in the image, use and enable masks, capture only the main display or one image per display, and disable/enable the audio notification.
The bad part is that the Layers app does not provide any kind of user guide to let you know exactly how each one works. Still, on Layers’ website there is a FAQ section that gives you some clues and it can be found HERE.
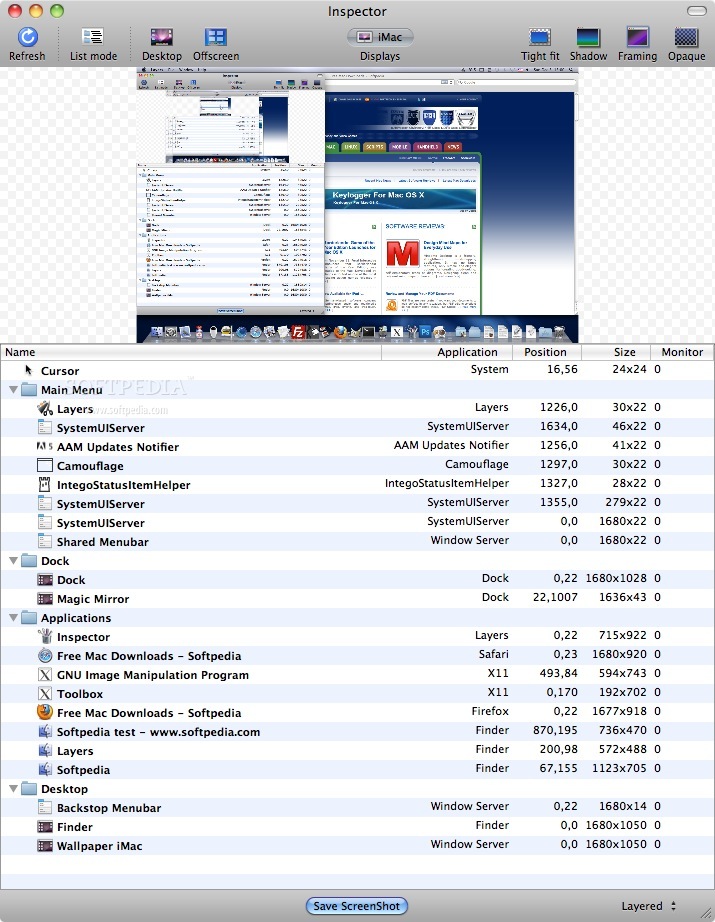
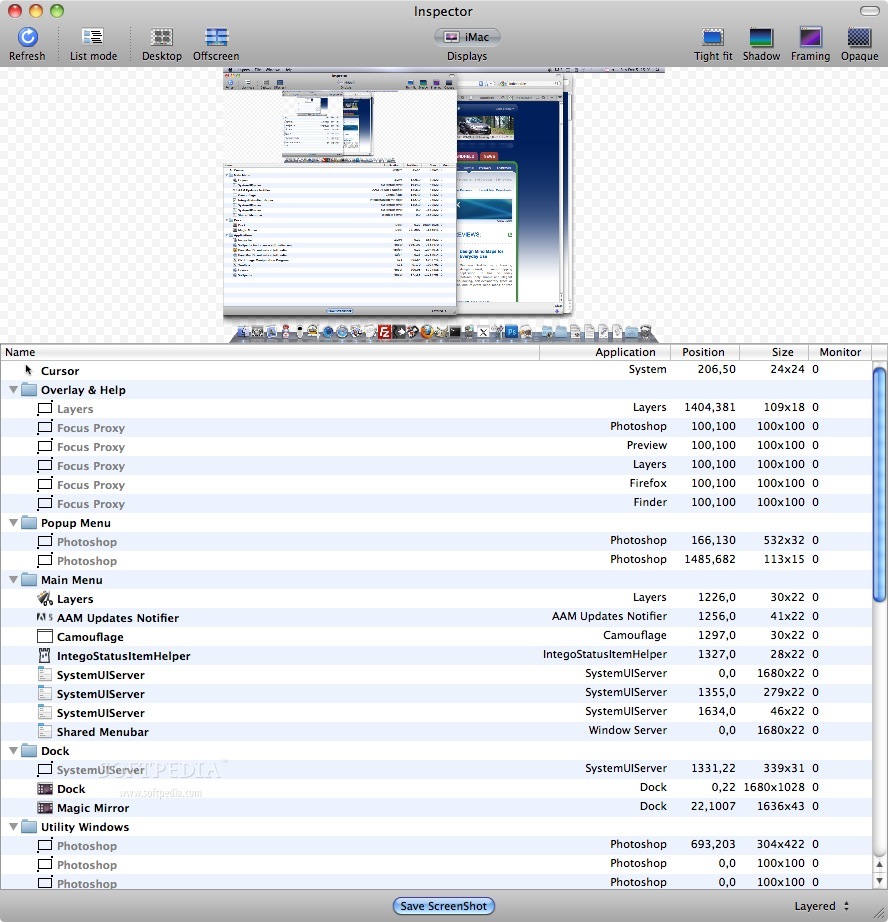
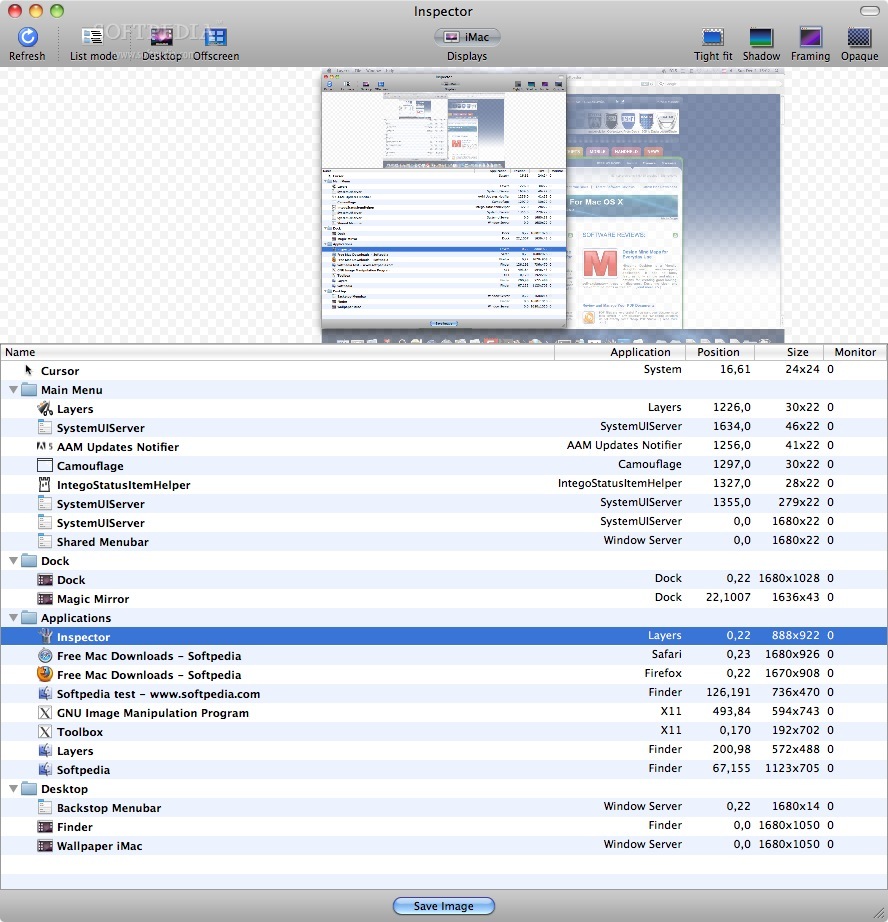
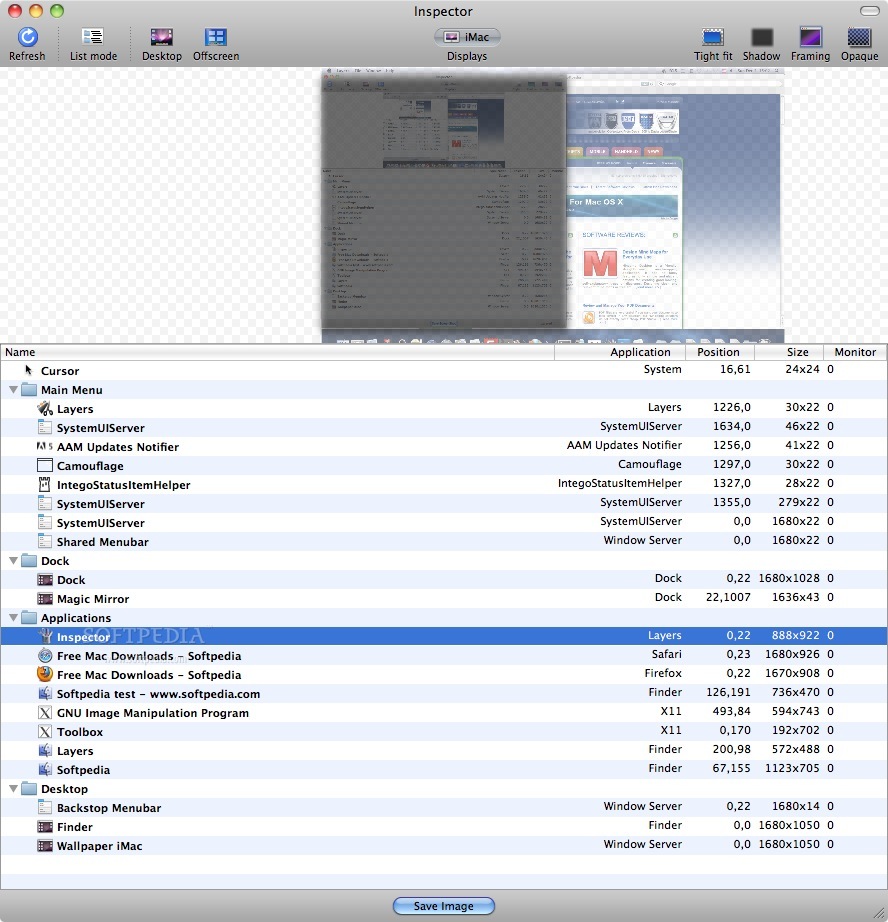
The layered screenshots can be opened in Adobe Photoshop where you can simply start processing, but Layers also allows you to make some adjustments to the initial result through its Inspector window.
Probably the most useful feature provided by the Inspector window, at least if you have multiple displays, is the possibility to choose the display you want to work with. If you only use one display the Inspector can be successfully used to choose exactly which element you want present in your screenshot.
The bad news is that there are no custom sorting or non consecutive selection possibilities so if you choose to make multiple selections you might also need to include indesirable elements. Although it seems to be an attempt to provide this option in the list view, I did not figured out how to make it work.
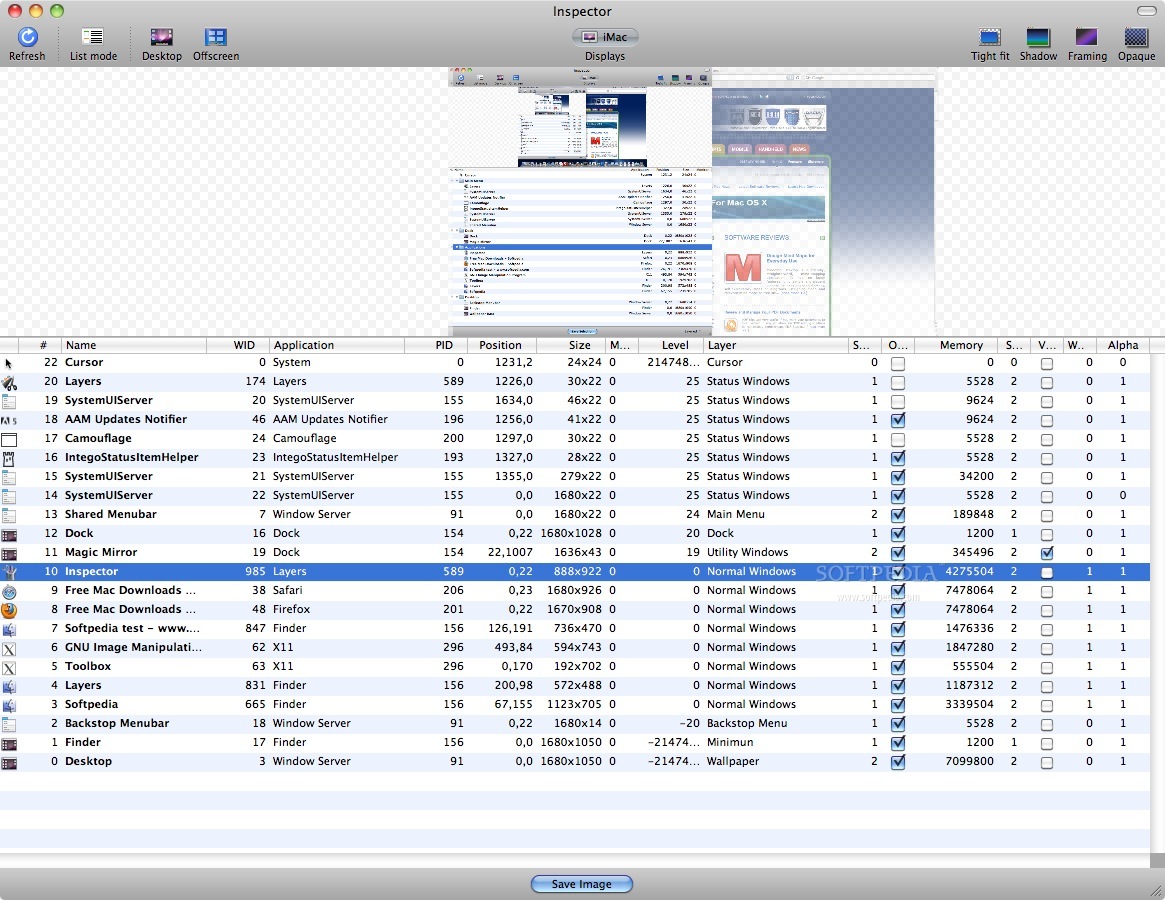
The Inspector window is split in two important areas: on top you can preview the currently selected elements while on the bottom you can see the complete list of items present on your desktop. If you are not satisfied with you current work just hit refresh and you can start all over again. The buttons bar present on the top of the window also provides several useful features.
For example, push the Desktop button to show or hide the desktop wallpaper and icons. The Offscreen does not have a particular function: it just shows the auxiliary windows that appear on your desktop even if there is no data contained.
Further, the Tight fit option allows you to modify the screenshot size to the size of the current window (when off it will have the desktop size) while the Shadows button allows you to only capture the shadow of a certain window.
Using the Framing feature you can capture a window with or without its frame but you can also choose if the opacity settings will be kept in case of transparent windows (when the Opaque button is active the windows will be captured fully opaque).
Each time a certain element or group of elements is selected, Layers will zoom in to them in the preview area of the Inspector window, and once you are satisfied just press the Save Screenshot button on the bottom, after you set the image kind through the drop down menu present on the bottom right corner.
The Good
The same observation applies to the way in which Layers allows the user to interact with less visible elements like frames or shadows.
The Bad
In the end, if you are working with Adobe Photoshop and you are willing to buy an application like Layers, you obviously want to use it at a professional level, hence taking the time to decipher the application behavior in each situation might get a bit annoying.
The Truth
Here are some snapshots of the application in action: