14 DAY TRIAL //
 The loss of any device brings up a rather unsettling issue: your personal data and even important projects are on the loose for anyone to see. MacFort allows you to store you files in encrypted vaults in order to add an extra layer of security.
MacFort is designed to act as a buffer between your personal files, such as your iPhoto library or your chat logs, and any unauthorized access to your Mac. The data will not only be password protected, but also encrypted using the 128-bit AES or the 256-bit AES algorithms.
MacFort is able to achieve this by creating vaults that can only be mounted if the user manually inputs the password every time and in all cases, at least in theory. To be efficient, the MacFort passwords must not be included in your keychain.
Fair enough, you do not have the possibility to add vault passwords to the keychain via the MacFort interface. The option is present, though, when you open the vault file directly. The problem, as I see it, is the fact that the MacFort disk images can be mounted without having to interact with the application, leaving room for human error.
The Looks
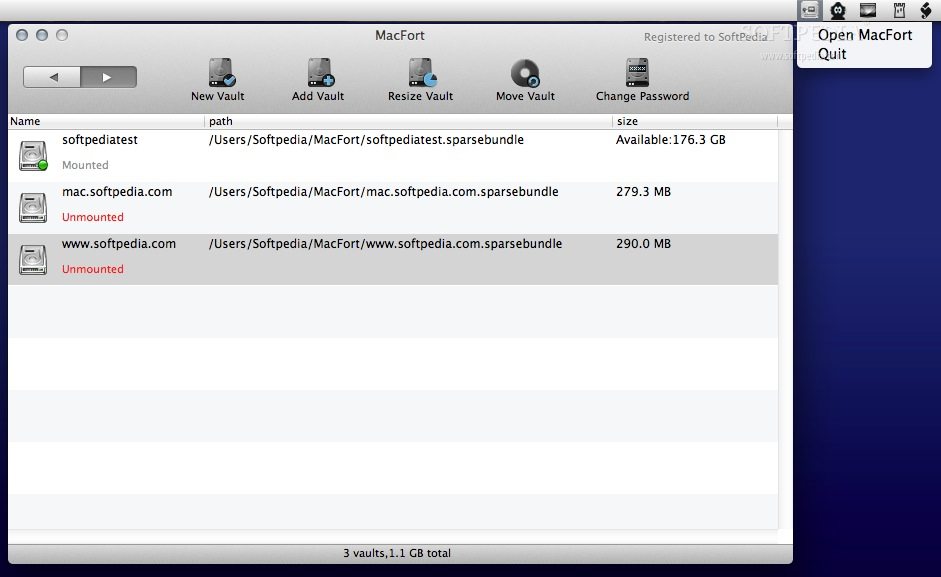
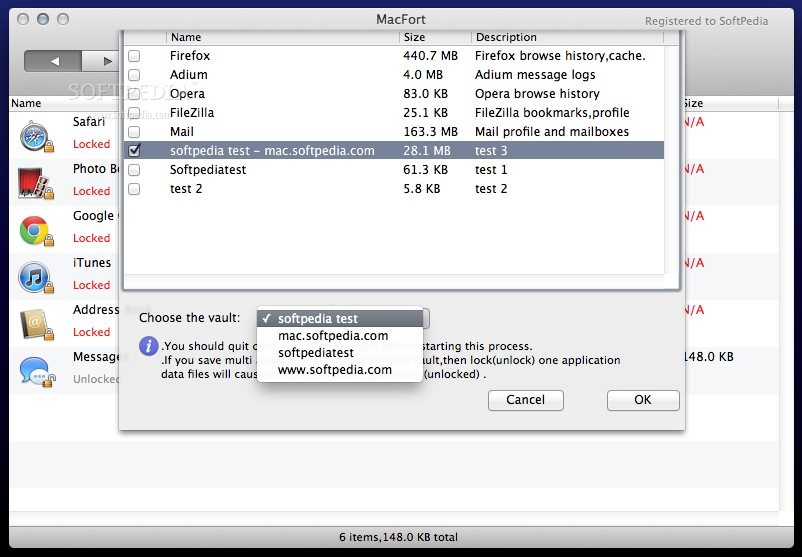
MacFort is focusing on two elements: the vaults and the data that is stored in them. This is made obvious by the way in which the main window is organized: two buttons located in the top left corner allow you to quickly switch between the Bundles and the Encrypted Data Files panels.
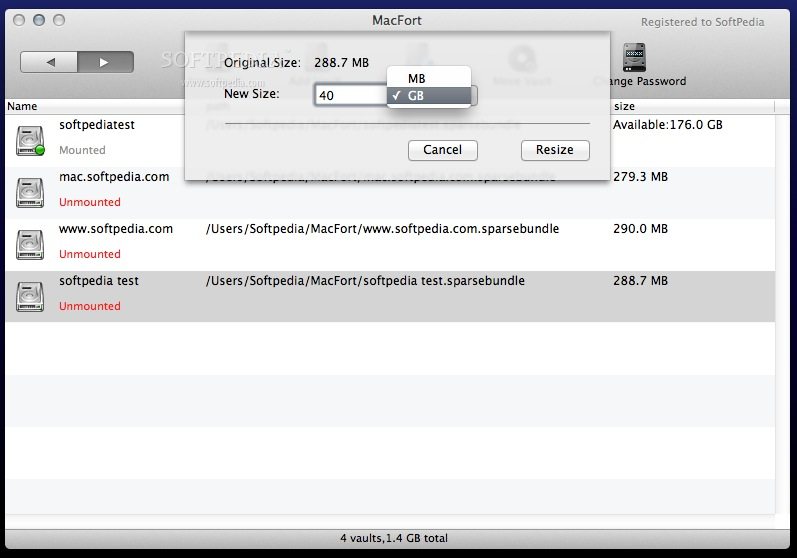
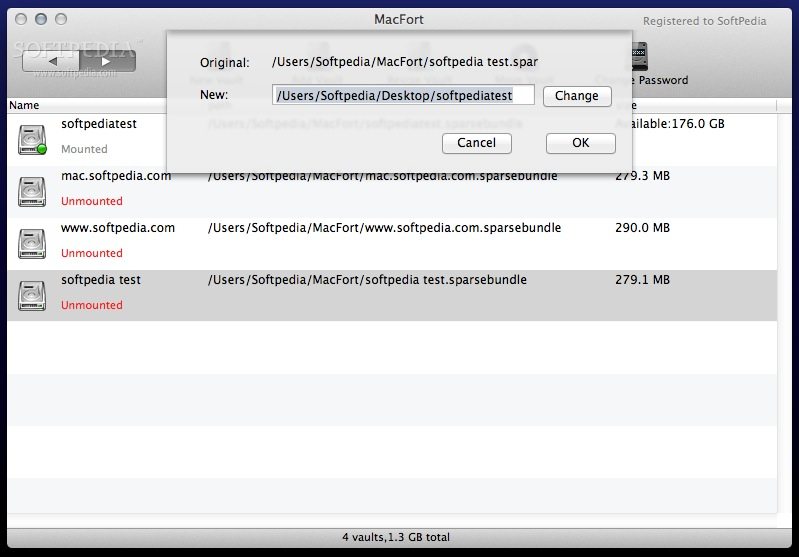
Each panel comes with basic management tools, attuned to their purpose: the Bundles panel is the place to create, import, resize or move vaults, while the Encrypted Data Management panel allows you to quickly encode or decode files.
The simplistic interface does not reveal much on first encounter, so, if you think the guidance messages are not enough, you might want to explore the online resources to learn what MacFort can do.
The Works
The MacFort installer will add two new components to your system: the actual application and a MacFort Helper App that will stay in your status bar. The helper app comes into action when trying to open applications that have data stored in a MacFort vault: a Password Box will pop-up, letting you know which bundle you need to access. When the application is closed, the helper will automatically unmount the vault.
Keep in mind that, when quitting MacFort, the vaults’ status will be preserved. The good news is that you will be able to use the data stored in the bundles without keeping another application running. The downside is that you must remember to manually unmount them when you are done.
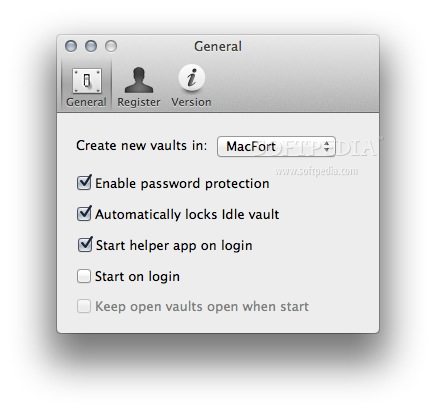
In any case, this state of things allows you to take advantage of the “Keep open vaults open when start” feature in combination with the “Start on login” option. The result is an optimized workflow: MacFort will ask on its own for all the required passwords and you will be up and running in no time.
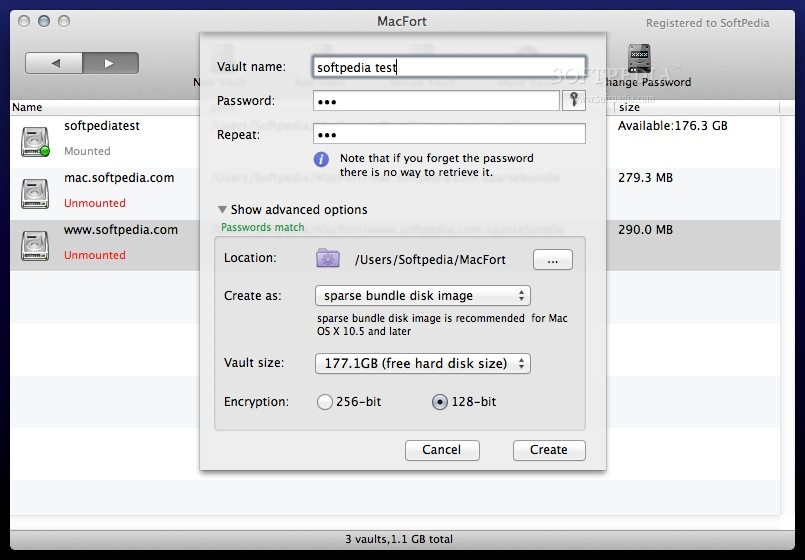
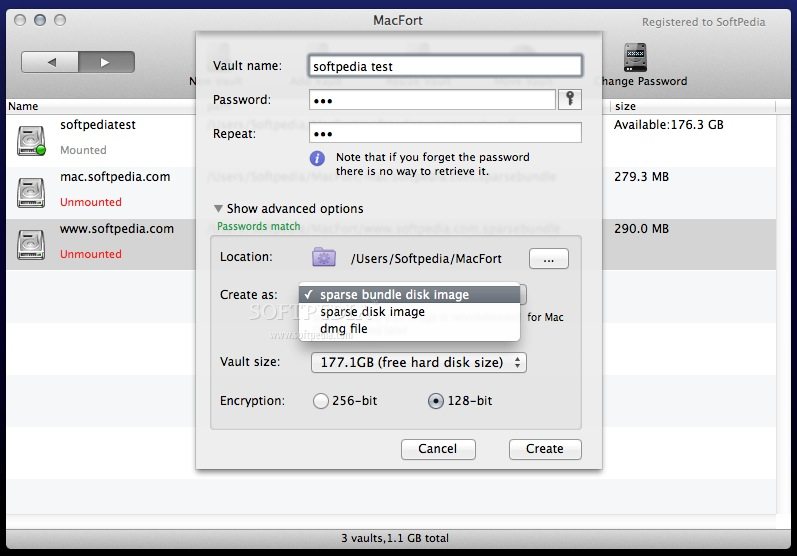
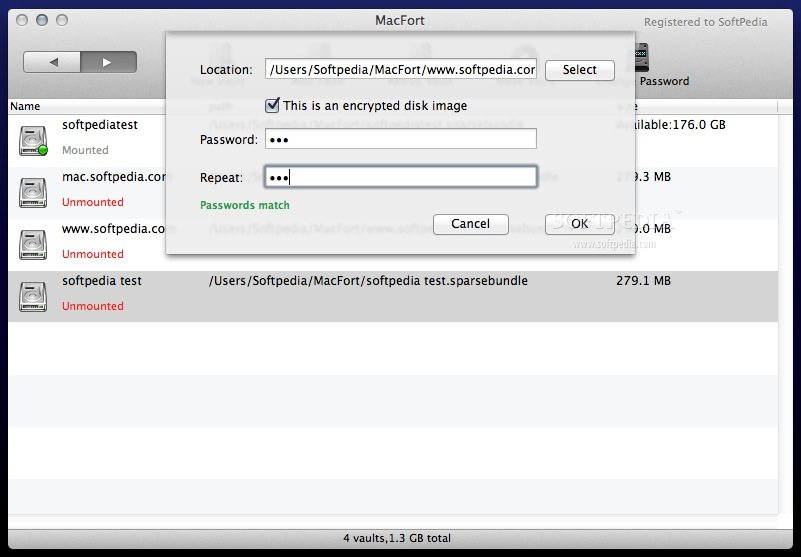
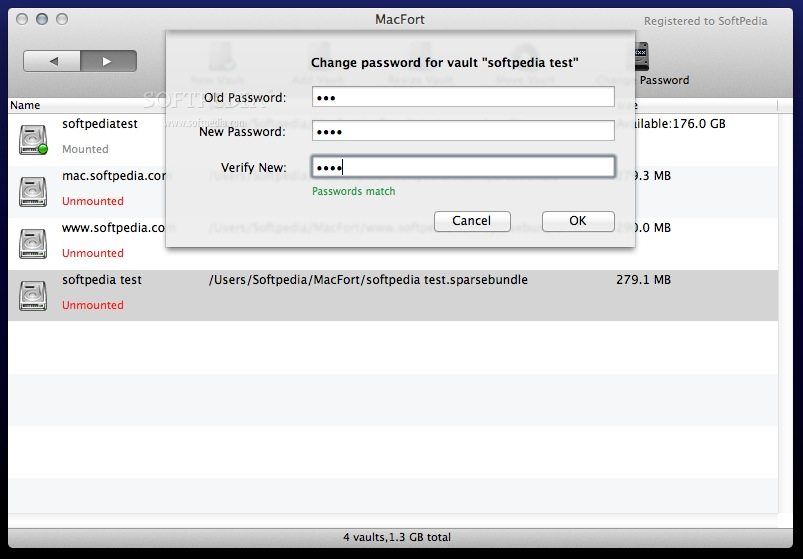
To get things started you must set up at least one vault: start by giving it a name and a password (you can use the built-in generator but take into account that there is no way to retrieve a lost password). The Advanced panel offers you the possibility to change the default output location and set up the vault format (sparse bundle disk image, sparse disk image or DMG file), size and the encryption method.
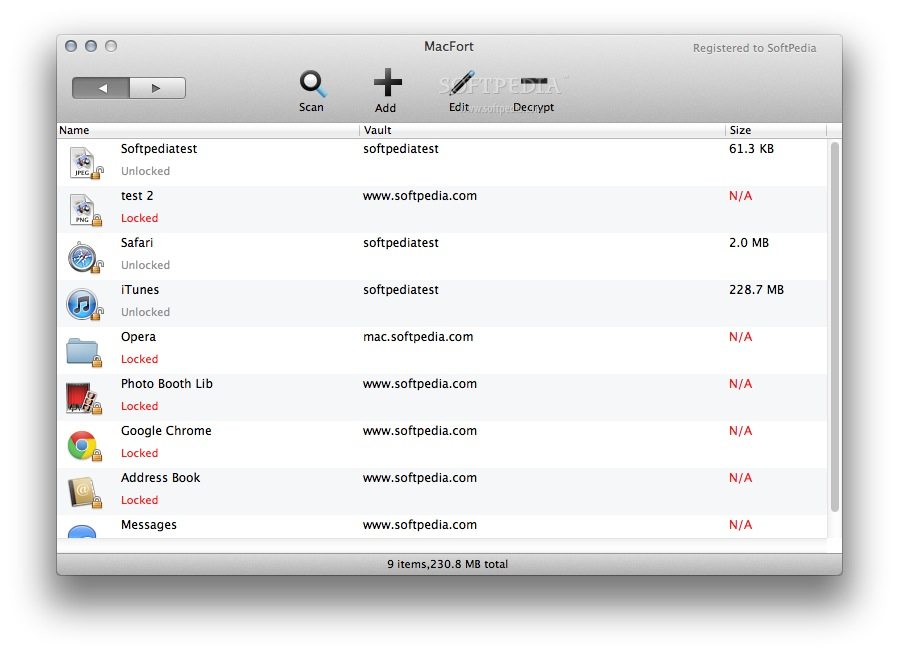
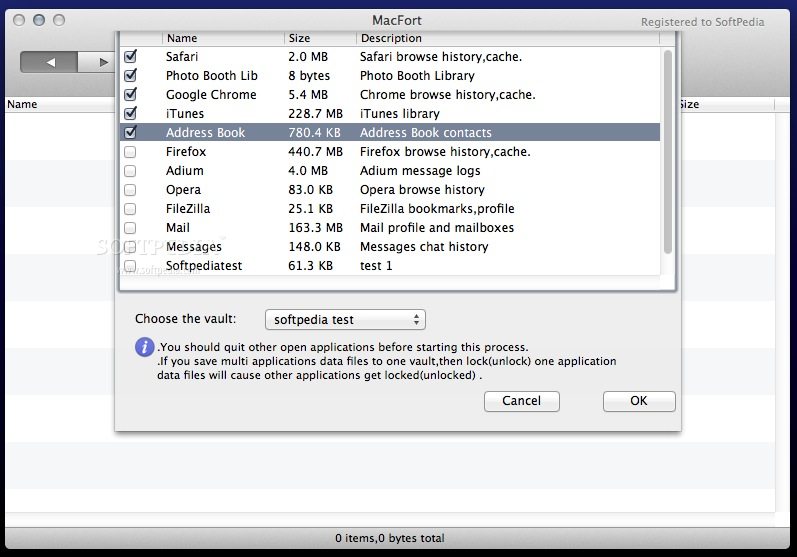
The next step is to access the Encrypted Data Management panel and press the Scan button, which is a very important part of MacFort’s functionality: it will launch a system analysis that will let you know which files should be protected.
The suggestions will feature the iPhoto library, the iPhoto Booth library, the iTunes library, your Address Book contacts and much more. The common denominator is the fact that these files might include data with a very personal character.
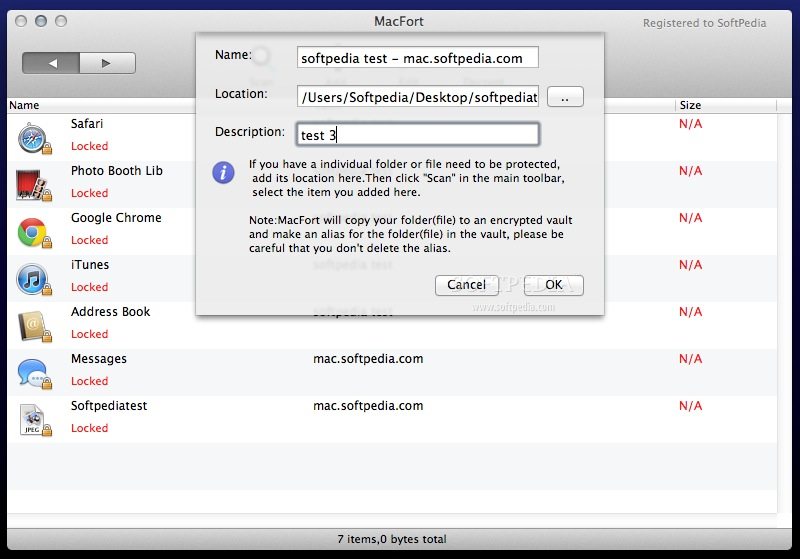
You can use the Add button to include specific files in the scan, so they can be stored in a vault and encrypted: you must set a name, the file path and a short description. By using the Edit function you can move files from a vault to the other, while the Decrypt button removes them completely from MacFort.
MacFort will encrypt and place the original documents in the virtual disk image: the source file will be replaced by a link that redirects to the vault. This way, the data will be available only when the vault is mounted.
Note that in the case of user-specified files, MacFort does not react if you try to open the link and the bundle is not mounted: the error message will simply say that the original file has not been found.
MacFort provides detailed explanations that will prove useful until you learn your way around (you can check the “Do not show this again” box after that). The error messages are to the point and let you know exactly what you need to do.
In terms of performance, I believe MacFort rises to the challenge: locking and unlocking vaults takes seconds. The app uses about 30MB of RAM constantly and during testing it did not require more than 10% of the processor, even during encryption.
Of course, the initial encoding needs more time: still, 2.7 GB of data, scattered in over 1600 files, have been encrypted in less than 5 minutes. On a side note, the files you want to protect must not be used by another application before launching the encoding process: as the developers put it, it can lead to “unpredictable results”.
The Good
MacFort comes with basic yet powerful data / vault management tools and features a logic and intuitive workflow. The MacFort Helper app is also extremely useful if you need to access encrypted data used by certain applications.
The Bad
The MacFort Helper app also creates certain inconveniences. First of all, it does not identify the vault that needs to be mounted in the case of user-defined files, which means that there is yet another thing the user needs to remember. A smaller issue is the fact that the status bar menu icon cannot be hidden, although its presence is not essential.
The Truth
Here are some snapshots of the application in action: