14 DAY TRIAL //
 In everything we do need to plan things thoroughly if we want to get the best results and also to respect deadlines. In the ideal case, every planning phase should begin with a brainstorming session and continue with a summarization of the good ideas. Deciding which course of action is the best might not be always a kid's play and, sometimes, it could require a lot of hours of work and lots of experience to elaborate good plans. OmniOutliner helps you put your thoughts in order and organize ideas easily, in a hierarchical manner.
Modern project management tools provide you with all sorts of tools for elaborating business plans. They come with a suite of utilities that, in most cases, results in a total waste of your time instead of actually helping you get more organized.
OmniOutliner aims to be a bit different and instead of focusing on a wide palette of tools, it suggests that any business plan can be elaborated as a bulleted list. Being built on this principle, OmniOutliner provides you with a very simple interface (that looks more like a plain notepad editor in which you can insert bulleted lists, rather than like a sophisticated project management application) and focuses more on the customization and exporting options.
In a nutshell, OmniOutliner shows you how you can plan your projects up to the finest details with some basic editing tools.
The Looks
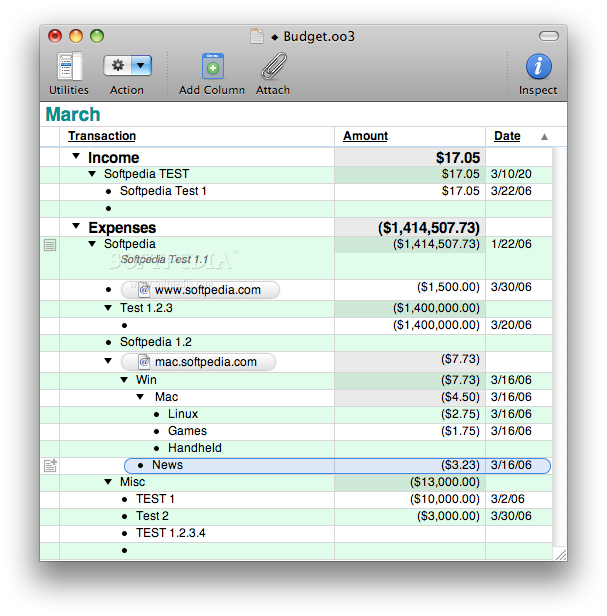
When you first launch OmniOutliner, you will see a blank page with a toolbar on the top of the window. To be more exact, the main page is not totally blank. It includes a bulleted, a customizable row that aims to intuitively show you how you can create tasks hierarchies.
The toolbar will only display the button needed to get started. The first one is called Utilities and, when clicked, it opens a left sidebar that on one side lets you filter the items displayed in the main window using keywords, and on the other side it provides you with an overview of the topics (columns) allowing you to focus on any of them with a click of the mouse.
Furthermore, the Toolbar includes an Action pop-up menu that modifies its content in accordance to the items selected in the main page. For instance, when you select a whole column and press the Action button, you will see in its pop-up menu options for choosing the column or the summary type, as well as options for sorting the elements by different criteria.
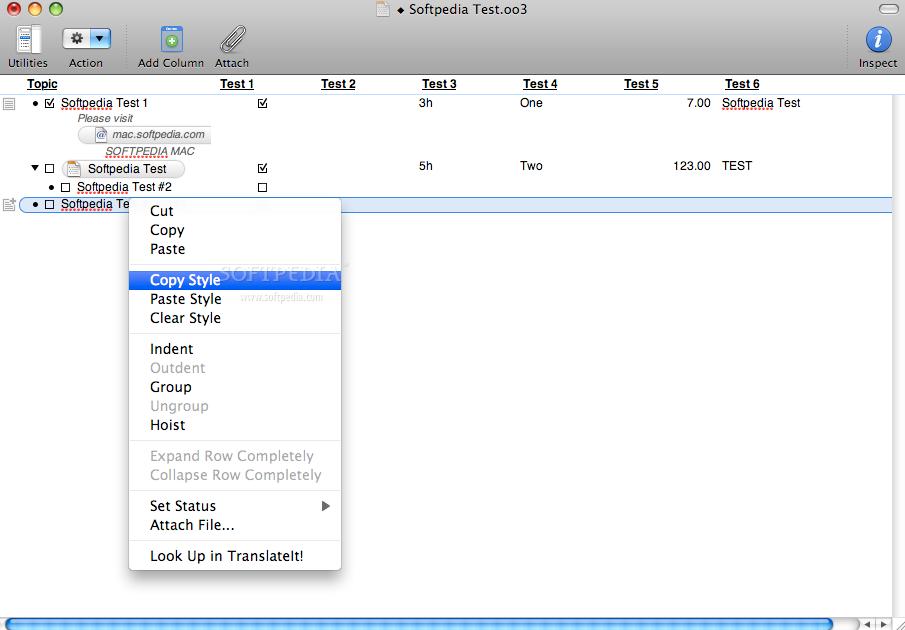
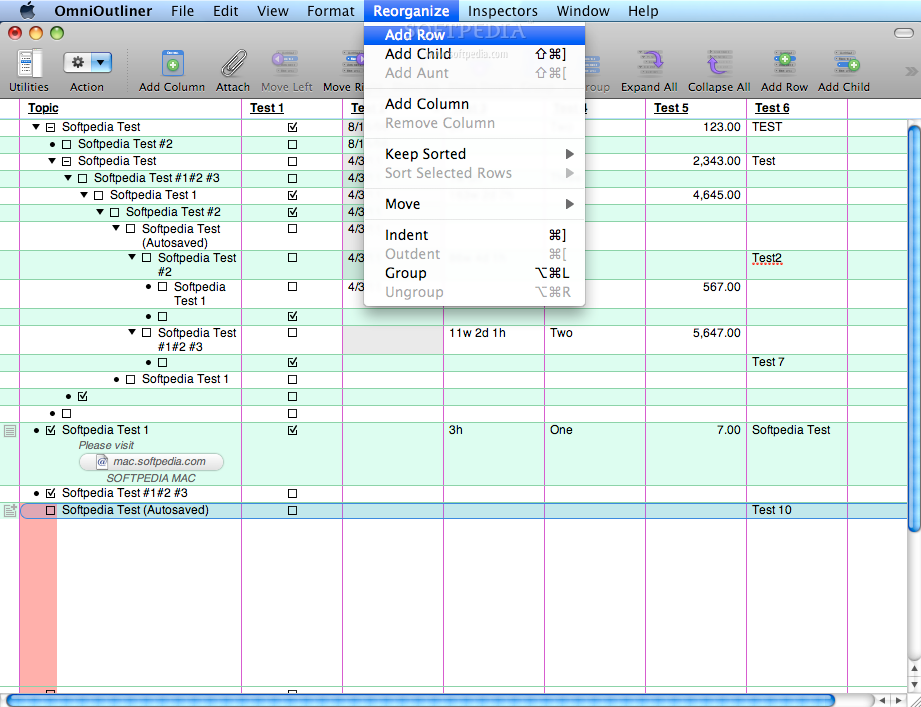
When you select an entire row, the Action pop-up menu will let you perform both editing actions (such as cut, copy, paste, copy style, etc.) and specific ones (group/ ungroup, hoist, expand/ collapse row, set status, attach file etc.).
Shortly, the Action pop-up menu simulates the behavior of the context menu for any selected item in OmniOutliner's main window.
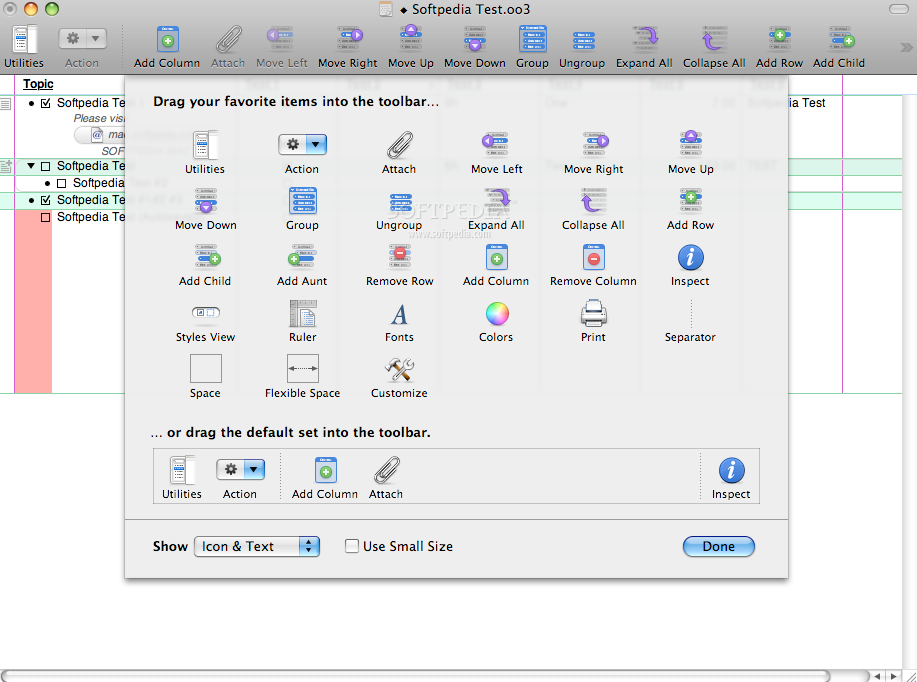
The toolbar also includes buttons for adding a new column or an attachment. To add new toolbar controls, you can use the Customize Toolbar option from the View or the item's context menu.
Here is a short list with some of the items that can be added in the toolbar: Move Left/ Right/ Up/ Down, Group/ Ungroup, Expand/ Collapse All, Add or Remove Row/ Child/Aunt, etc. The good thing about the toolbar is that, in case you want to add more items than it can normally display, it adds an arrow button on its right-most corner that, when clicked, opens a pop-up menu with the buttons that couldn't be displayed horizontally.
The Works
The OmniOutliner's aim is to help you organize ideas with ease. Keeping this in mind, the developers have tried to develop a user-friendly project management app, with a very simple and intuitive interface. As a result, no matter how many items you want to include in your projects, the app's main window will always display a nested items table, which looks like a notepad page in which you can insert rows and columns of content.
To get started, you can type in a name in the text field displayed by default on the app's main page. This outline item has a checkbox attached to it, as well as a plus symbol on its left side. The checkbox lets you mark a task as completed and the plus symbol enables you to add new related tasks to the current one.
You can do the same thing by using the toolbar buttons. Moreover, you can specify the relationship between any two outlined items, by using the specialized toolbar items (Add Child, Add Aunt). Also, you can a attach files to any selected item by using the toolbar Attach button or the Attach File option in the item's context menu.
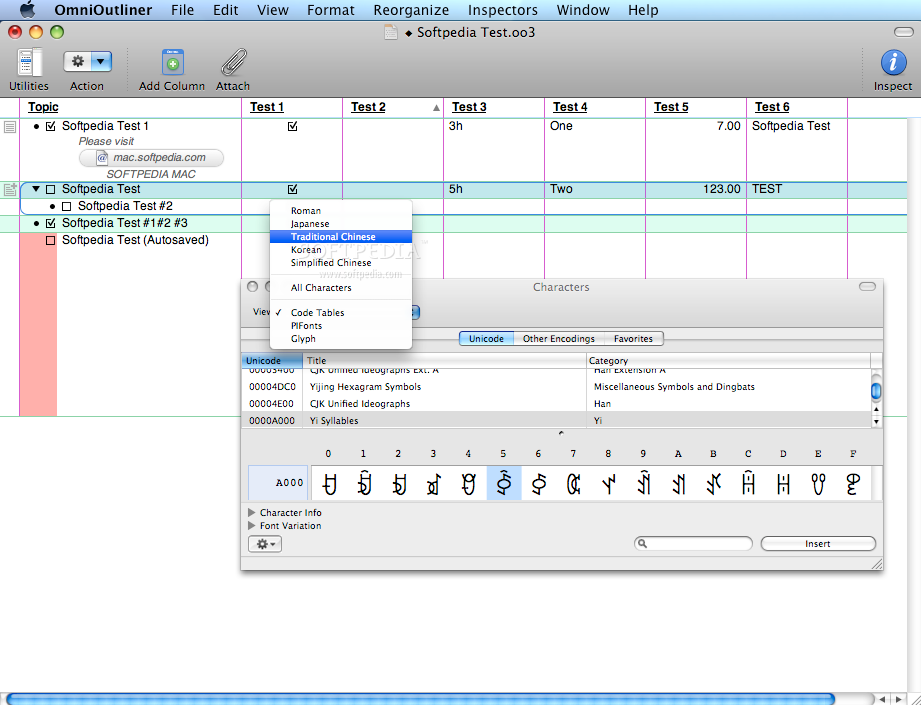
Furthermore, OmniOutliner lets you add a number of topics to the newly created outline items. This can be done by adding new columns in the outline item's table. You can choose any of the following column types: checkbox, date, duration, pop-up list, number and rich text. Each type has a specific format and you have to keep this in mind when trying to fill in values into the cells.
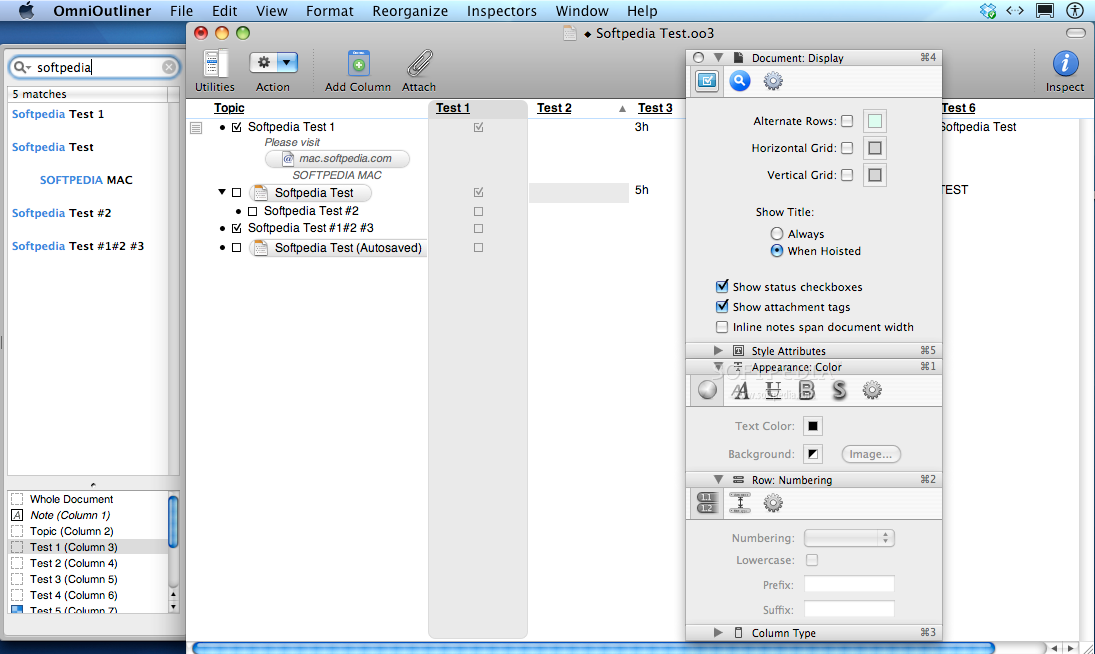
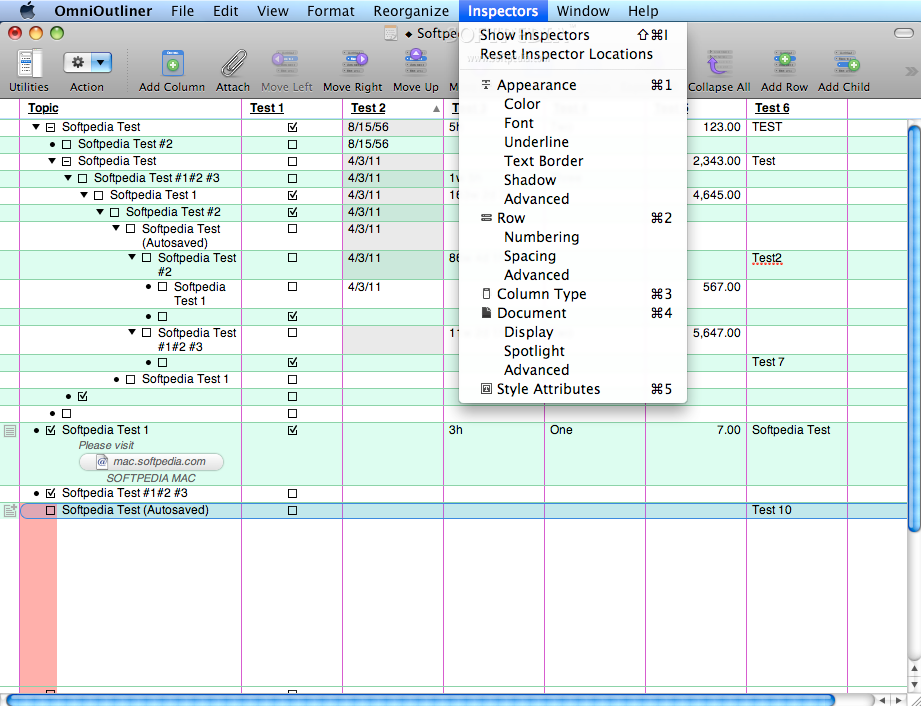
In case you want to further personalize the outline items table, you can open the Inspectors. There is an Inspector for customizing the appearance, one for adjusting the row parameters, one for setting the column types, one for specifying the style attributes and, finally, one for batch modifying a whole document.
The Appearance Inspector lets you choose your favorite color for delimitating the rows, columns and also for opening or hiding titles, checkboxes, attachment tags, etc.
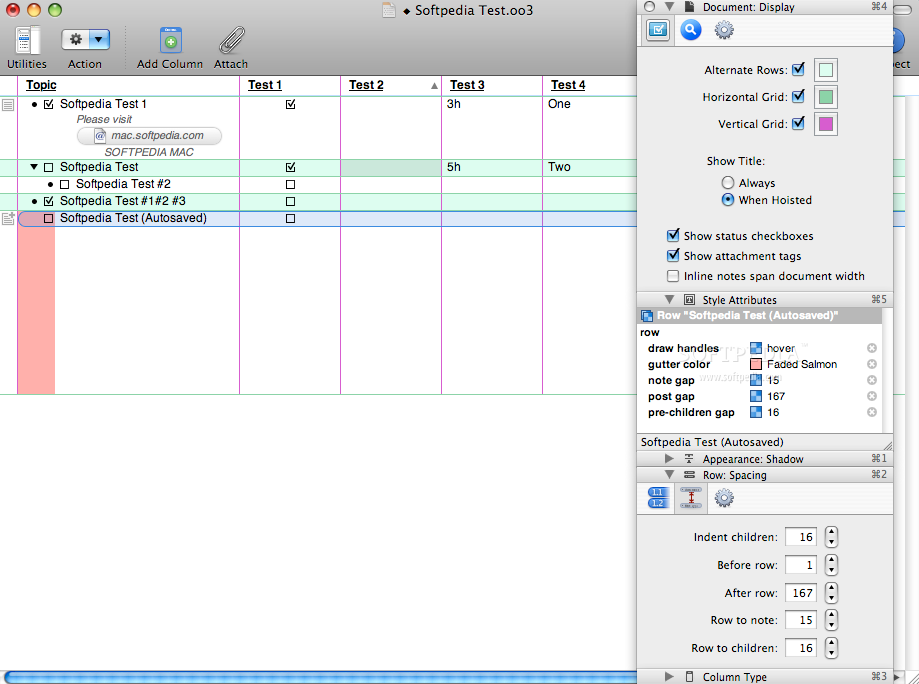
The Row Inspector enables you to specify the row numbering type (legal, letters, numeric, etc.), the indentation level (the maximum value for indent children) and the sorting methods you want to use for visually delimitating the outline items (such as the Gutter color).
The Style Attributes Inspector shows you all the styles applied to the current selection and the Column Type Inspector displays, on one side, a summary of the current column types and, on the other side, it gives you the possibility to choose the conversion types.
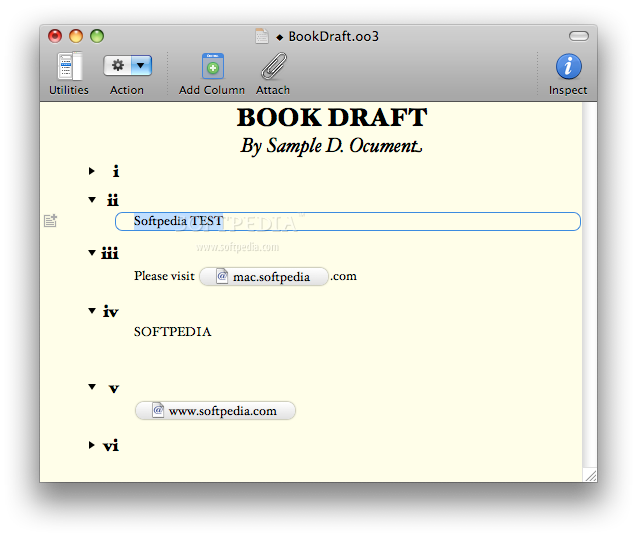
In conclusion, if you have the time and patience to modify the appearance and functionality of the outlined items, you have plenty of options to do that. If you are still not pleased with the results, you can use one of the OmniOutliner's templates. You can choose any of the following templates: Book Draft, Budget, Class Note and To-Do List.
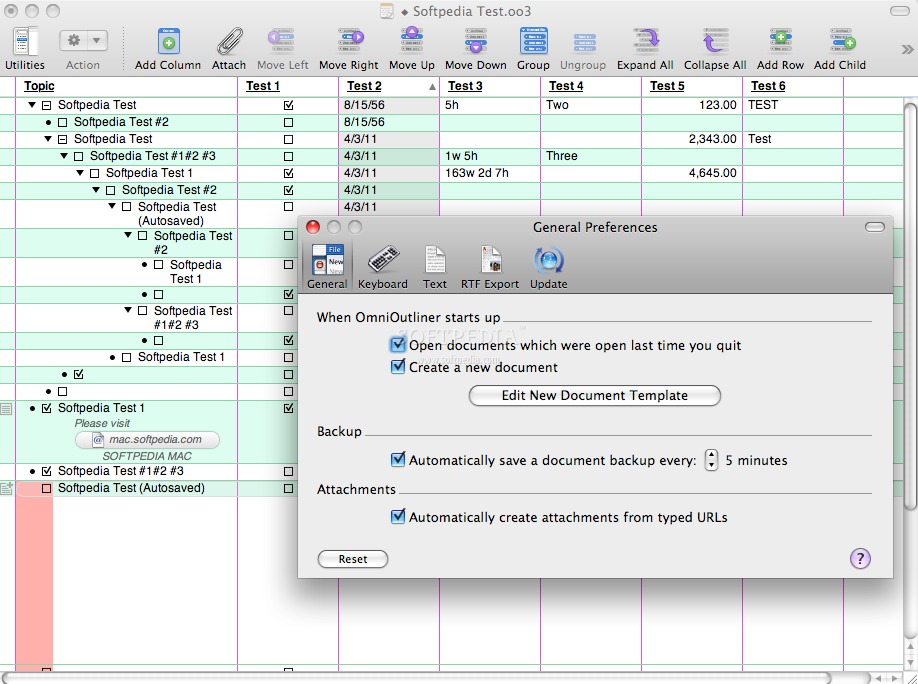
The Preferences windows let you customize the app's behavior. To be more precise, in the General tab you can set OmniOutliner to open the last edited document at launch time. This means that next time you open the app, you will see the outlined items table as you left it last time you quit OmniOutliner and not the default blank page.
Also, in the Preferences tab you can open a page from where you can define your own templates. All the changes that you save in this template will be displayed in each new OmniOutliner table that you create.
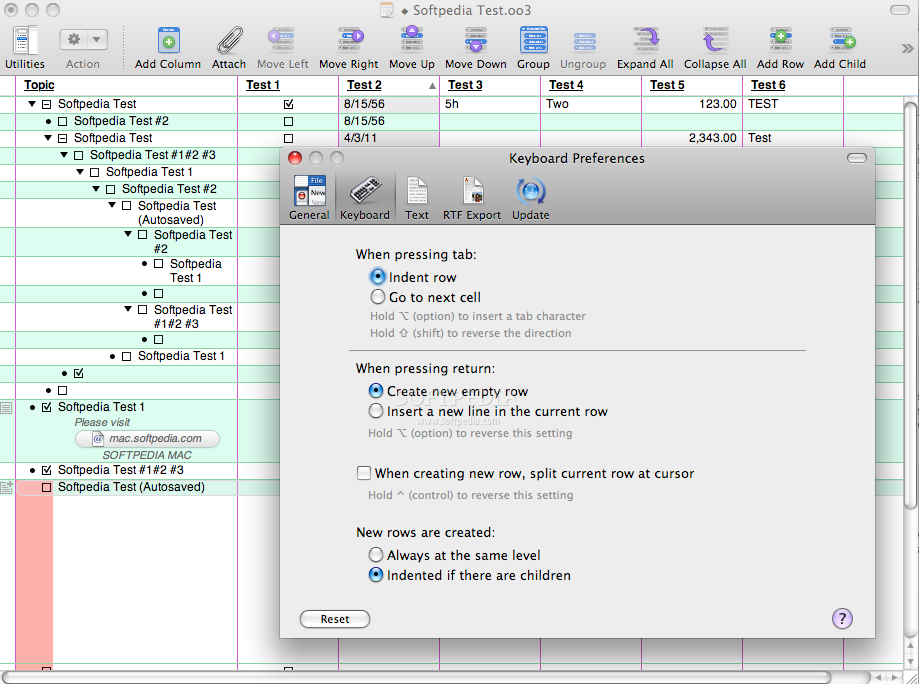
The Keyboard preferences let you define the actions to be taken when users press certain keys. For instance, OmniOutliner can be set to indent a row or to move to the next column when the Tab key is pressed.
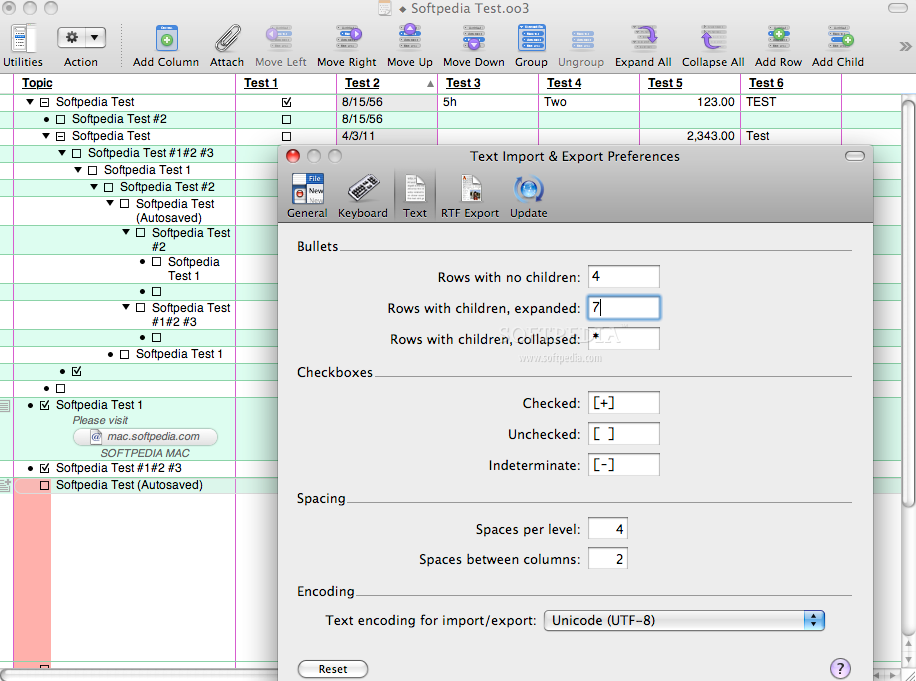
The Text tab enables you to define the characters to be used when exporting a document in plain text format. If you don't specify any, OmniOutliner will put in the exported files the exact values of the row handles or of the checkboxes, which could make the final documents difficult to read.
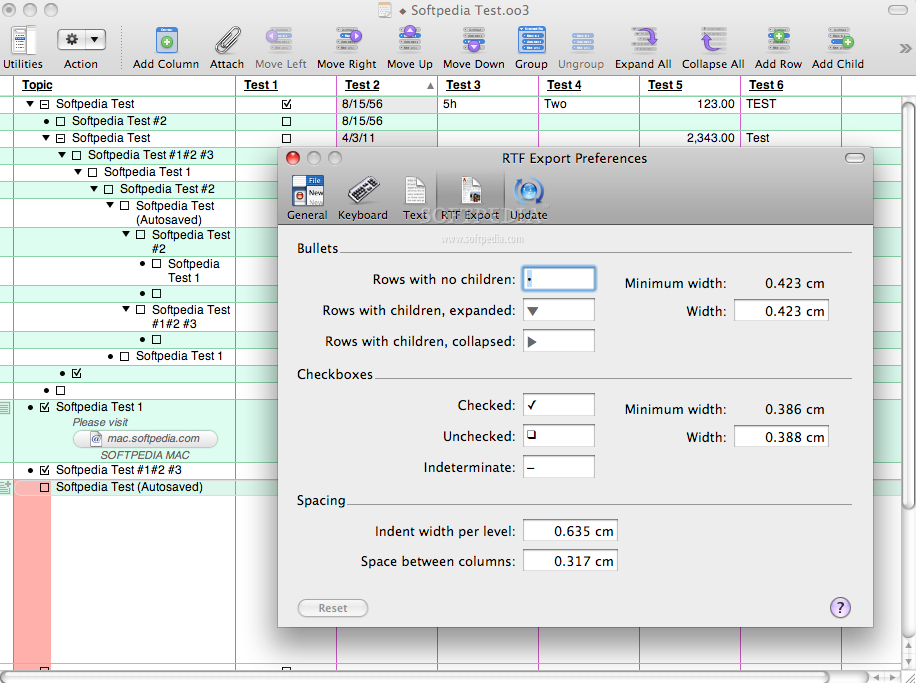
In case you export outlines to RTFs (rich text format), OmniOutliner can use Unicode characters for converting the row handles and the checkboxes. The RTF Export preferences tab allows you to type in the exact symbols that you want to use in such conversions. So, you have plenty of editing options at your disposal if you want to change the look and feel of the outlined items or to customize the way they will look like in a plain text or RTF format.
The Good
The Inspector's options let you change each task's appearance and characteristics in many different ways. For instance, you can change a task's color, font, style, text border, indentation level, numbering style, and much more. In the Preferences tabs you also have a lot of formatting options, which can help you export your project using a neat and tidy format.
The Bad
In return, it would be useful if OmniOutliner would let me analyze the outlined items table from different perspectives, by providing different view modes.
The Truth
Its drawback lays in the fact that it does not provide you any drawing options or the possibility to switch view modes.
Also, the purchasing price is quite high for such an unsophisticated app. The only OmniOutliner' sections that could justify the price (due to the developer's attention to details) are the Inspectors and the Preferences tabs. From my point of view, these sections are way too elaborated for an app that aims to stay simple and intuitive.