14 DAY TRIAL //
 Creating websites with WYSIWYG editors does not need to be boring. Nowadays, these kind of tools allow you to bring your own personal touch to every single pre-built element that you might want to add into your websites.
So, you do not need to be a professional web designer or to pay one to build a fully functional, nice-looking website. Moreover, even if you are quite a beginner when it comes to HTML and PHP programming you can still insert scripts and intricate pieces of code that you fully understand in your website’s source by using smart tools like Taco HTML Edit.
The important thing is to be aware that it is not time-efficient to build everything from the scratch. Tools like Taco can save your time and money and they can also generate clean and consistent code at the end of the designing phase, no matter how much you have played with its settings and customization options.
In other words, Taco HTML Edit, not only offers you a wide palette of already built HTML and PHP elements, but it also gives you the power of customizing them up to the smallest detail and it can generate, as a final result, a totally organized and valid code. The Looks
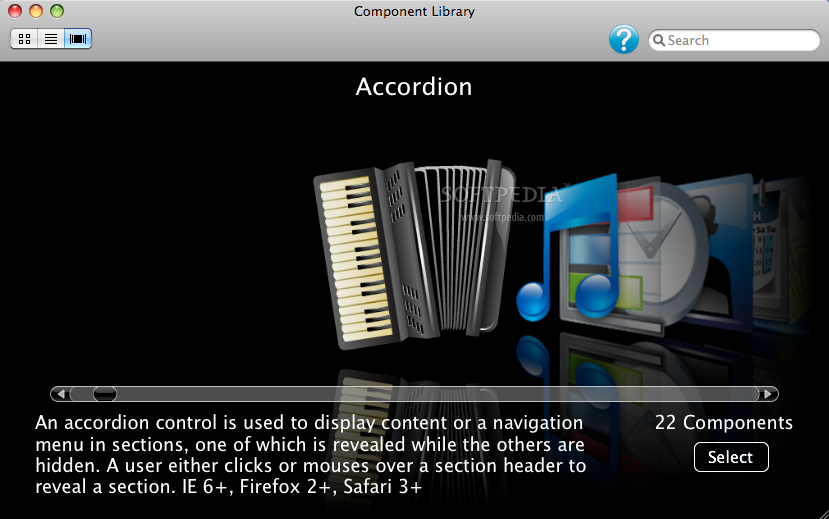
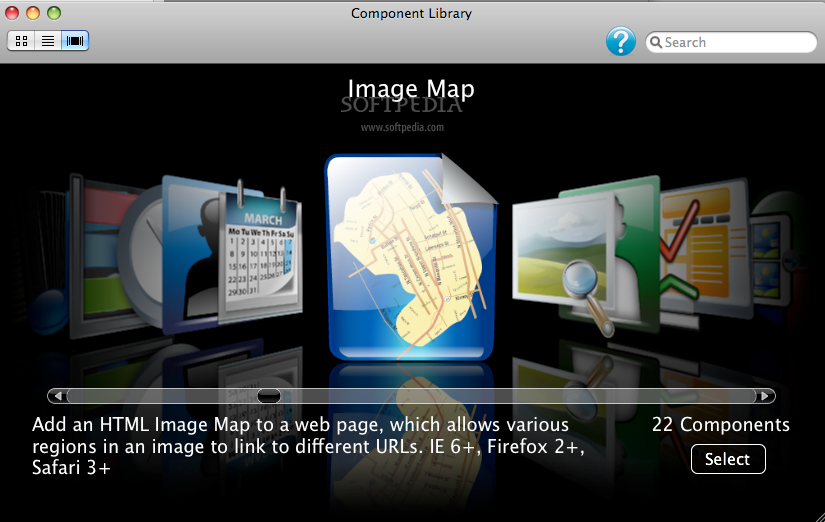
When you open Taco HTML Editor you will first see a nice scrolling menu, called the Components Library. Its role is to allow you to choose one or more of the 22 available HTML structures and to help you insert them into your webpages.
Every single component comes with a picture and a short summary of its purpose and compatibility with different types of browsers.
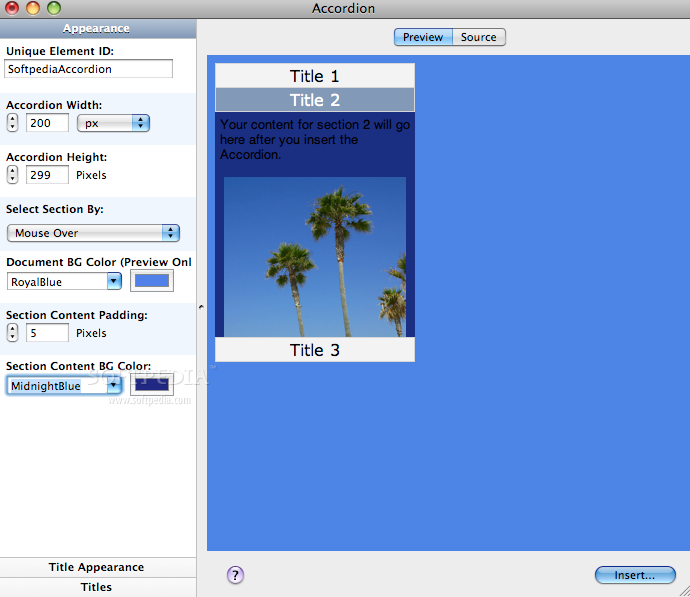
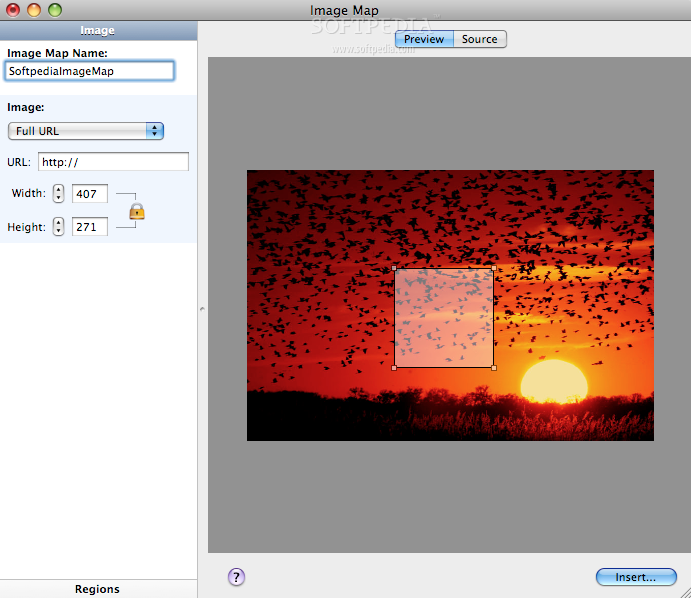
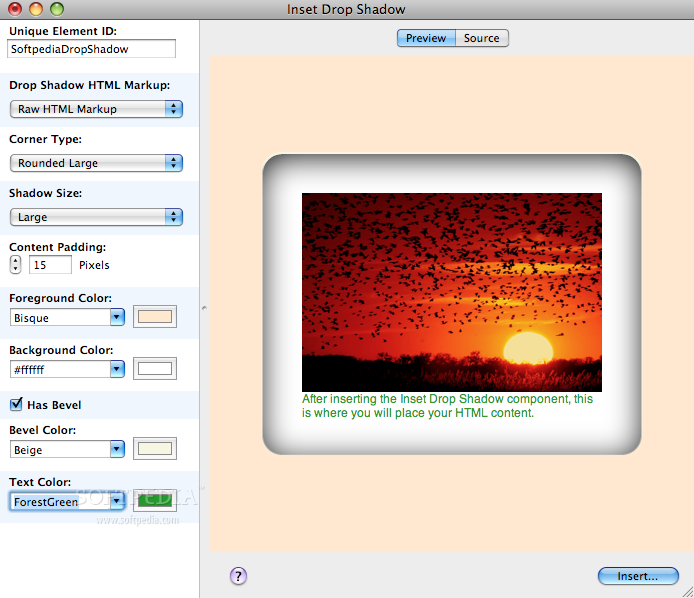
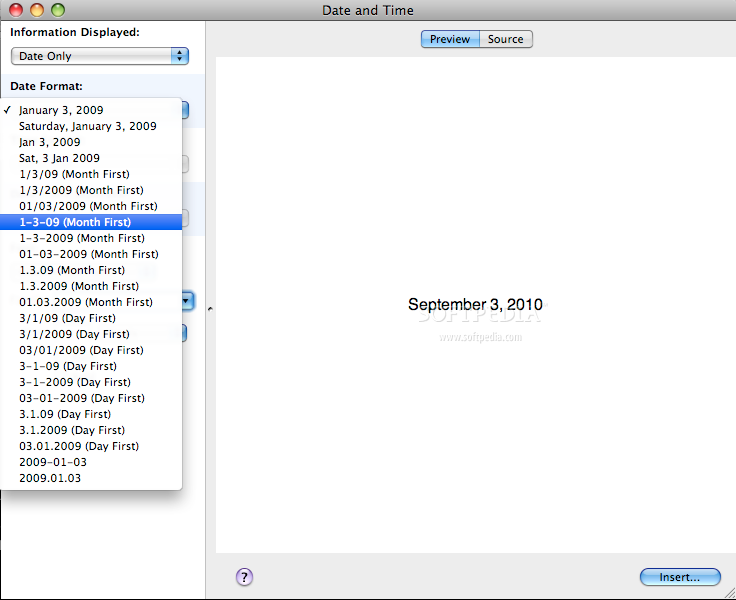
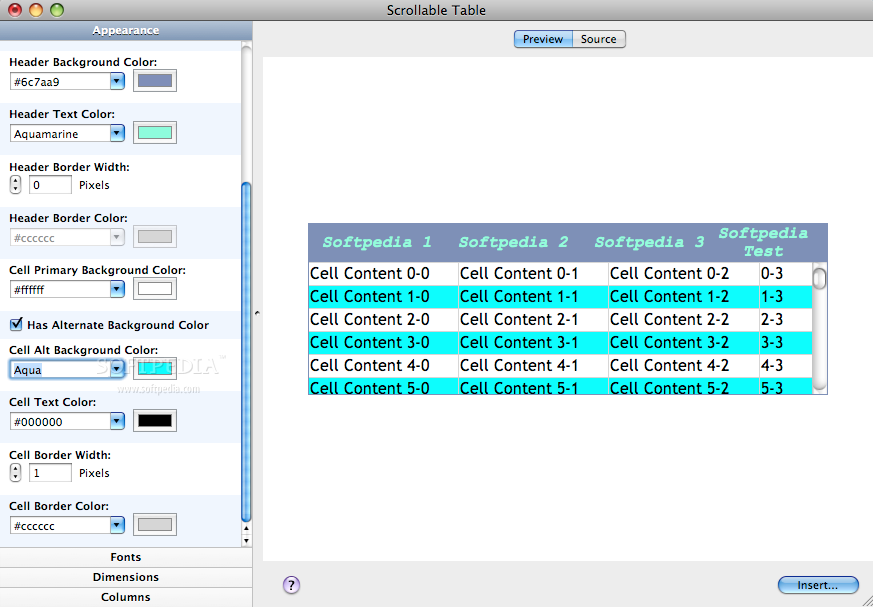
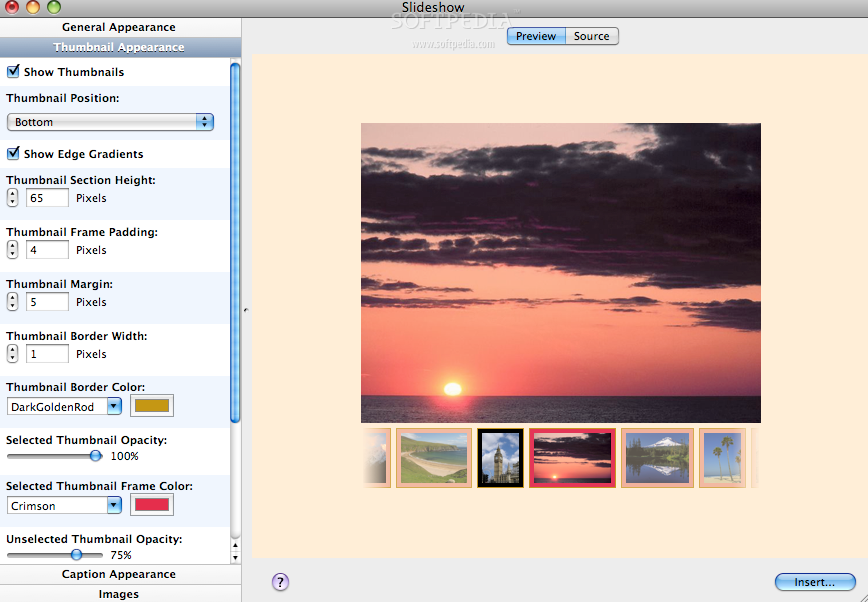
Once you have chosen an element you will be guided through the settings windows. In all these windows you will see on the left a bar with options for customizing the appearance of the selected element and, on the right, a preview of the respective element, that changes dynamically, in accordance with the changes that you make in the side bar.
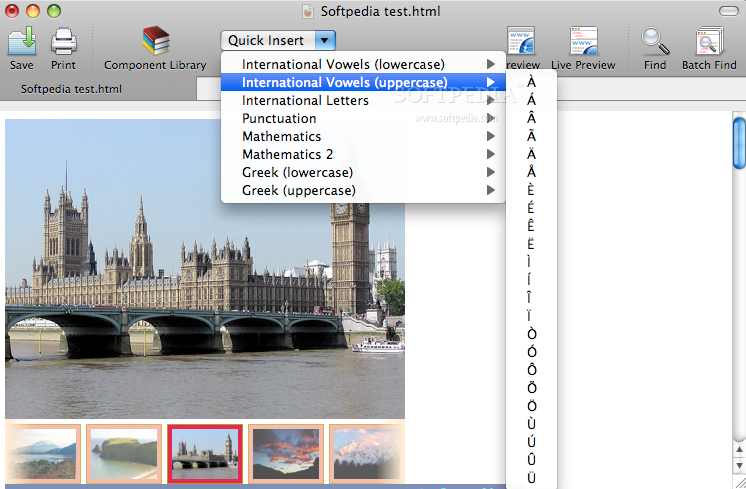
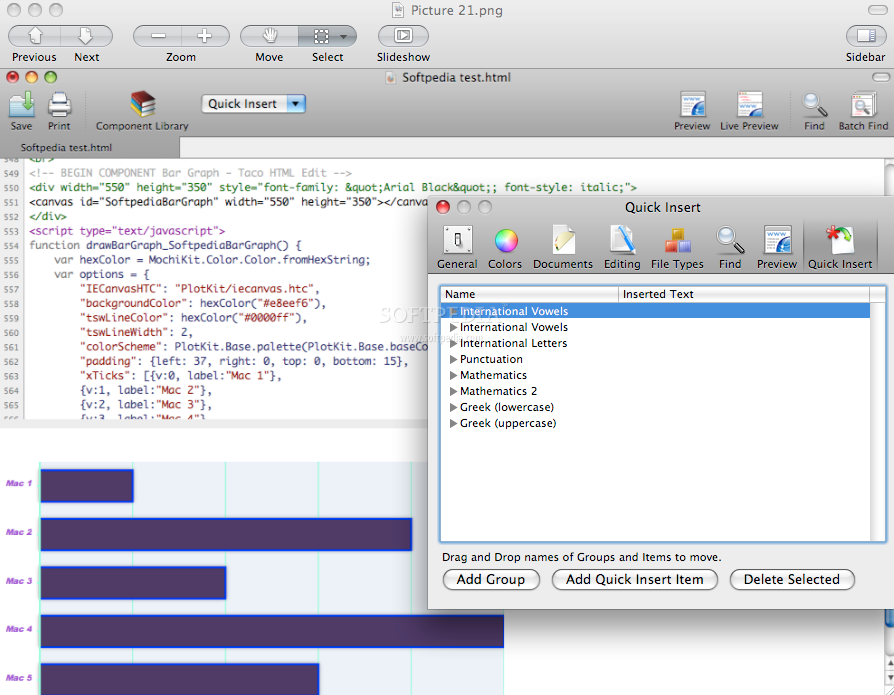
When you are done with the customization of the pre-built elements that you want to include into your website you can go to the application’s main window. Here you will see on the top of the window a toolbar with quick access buttons for saving your work, as well as for sending it to a printer. Also in the toolbar you will find a drop-down list with options for inserting all sorts of special characters into your webpages.
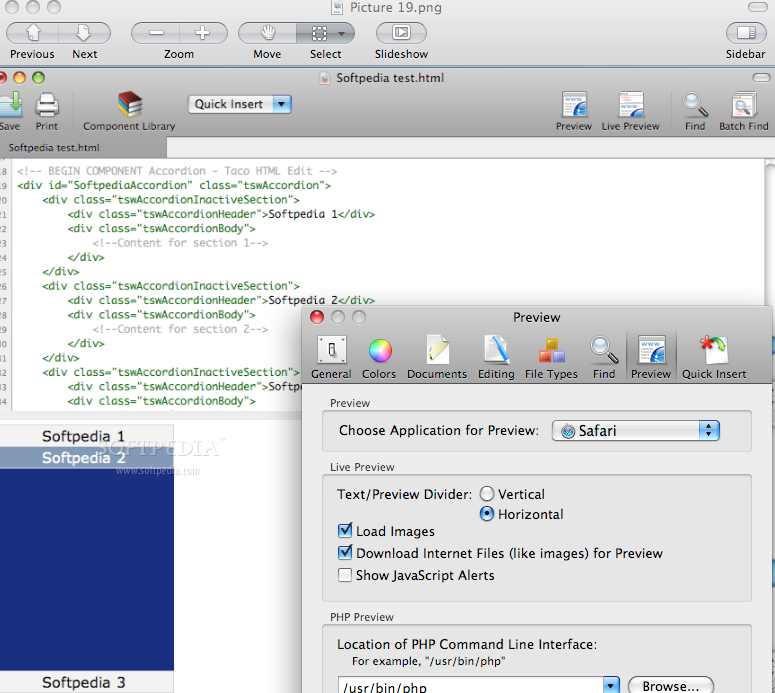
On the right side of the toolbar you will find buttons for previewing an element locally, in the main window or as it were included in an online webpage. Next to the previewing buttons you will see a batch find button that will help you perform searches in your documents by keywords.
Now, since we have summarized the options available in the main window and in the Component Library, let us direct our attention to the app's main menu.
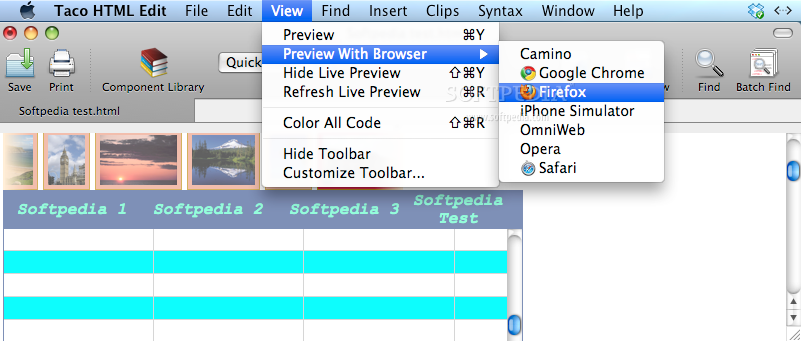
The View tab provides you an option for visualizing a draft webpage with different browsers, and one for changing the way a piece of code could be colored or highlighted.
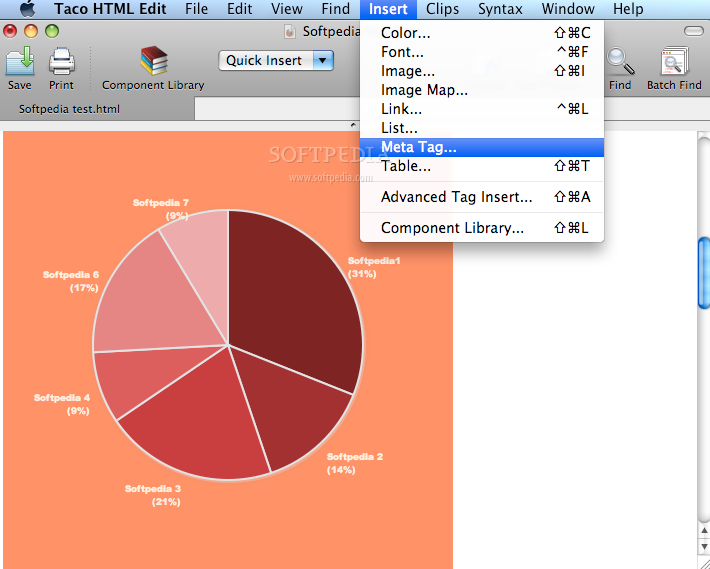
The Insert tab includes options for quickly modifying a color or a font and shortcuts for jumping to the pages of some of the elements that users use to include the most in their webpages: Image, Image Map, Link, List, and Table. In comparison with the Component Library this menu tab gives you the option to insert a meta tag in your code.
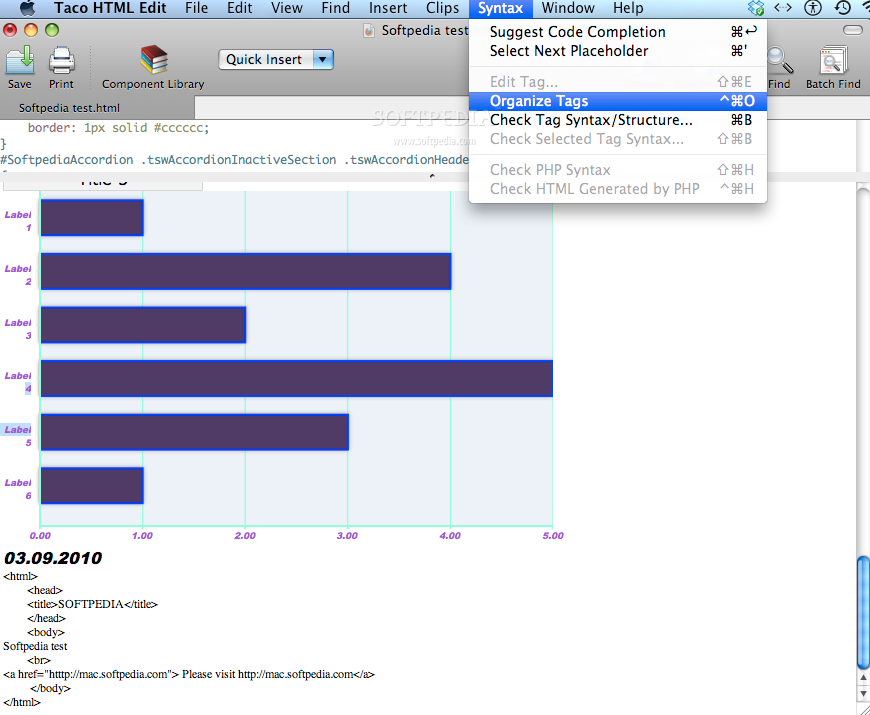
Finally, the Syntax tab gives you quick access to the code completion suggestions, as well as to the tags management and the syntax checking options.
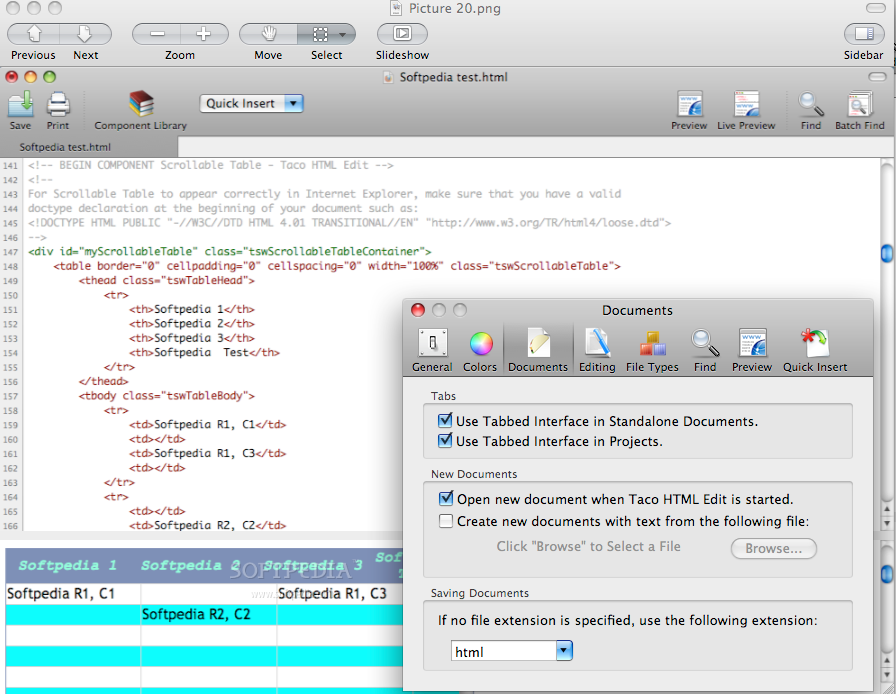
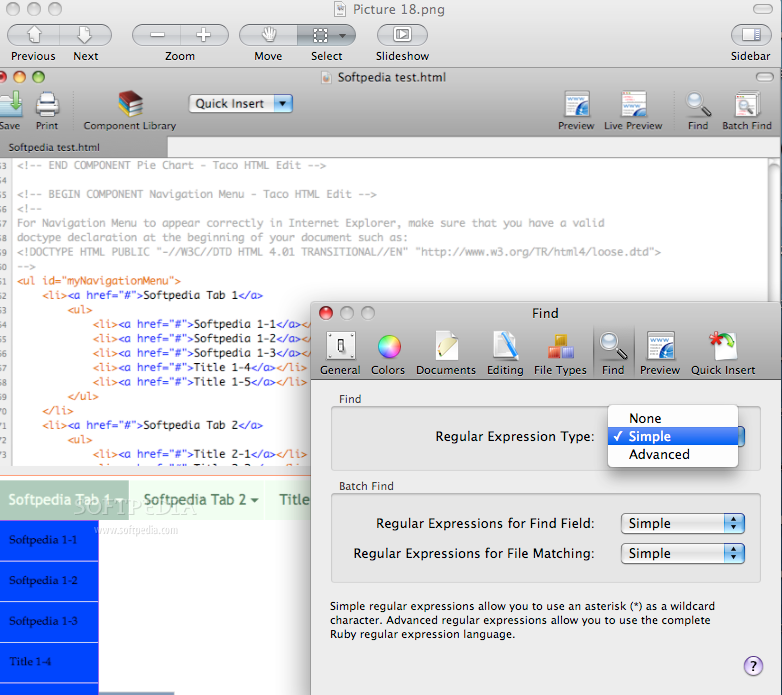
The Preferences windows allow you to insert texts in your webpages from an external file saved on your disk and to use regular expressions for file finding.
The Works
To better understand how it works I would like to suggest you to consider creating a simple webpage. You can start doing this by writing the code of a simple HTML page from the scratch or by asking Taco HTML Edit to do it for you. Anyway, since you have come up to this point I suppose you are familiar with the basic structure of an HTML document or that at least you have one html file saved on your Mac.
So, before we go further, please use the options in the File menu to open any html file that you have saved on your disk or quickly write a new text file that includes the following minimal html structure: < html > < head >< /head > < body >< /body > < /html > and save it as an .html file.
After you have opened the html file with Taco HTML Edit you can start adding new elements to it by using the Component Library. Here is how it works: for any of the 22 components you have to go to the Accordion (the visually paginated scrolling menu that opens by default when you launch the application or the one that can be accessed through the main menu’s Insert tab), mouse over an item, click the Select button on the bottom right corner of the window and customize its settings options provided on the left sidebar of the previewing window.
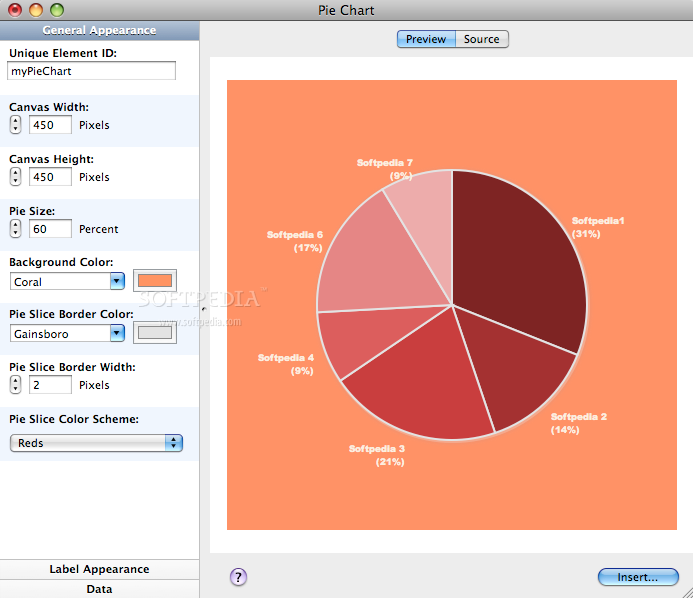
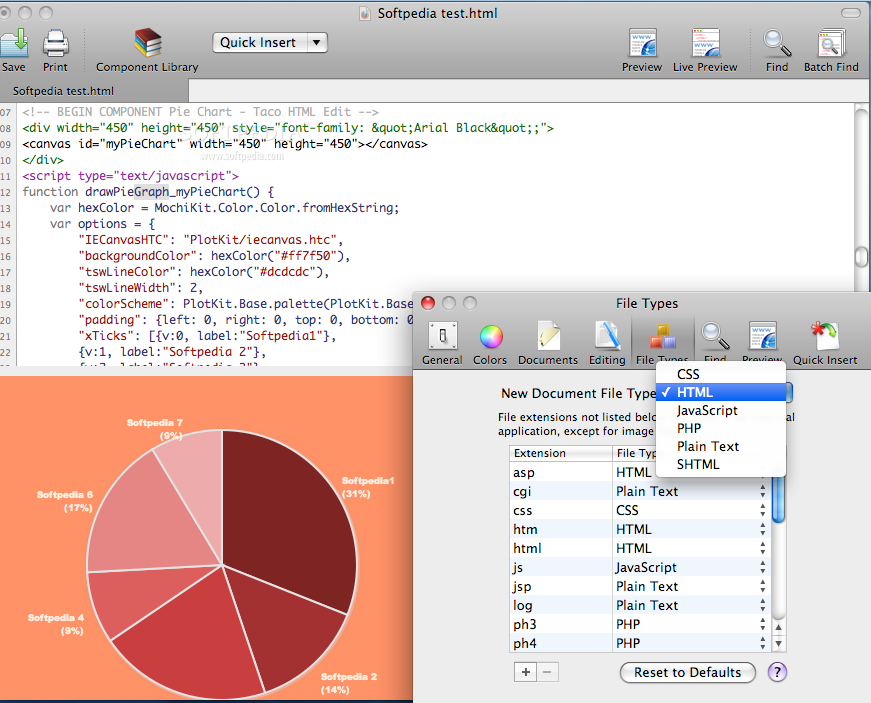
But let me please take an example. Let us say that I want to add a pie chart to my website. I have selected it from the Component Library and now I am in the Settings Page. The sidebar provides me options for changing its general appearance, the label appearance, the data and so on.
From the General Appearance window I can firstly assign an unique ID to my pie chart. The app gives a default name to any new included element but it is advisable to name it, the way that you are used to, in case you plan to manually modify it at a later date.
Right under the Element ID field I have three boxes for modifying the chart dimensions. You can either manually enter the number of pixels you want to give to the canvas' width and height or use the arrows placed on the right side of the boxes to navigate through the values. The same happens with the third box, where you have the option to set the size of the pie chart as a percentage. Next, you can choose the pie chart’s background color, the pie slice border color, the pie slice border width or the pie slice color scheme.
At this point please note that, for a pie slice you can choose a color scheme and not a certain color as the color of the slices will be modified and harmonized among them dynamically in accordance with the values and the percentages that you assign to them.
Furthermore you can also modify the label or the data assigned to the chart from the sidebar or click the Insert button provided on the bottom right corner of the previous tab and go to the automatically generated source code, where you can make any changes that you want by hand, as well.
And this is how you can easily include a fully nice-looking pie chart in your website. The same procedure applies to all the elements in the Components Library. Just take your time to understand the role of each single element and the manner in which they can be individually customized.
And, if you are not pleased with how a particular element looks like on your webpage you can go at the source code and simply delete it or move it to whatever point of the webpage you want to. Every single element’s code begins and ends with a comment between brackets so it is practically impossible to miss it if you know its name.
The Good
The multitude of pre-built elements included in the Library is quite impressive. Their presentation is also nice and you will probably be taken by surprise by the presence of some elements that you have not found in other WYSIWYG editors before.
Another plus is that Taco lets you preview your drafts with different browsers as Google Chrome, Firefox, Opera, Safari OmniWeb, Camino and that it even offers you an iPhone simulator. Making your future website work in all those environments will definitely increase its visibility and accessibility.
Inserting new elements and editing them is fairly easy. And even to edit the code is a piece of cake, considering that it is generated in a standard-compliant way, with intuitive names for variables and well defined comments.
The Bad
What I do not like about Taco is that it does not explain you exactly how you should proceed at the very beginning, after you came in contact with the Accordion of elements.
Most of the users will be probably tempted to start playing with the elements to see how they can be adjusted and personalized but, if you have not opened or created a basic HTML document before, as a temporary buffer, where you can save the drafts, you will have unpleasant surprises. For instance, it might happen that when you move to another element, the previous one to be lost and, as a result you will not be able to visualize it again.
Also some of the values could not be inserted or edited from the side bar. You have to go to the source code and to type them by hand in the right place, whether you like it or not. The Truth
Taco HTML Edit is a user-friendly application. Browsing through the elements is easy, they are easy to access and pleasing to the eye. You will learn on the fly how to build perfectly semantic data tables, image maps, bar graphs, pie charts, slideshows or how to insert special characters in the texts published on your websites.
Also the resulted websites will look nice, will work in all browsers, they will be easy to maintain and to modify, and they will be highly accessible for a wide range of users. And, this will translates, of course, in you having the feeling that you have saved a lot of time and you have worked as a professional.
Here are some snapshots of the application in action: