14 DAY TRIAL //
 Digital cameras are cheaper than ever and prices continue to drop, this leading to an explosion of this market and an ever-increasing use of these devices for holiday and casual photography. This situation led to huge photo collections on most home computers and also created the need for new photo organizers and editors, with features adequate to regular users' needs and especially having low prices.
The last months have brought a lot of big software releases with them, and recently even Microsoft hit the market with a consumer-level graphics application, called Digital Image. They didn't stop here and released a technology preview of a professional tool, Expression Graphic Designer, aiming the high grounds of computer graphics!
We already talked about Expression Graphic Designer, and Digital Image Starter Edition 2006 will follow as soon as possible. Today, it's time for Adobe to strike back, and the weapon used is called Photoshop Elements 4. Before starting our trip, let's find out more about the past of this program, shall we?
Adobe Photoshop is an outstanding program, but has a price matching its power. The problem with most users is that they can work on their holiday photos using it fairly easy, but also pay for a lot of features they will never have to use.
Before Photoshop 7 was launched, there was a version called Photoshop LE, a consumer raster image editing product that had similar limitations to Elements. But what about this one, called "Elements"?
Adobe Photoshop Elements was released alongside Photoshop 7, targeting amateur photography enthusiasts and lacking most of the features concerning the print production environment.
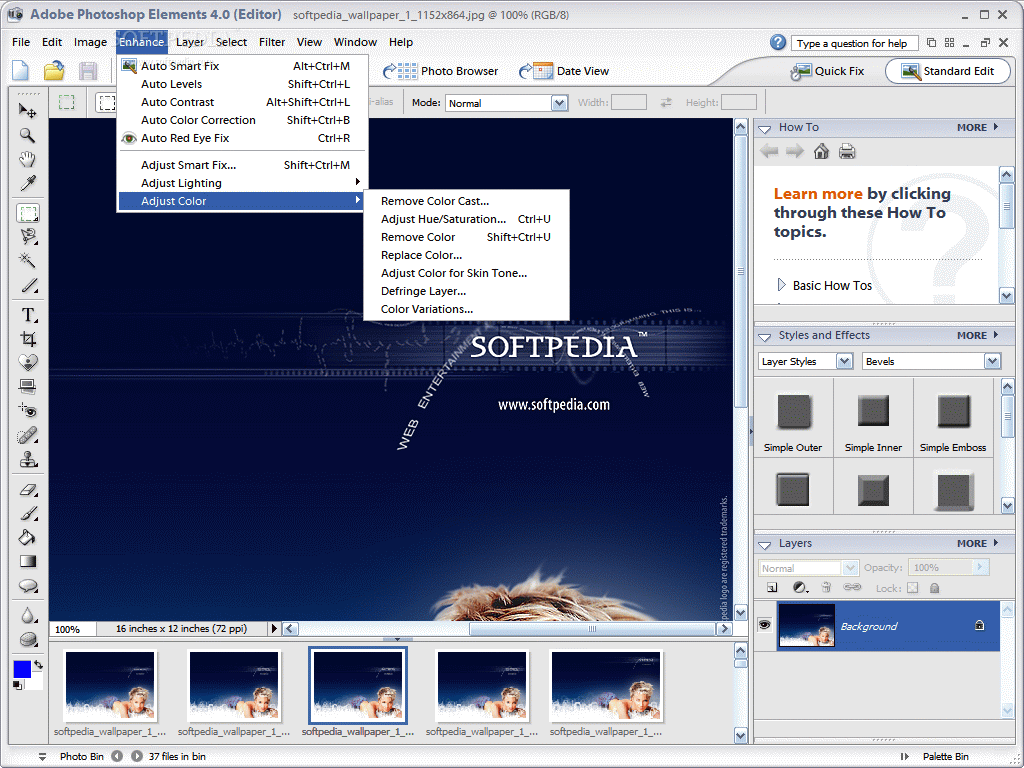
In this application, you won't be able to export files in CMYK mode, the color management system was simplified, the detailed soft-proofing was removed, some of the more powerful plugins were taken out or brought back to the basics, and some features aimed at non-experts have been added, such as red-eye removal or skin tone changing in a picture.
The installation kit comes as a 364MB ZIP file containing the program's setup files, a great 15 minutes movie showing an overview of the application and a PDF document about the highlights of this program. This is more than enough to get everybody started, in my opinion.
After starting the application for the first time, you will face the Elements Welcome Screen, containing links to the main operations that can be performed with the program or start one of the two elements available: the Organizer or the Editor. You can check the product overview and the available tutorials, view and organize photos, make photo creations, edit and enhance or quickly fix photos, but also start building an image from scratch.
Let's unleash the elements!
The Organizer
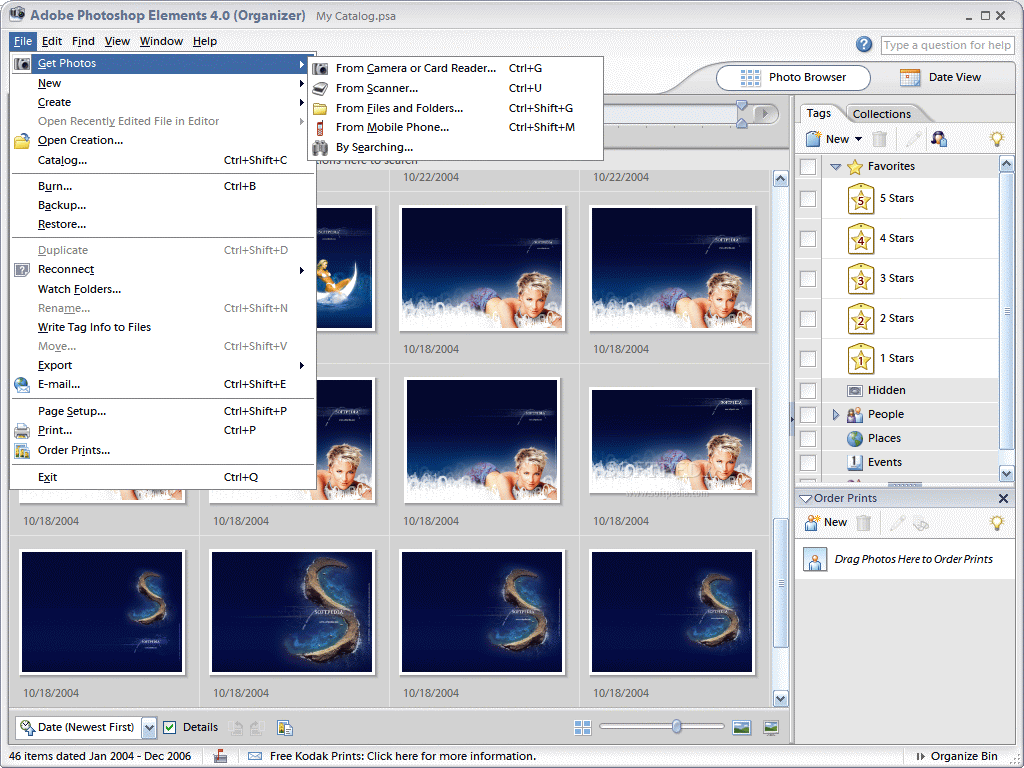
Since the name says it all, what we have to do next is check exactly how things happen when we talk about photo collections management. Before organizing anything, you have to get your pictures from somewhere.
Photoshop Elements allows you to import your photos from all possible devices at this moment.
The Photo Downloader tool helps you get images and even video clips from your digital camera or card reader easily. The photos are organized by date as they're imported, and the tool starts automatically when you plug your device, even if Photoshop Elements is not running.
Photos from your hard drives are scanned and organized also by date, while photos stored on CDs and DVDs can also be viewed and managed. How? When you scan your optical discs, small thumbnail images of your photos are stored on your hard drive, that's all. Fast, easy and effective.
When importing photos from a folder, you will find the Red Eye Removal option checked, and my suggestion is to disable it, since it will process all photos available trying to remove red eyes, and you can only figure out what will happen when you have a large amount of images there...
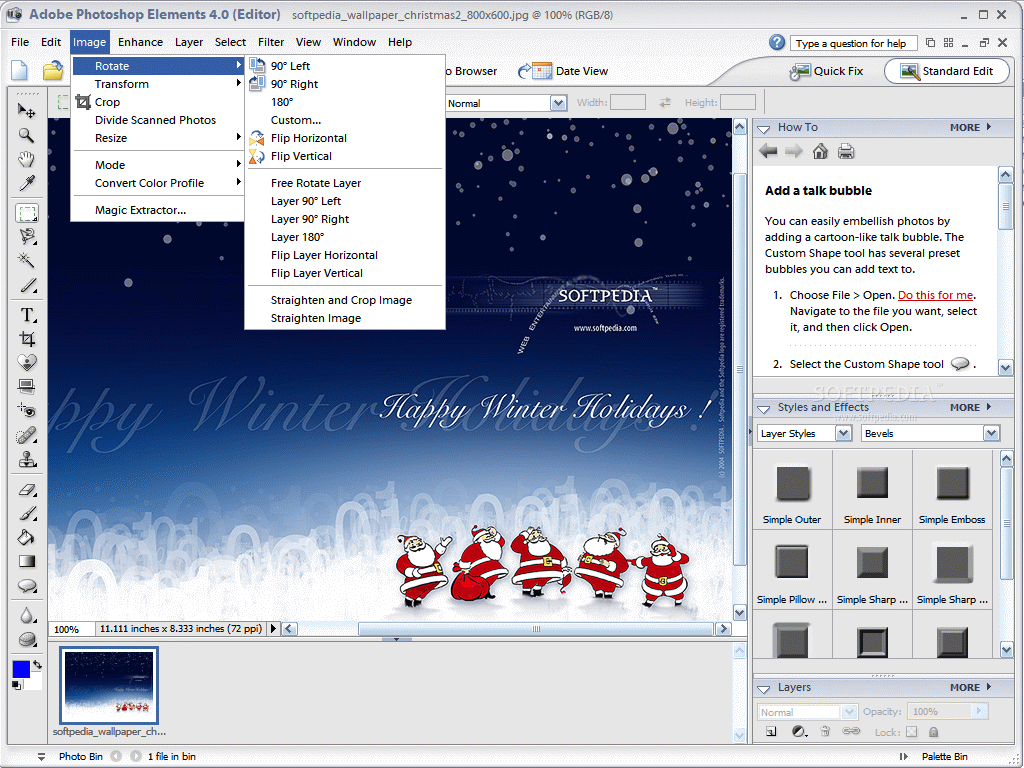
Scanners can be another input source, but can also add its own problems into the equation. If you scan a number of photos at once, you have to rotate and crop them from the scanned document in order to get the individual images you want. With Photoshop Elements, all you have to do is place as many pictures as possible onto your scanner's bed, then use the Divide Scanned Photos to automatically crop, straighten and divide your scanned image into separate photos on your hard drive, and in your catalog.
Photoshop Elements can also watch certain folders that you choose and automatically add their contents to your catalog. This way, you can track your downloaded images easier.
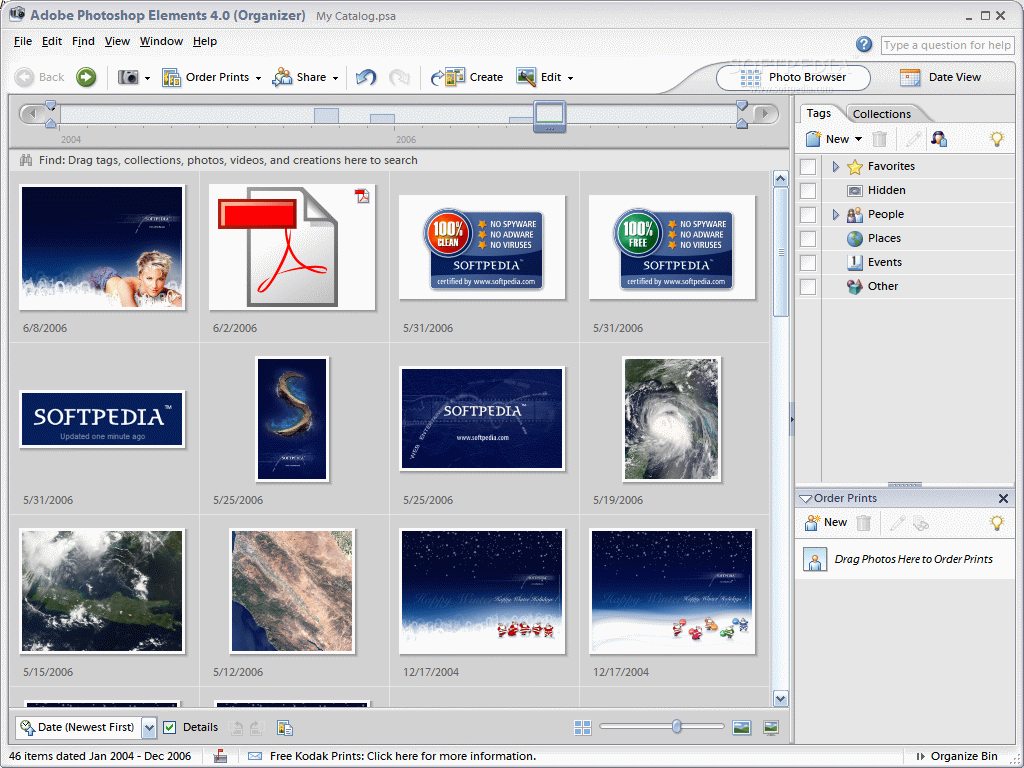
Now we know where to get our pictures from, next we have to see how they are managed and what else we can do with them. Adobe Photoshop Elements has so many ways of grouping and organizing photos that I don't know where to start...
Sometimes you have series of many similar photos, and these can take up some space in the Photo Browser window. This problem is easily handled by the Stacks feature, which allows you to group images into (what else?) stacks. Once a stack has been created, you can un-stack its photos, reveal photos or flatten it. The flatten operation deletes all photos from the catalog, except the first one, and gives you the option to also remove them from the disk.
Edited versions of a photo can also be gathered into a single group to save space in the Photo Browser, using the Version Set tool. The way it works is almost identical to Stacks, so I'll move on.
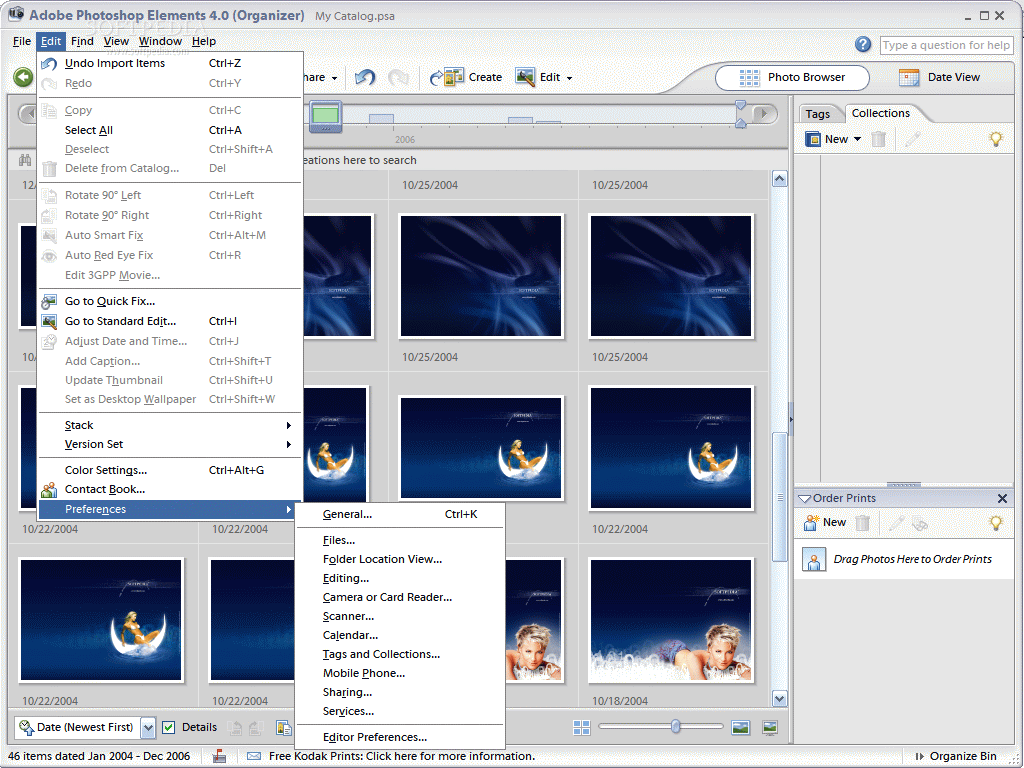
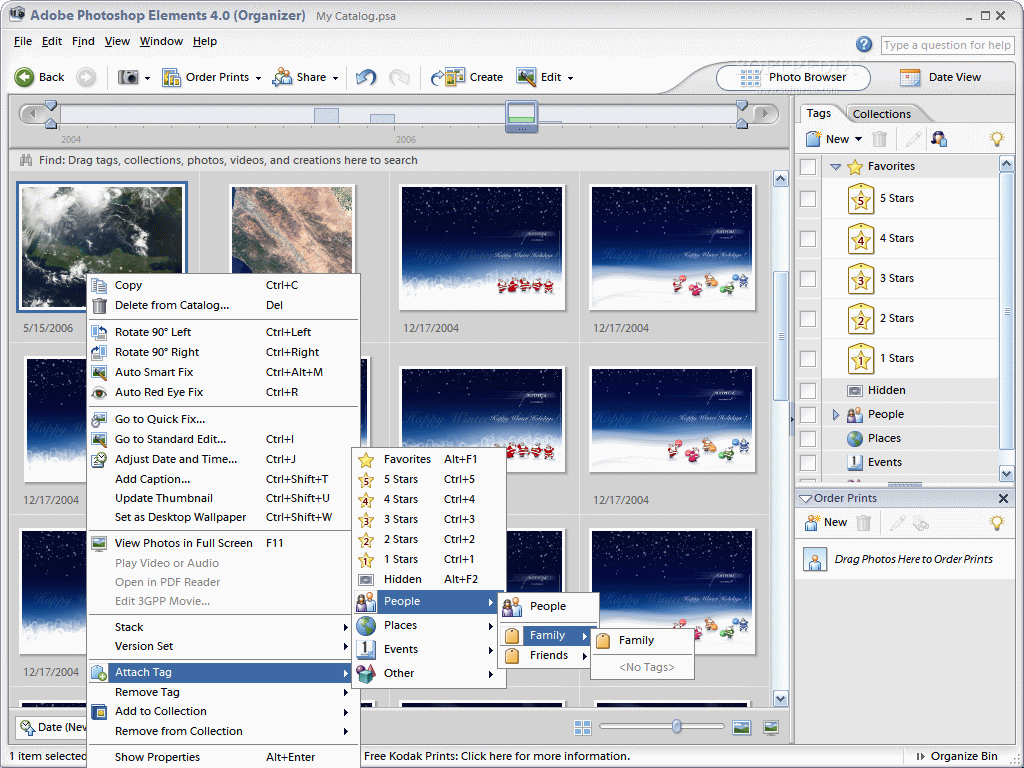
Every photo gallery has its winners and its losers, and Photoshop Elements lets you rate them according to your preferences. You can tag photos using ratings from one to five stars, but having more than one tag is nothing out of common. For example, you can have a photo rated as three stars, tagged as belonging to the People, Places and Events categories.
In the Photo Browser you can automatically remove red eyes from the selected photo and use the Auto Smart Fix to enhance image properties such as hue, saturation, contrast and more. Once you edit a photo, a version set is automatically created.
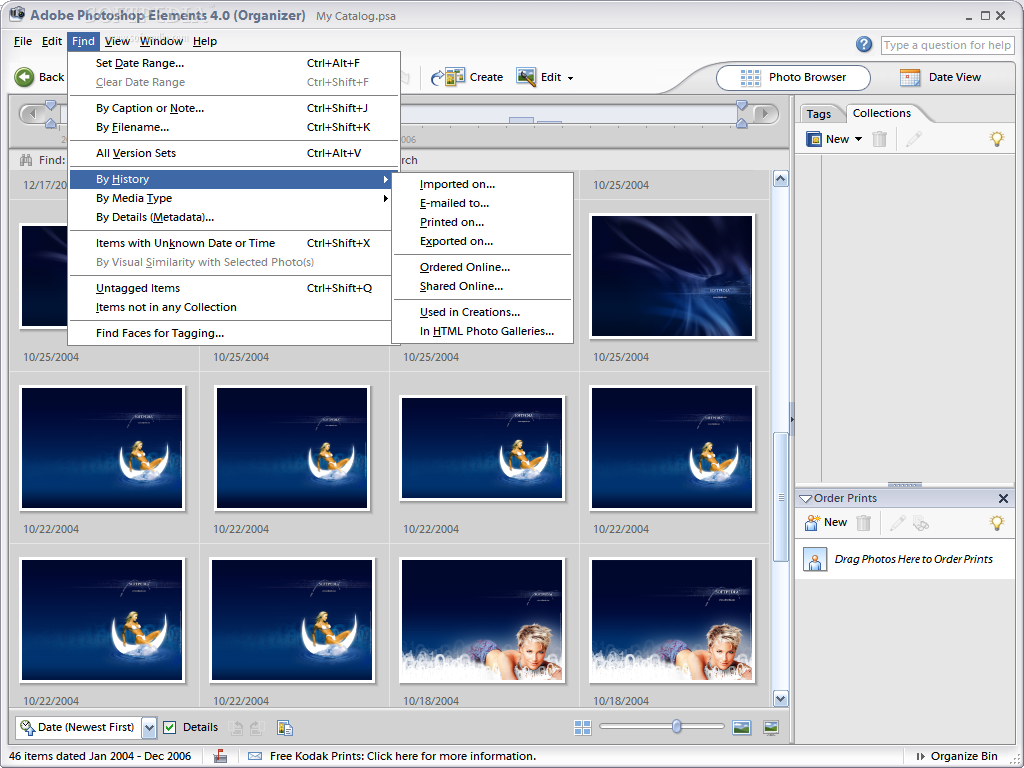
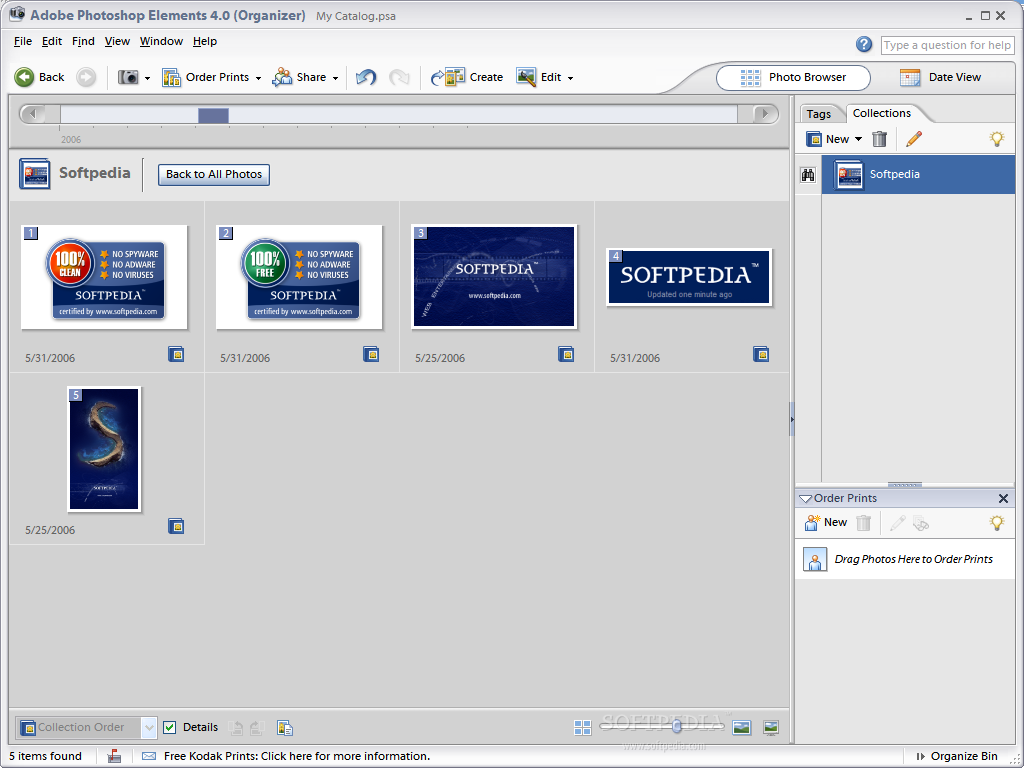
We got to know the Photo Browser pretty well, but there's a long road ahead, and next stop is the Date View of the Organizer.
With Date View, you can browse through your photos chronologically or find the ones belonging to a particular day, month or year. Once your quest for a certain picture has ended, you can view that day's photos as a mini-slide show. The Date View can even keep track of the recurring events such as holidays and birthdays or add notes to any day.
The Organizer has much more than what I have pointed out so far, but I have to move on and finish this review until summer's end, so I will only remind you some of the features left behind. With it, you can burn your photos to CD/DVD discs, export pictures to your mobile phone, email selected images as HTML Photo Mail, PDF slide show or individual file attachments.
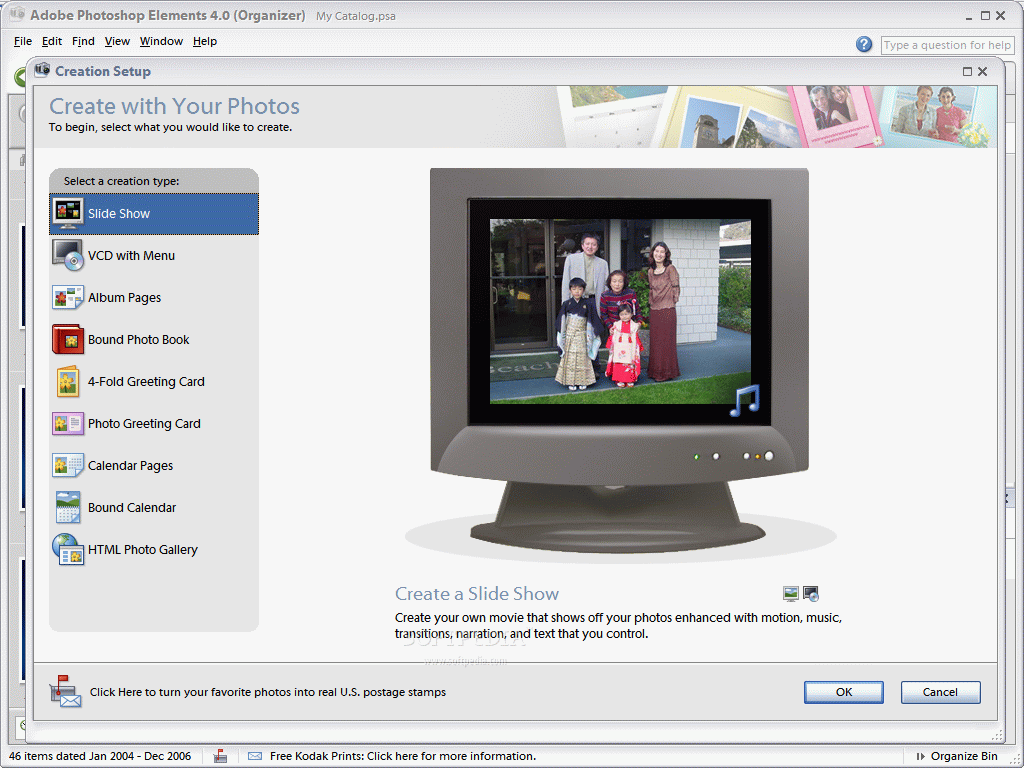
The items you can create using the Creation tool start with image slide shows and VCDs with menus and end with bound calendars and HTML photo galleries.
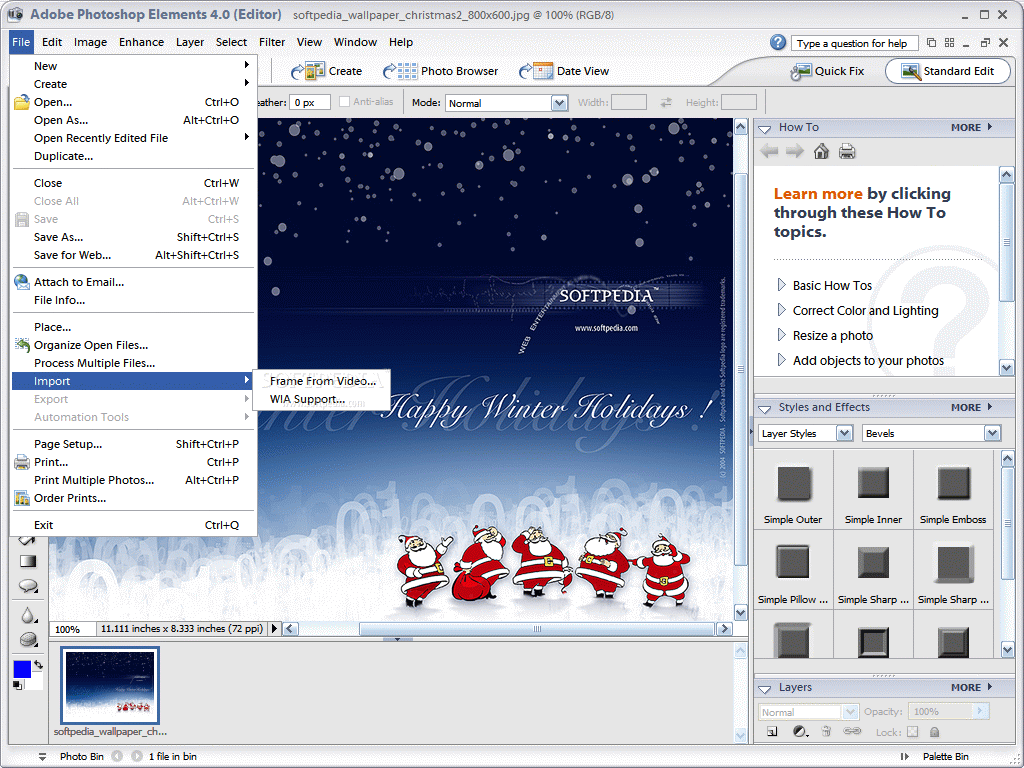
The Editor
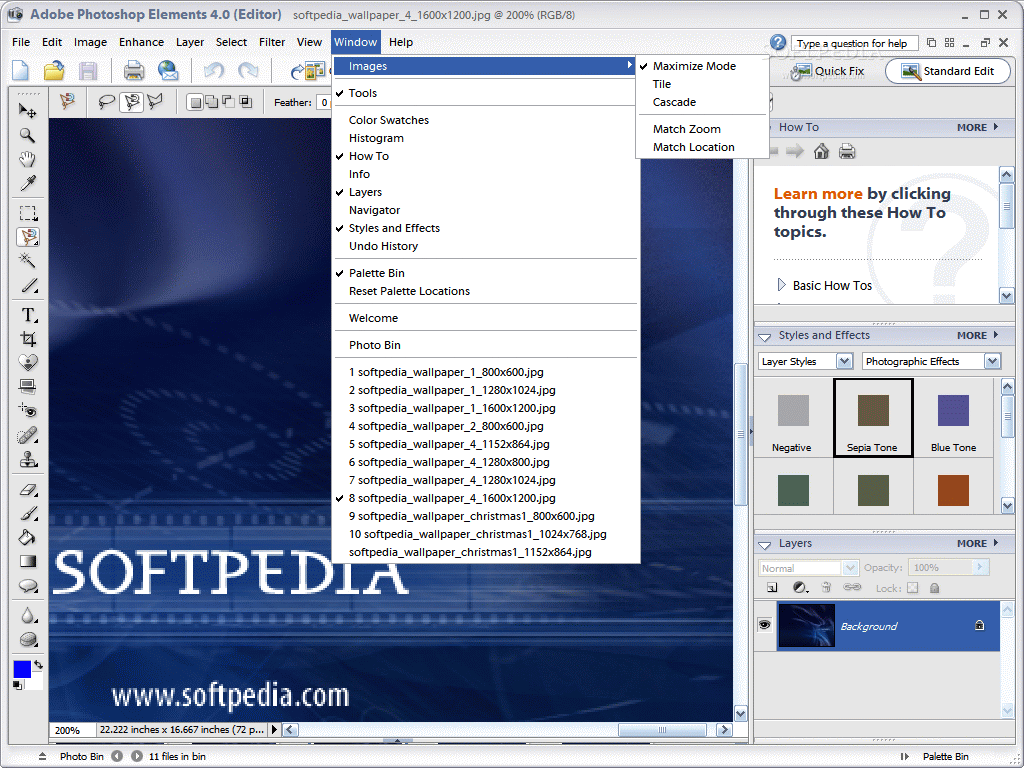
The Editor allows you to access the Photo Browser, Date View and the Creation area. Practically, you get a Photoshop a little sized-down, but not much, with a bit of extra features having only one purpose: to make this as easy as possible for beginners.
When you think you're in trouble, you don't have to open the Help system and look for the item that bothers you; it's much easier than that. First, you can use the search input box placed straight into the upper right hand side of the interface or click any of the underlined tooltips that appear when hovering the mouse over the buttons and icons.
A new tool that I found inside the Elements Editor and quickly became my favorite is the Magic Extractor. Its purpose is to help you remove background from photos without too much headache, and the results obtained can be quite impressive.
For those not familiar with Photoshop, I will give some hints about the tools available here for most image operations.
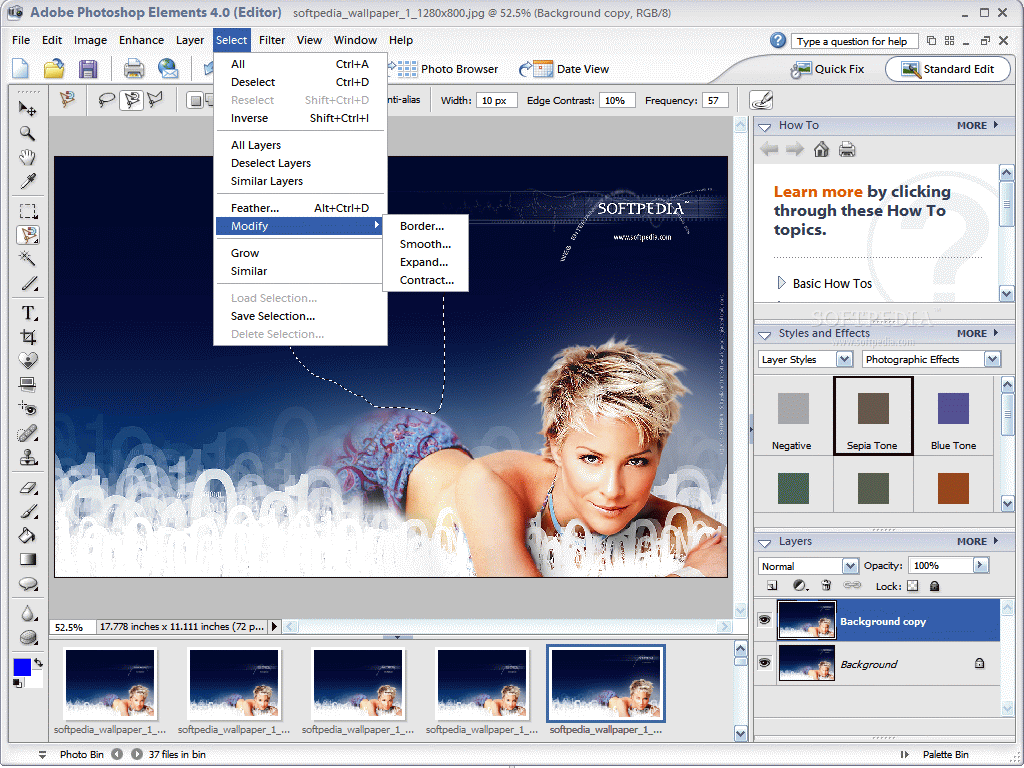
Selections can be done using rectangular or elliptical marquee tools in normal mode, a fixed aspect ratio or size. If you want to create custom-shaped selections, you can use the regular, magnetic and polygonal lasso tools to achieve the best possible results.
There are four types of tools available, the same as the ones from Photoshop. You can type horizontal and vertical text or text masks for further processing. Text can be warped using predefined paths, or can have its orientation changed.
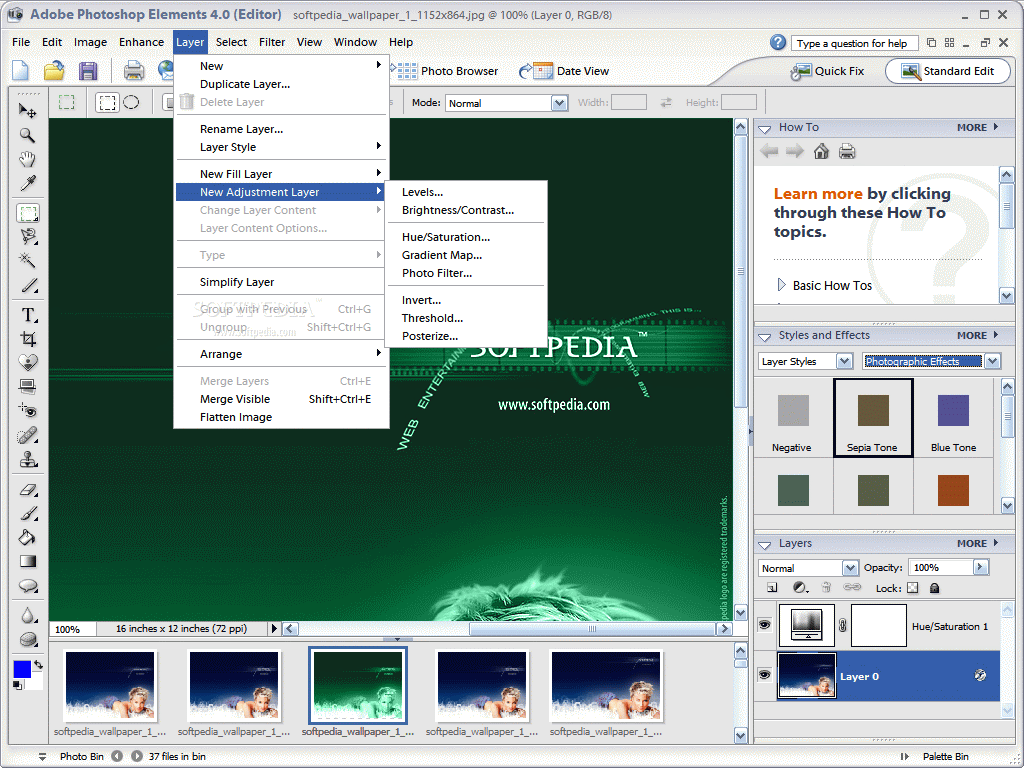
Layers. Such a simple word, but hiding so much power when it comes to computer graphics! Adobe Photoshop Elements keeps Photoshop's power when talking about this topic.
You can add as many layers as you need, but keep in mind the fact that they will increase the size of your document. Layers can be grouped, linked, have styles added to them and many, many more. They can be a bit tricky for beginners, but you'll always have the excellent Help system that I've already told you about at your side.
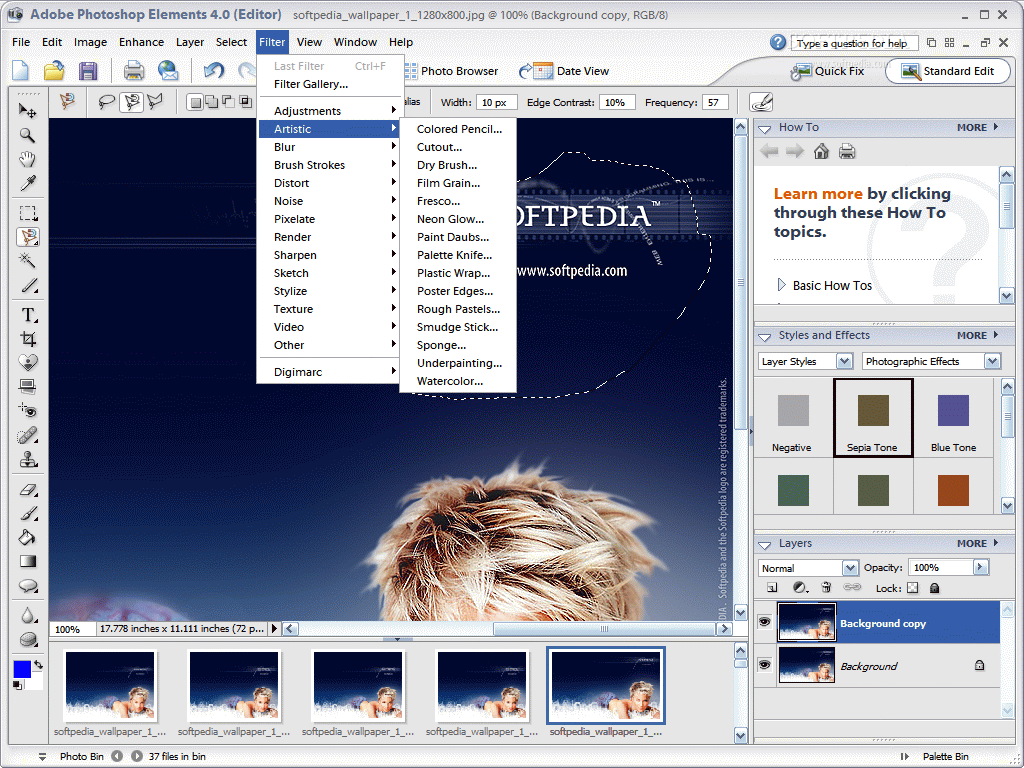
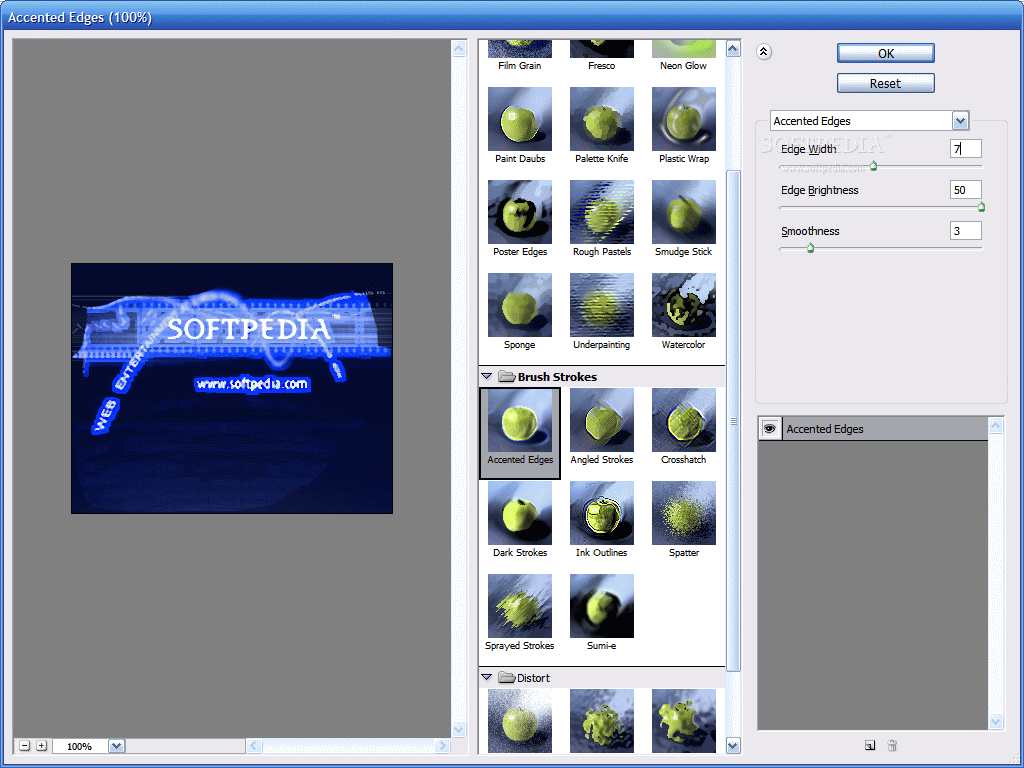
The Elements Editor has most filters from Photoshop, and also includes the goodie present there since Photoshop CS - the Filter Browser. With it, you can preview the effects of every filter on your image in order to choose the right one. Blur, Distort, Noise, Pixelate and Render are only some of the filter families available here.
Just one more thing: for the experienced Photoshop users who will find the Simplify Layer function in the Layer menu and wonder what it does, I have to tell you that I asked myself the same thing. After the first use, I was surprised to find out that this is exactly the same as the Photoshop's Rasterize, so nothing new here!
The Elements Editor is a program that can keep me occupied for another day at least, writing about all its features and the great things it can help you achieve, but that would also take away of your precious time, and I don't want to do that. Instead of reading more about it, I suggest you get your hands on Adobe Photoshop Elements 4 and let it do its job.
The Good
I didn't mention anything about the interface so far, because it's just great. Adobe Photoshop Elements is a program easy to use, offering an incredible amount of features and an excellent Help system. Add also an incredible price - only 90$, and you get the perfect recipe for success!
The Bad
The minimum system requirements sound good, but the truth is a bit different. You need a powerful computer to use this program with maximum effectiveness.
The red eye removal tool doesn't really work with some images, because it also removes red color from areas where it should remain. Best way to use it is to apply the red eye removal filter in the Editor after zooming in and selecting only the red area.
The Truth
The fully functional trial version of Adobe Photoshop Elements is a real gem. For only a fraction of Photoshop's price, you get its most used features and a lot of useful extra features and content for any photo enthusiast.
You have 30 days at your disposal to decide if it deserves your money or not, and I am sure you will enjoy these days at the fullest with this program!
Here are some snapshots of the application in action: