14 DAY TRIAL //
 Today we're going to talk about RAW image files. Some are of the opinion that with the increasing popularity of digital photography and the sales growth of digital single-lens reflex cameras (DSLR) the RAW image format has been associated with "digital negative".
As the name suggests, RAW image files represent the material used by digital cameras containing the unprocessed data from the sensor. Well, it is not a true "raw" image, since almost all current digital capture chips are B&W devices that require a filter to extract color information and some cameras may still be doing some processing before providing us with the RAW picture. They are called this way because they have to be processed in order to be used by a bitmap graphics editor, before being sent to the printer or displayed by a web browser. In order to do all that, the image must first of all be transformed into an RGB format such as TIFF or JPEG.
The advantage of the digital cameras that support RAW format is that the settings for the image are made after the exposure. With the in camera-processing one had to make the settings before the exposure. This resulted in lower quality picture, as the values entered were a bit limited (I remember my first camera which had weather-related options like "cloudy" and "sunny", and the distance settings).
The color space of a RAW image is no longer restricted by the camera and provides the user with the possibility to adjust the colors himself. If you take into consideration the posterization problem in the JPEG files, with camera raw files this risk is greatly reduced as the bit depth is of 12-14 bits per channel, while JPEG only has 8 bits.
The major problem of the RAW images is that they are up to 6 times larger than a JPEG, reducing the number of pictures on a memory card. But manufacturers have come with a solution for that and they implemented lossless data compression. Another disadvantage that results from the size of this type of file is that the camera needs more time to write the image on the memory card and the user takes fewer pictures in a quick succession.
We have to mention that not all RAW image formats are exactly the same. Professionals have noticed differences between the RAW formats of different manufacturers. But the quality of the image is highly enhanced and the flexibility with settings such as white balance after the exposure is made is greatly increased.
Let's get back to business. Bibble Pro 4.8 is a Bibble Labs Inc. product designed to quickly and easily let you maximize the results from most major cameras and RAW formats. The software costs $129.95 and the producer offers a 30-day trial period. The product also has the Lite version and a lighter "price" of $69 (doesn't include all the features of the Pro version).
The interface is the "what you see is what you get" type, so you don't have to worry about not being able to work with it. It provides you right in the open with all you need to get the best of your images.
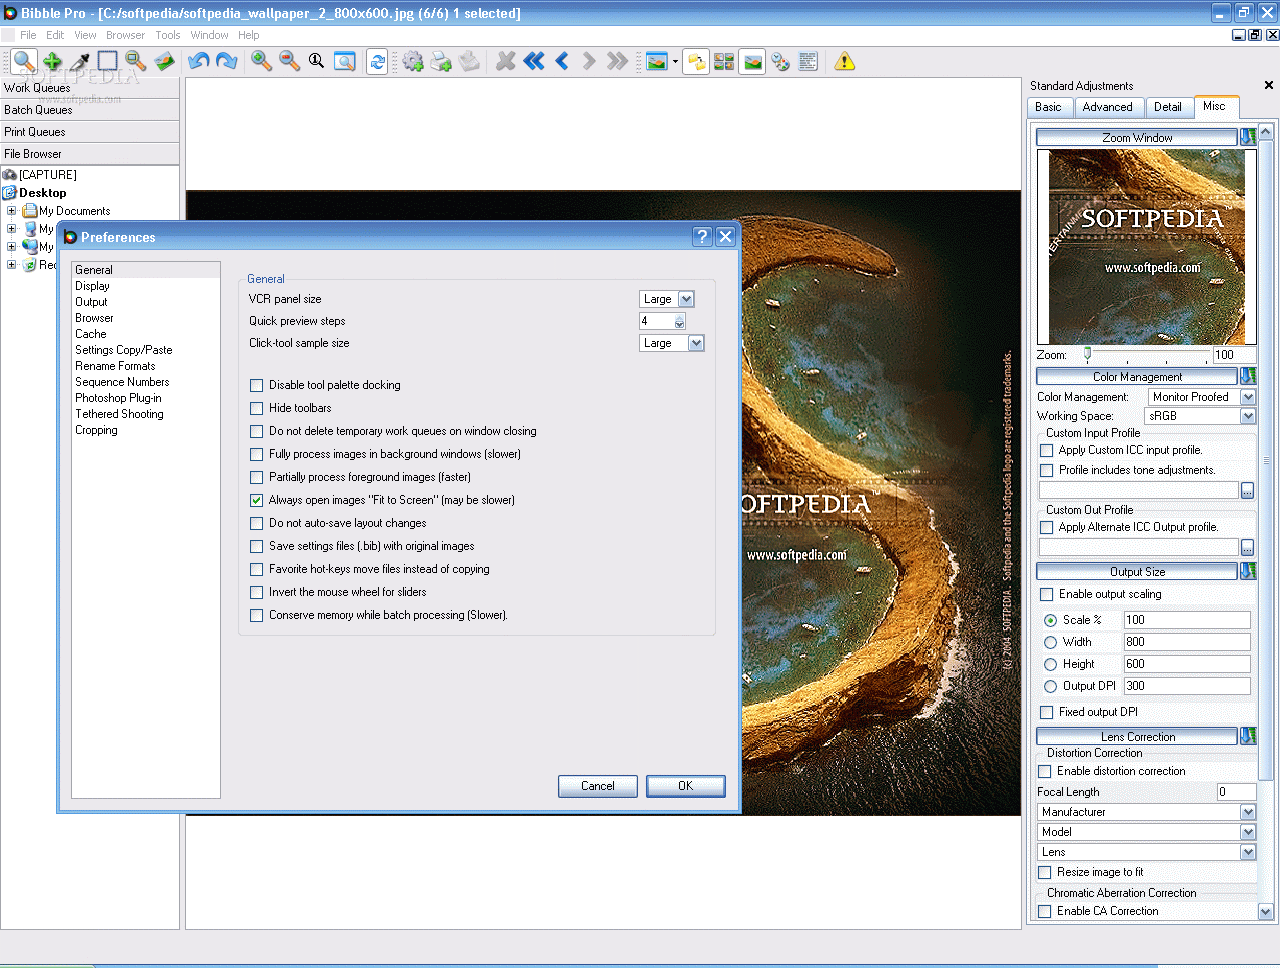
The File menu hides the usual options like Open, Browse, Save As and the most important is the Preferences. Here you can alter General settings like disabling palette tool docking, hiding the toolbars, processing the images in the background (enabling this option results in a slower working process), saving settings files with the original (I personally do not recommend that unless you are absolutely sure of your skills or if you always keep a back-up copy of the file).
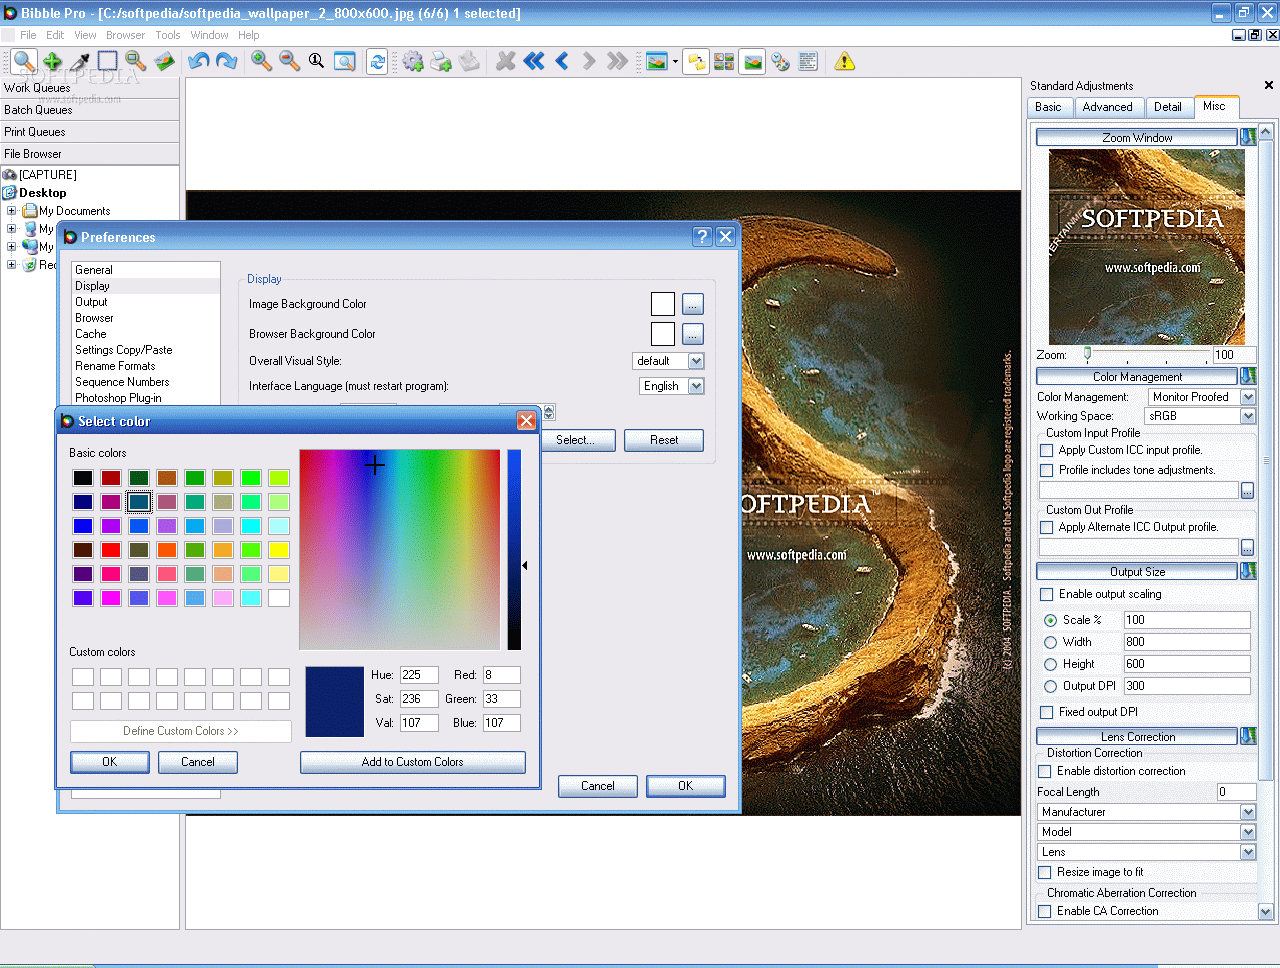
In the Display menu you will find very useful options like setting the image and browser background color (helps for not ruining your eyes or for a better view of the image). The only languages you have to choose from are English and German (at least in the trial version). The interface can be changed from this menu and your options are: default, Windows, CDE, SGI, Motif and Motif Plus. The default suited me best. The shadow and highlight warnings settings can be defined in here (the maximum value is 255 for both).
In the Output settings you can define the JPEG file quality (default is 80), enable or disable the exporting of the EXIF (exchangeable image file) and IPTC (International Press Telecommunications Council) information. This menu also allows you to choose an external viewer you have installed on your computer.
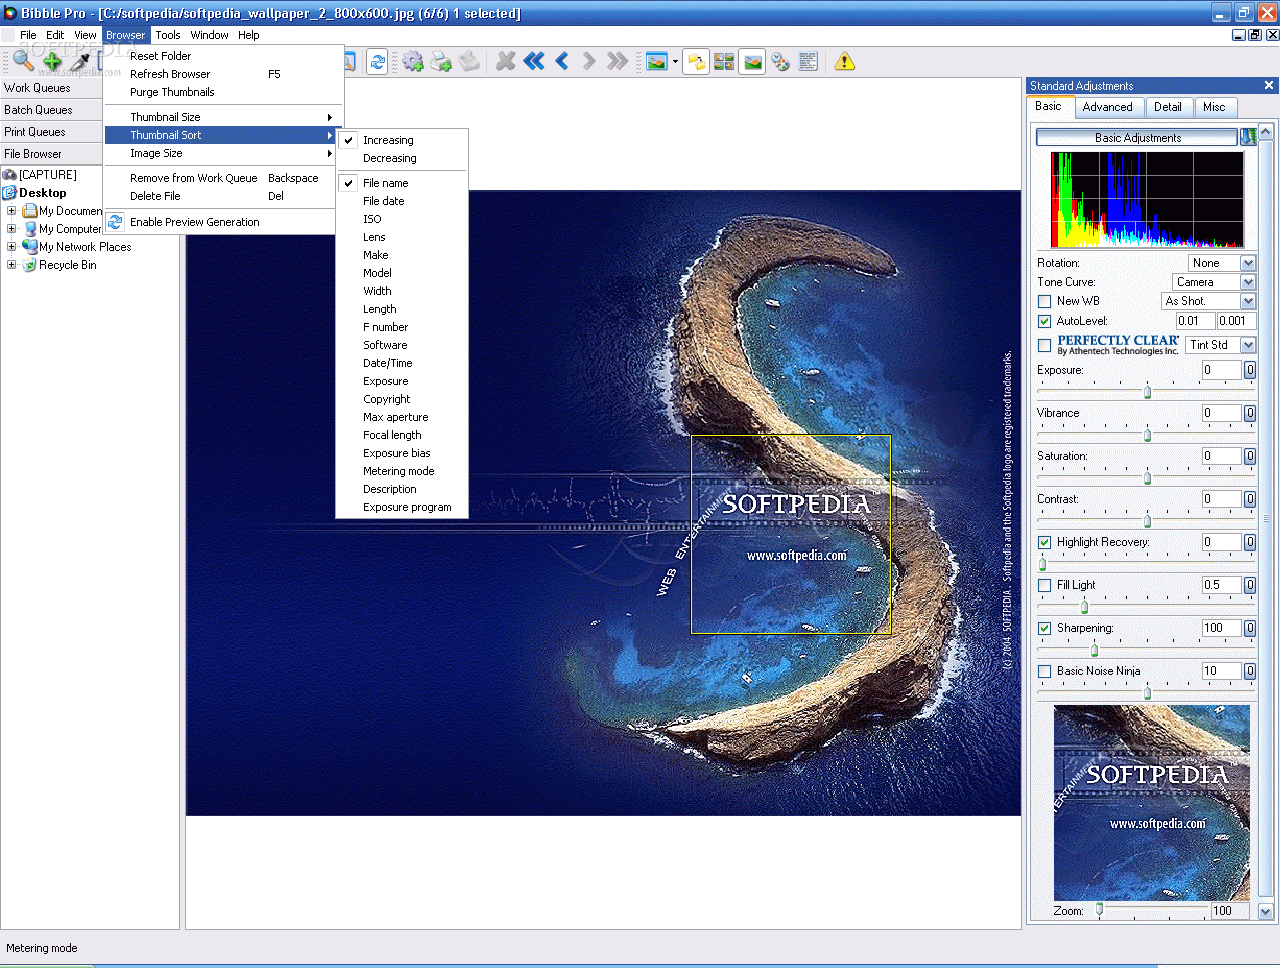
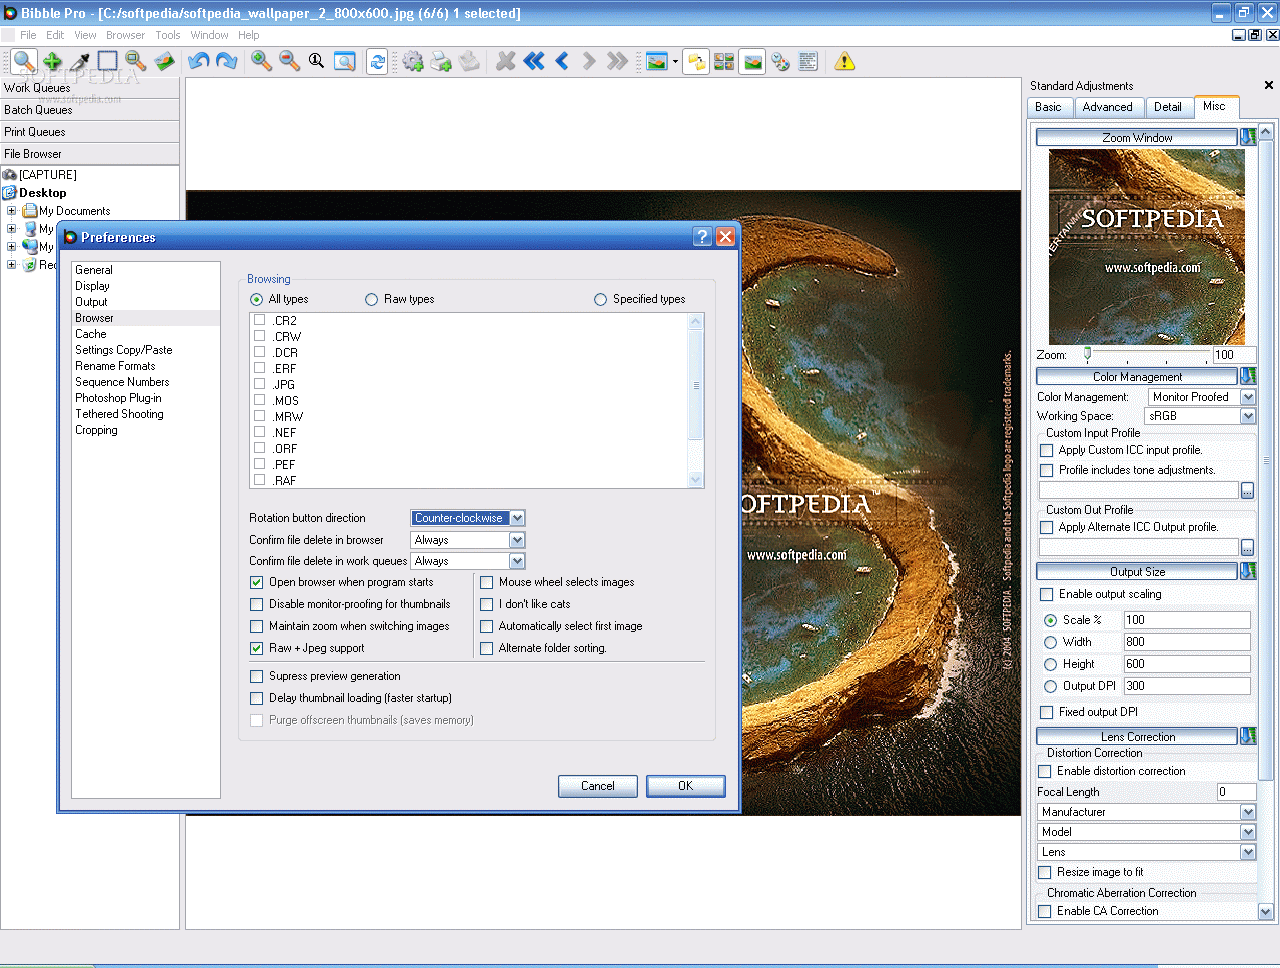
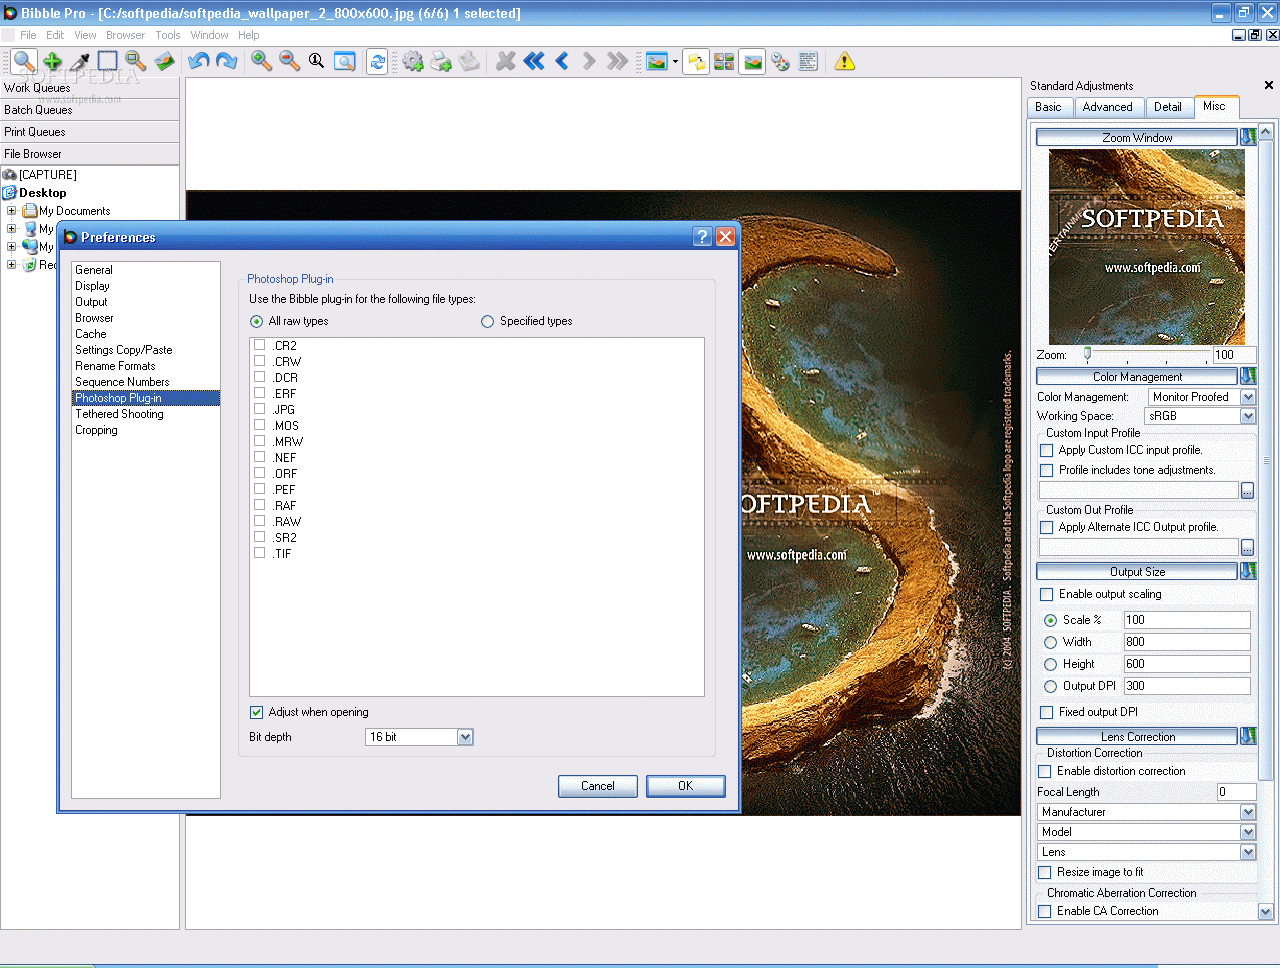
The Browser menu includes options like specifying the file types you want (or selecting all of them). You can choose from the following: .CR2, .CRW, .DCR, .ERF, .JPG, .MOS, .MRW, .NEF, .ORF, .PEF, .RAF, .RAW, .SR2 and .TIF. The conclusions that we can draw from this is that the software supports RAW image files from the following cameras: Nikon, Canon, Olympus, Kodak, Pentax, Minolta, Epson, Fuji, Sony and Panasonic.
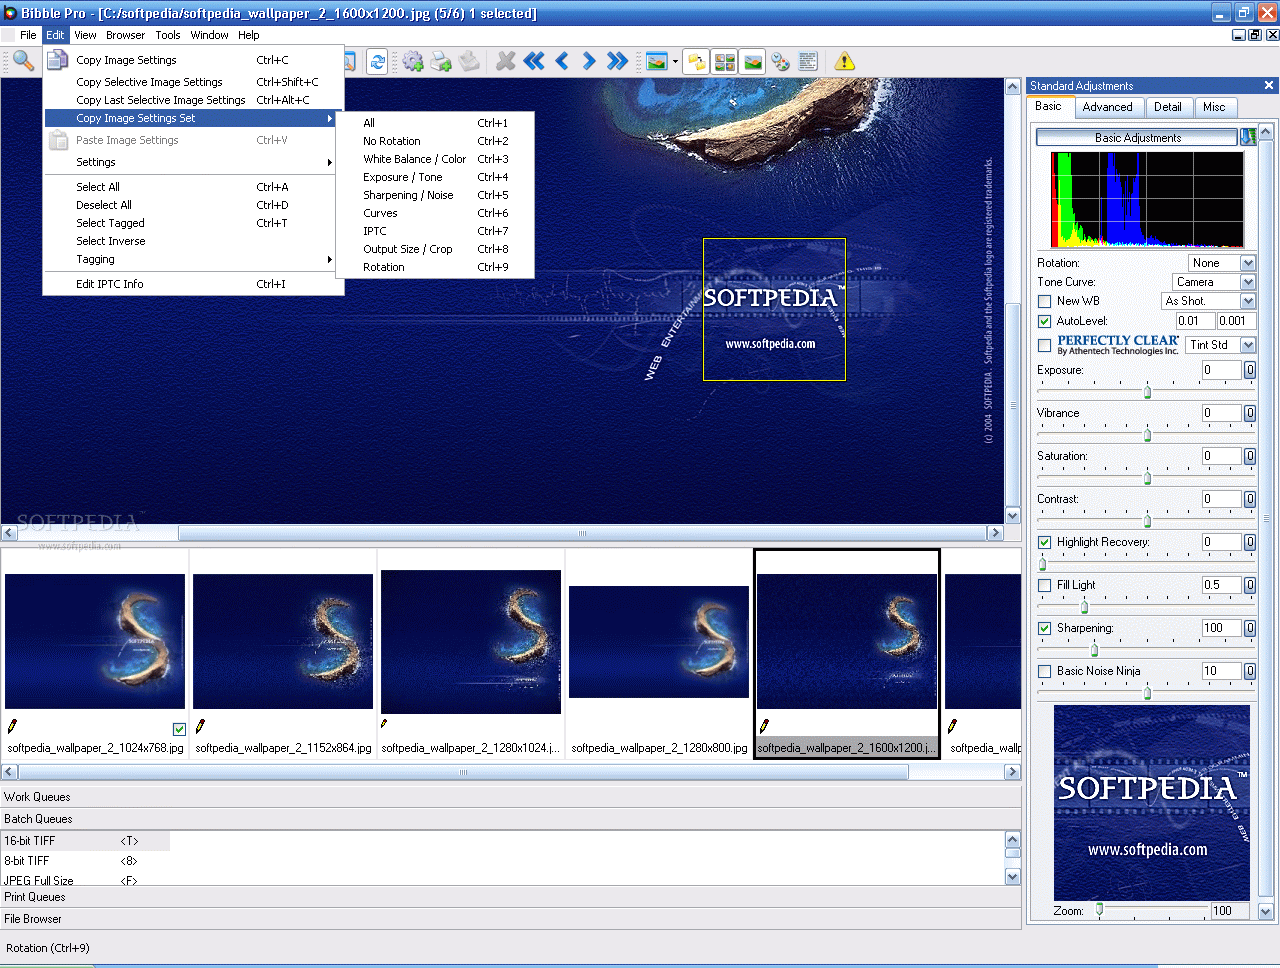
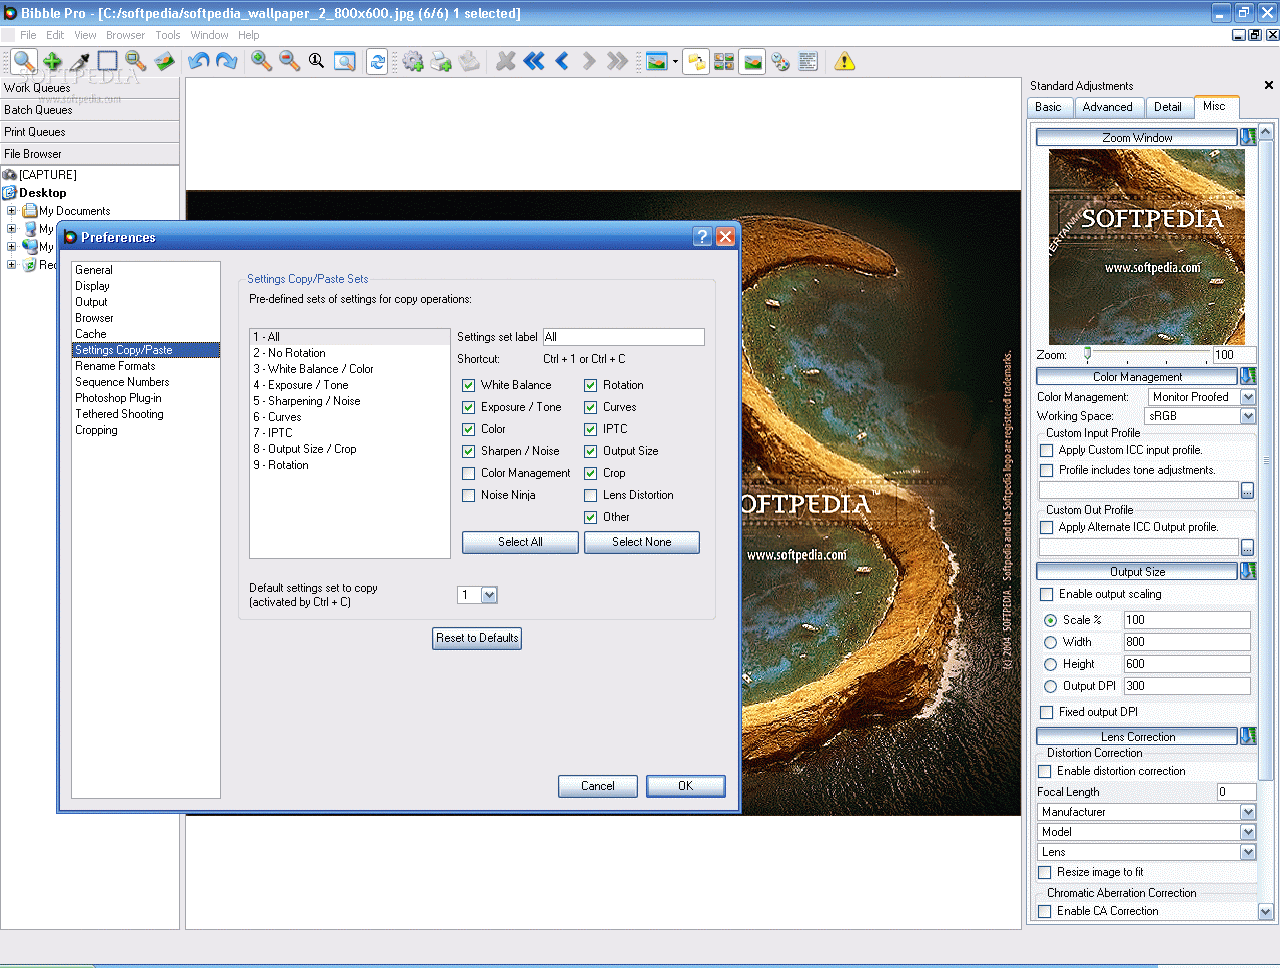
An interesting feature is the Copy/Paste one. Its purpose is to allow you to define the combination of image editing settings that you want to copy when you initiate a Copy Image Settings operation. Bibble permits you to define no more than nine copy operations.
With Rename Formats you can set naming conventions for the files generated in the batch processing. The software provides six rename formats. Of course, the user can edit, remove or add some of his/her own.
It is important to remark Bibble's Photoshop plug-in that lets you work directly from Photoshop and, if you you have a file not supported by Photoshop, Bibble is automatically launched and ready to process that file. This plug-in is configurable, so the user can select only the raw file types he/she works with.
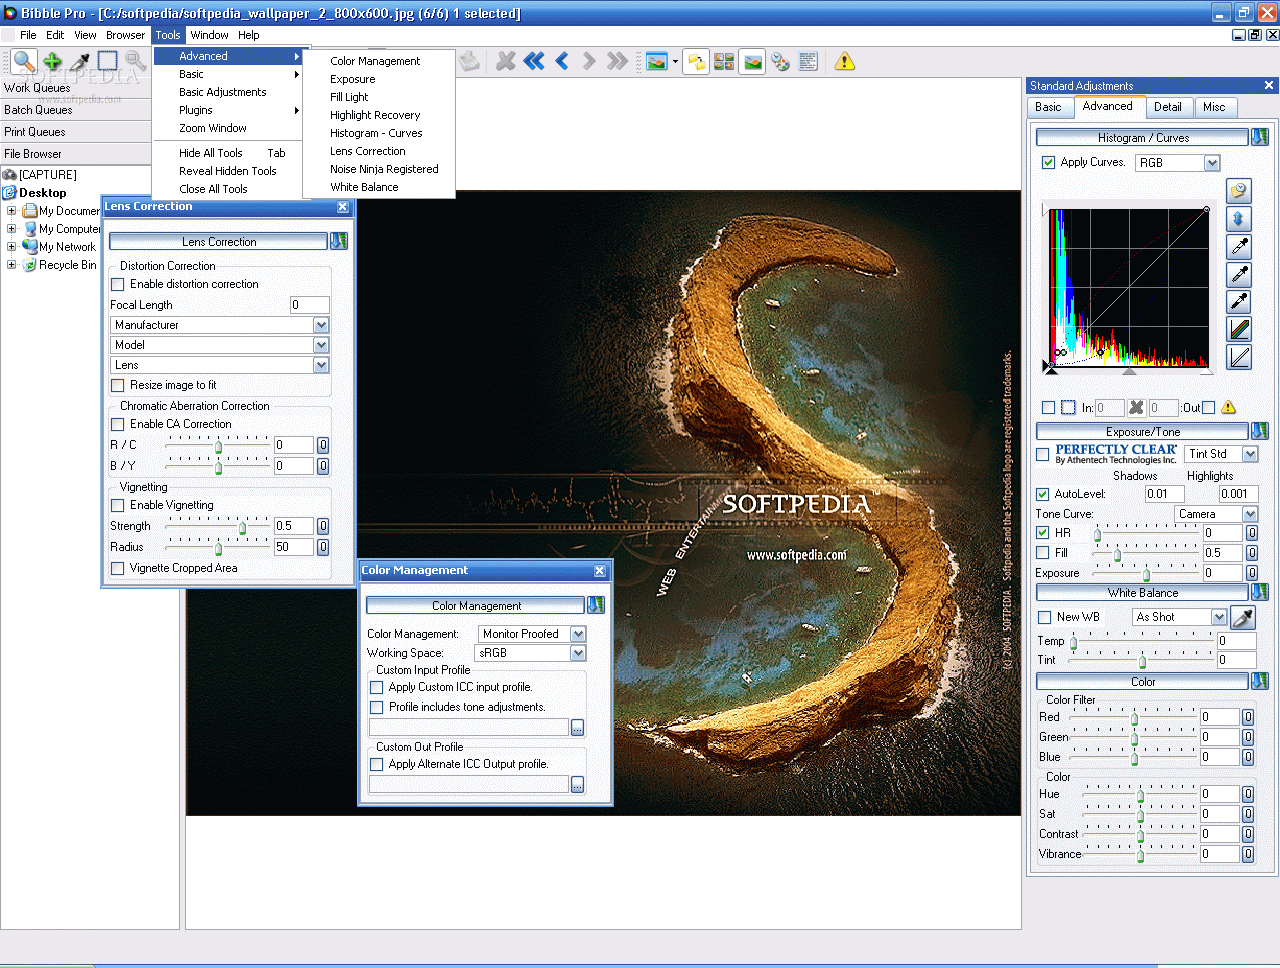
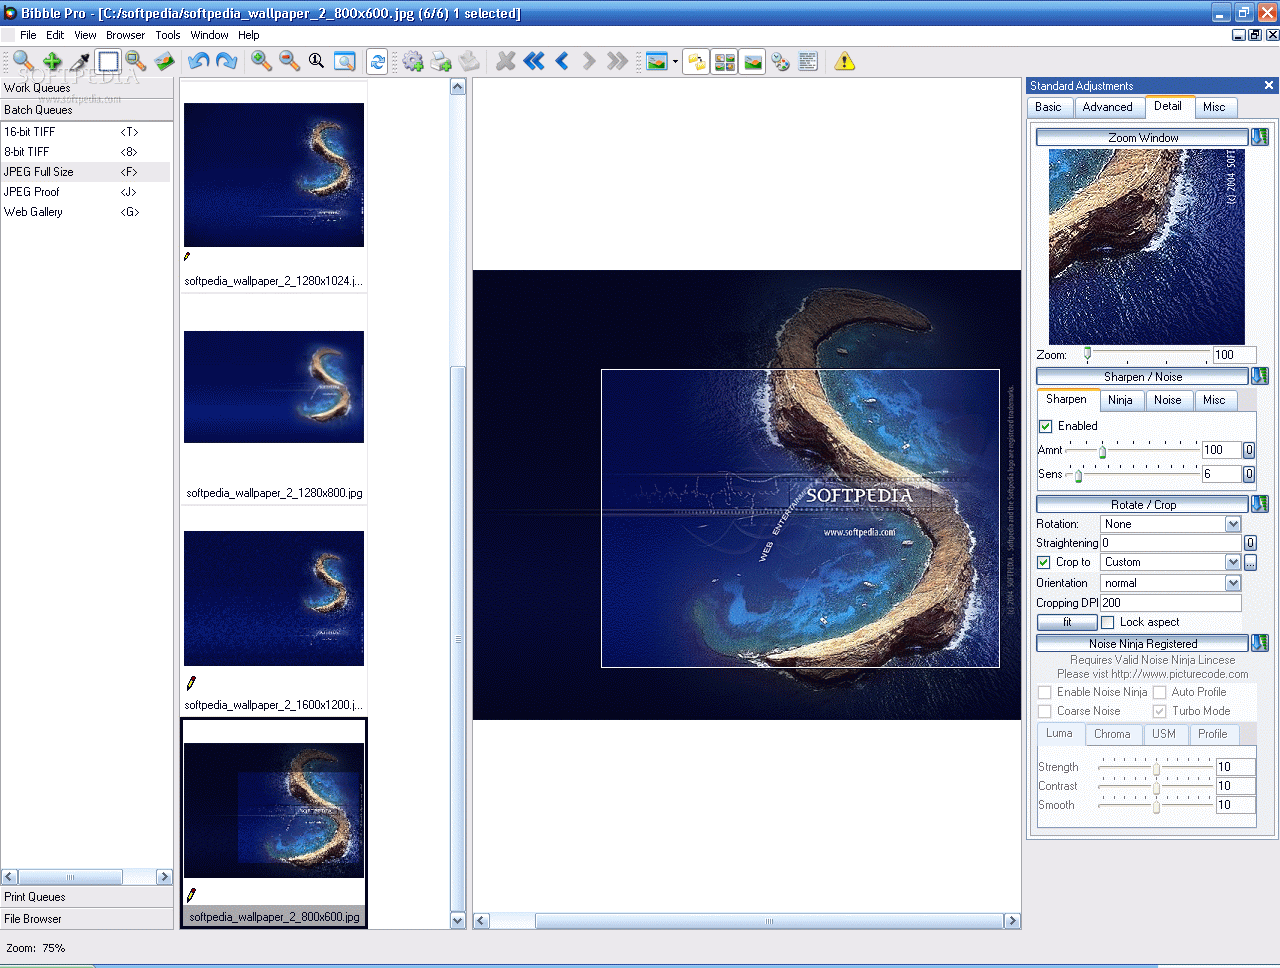
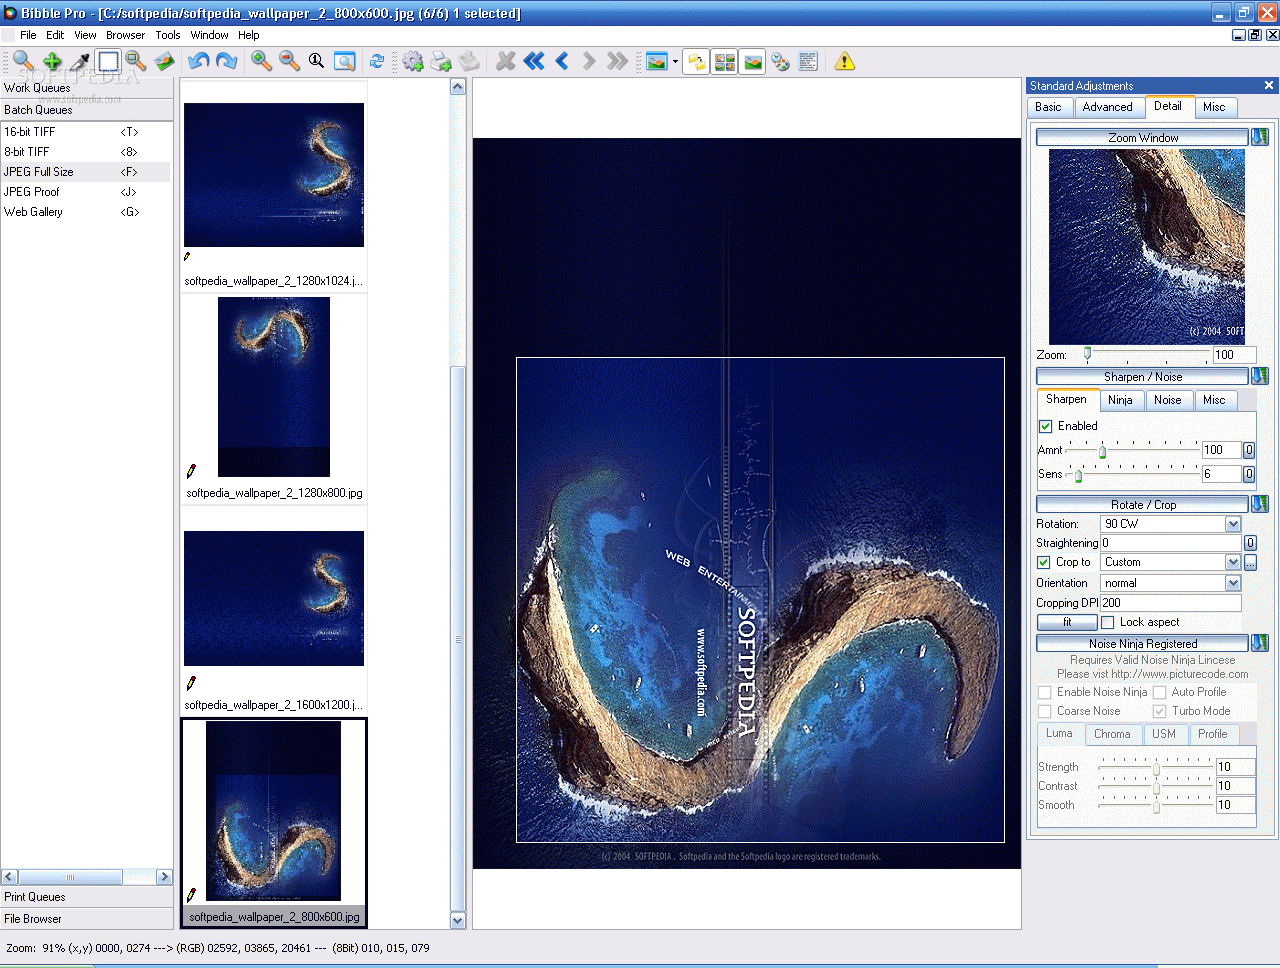
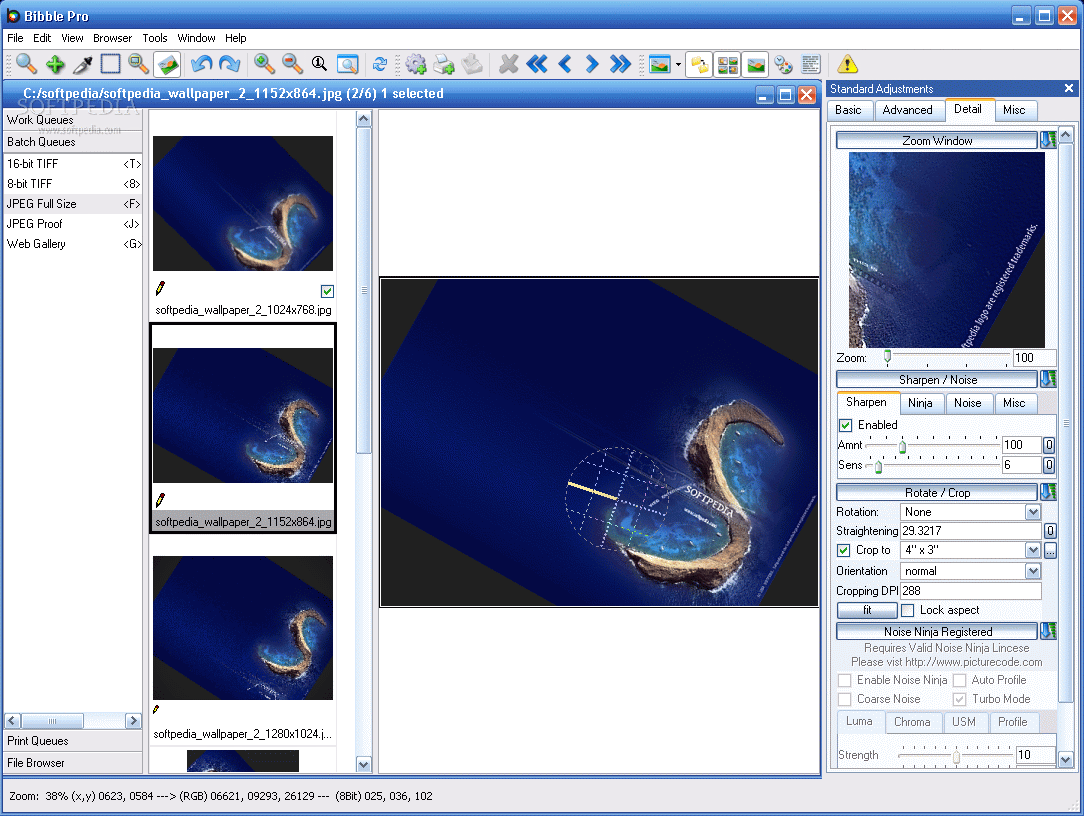
The standard adjustments panel in the right is divided into four sections: basic, advanced, detail and miscellaneous. Above that you have the white balance tool that helps adjust the brightness and tint of the image, based on the user-defined light conditions ("incandescent", "fluorescent", "sunny", "cloudy", "shady", "flash", "click white", "custom kelvin" and "as shot").
The Basic standard adjustment covers settings like "auto level", "perfectly clear" (when this option is enabled the "auto level" one is automatically disabled, but if you want both of them enabled, first check "perfectly clear" and then "auto level"), the exposure degree, the vibrance, saturation, contrast, sharpening and fill light.
In the Advanced tab we take our picture to the next level of perfection by using the Color tool. It allows you to change the color filter, hue, saturation, contrast and vibrance. In addition to that, you have a Histogram menu where the user can make the desired settings.
The Detail menu covers the sharpen/noise, rotate/crop and Noise Ninja. The Noise Ninja tool reduces the digital noise of the image. In order to use this tool you have to be a registered user of Noise Ninja. To adjust the noise levels in the picture, choose between the three options of fringe reduction (standard, strong and strongest) and you can also enable the Demosaicing Artifact reduction box (checking this box will reduce the overall sharpness of the picture).
In the Miscellaneous menu, the user defines the settings for color management, the output size (scale percentage, output DPI (dots per inch), width (in pixels), height (in pixels) and the lens correction (define brand, model and lens type). In the lens correction menu you can also make adjustments for chromatic aberration correction of the lens (different refractive index for different wavelengths of light), and vignetting (a reduction in image brightness in the image periphery compared to the image center).
The great thing about Bibble is that it is very flexible and allows docking the windows and moving them around as you wish. All the Standard Adjustments have a Zoom window (except for the advanced menu) and the "focus window cursor" button becomes active so that you can see better the changes that take effect.
The Good
It has lots of options and it really does a great job. The best feature I can think of is the "black and white" plug-in which can make the image really artistic and give it a professional touch. The fact that it supports most major cameras and RAW formats adds great value. Also, Bibble is the first independent application to support Nikon's encrypted white balance information.
The software runs perfectly on Windows, Mac and Linux (check on the system requirements)
The Bad
As always, I have a problem with the price of the product. I know that the guys put a lot of sweat in developing Bibble Pro, but the price seems a little high to me. But, if you really want best quality images, you've got to pay the price.
The Truth
Considering the alternatives on the market Bibble Pro represents a good option. I wish I didn't have to pay that much on the software, but the truth is that it is worth the money. It does a great job with your images and the results are really amazing.
However, I'm going to wait for a while to see what other products will show up before opening my wallet.
Bibble Pro 4.8 is definitely a good choice for processing the "raw" image files and giving them the professional twist we all dream of.
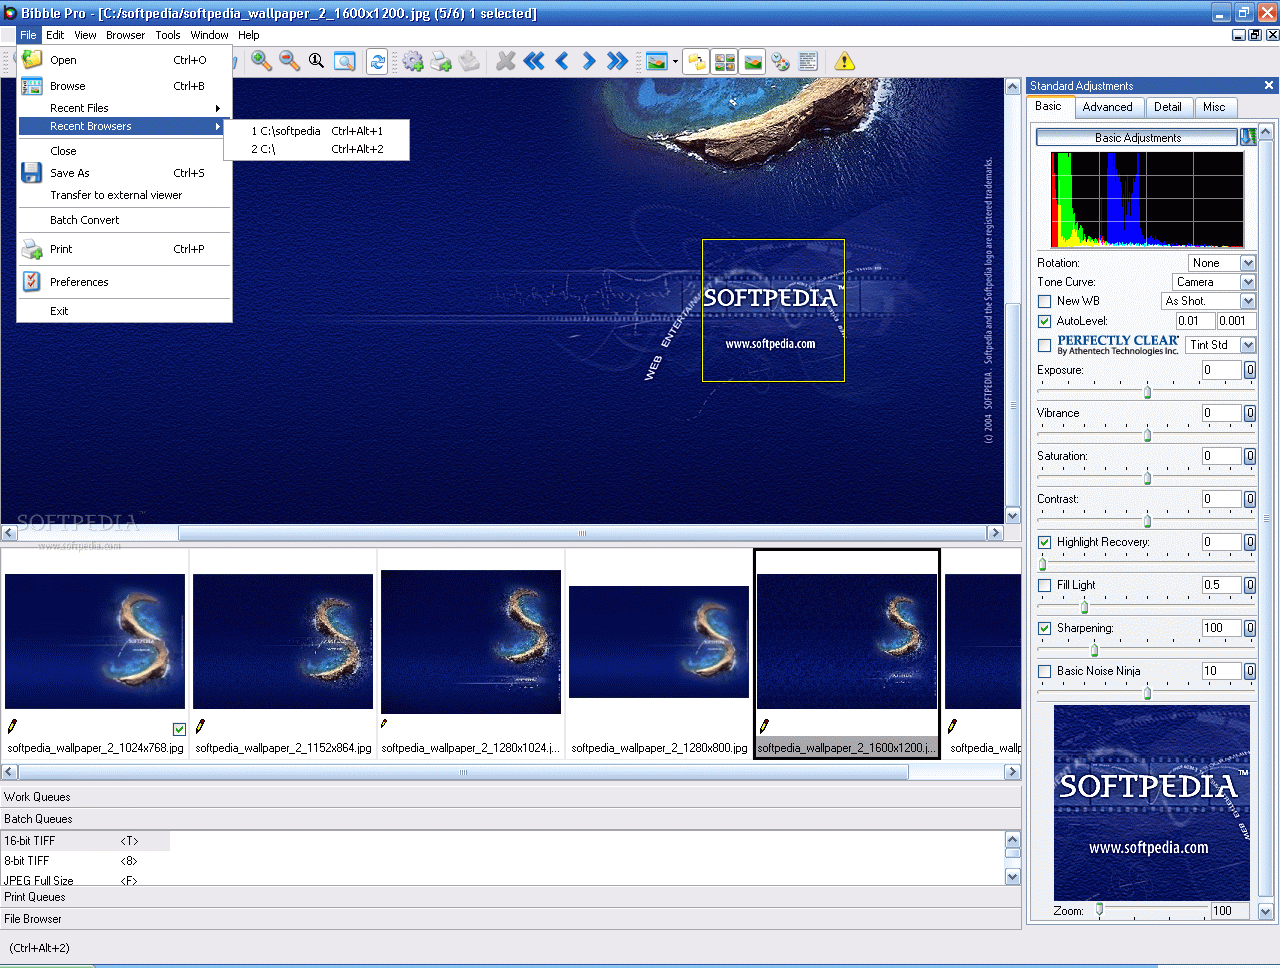
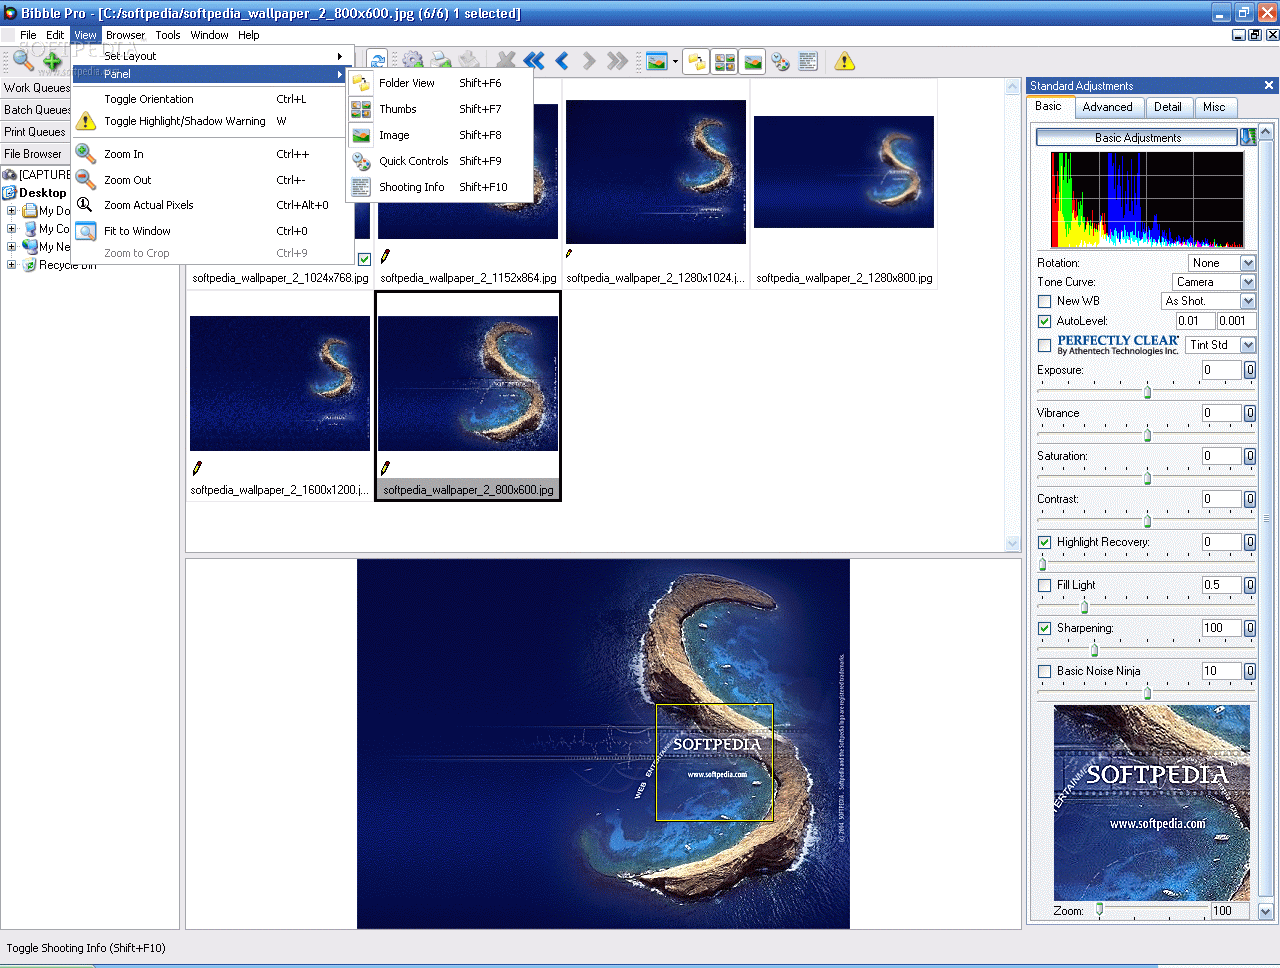
Here are some snapshots of the application in action: