14 DAY TRIAL //
 I am sure that many of you have played with an image editing tool at least once in your life. If not to express the artist in you then at least to make fun of one of your friends by setting him/her in the most uncomfortable environments.
The number of applications that can be employed in this sense is quite large. However, not all of them provide you with the desired results. So here's a little nifty tool to make you laugh on the account of your friends.
Deformer distorts and deforms the pixels in the pictures with the least effort from you. All there is to it is for you to select one of the tools available, apply the effect with the desired intensity and save the image. The price of the application is $29, which seems kind of steep, but at least you have a period of 15 days to try out the software and see what it can do for you. And as there is no other limitation save the time restriction, there will be no problem in evaluating the program.
The interface is not complicated at all and you will easily find your way among the tools. However, the fact that it takes the entire screen and your only chance to toggle between applications is the keyboard is extremely nagging. The most uncomfortable thing is that despite the fact that your entire desktop is occupied, all the options are concentrated in the middle of the screen in an 800x600 area. It would have been nice to at least have access to the taskbar.
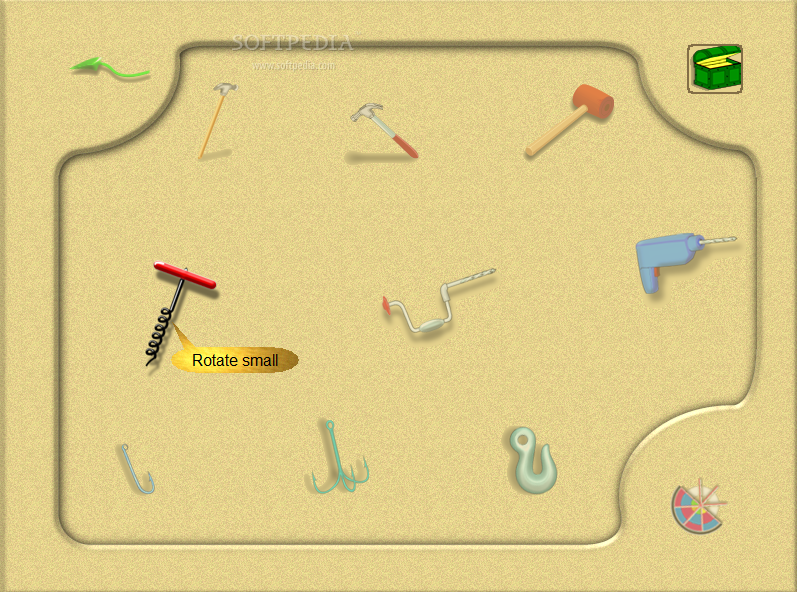
Also, in order to use a different set of tools (and these are really working tools like drilling machines, fishing hooks, crane hooks, hammers, corkscrew, vacuum cleaners etc.) you have to access separate windows and lose the sight of the loaded image.
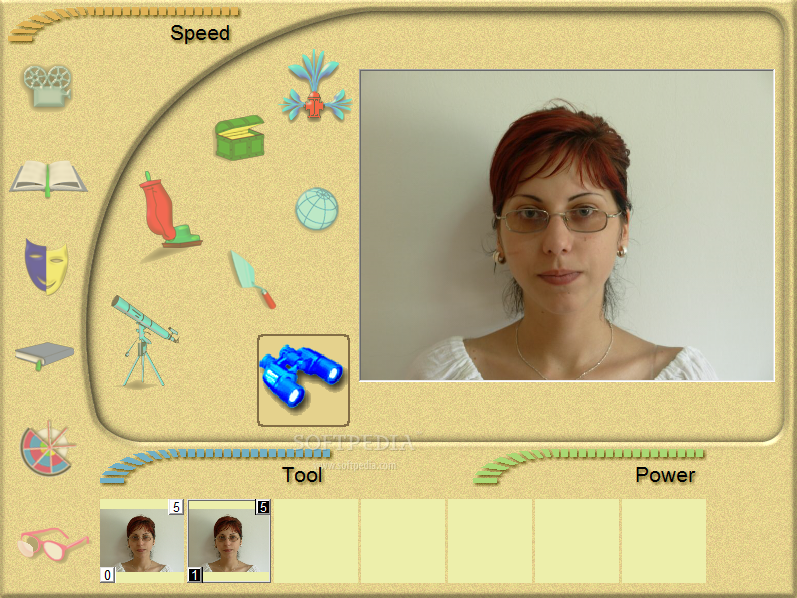
Anyway, the minute you launch the application you will be required to choose one of the options available in the pane. That is open a picture, load a previously saved project, import from scanner or simply insert one image. In the lower right corner there is the Options icon. There is nothing to configure and a simple selection of your choice will suffice. The alternatives here allow you to select video interpolation, set the default size of the images when saving them, select the source, show tooltips and animate buttons.
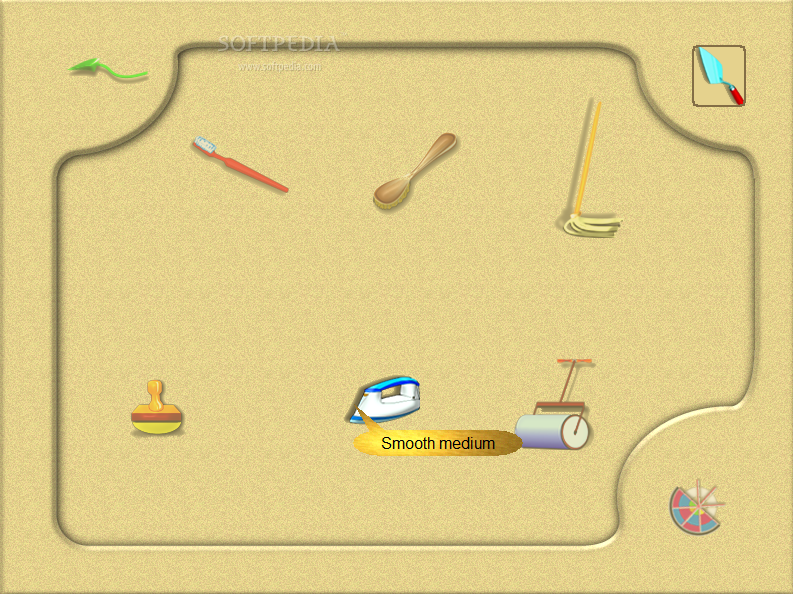
I suggest enabling the tooltips as the application is very unconventional. To give you an example in this sense, think that for using the Undo function you will have to select a toothbrush, a bigger brush or a mop; for a medium smooth of the image you will have to do a little ironing on it and for a large rotation a drilling machine has to be used.
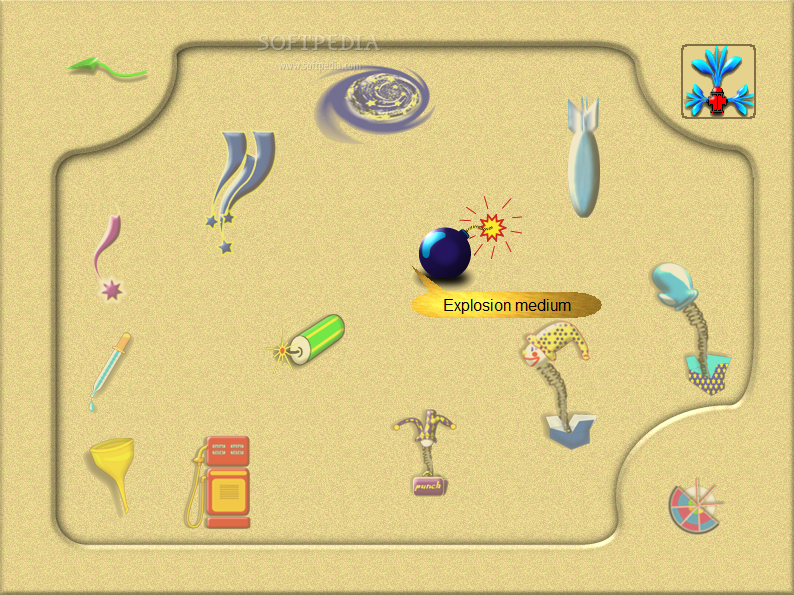
These being said, prepare to work those tools to the fullest. There are five sets of tools for you to choose from. Catastrophe Tools includes the instruments for pinching, bloating, punching and collapsing. Each instrument has three levels: small, medium and large and these represent the only way to control the deformation on spread area. If you want to drop a little the intensity of the tool or lower the entire deformation, simply use the two sliders under the image (Tool and Power).
Toolkit set comprises instruments for zooming, rotating and moving. To get the right idea on the moving tool, it is just like the smudge tool in Photoshop. And zooming is not what you would expect because it acts just like placing the picture under a flawed piece of glass. Rotate is not the equivalent of turning the picture to a certain number of degrees but its effect is rather similar to twisting.
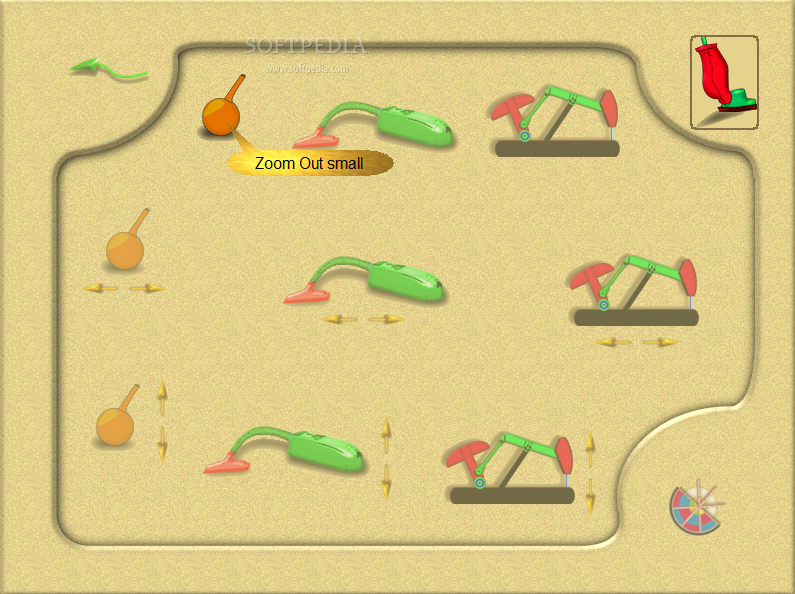
Shrink tools, represented by the vacuum cleaner, consists of a whole bunch of zoom out machinery. You can apply this effect vertically, horizontally or on the entire image. The Zoom Out tool, regardless of its level (small, medium or large) is resembling the Pinch effect in Catastrophe tools.
The Telescope icon is the door for some more zoom effects, but this time you will be zooming in. Here you will benefit as well from horizontal and vertical zoom in deformation and zoom in on the entire picture. The magnifying glass will give you a zoom in for a smaller scale, the binoculars a medium sized one while the telescope brings you the highest zoom in level possible in Deformer.
As there is no undo option present in the main application window (except for Reset which brings the entire image to the initial, undeformed state), you will have to use one of the tools present in Plain Tools section. There are only two instruments available and the one on the first row is the Undo tool (the two brushes and the mop). The second tool present is called Smooth, but it is actually another way of undoing the effect up to a certain point.
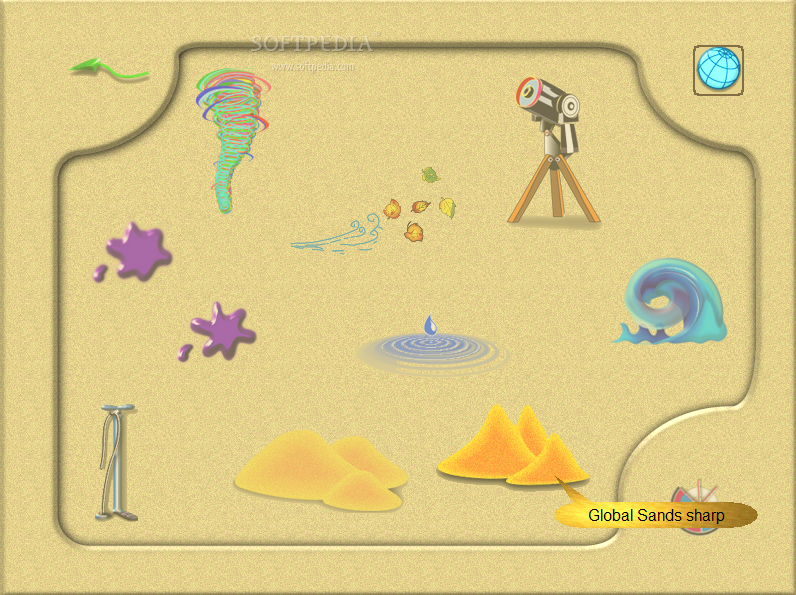
Global tools comprise both natural twist (tornado) and twirling effects as well as wave effects, sand smoothing, ripples and blots.
In the lower part of the main window you will notice that there are instances of the image you are working on. They are actually keyframes to be saved either as AVI video or as an animated GIF. The application makes available both of the options, although I would not recommend saving your animation as GIF (check the last picture below). The quality of the resulting animation is quite OK in AVI video format, but when it comes to GIF, the result is just not what you would expect.
But these are not the only options for saving your work. You can also keep it as a regular static image (JPG, TIF, BMP, TGA, PCX, PNG, FPX AND PSD formats are supported), send it directly to the printer or simply save just the project and continue it at a later time.
The Good
The results obtained are definitely funny and working with the application is extremely easy. The result output options allow you to convert to GIF or save it in AVI video format. This way you can save all the stages of the deformation process.
Applying the effects is done with a simple drag of the mouse and if you put your back into it you can achieve great results. Previewing your work is as simple as pressing the Play button (video camera) in the top left corner of the main area.
When saving in AVI format, you can configure the codecs available for the best quality possible.
The Bad
The interface is way too uncomfortable and toggling the tools takes a lot of time as they open in a separate window. I also had a bit of trouble with finding the right tool as their icons were deformed and in some cases misrepresented them.
The lack of a help file forces you to try each option first and see its effect. And as the names are not quite illustrative for the effect, this test and try period may take a bit longer.
The Truth
The application is great to have fun with pictures and the possibility of saving it as video or animated GIF is just great. However, adding a help file would really give the users a hand with the application. The interface is not brilliant either and you will find working with the different tools quite a long stretch.
The price is almost $30, which would be absolutely OK if the quality of the animated output result would be convenient (saving it at a lower resolution doesn't do the trick).
Here are some snapshots of the application in action: