14 DAY TRIAL //
 I think it's in our nature to reach out for more each time, no matter if it's about our private life, the position in the company we work for or our car. We're not going to talk about these, they are important, but out of my reach. Today, I want to tell you about a program that can tweak your video card to the max, minimizing the risks involved by this operation.
RivaTuner is a program built to help you change all undocumented registry entries for the Detonator drivers. Apart from that, it can replace the NVIDIA Control Panel since it can change all those settings too, but it doesn't stop here...Let's start this little application (only 1.23MB download size) and put it to work!
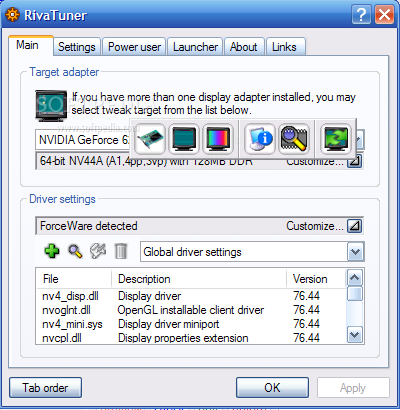
First of all, don't let the name trick you, if you own an ATI video card, there's no big problem with this, you can use most of the program's features. Next, we will pass through all the program's areas and point out the most important and useful features. After installing and starting RivaTuner, you will find yourself looking at the Main tab. Here you have two areas available.
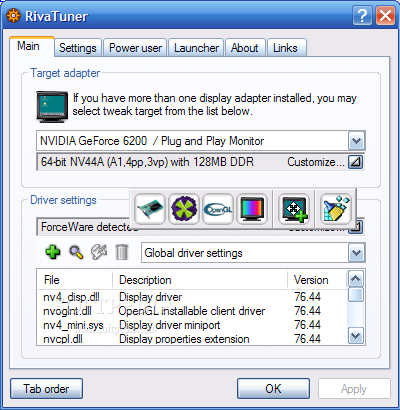
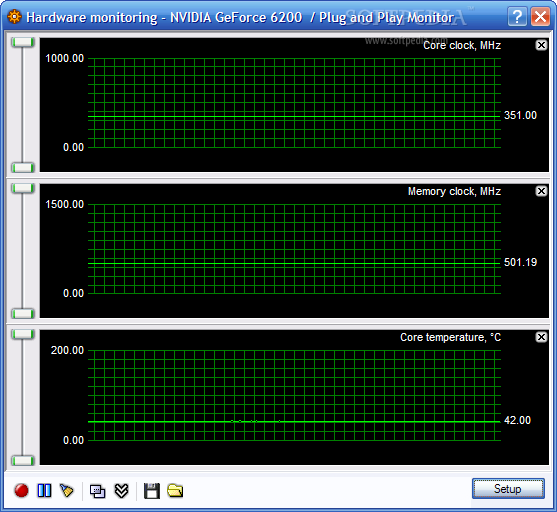
In the first one you will find the Target Adapter - the video card that you're going to tweak using the program (if you have more than just one card, you can select it here). Here you can also access a settings bar with six items, three of them for low level adjustments, a diagnostic report tool, a hardware monitor and the last one enabling you to reset the display driver.
In the low level mode, your hardware is accessed directly, without using the display drivers at all, but programming the graphic processor's registers directly. The low level system tweaks allow you to change the AGP settings, while the NVStrap driver can only be used with NVIDIA adapters and controls the advanced graphic processor configuration. More info can be found using the official FAQ page or using the contextual Help system.
Before moving on to the second low level settings area, I will tell you few words about the Help system. When I used RivaTuner for the first time I found myself staring at the available options with no clue about what they do, for most of them. Pressing the F1 key will help a lot, showing you the help for the currently selected item. Even more than this, you can select the context menu tool (the question sign left to the close button) and then click a control on the interface and find out more about it.
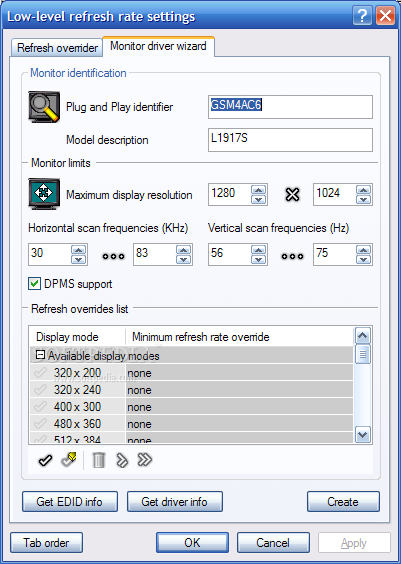
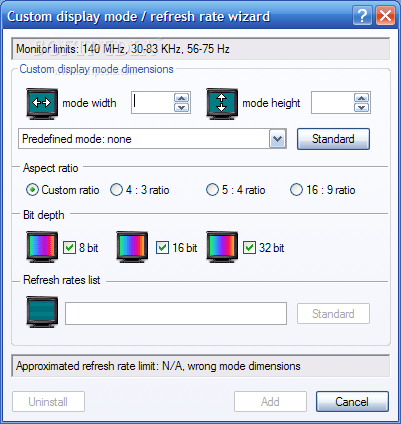
The second low level area, the refresh rate settings can be used to change the display settings for your monitor, such as the display resolution, the scan frequencies or the refresh. Pay attention to your hardware manual and try not to exceed too much the factory settings because you may damage it.
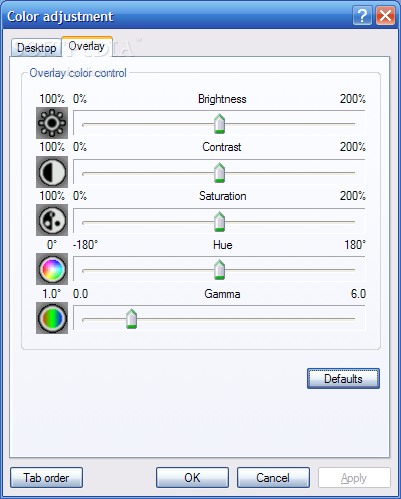
The last low level settings to be found here can help in changing brightness, contrast and gamma settings. You can adjust primary colors separately, use a custom color curve and control the process using the driver (GDI) or directly accessing your RAMDAC palette, if the first method fails to deliver the expected results. Needless to say that you can save as many color profiles as you need, as there's no limit...
We'll move on to the second area in the Main tab, since the uses of the last three areas from the settings bar that we just talked about are obvious. In the Driver settings area you can change the settings that you usually have to access via the NVIDIA Control Panel. The settings bar available here has the same number of items as the previous one, six. Let's visit them one by one and see what they have to offer...
The System tweaks area has some dangerous options, so extreme caution is advised! In the first tab you can enable driver-level hardware overclocking and save the profile settings. If your video card allows it, you can change the settings for the card's cooling fan, depending on the work mode (you can have different settings for 2D, low power 3D and high power 3D modes).
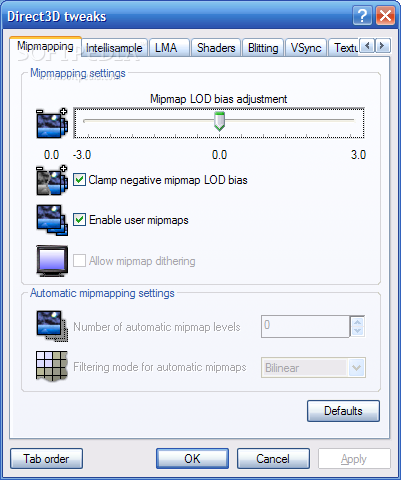
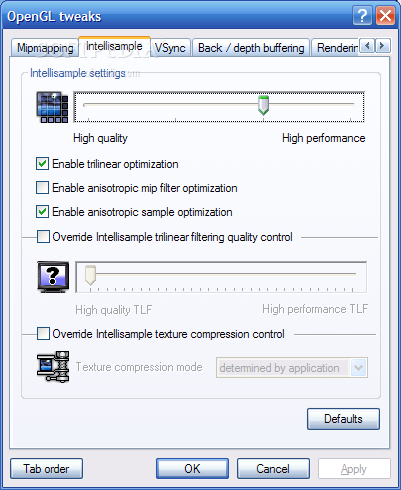
Talking about each area of this program will take ages, so I'll leave a good part of it for you to discover. Now we're moving on to the next two items, which take care of your gaming visual pleasure - Direct3D and OpenGL settings.
The Direct3D settings can improve your performance and image quality without any risk. You are able to change all that you can think of like Mipmapping, Intellisample, Shaders, Vsync or Antialiasing settings. Some of these, may be well known, others may sound like Star Trek, but don't worry - the contextual help is always two mouse clicks away!
The last three settings bar items take care of your color schemes, refresh rates, display modes and there's also the opportunity to reset the driver's settings using the registry, everything is fairly easy to do.
Before moving on, I have to tell you about an extremely useful feature of this program, and that is the ability to use different settings for each 3D application that you use. Even better, there are over one hundred of settings available for you, each one for a popular application. The list is very rich, as I said - you can find all 3D Mark versions since 2001 and a lot of games, from Wolfenstein or Lock On to Doom3 or Far Cry.
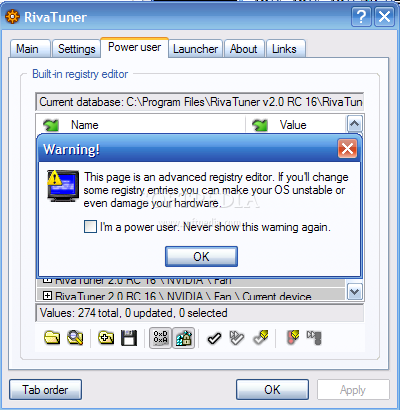
Leaving the Setting tab at your disposal, I'm moving straight to the Power User's playground. First, a warning: if you're not a power user, than be an extremely well informed beginner before saving even a single change to these undocumented registry settings. There are 274 values available in the program's version that I have here, but the number may be slightly different on your system, depending on the graphic processor's type and the display driver that you are using.
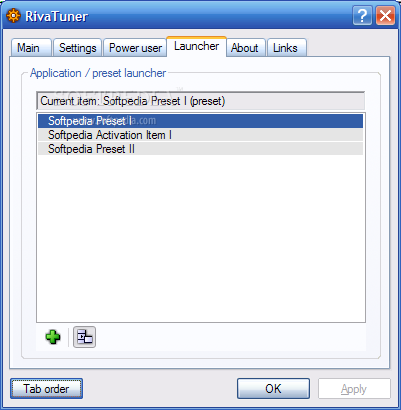
The Launcher tab hosts different profiles and settings that you have saved. You can edit, remove or create desktop shortcuts to these profiles from here. After spending some time to test and save your favorite presets, I am sure this will be a great time saver!
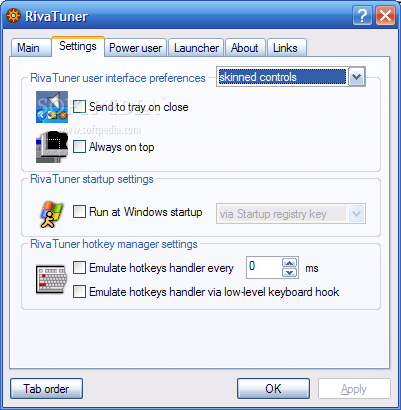
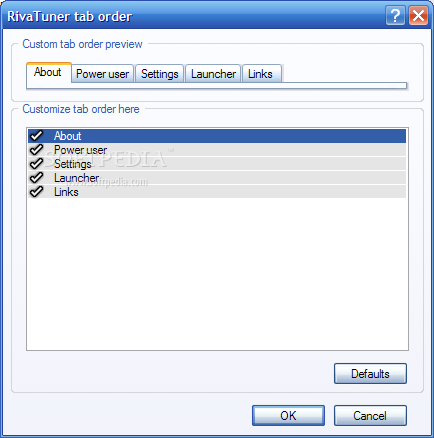
Finally, there are two tabs - About and Links - that can be removed easily from the interface using the Tab order button if they bother you. You can also change the display order of the tabs displayed on the interface, if you are not happy with the default one.
What can I say more? RivaTuner is an application that takes a little time to get to know, carefully programmed and designed. If you want to get maximum image quality and speed, I highly recommend it!
The Good
RivaTuner comes with over 100 application presets, it has a small and clean interface and can do everything you can think of to your video card and driver...perhaps even something more... and all for free, of course!
The Bad
In order to use it to its full potential, you have to check carefully the Help system and sometimes spend some time searching for exact details on what you're about to do. It may be frustrating in the beginning, but don't worry: hard work is always repaid in gold with RivaTuner!
The Truth
There's no absolute video tweaker around, one that has tons of functions and extremely easy interface, doing all with just a mouse click. We're still far from that goal, but in the meantime, we can get the best ones that we can find and try them all. Take my word for it, RivaTuner is a top one, if not THE ONE...yet!
Here are some snapshots of the application in action: