 14 DAY TRIAL //
 Normally, software reviews are written by my colleague, Ionut Ilascu, but when he offered me the chance to take a look at the SilkyPix Developer Studio 3.0, I quickly accepted the task. The main reason behind my fast decision is because I shoot most of the images used in product reviews and press events Softpedia's editors attend to and I have some experience with the RAW workflow.
Introduction and the raw basics
The SilkyPix Developer Studio is not an extremely popular RAW application but it's gaining more turf by the day, especially since distribution and development moved to US, under the umbrella of Shortcut Software. It is brought to you at a $149 price and 14 days of trial, with all options and functions active, so there really should not be too much trouble testing it.
Version 3.0, the latest incarnation of the SilkyPix Developer Studio, is compatible with Windows XP, Windows Vista, Windows 2000, Windows ME, Mac OS X v10.2 (Mac OS X v10.3 or later), OS X Leopard (10.5) and supports Core Duo & Universal Binary.
"So, what does it do?" you might be asking yourselves by now. Well, it does two things photographers need these days and that's converting RAW files to more accessible formats (JPEG and TIFF) and managing your workflow to decrease the post-processing time and to increase productivity. In more mortal terms, you can process many files with little fuss and a limited number of clicks.
"What is RAW again?" is another question you might be asking yourselves in case you have just joined the digital photography boat and you are feeling RAW sick. Without going too deep into the technicalities, you have to understand that RAW files are not images per se. They contain data that has to go through a demosaicing algorithm to become an RGB image. The major advantage of RAW files, also known as the "digital negatives", is that they give you complete freedom over the parameters that make up in image without compromising quality.
This also means that you can turn what appears to be a wrecked shot into a perfectly usable image (it might depend on your skills as well, but that is besides the point). One example of why are RAW files better than JPEGs, for instance, is the ability to change the white balance if you get it wrong on the field. If you are shooting JPEG and you accidentally set the wrong white balance or the camera gets confused and yields an erroneous value, post processing will be a serious pain in the slider. Moreover, if the deviation from the correct white balance is significant, obtaining the appropriate value to get the subject's face from zombie-like yellow to a decent skin color will also imply some severe image degradation. If, on the other hand, you had the inspiration to set your camera to record RAW, adjusting will be a tip-toe through the digital playground. You just have to take one slider (maybe two if you want to be meticulous) and drag them around until you get the desired result. More importantly, this will occur without any quality losses.
The RAW discussion can be prolonged to numerous pages, but that is not the purpose of this article. Let's get back to SilkyPix and see what it can do and what are its advantages, if any.
Overview of the interface
The first thing you notice upon the first encounter with SilkyPix Developer Studio is the simple and uncluttered workspace. Some people might call it austere, but I was actually pleased with the designers' decision to keep it as simple as possible.
In the upper part you get a basic set of drop-down menus, followed by some additional options, including thumbnail viewing modes, rotation, undo/redo buttons and other standard functions.
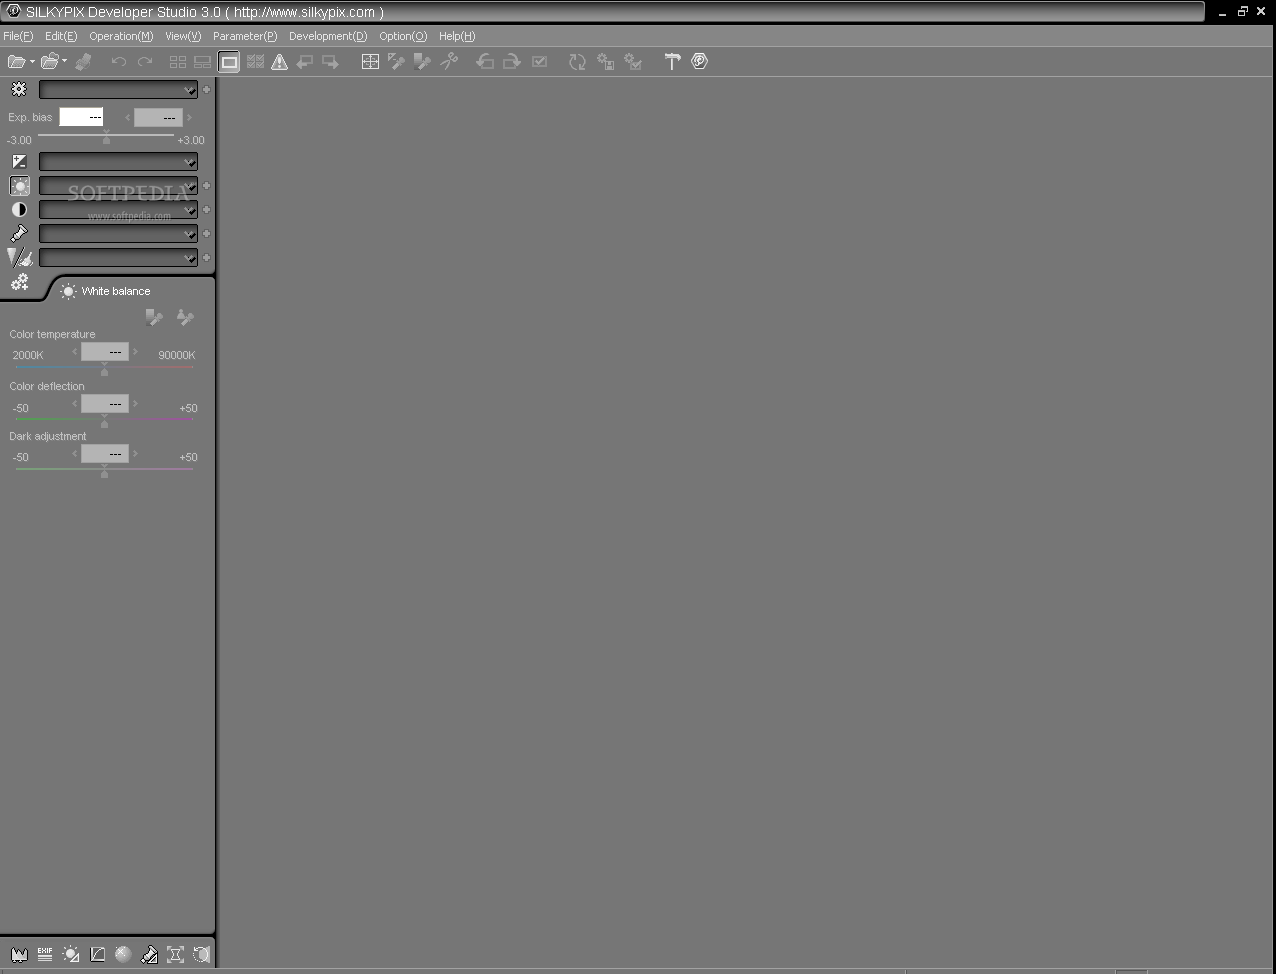
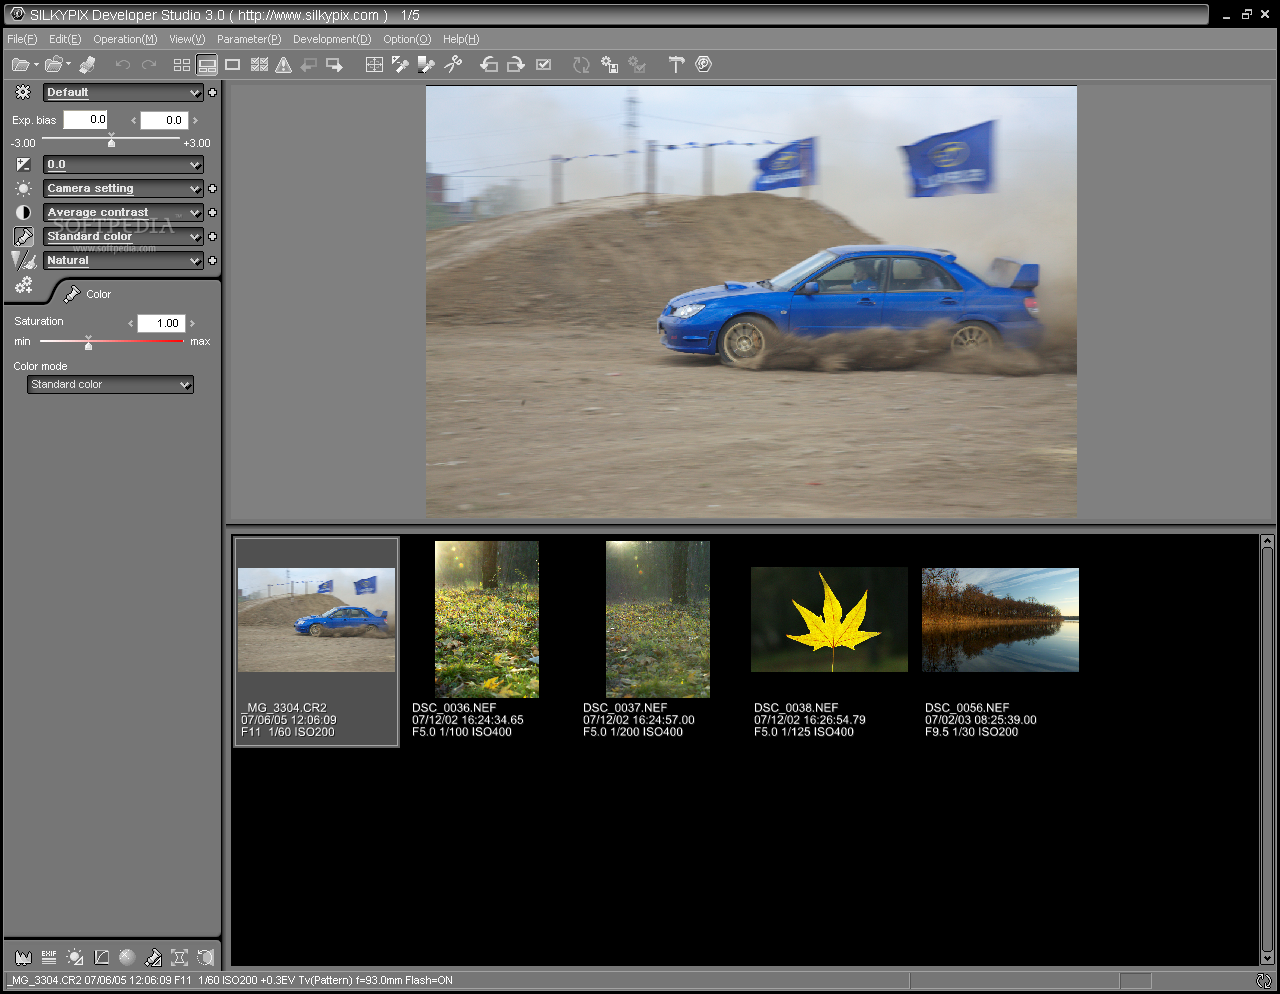
On the left side, you get the main window with the basic corrections: exposure, white balance, tone, color (saturation), sharpness and noise reduction and development (which basically means processing). If you don't like the left side you can always set the application to position the main window on the right. If you are not a "leftist" or a "rightist", SilkyPix allows you to display the parameter section as a floating window; this means that you can move it around and place it wherever your workflow dictates.
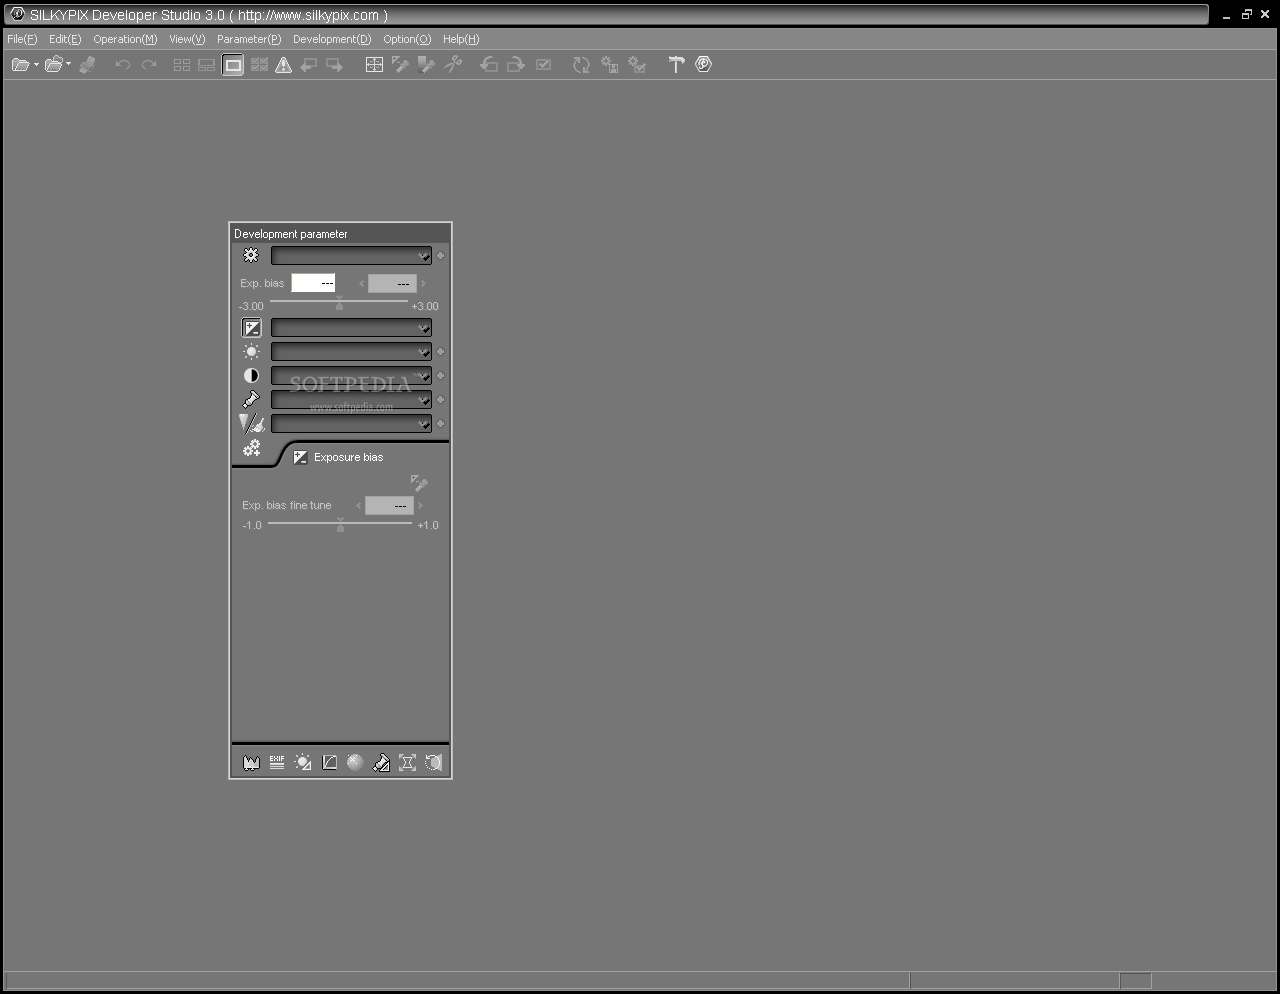
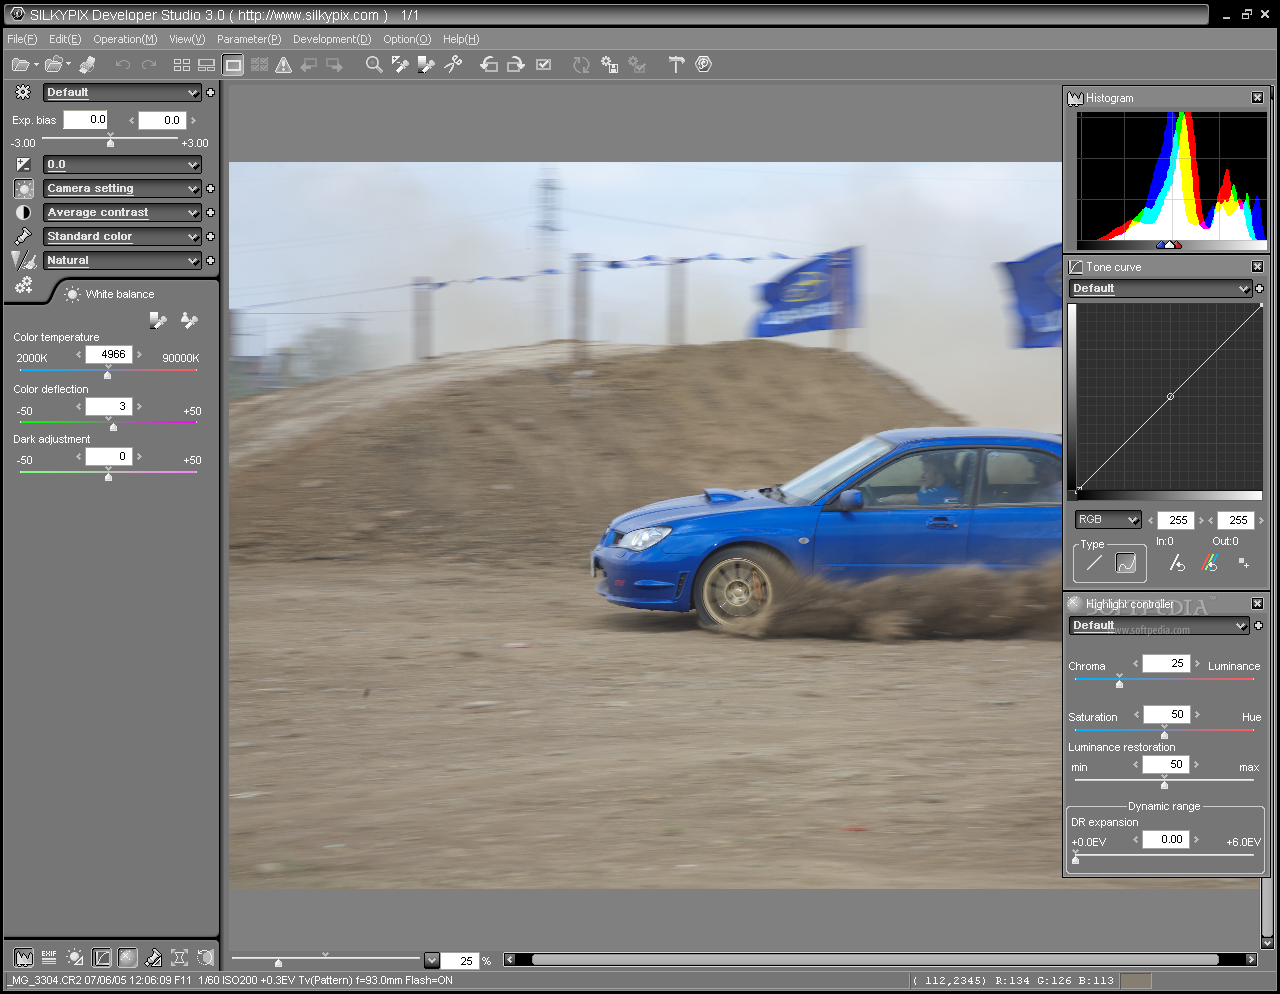
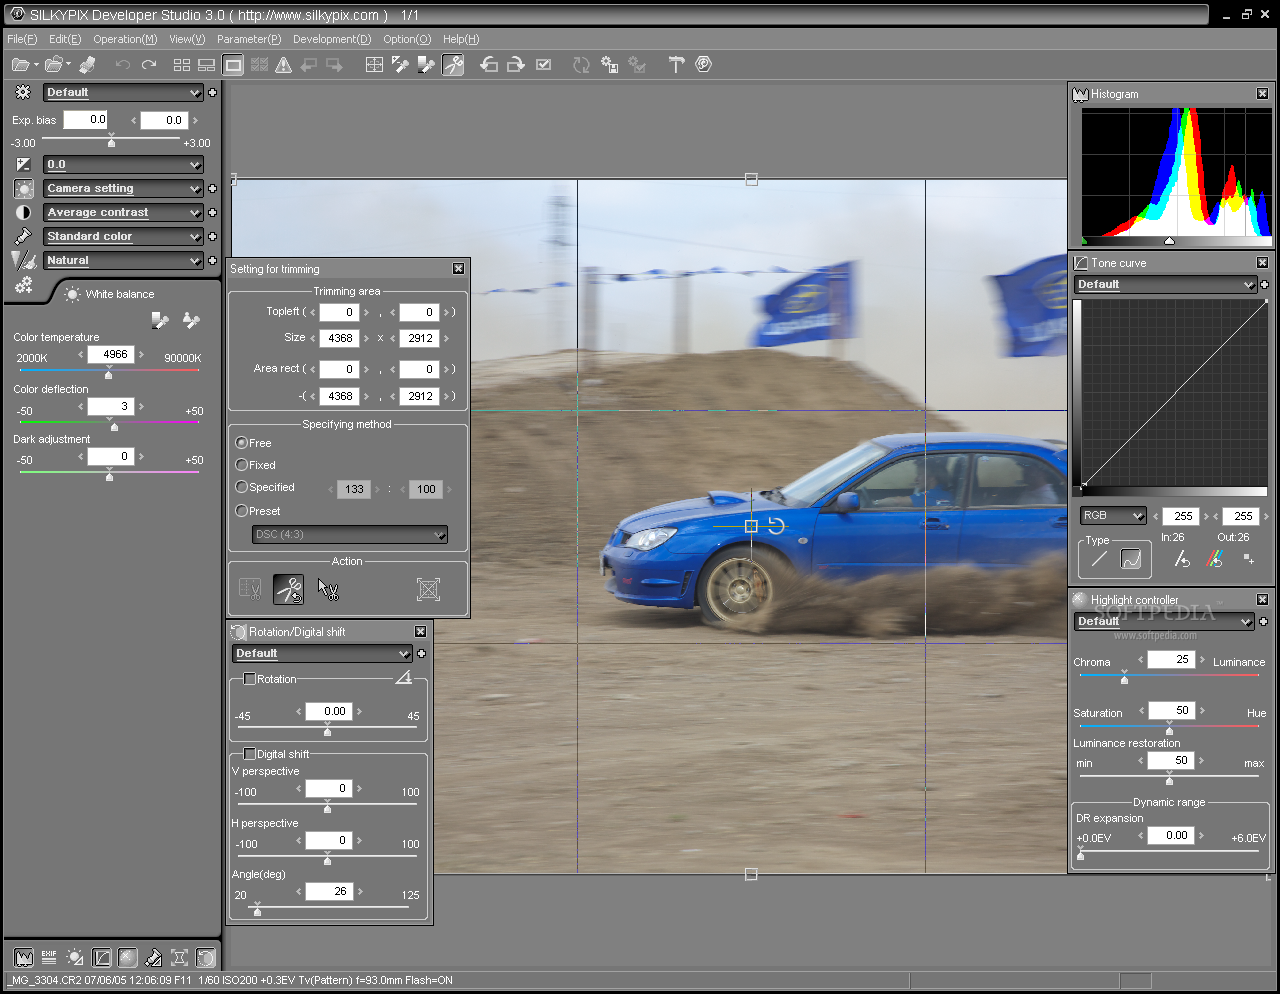
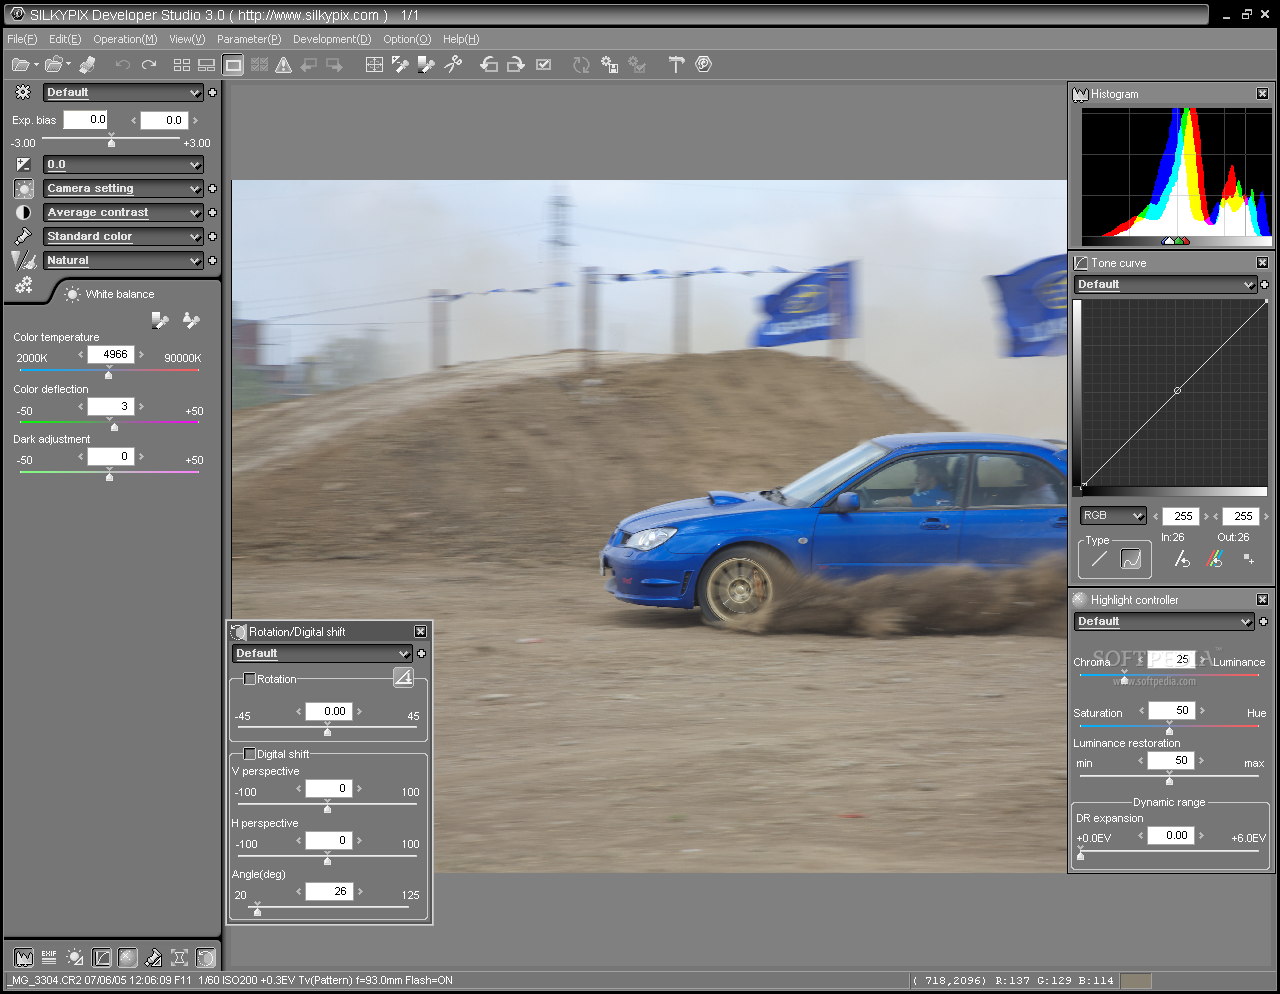
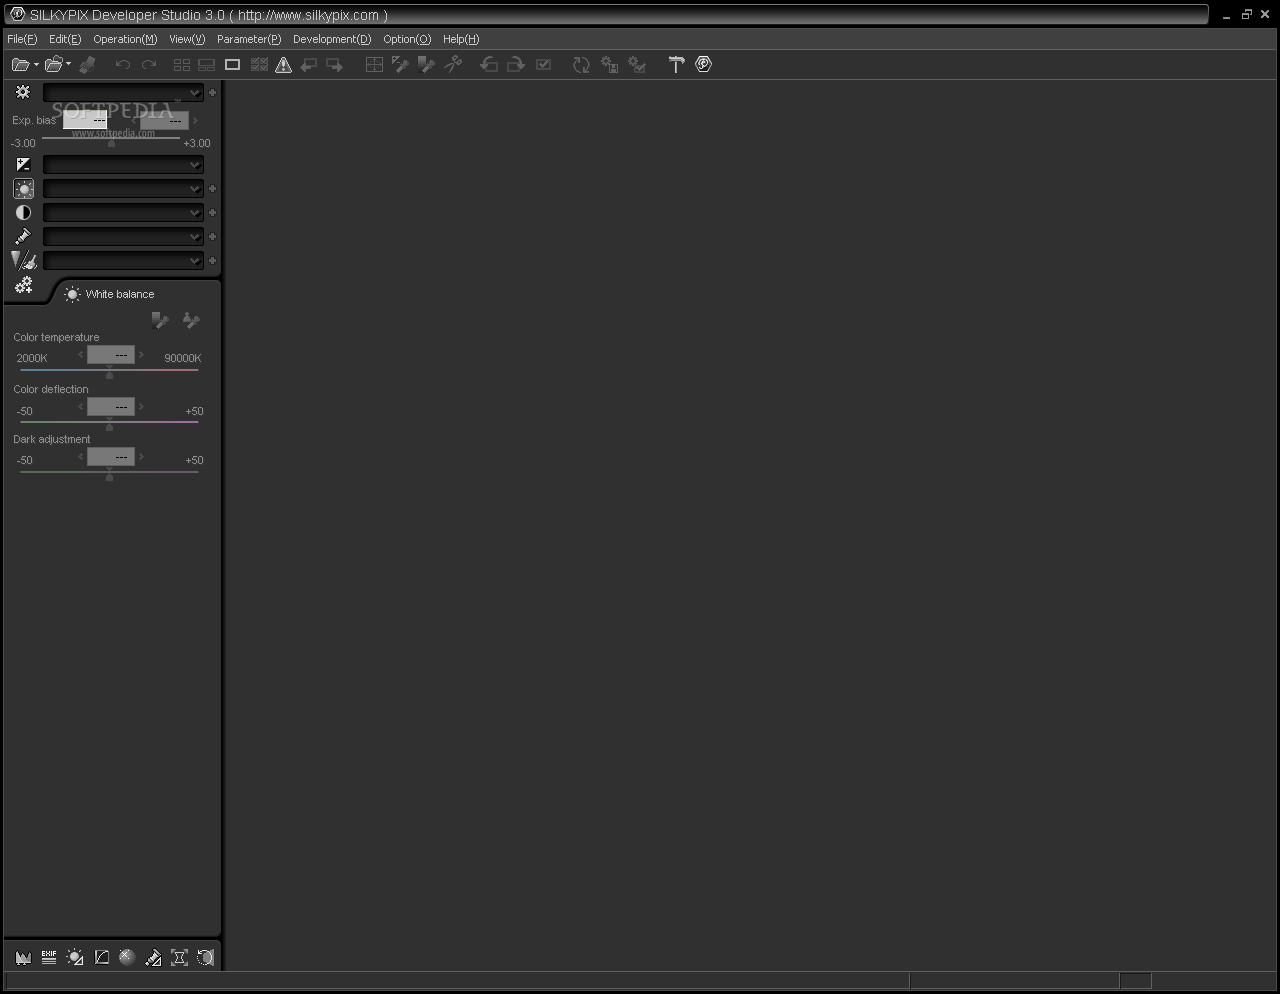
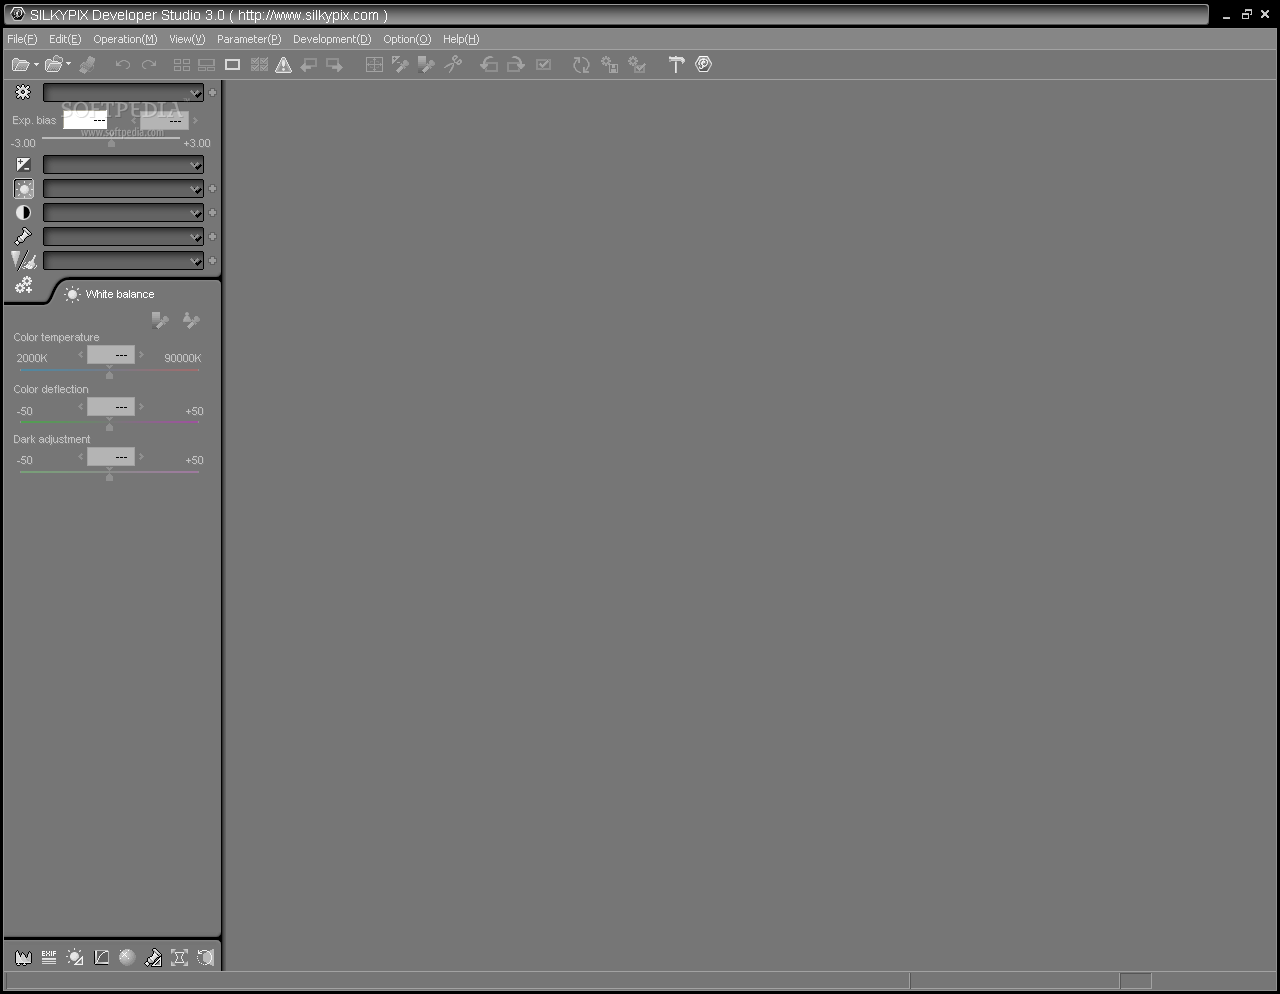
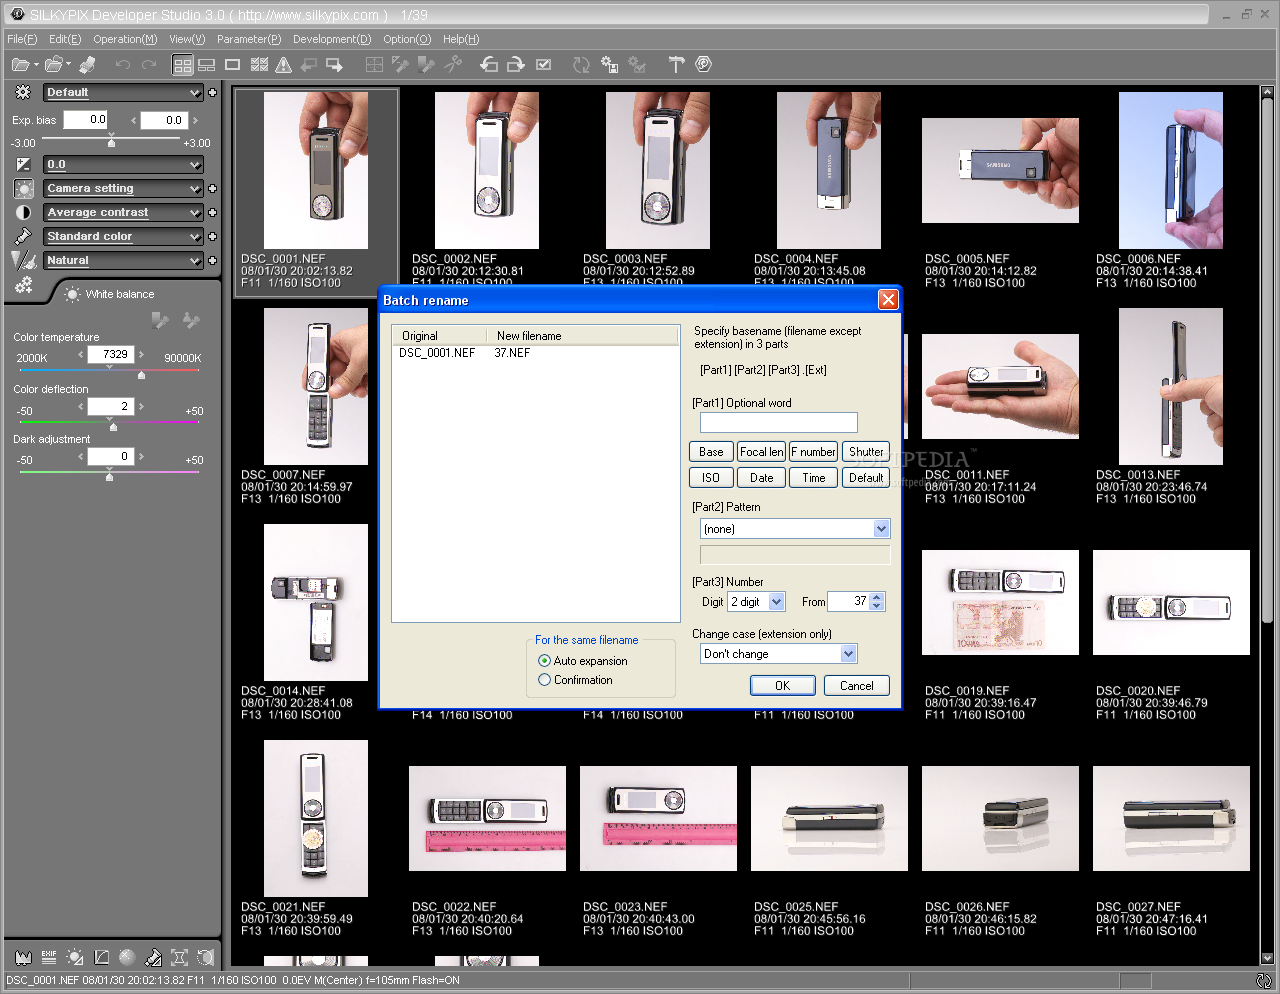
Now, here's my biggest gripe with SilkyPix's interface and, in fact, most of the applications' dealing with post-processing. As much as I enjoy the freedom of choosing the position of all the windows, I would like to be able to define my viewing area. I've made a screenshot to better illustrate my idea. I want to be able to set the boundaries of the viewing area, so that the floating windows don't hinder my workflow. In the second snapshot, you can see how the resizing of the main parameter window "shrinks the image"; it does not overlap it. It would be extremely handy to be able to set the application to do the same with the floating windows.
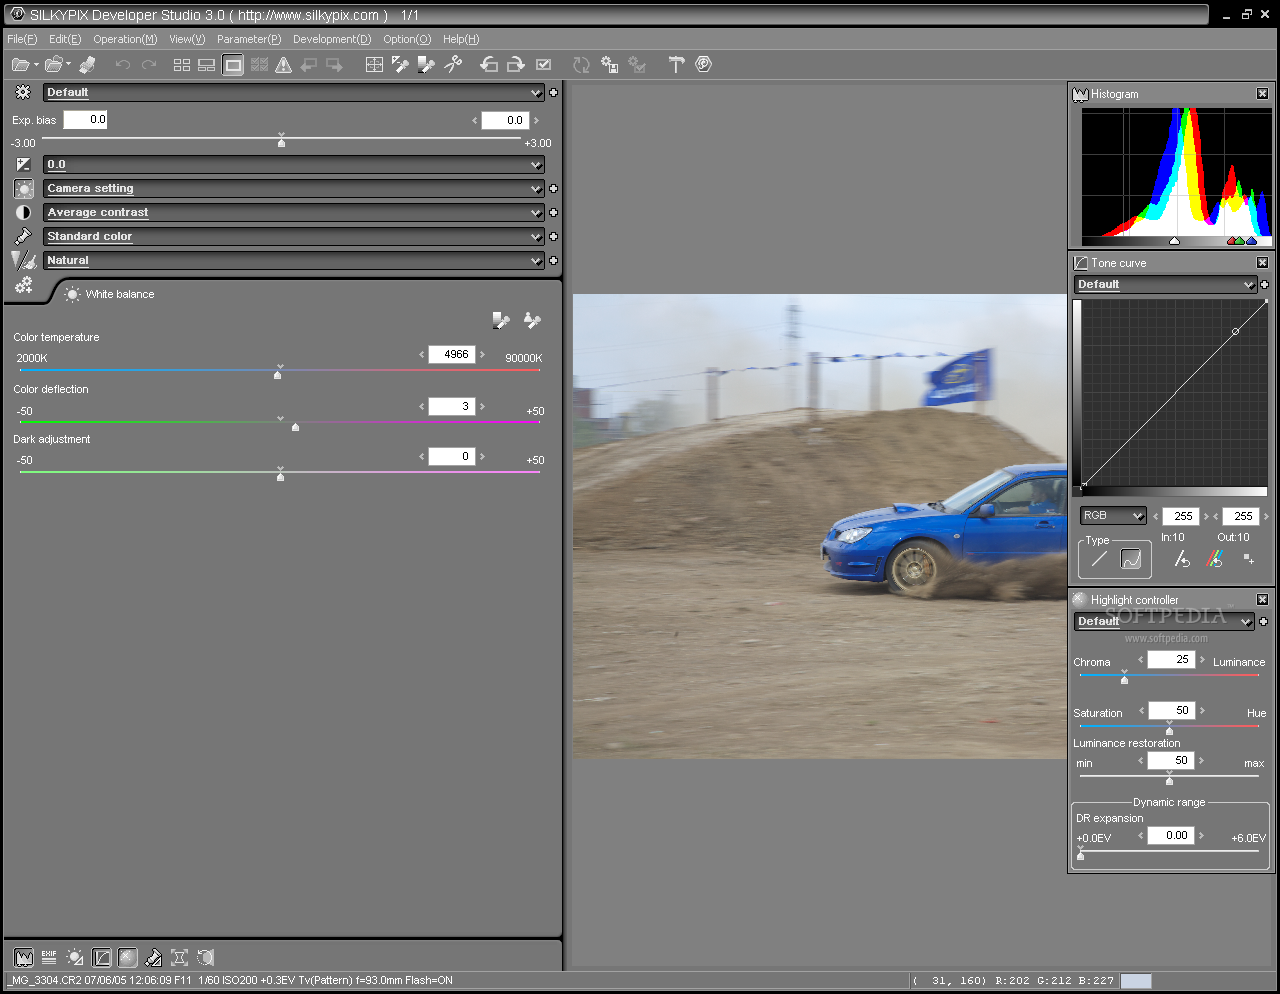

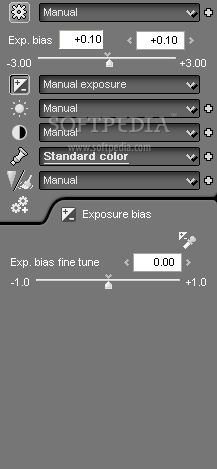
Let's take a look now at what SilkyPix allows you to change and how it allows it. The exposure bias button is pretty straightforward. You can adjust the exposure over a six f-stop range from -3 to +3. Moreover, there's also a fine tuning option from -1 to +1; a -1 setting will change the overall exposure range from -4 to +2, while a +1 setting will change it from -2 to +4. I did not quite understand why the fine tuning option was necessary. They could've just set the overall exposure range from -4 to +4.
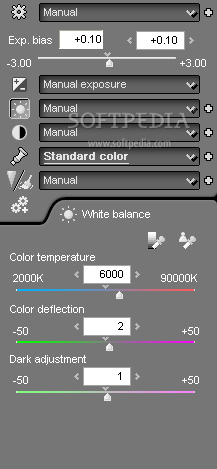
Moving right along to the white balance, it's worth noting that the software is able to read the camera setting and automatically apply it. Well, at least in theory. When I shoot mobile phones I usually set my white balance to flash, which is basically 5400 Kelvins, so that I have a reference point. I opened the image in SilkyPix, I set the white balance to "camera setting" and ...ta daaaa... 7329 Kelvins. Hmm, not what I expected. It might be something to do with the fact that I shoot with a Nikon and they are more problematic when it comes to white balance, especially when using other than the proprietary Capture NX. Since there are many converters unable to accurately read the white balance from Nikon DSLRs this isn't a big cons.
The white balance control also contains a color deflection slider (also known as "tint") and a "dark adjustment" slider. The latter is most useful since it allows the correction of color casts found in the shadows. Furthermore, SilkyPix Developer Studio comes with a fully-manual white balance adjustment tool that let's you tweak it to your preference and an impressive number of presets. Furthermore, you have two tools that can automatically compute the appropriate color temperature. One is the classic gray balance that implies clicking on what you know is gray in the original image. If you shoot human subjects you get the additional Skin Color tool, which does a bit more than adjusting color temperature. You click on a face in the image and the software adjusts the WB, but also changes exposure to what it reckons to be a natural face. It yields pretty accurate results, but some tweaking is required in order to achieve the best results.
All in all, apart from the aforementioned WB error, this parameter gives you complete control over your color temperature. You can't go wrong with it.
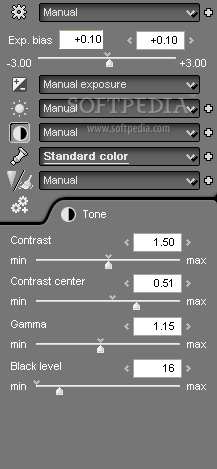
In the Tone department, you get three sliders: contrast, contrast center, gamma and black level. Apart from the contrast slider itself, the contrast center and black level are particularly useful. The former decides the point where the brightness level is not changed when adjusting the contrast (the manual reads). In more simple terms, when you set it to the smallest value the image will become lighter; conversely, when using a large value, the overall appearance will switch to dark. The black level controls the shadows' depth. Just like with the white balance, the Tone parameter has all the tools you need to achieve the desired results.
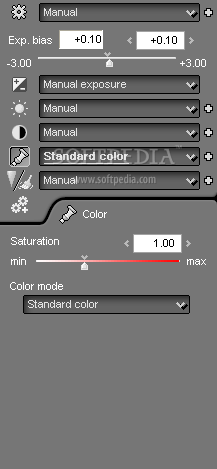
The Color parameter actually means saturation and there's only one slider and some presets. Compared to other converters, you might think that SilkyPix's developers were a bit sloppy with this one. However, deep down within the bowels of the application (I'm exaggerating a bit here) you'll find the "Fine color controller", which translates into raw power over the colors in the image. There is, however, one missing parameter: vibrance. This would have allowed for an "intelligent" saturation of the images without the endless tweaking of individual colors and masking of already saturated areas. Let's hope the next version will solve this issue as it saves a lot of processing time.
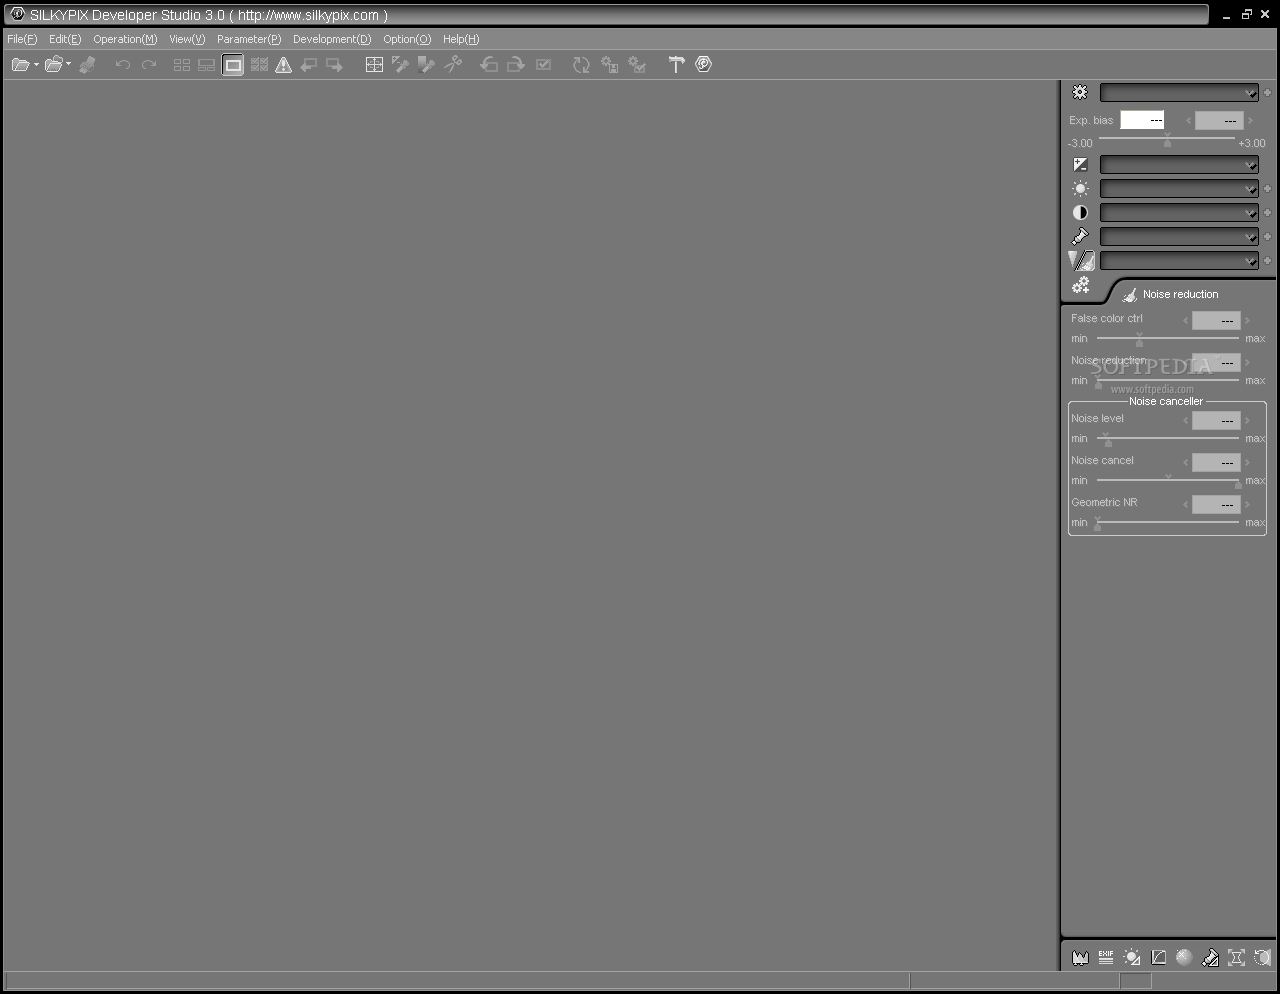
Next in line is the Sharpness and Noise reduction parameter. In fact, there are two separate parameters, but they are grouped together. The Sharpness parameter consists of three sliders: outline emphasis, detail emphasis and false outline control. They are a bit like the amount, radius and threshold parameters in other converters, albeit with some differences. The "outline emphasis" changes the overall sharpness, while the detail emphasis takes care of the finer elements in the image. You will notice that default settings are low for the outline emphasis and high for the detail emphasis. There's also a false color control that corrects the errors implied by the sharpening process.
Another parameter you don't see in many converters is the "Demosaic sharp" in the Development section, which changes the base sharpening applied to a RAW file. By default, it is set at 80 and is recommended to lower it if your image contains a lot of noise. The Development part also allows you to choose between color spaces: sRGB and AdobeRGB. As you can see, there's no ProPhoto RGB. I don't see it as a big problem, but, if you were used to processing RAW files in this wide gamut space, this might be an issue.
Now, on to some more additional parameters. We've already seen the white balance adjustment and fine color controller, but SilkyPix has some more parameters for you to tinker with. We won't go into the rotation/digital shift and lens aberration controller, since they are pretty standard. Instead, we will stop and take a look at the "Highlight Controller", in my opinion, one of the application's most powerful tools. As the name implies, this tool is all about highlights. You can choose the way you want your highlights to look like by using two sliders: chroma-luminance and saturation-hue. Without going into many details, I'll just tell you that you can recover blown highlights and make them blend in or, if you prefer, emphasize them.
The Highlight Controller also contains the Luminance Restoration and the Dynamic Range expansion slider, which are extremely useful, especially when processing landscapes.
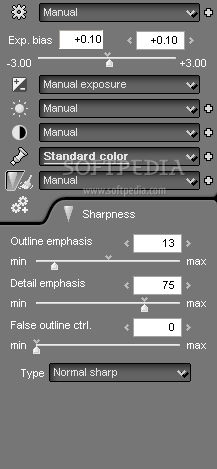
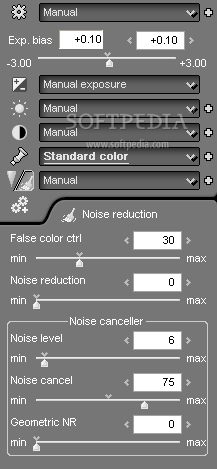
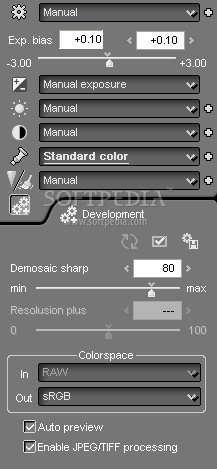
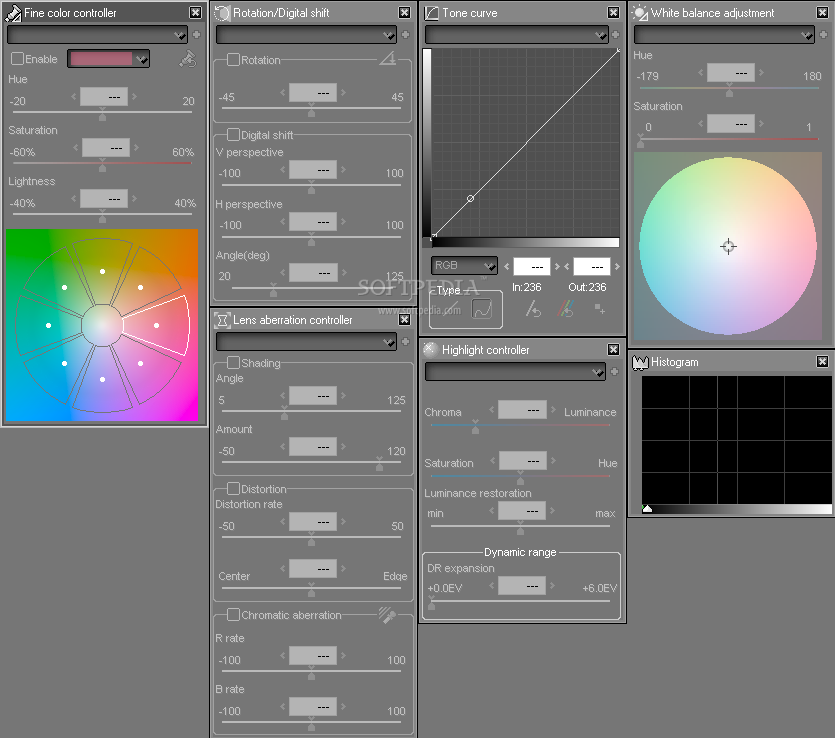
Image quality
First of all, let's get something straight. Image quality is an extremely subjective matter. What some might see as super-sharp other might find noisy and oversharpened. Some might like flat colors and others can't live without contrasty, saturated tones. It's all about taste. In my opinion, with some tweaking you can obtain extremely similar results up to a point when it's difficult to tell the difference between converters. There are some applications that yield superior results with the standard results and there are some which require a bit of tweaking to get it right, but in the end, the differences are minute. On the other hand, photographers always want the best software that squeezes the most out of their RAW files and that's not necessarily a bad thing.
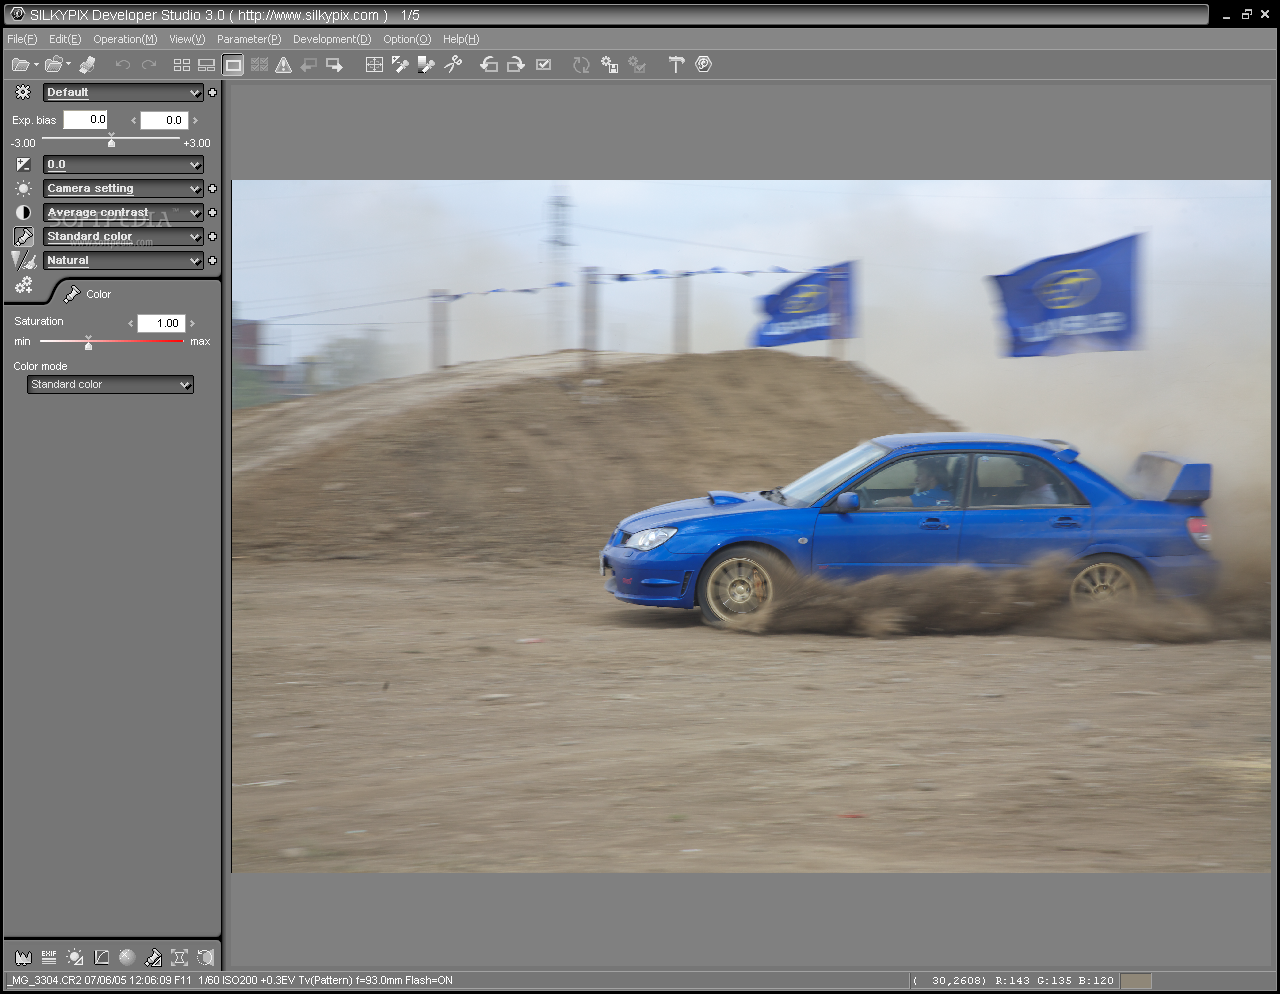
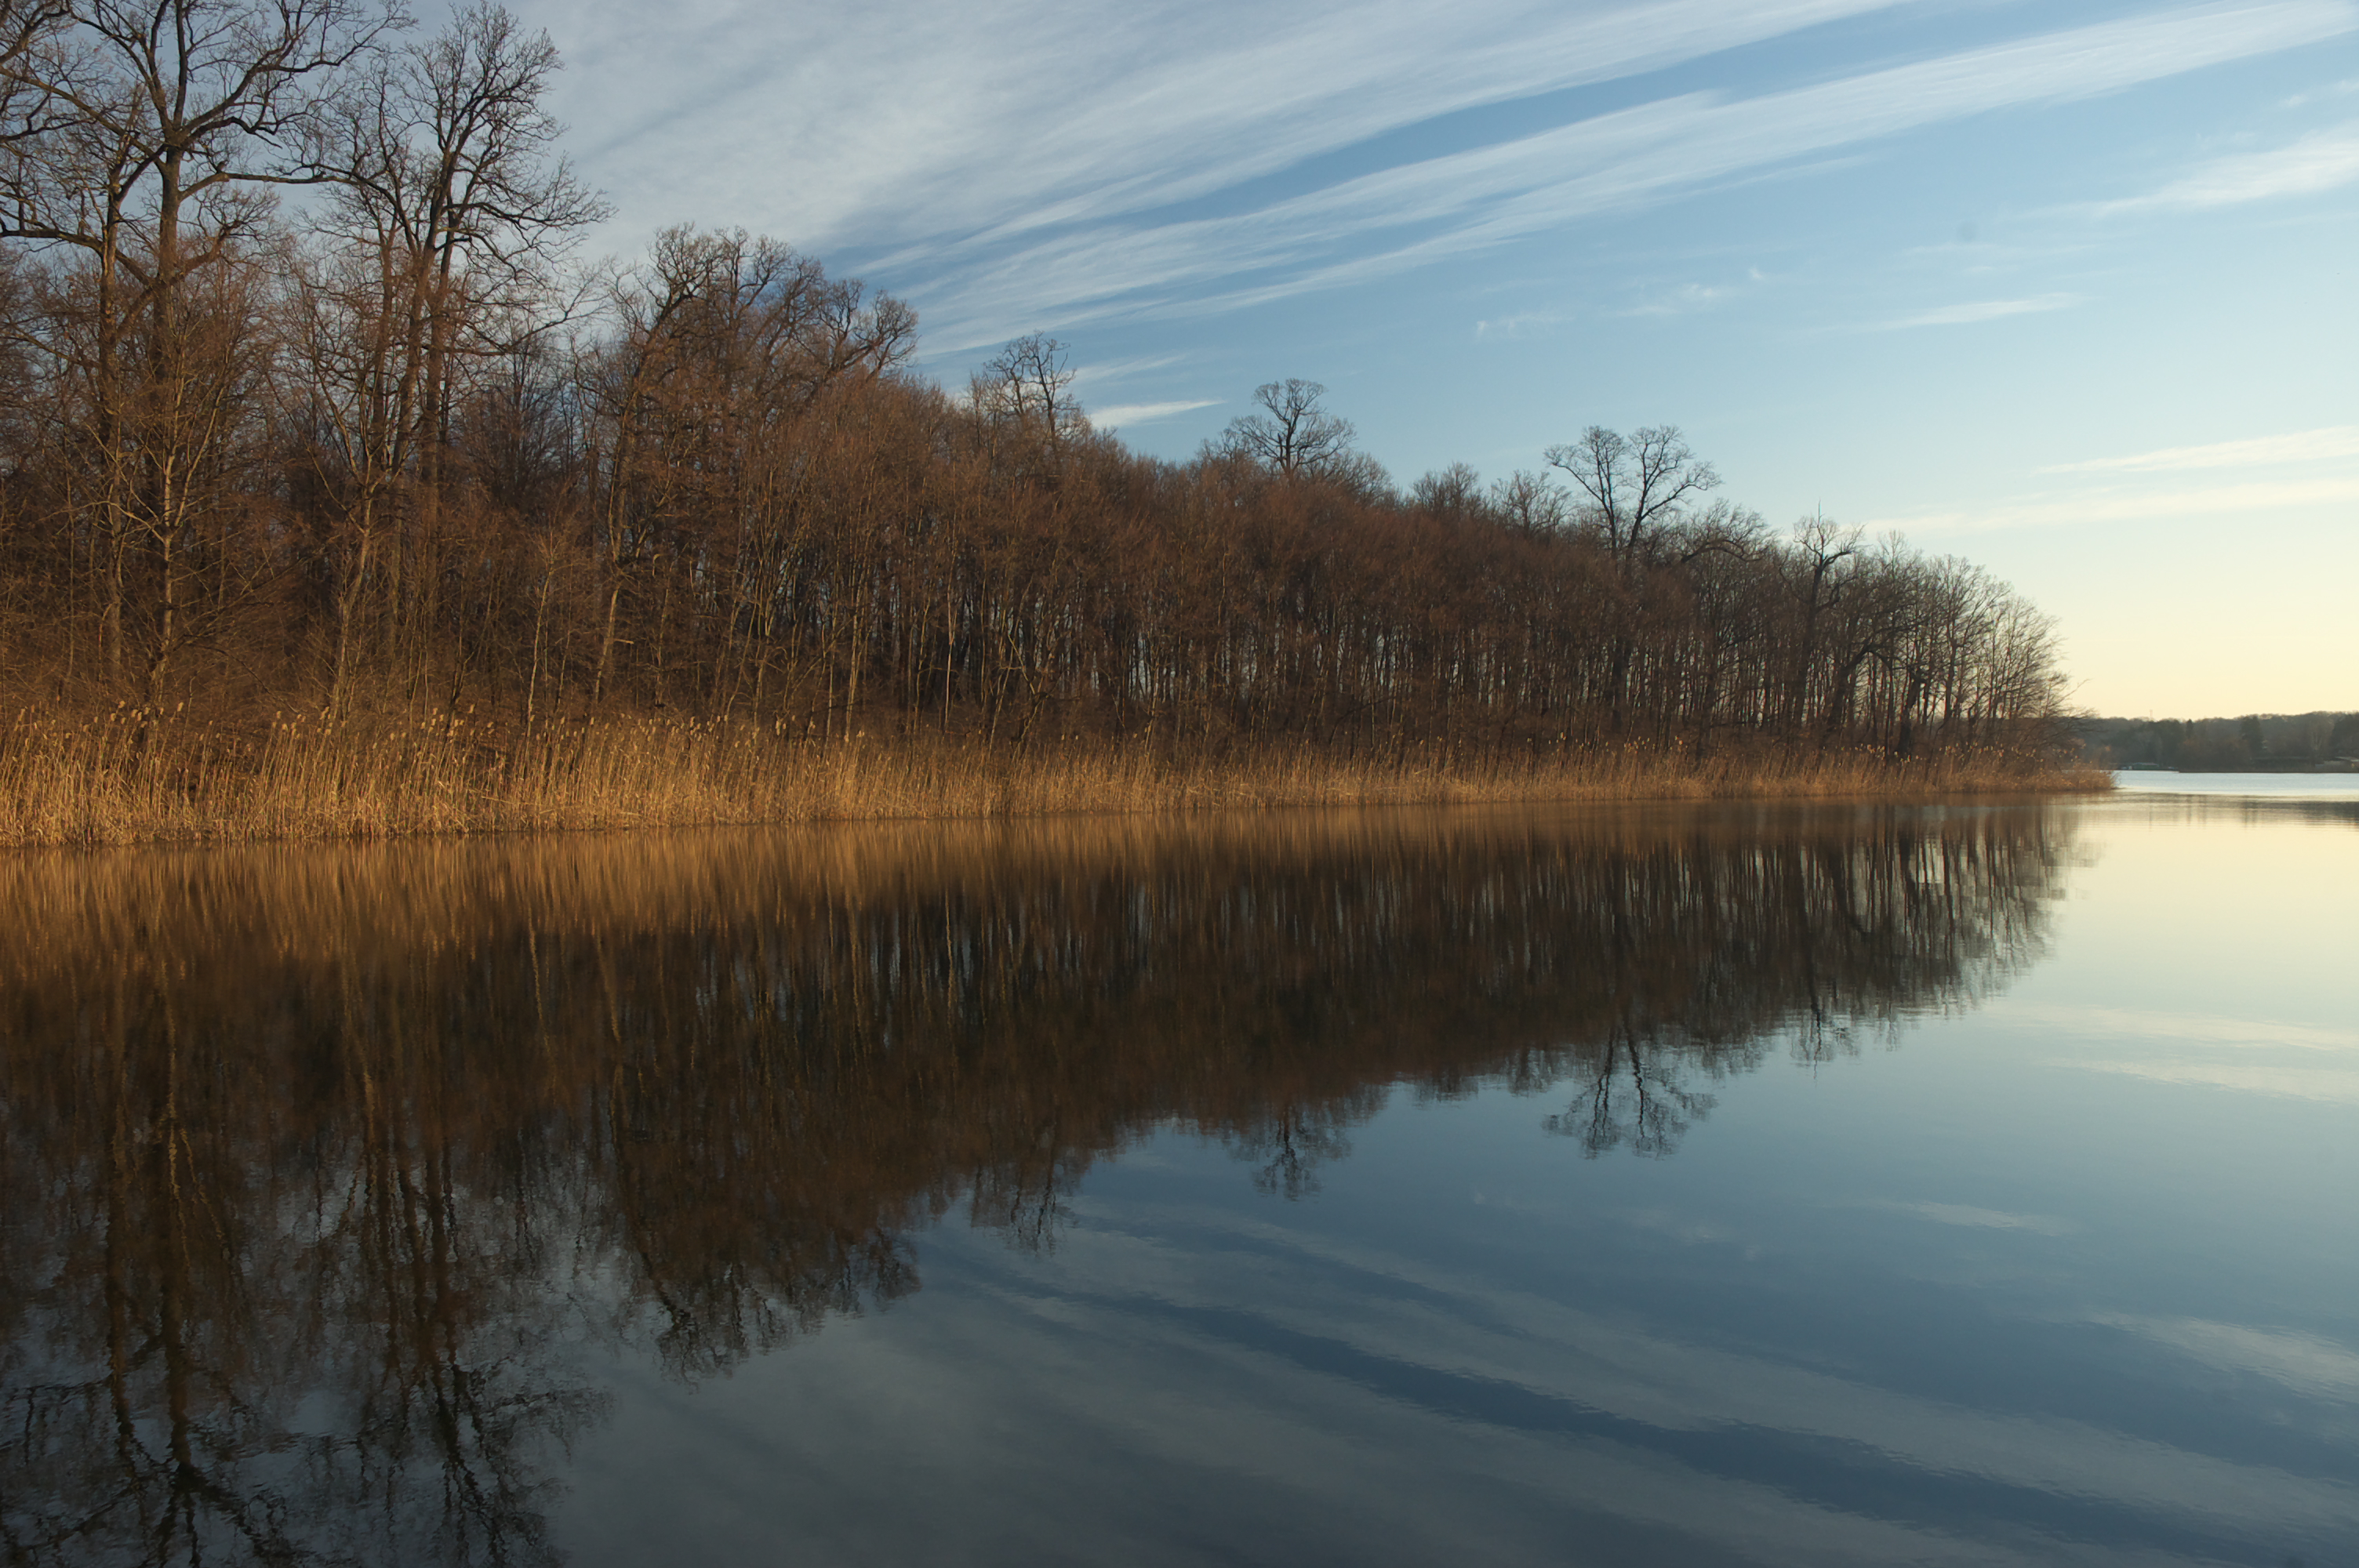
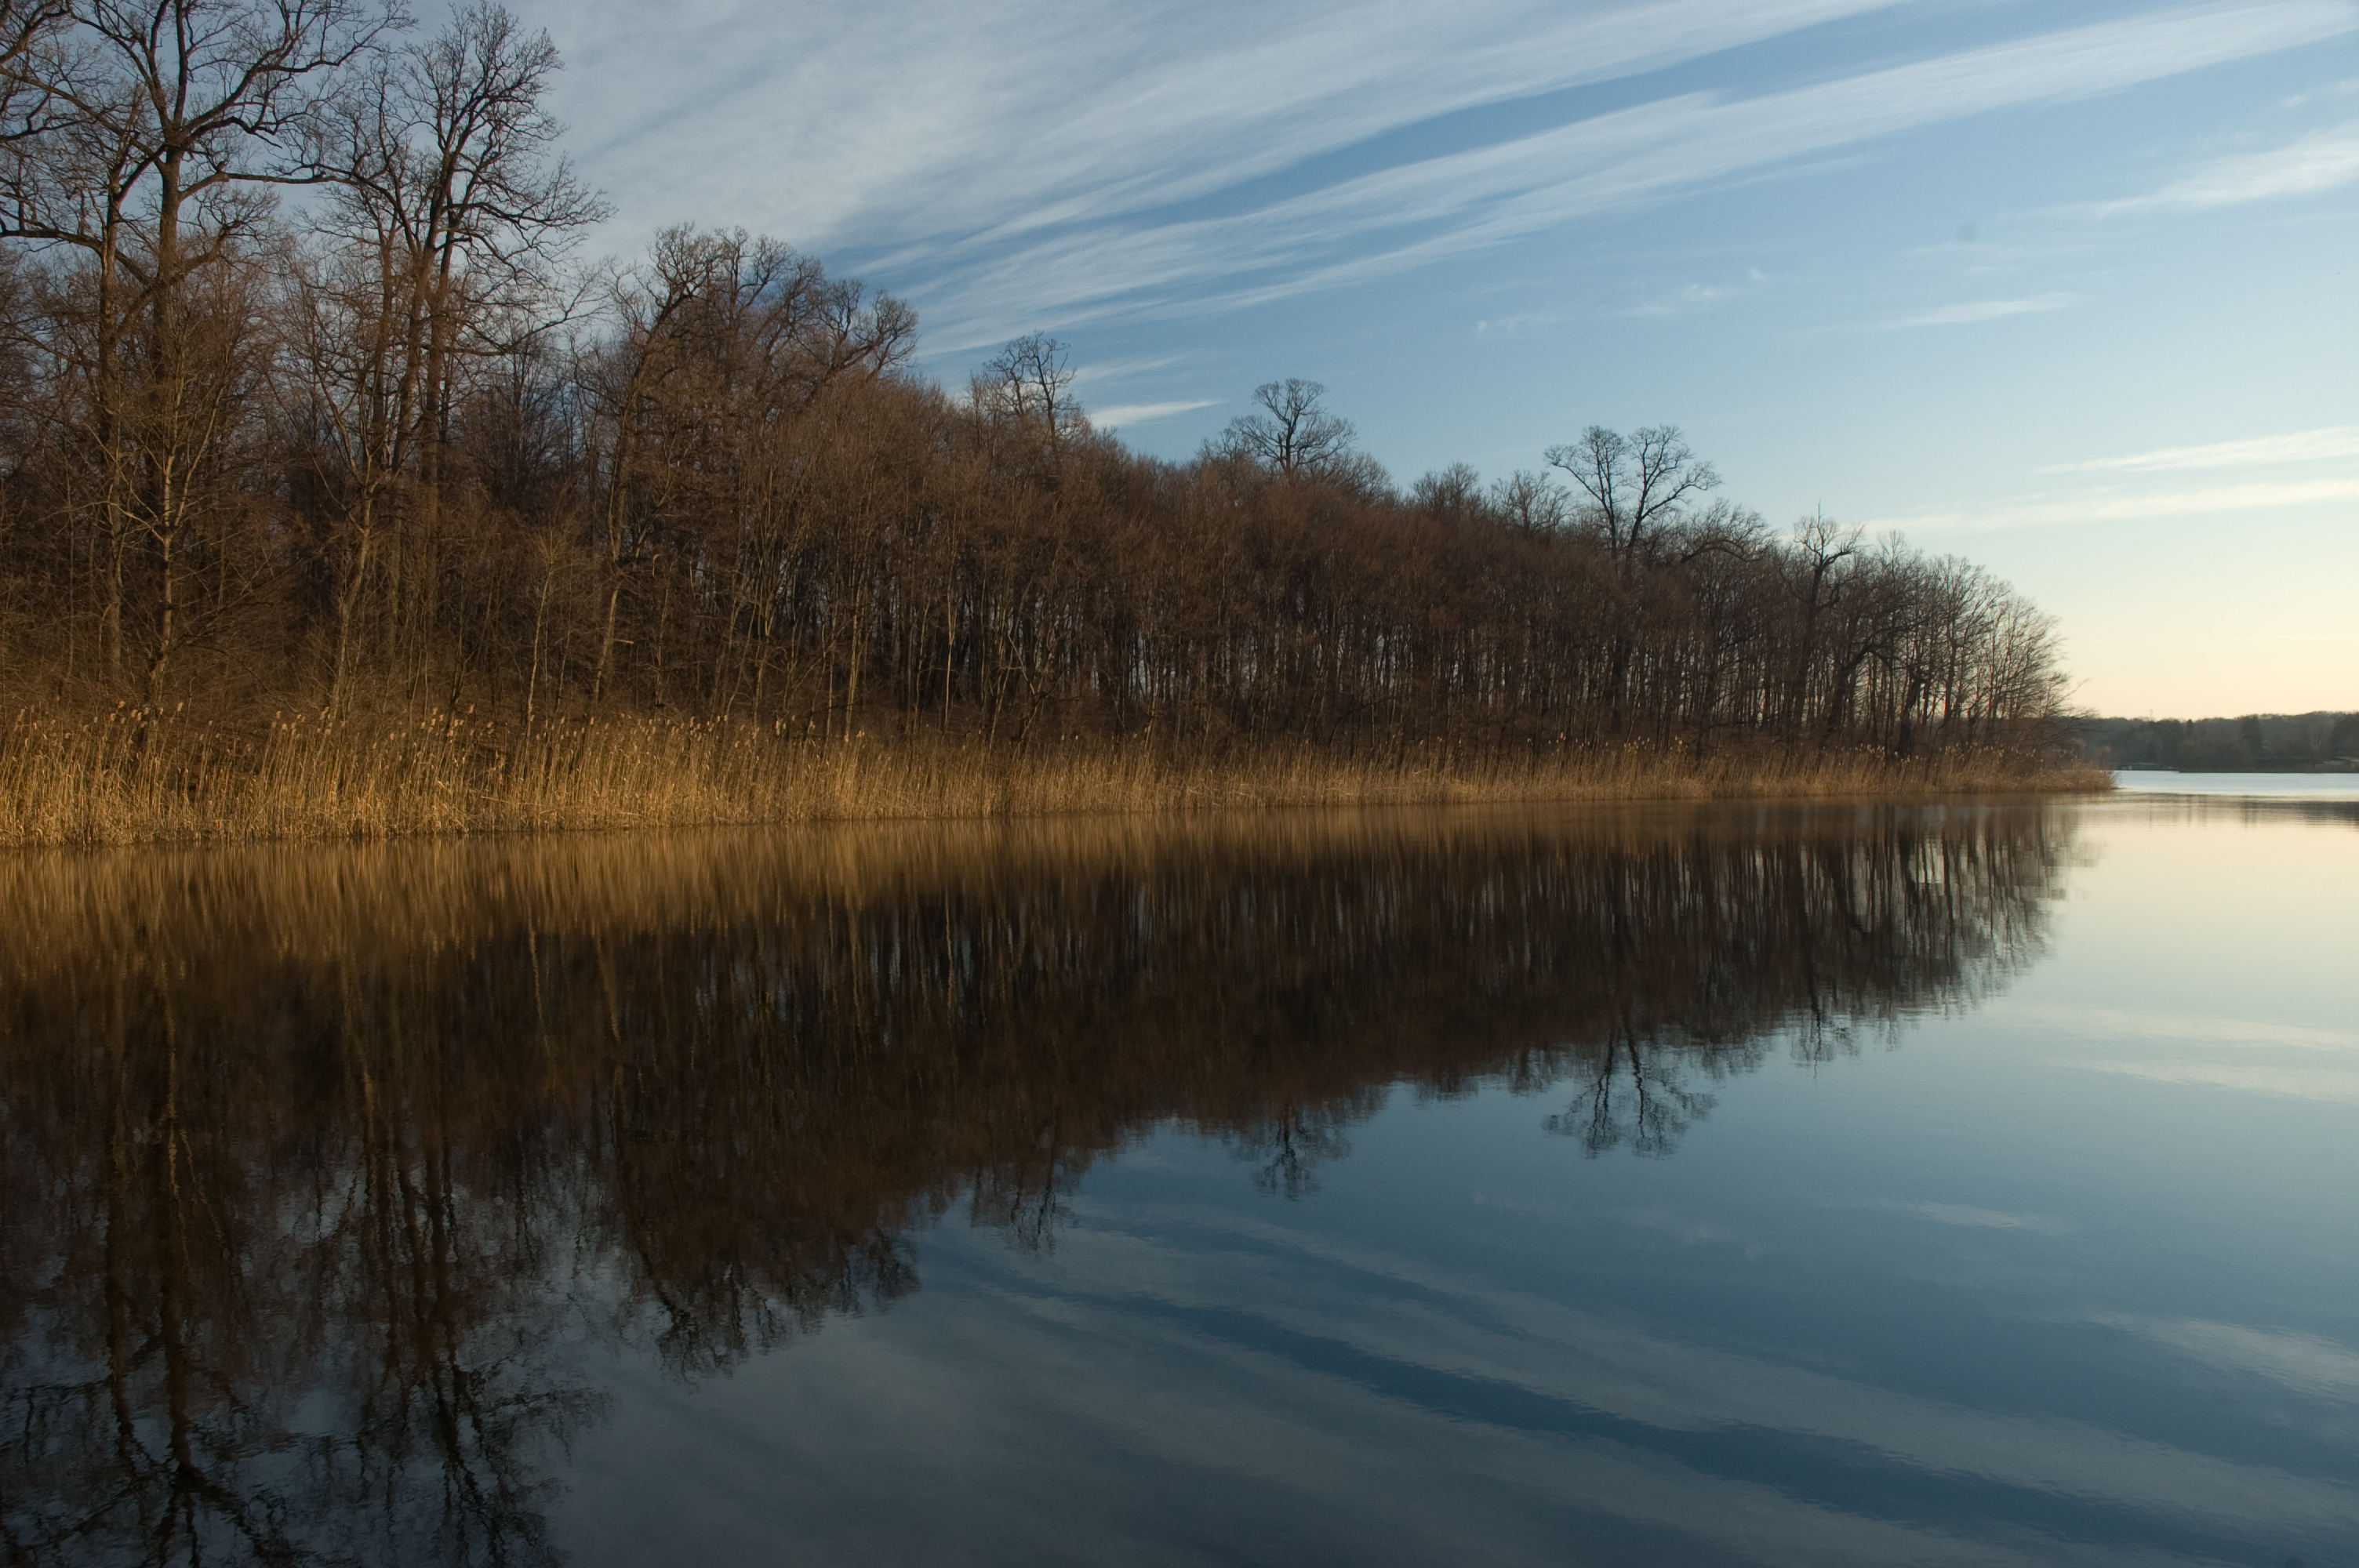
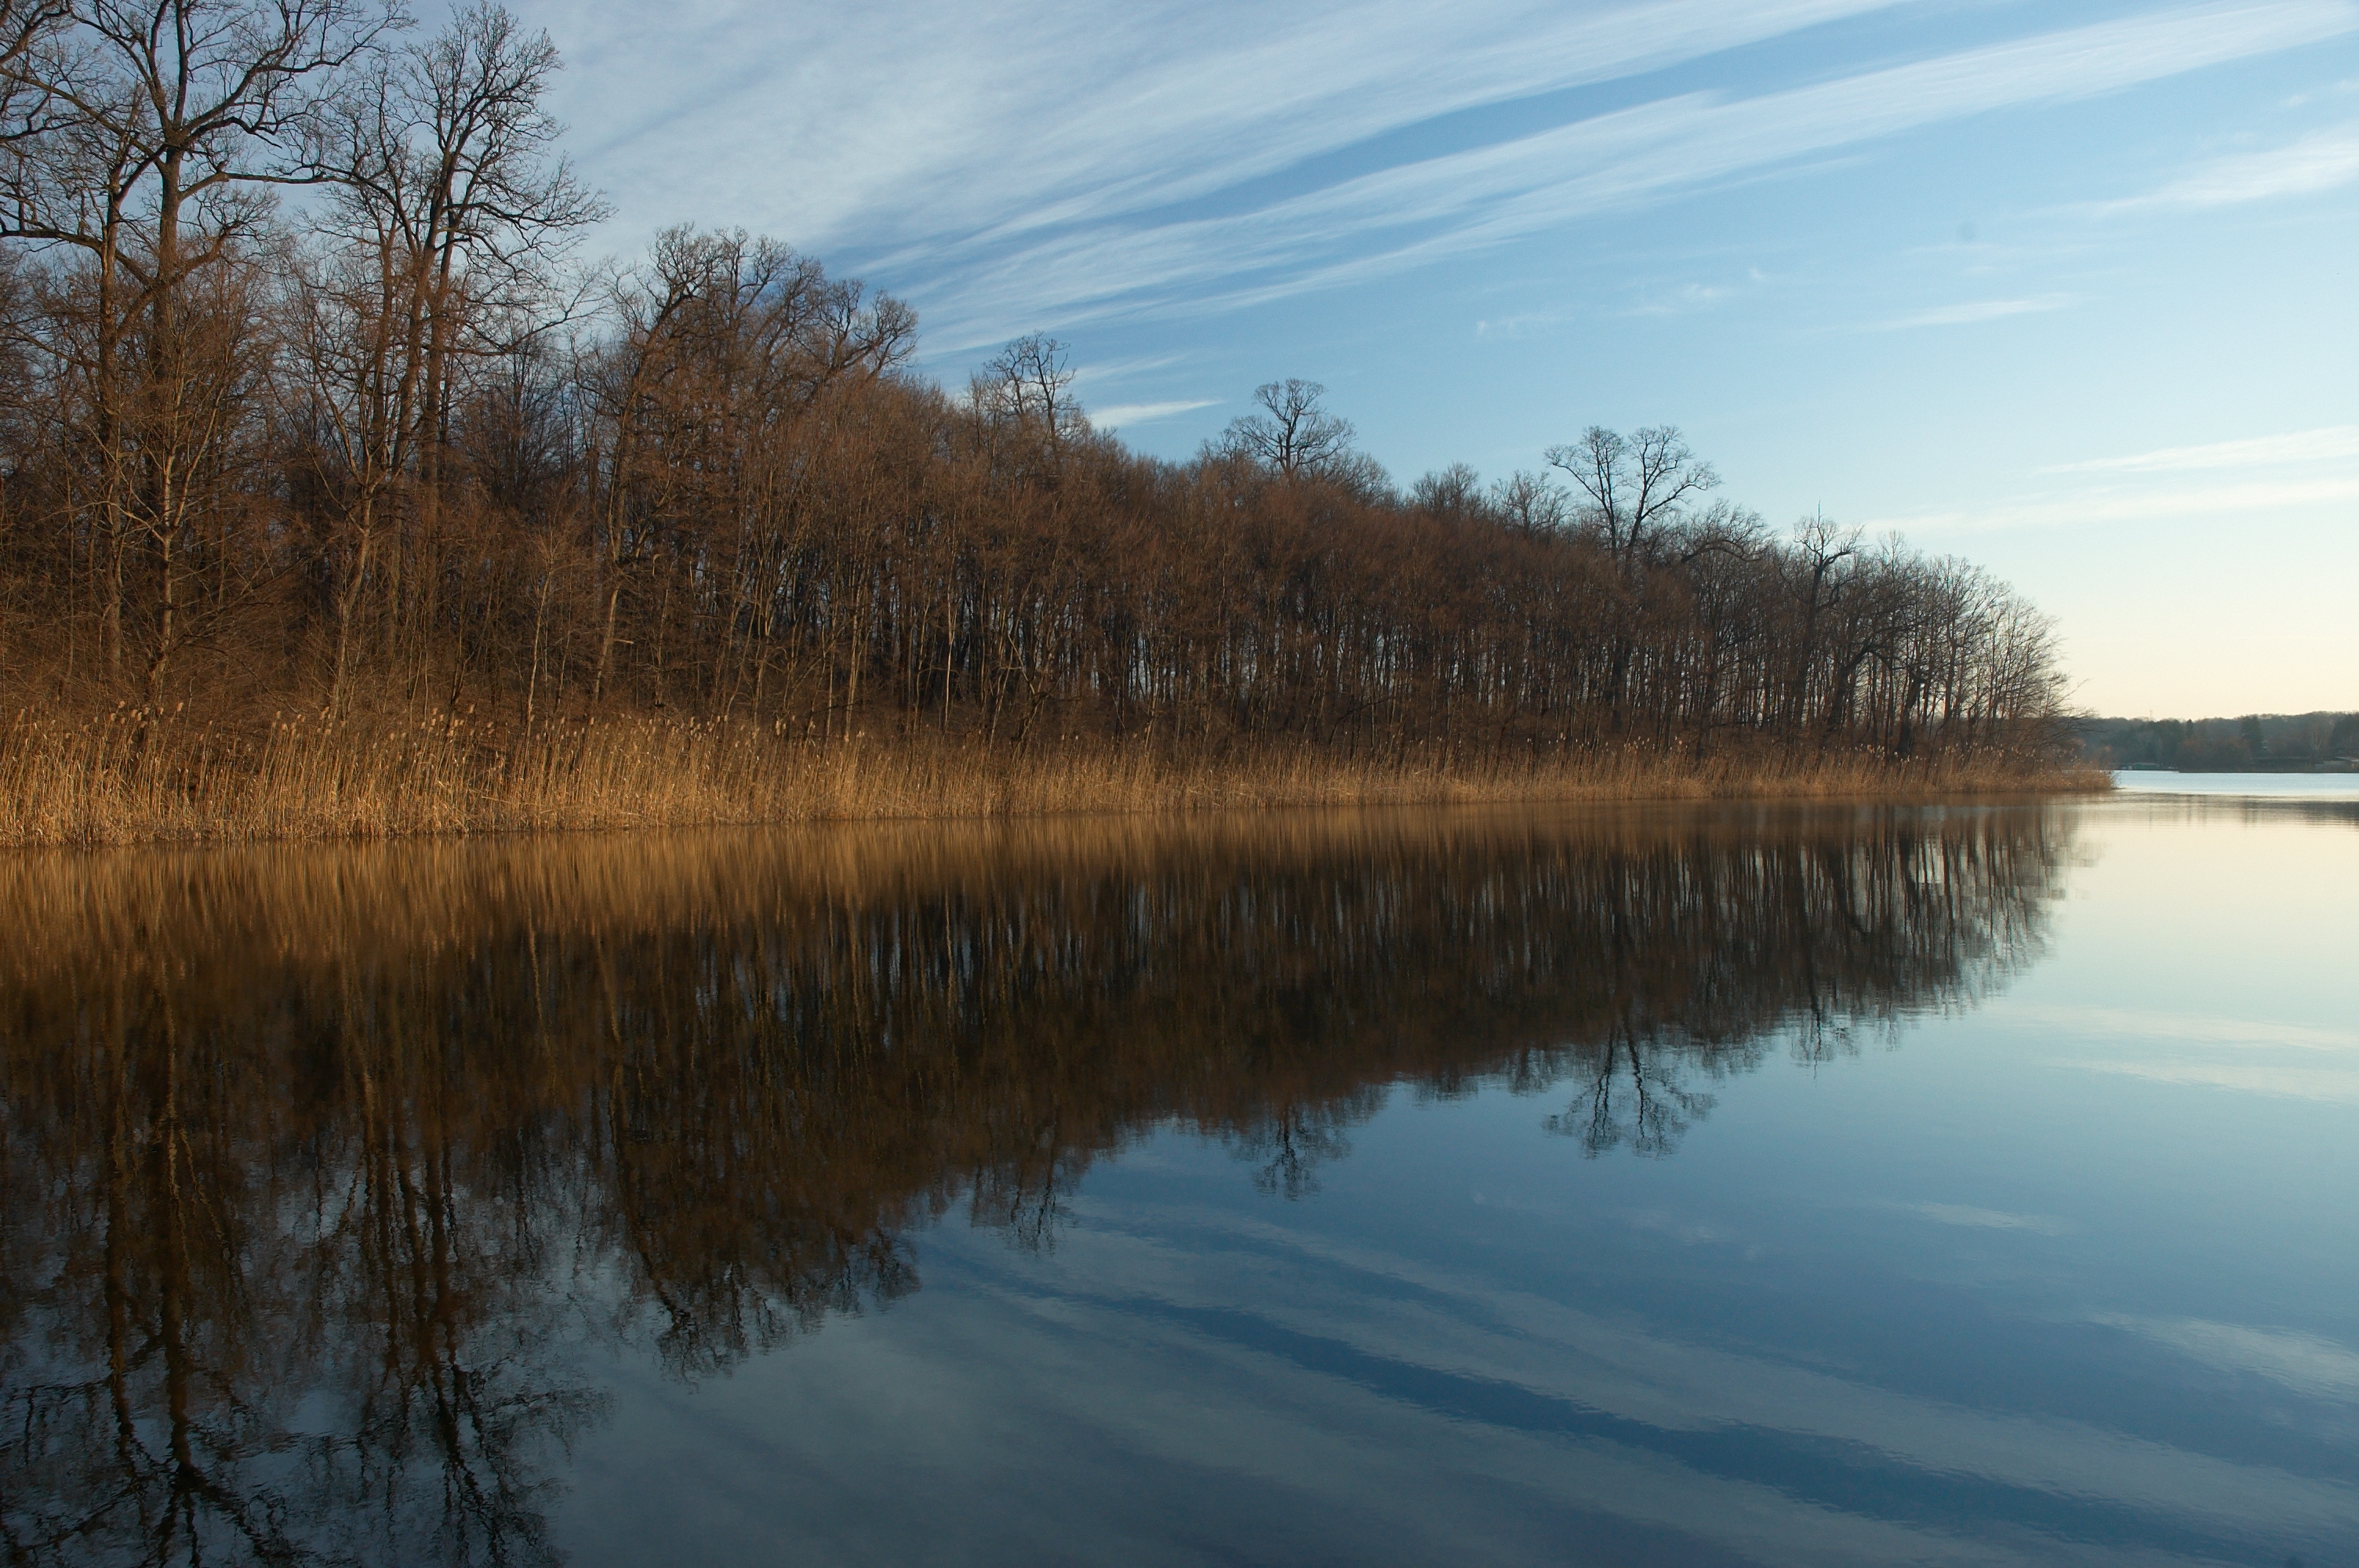
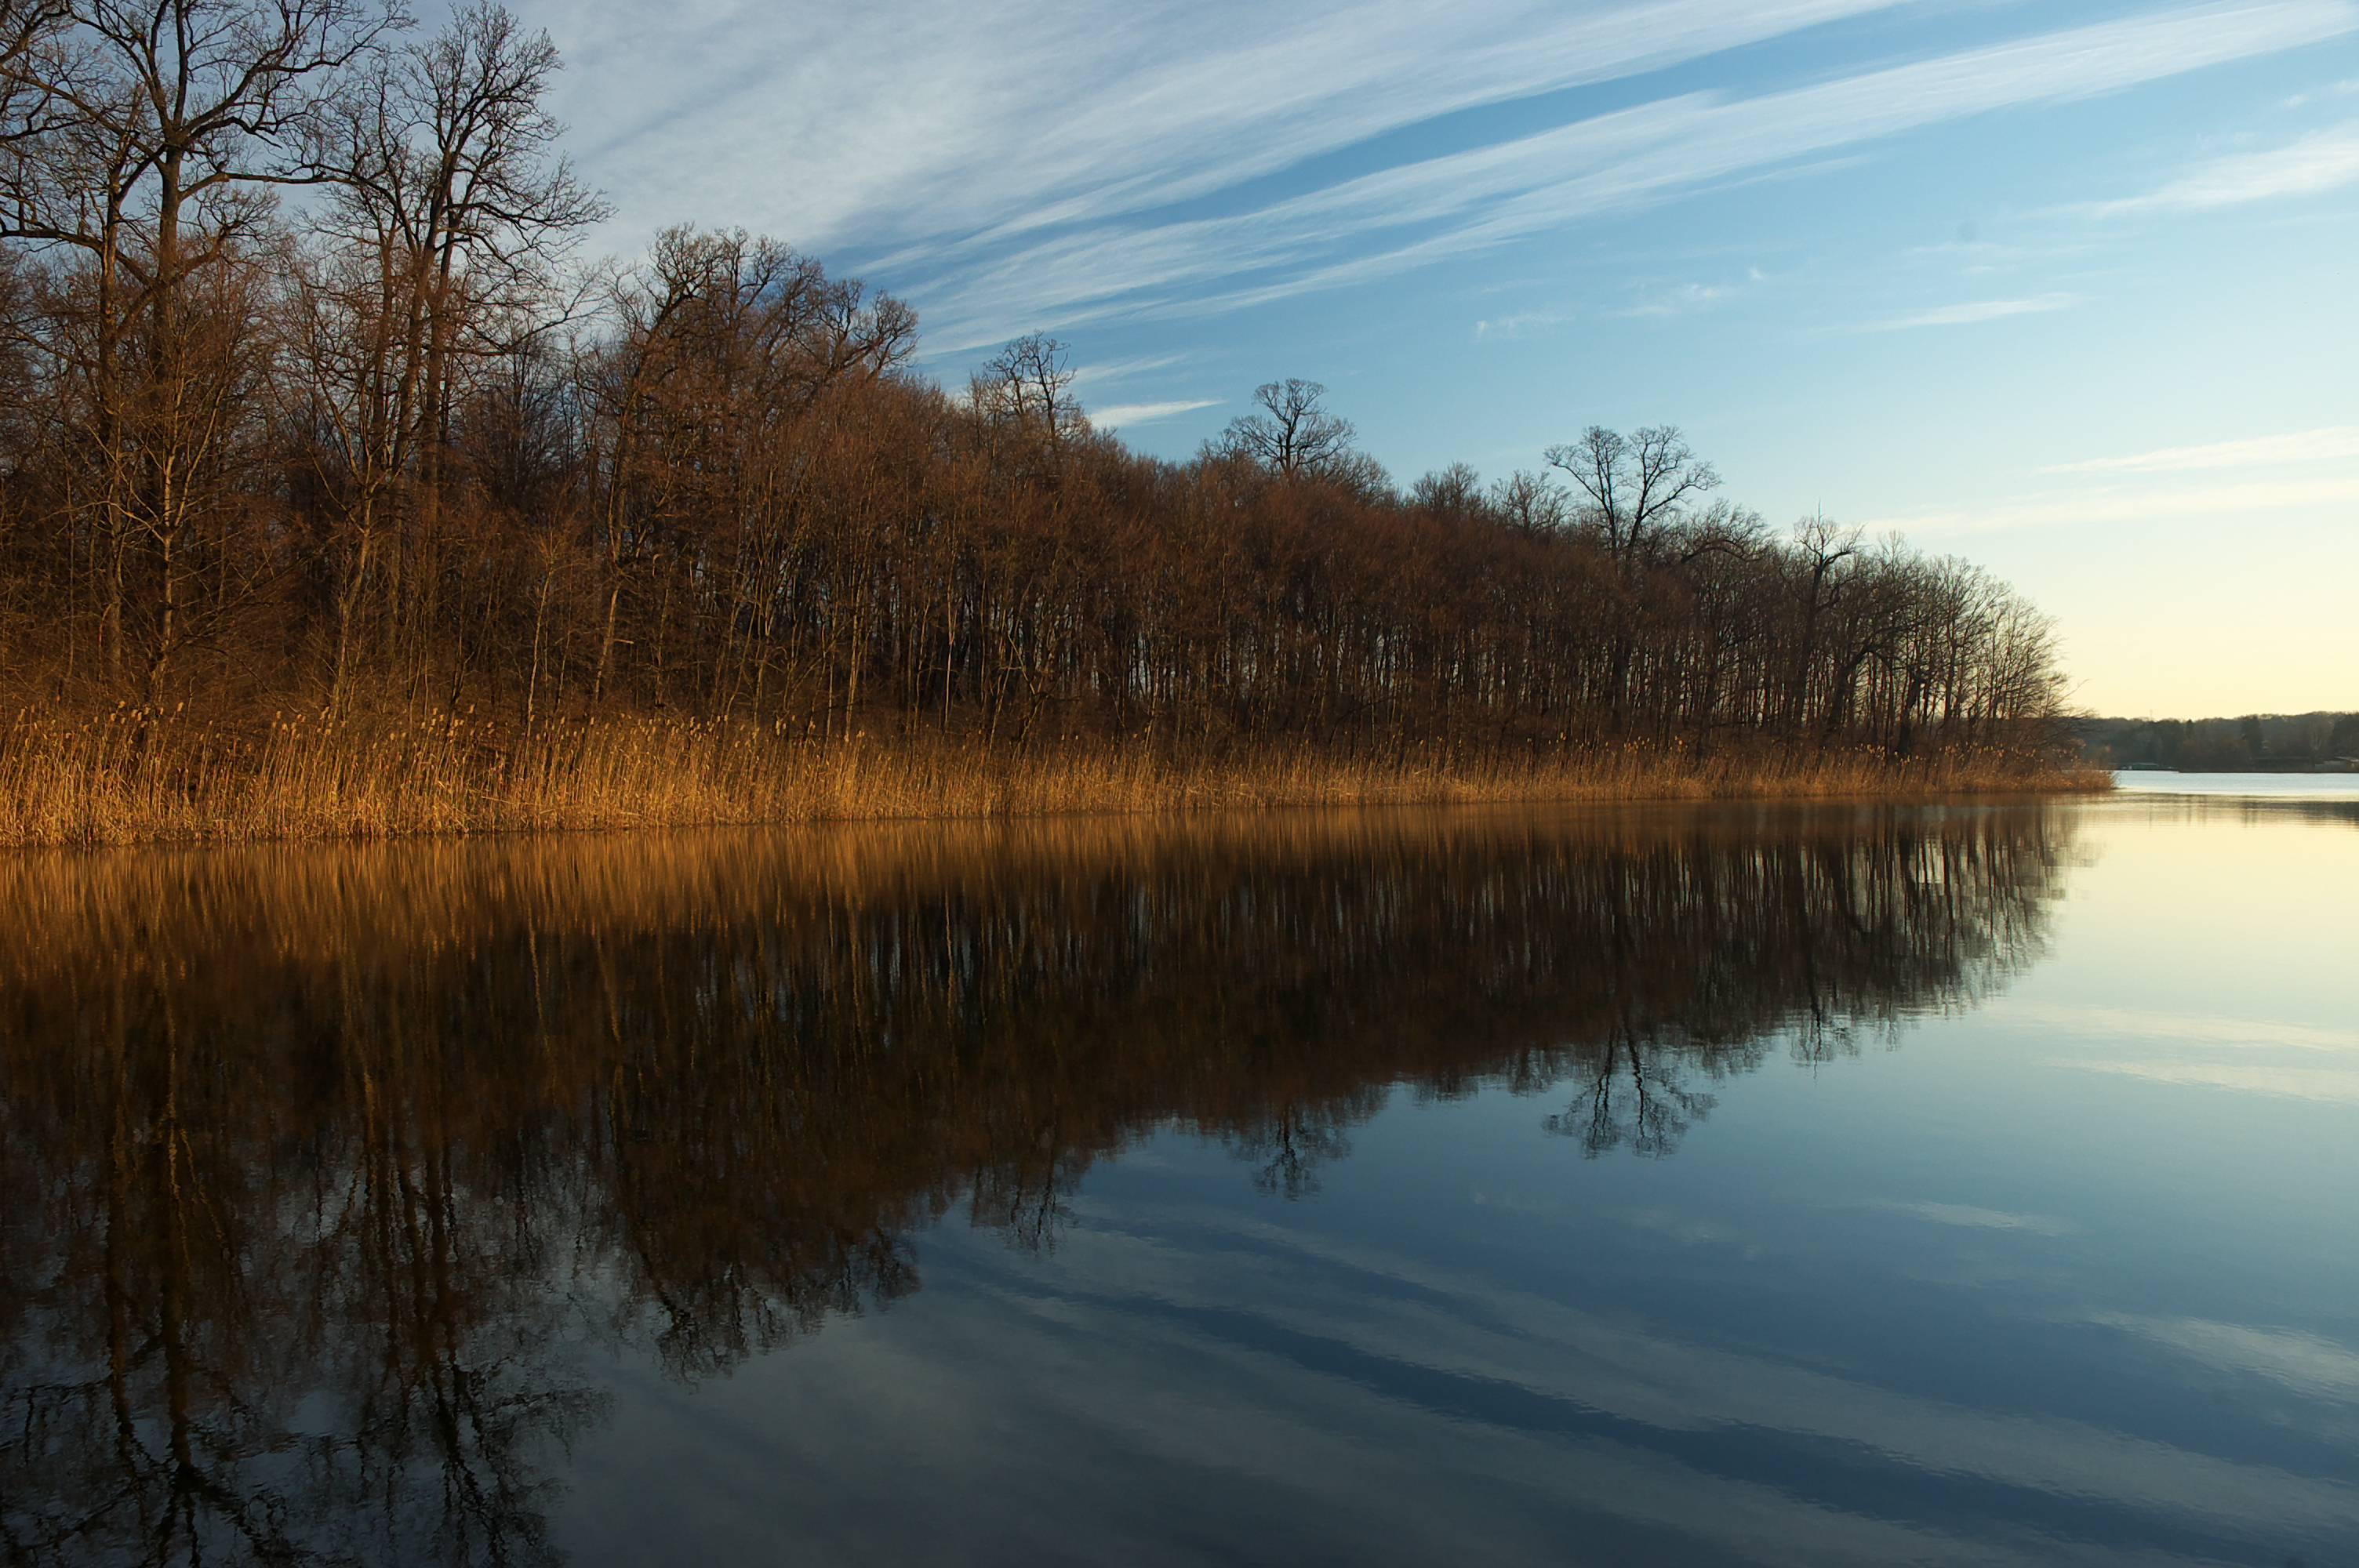
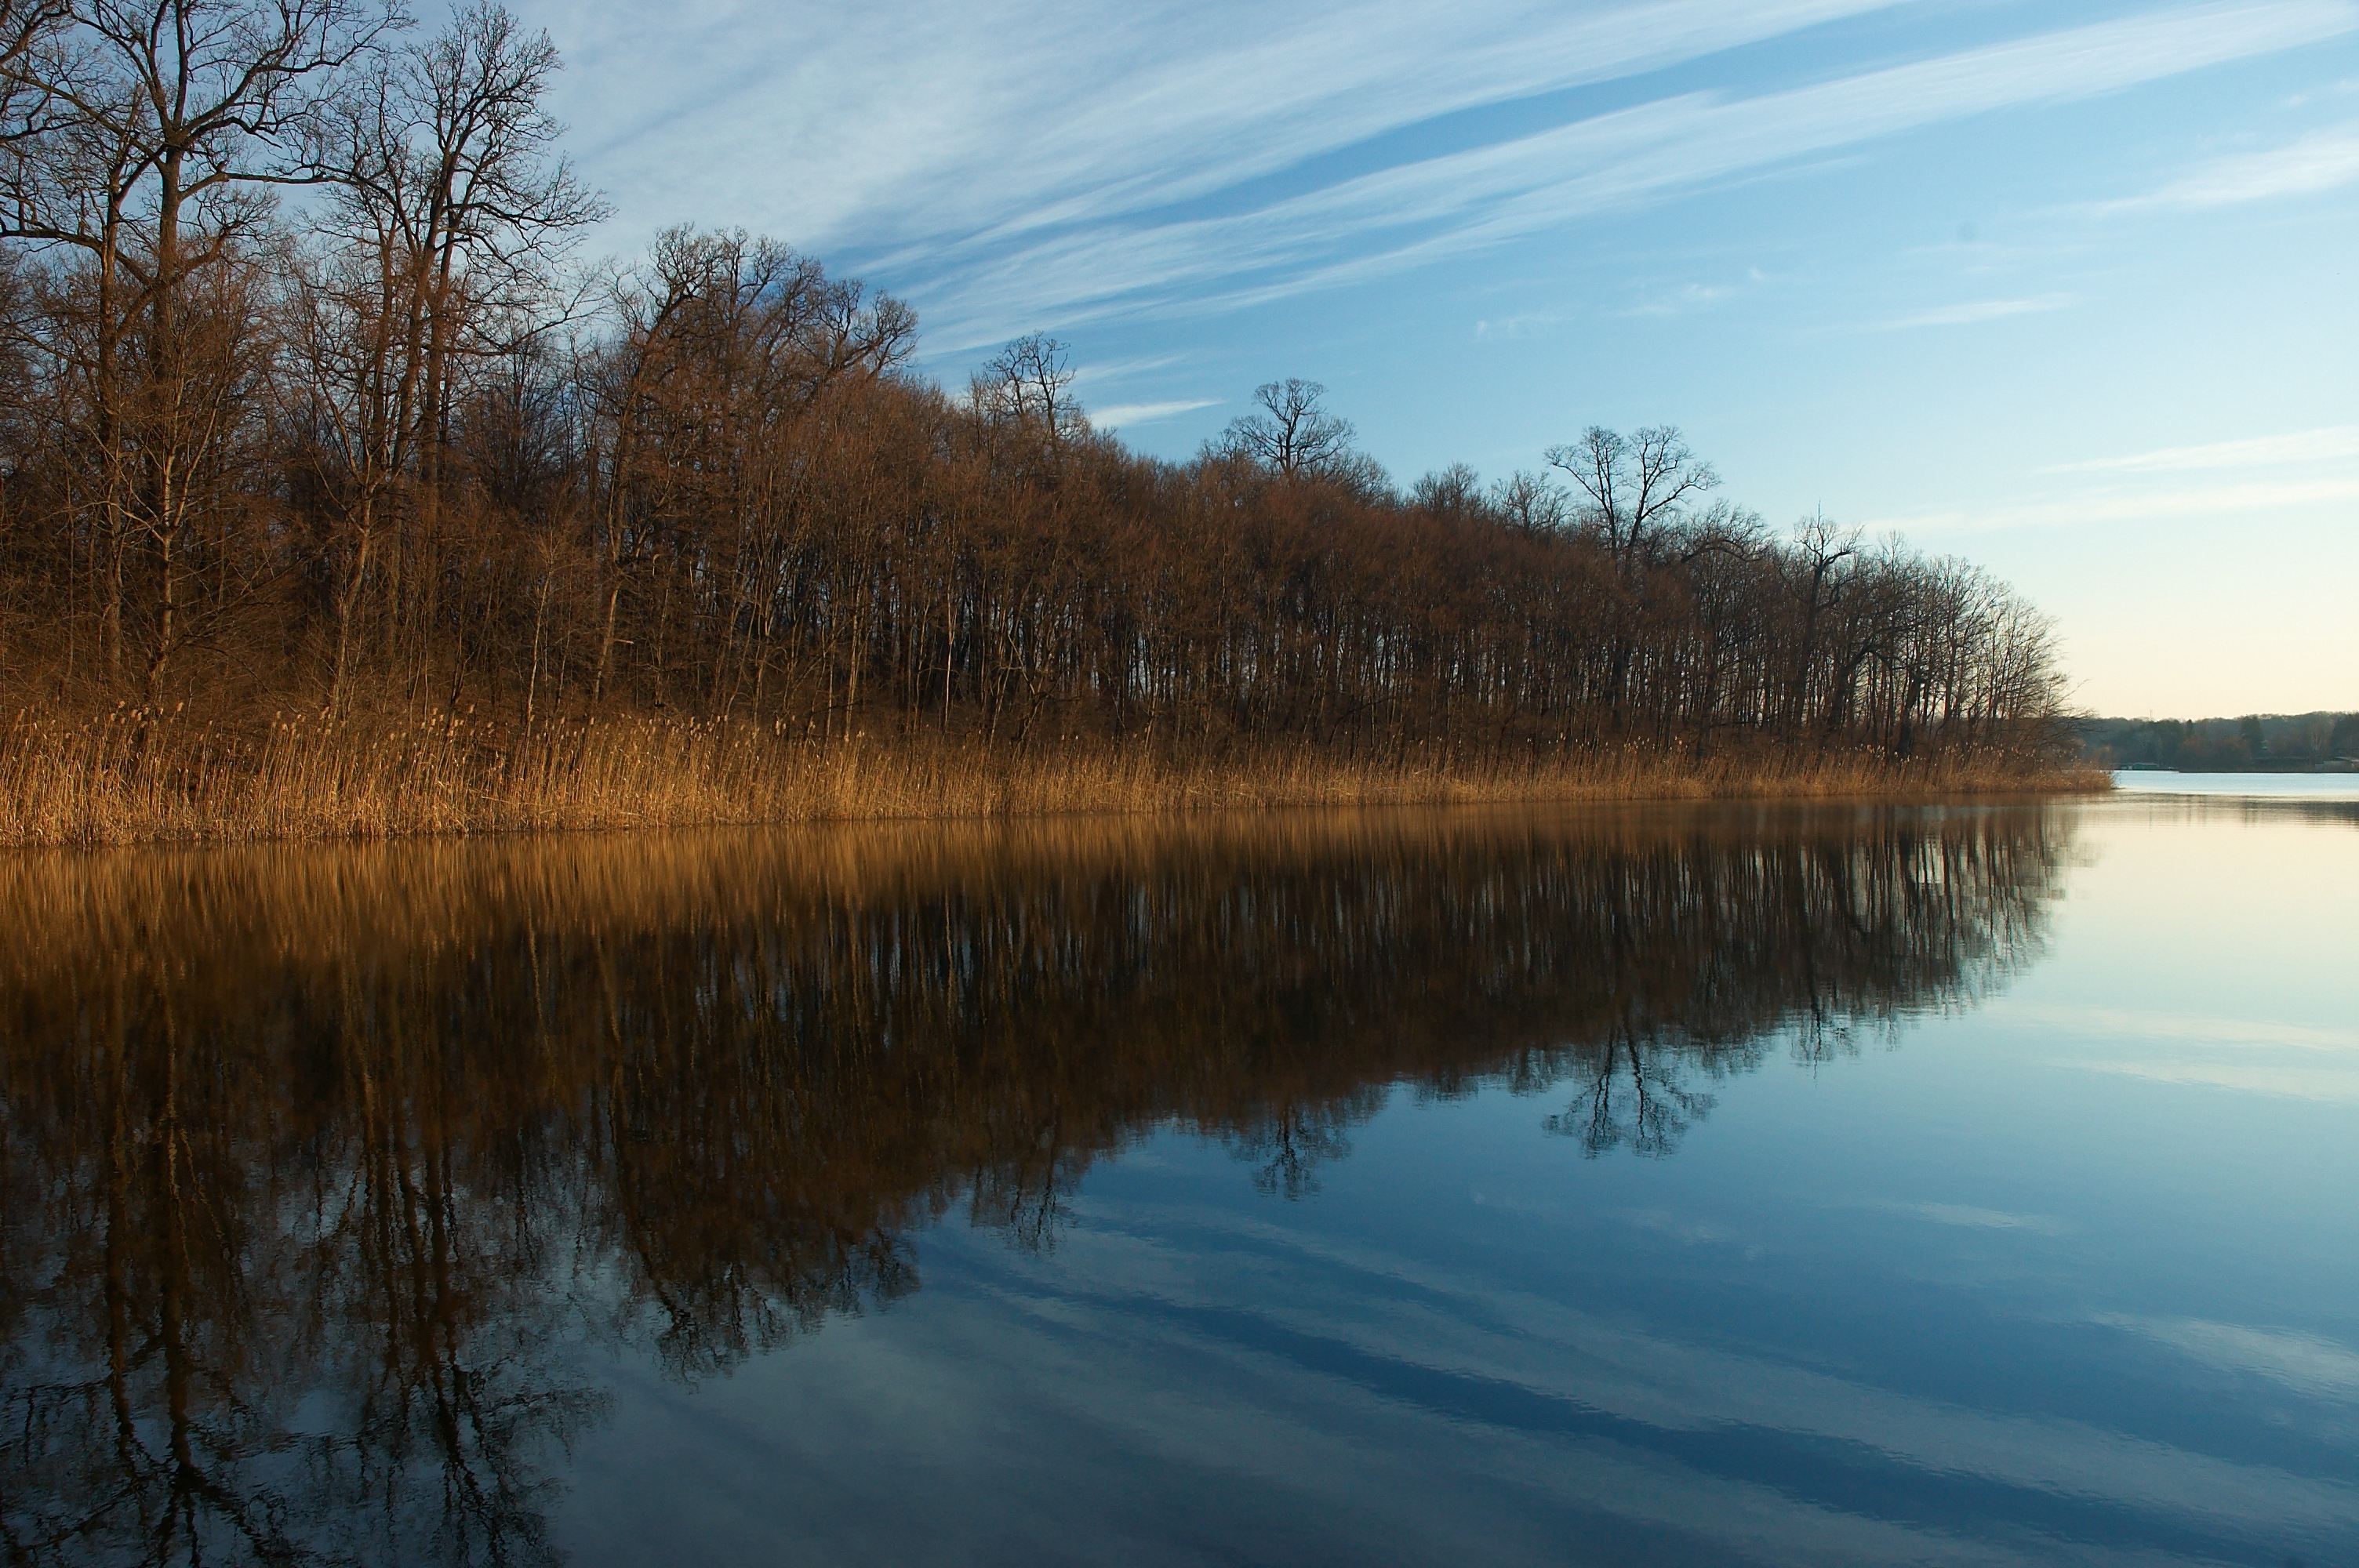
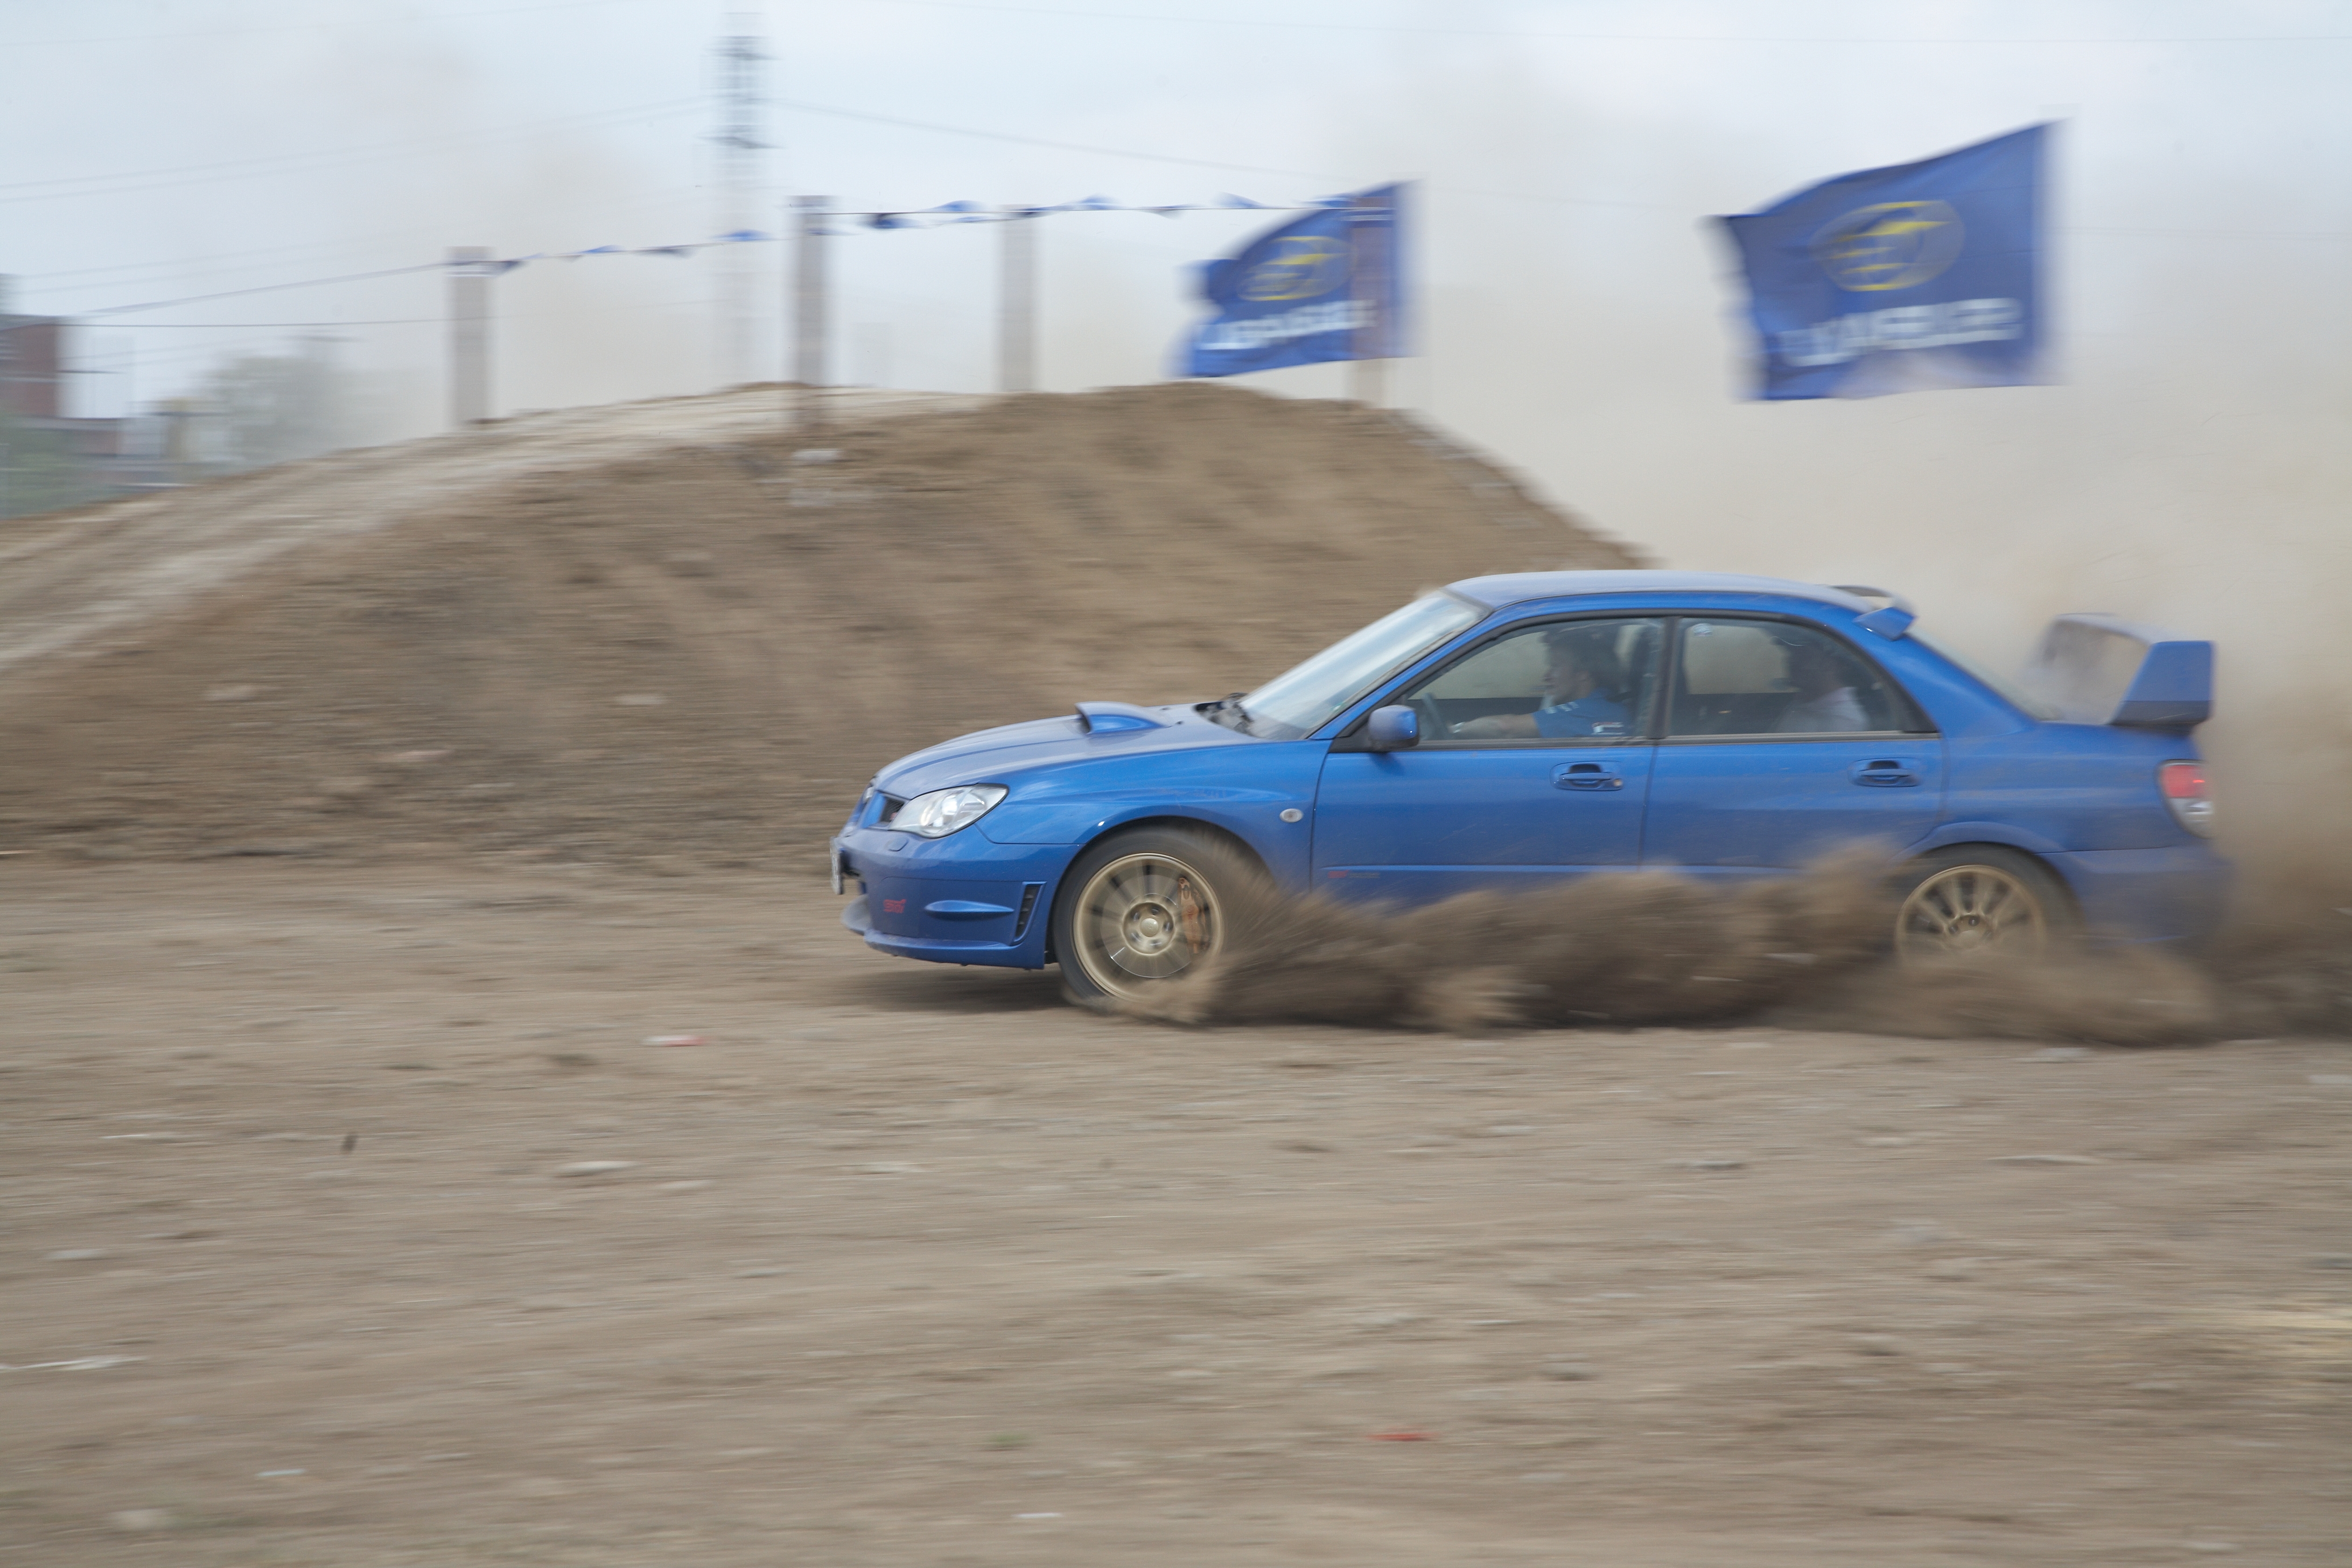
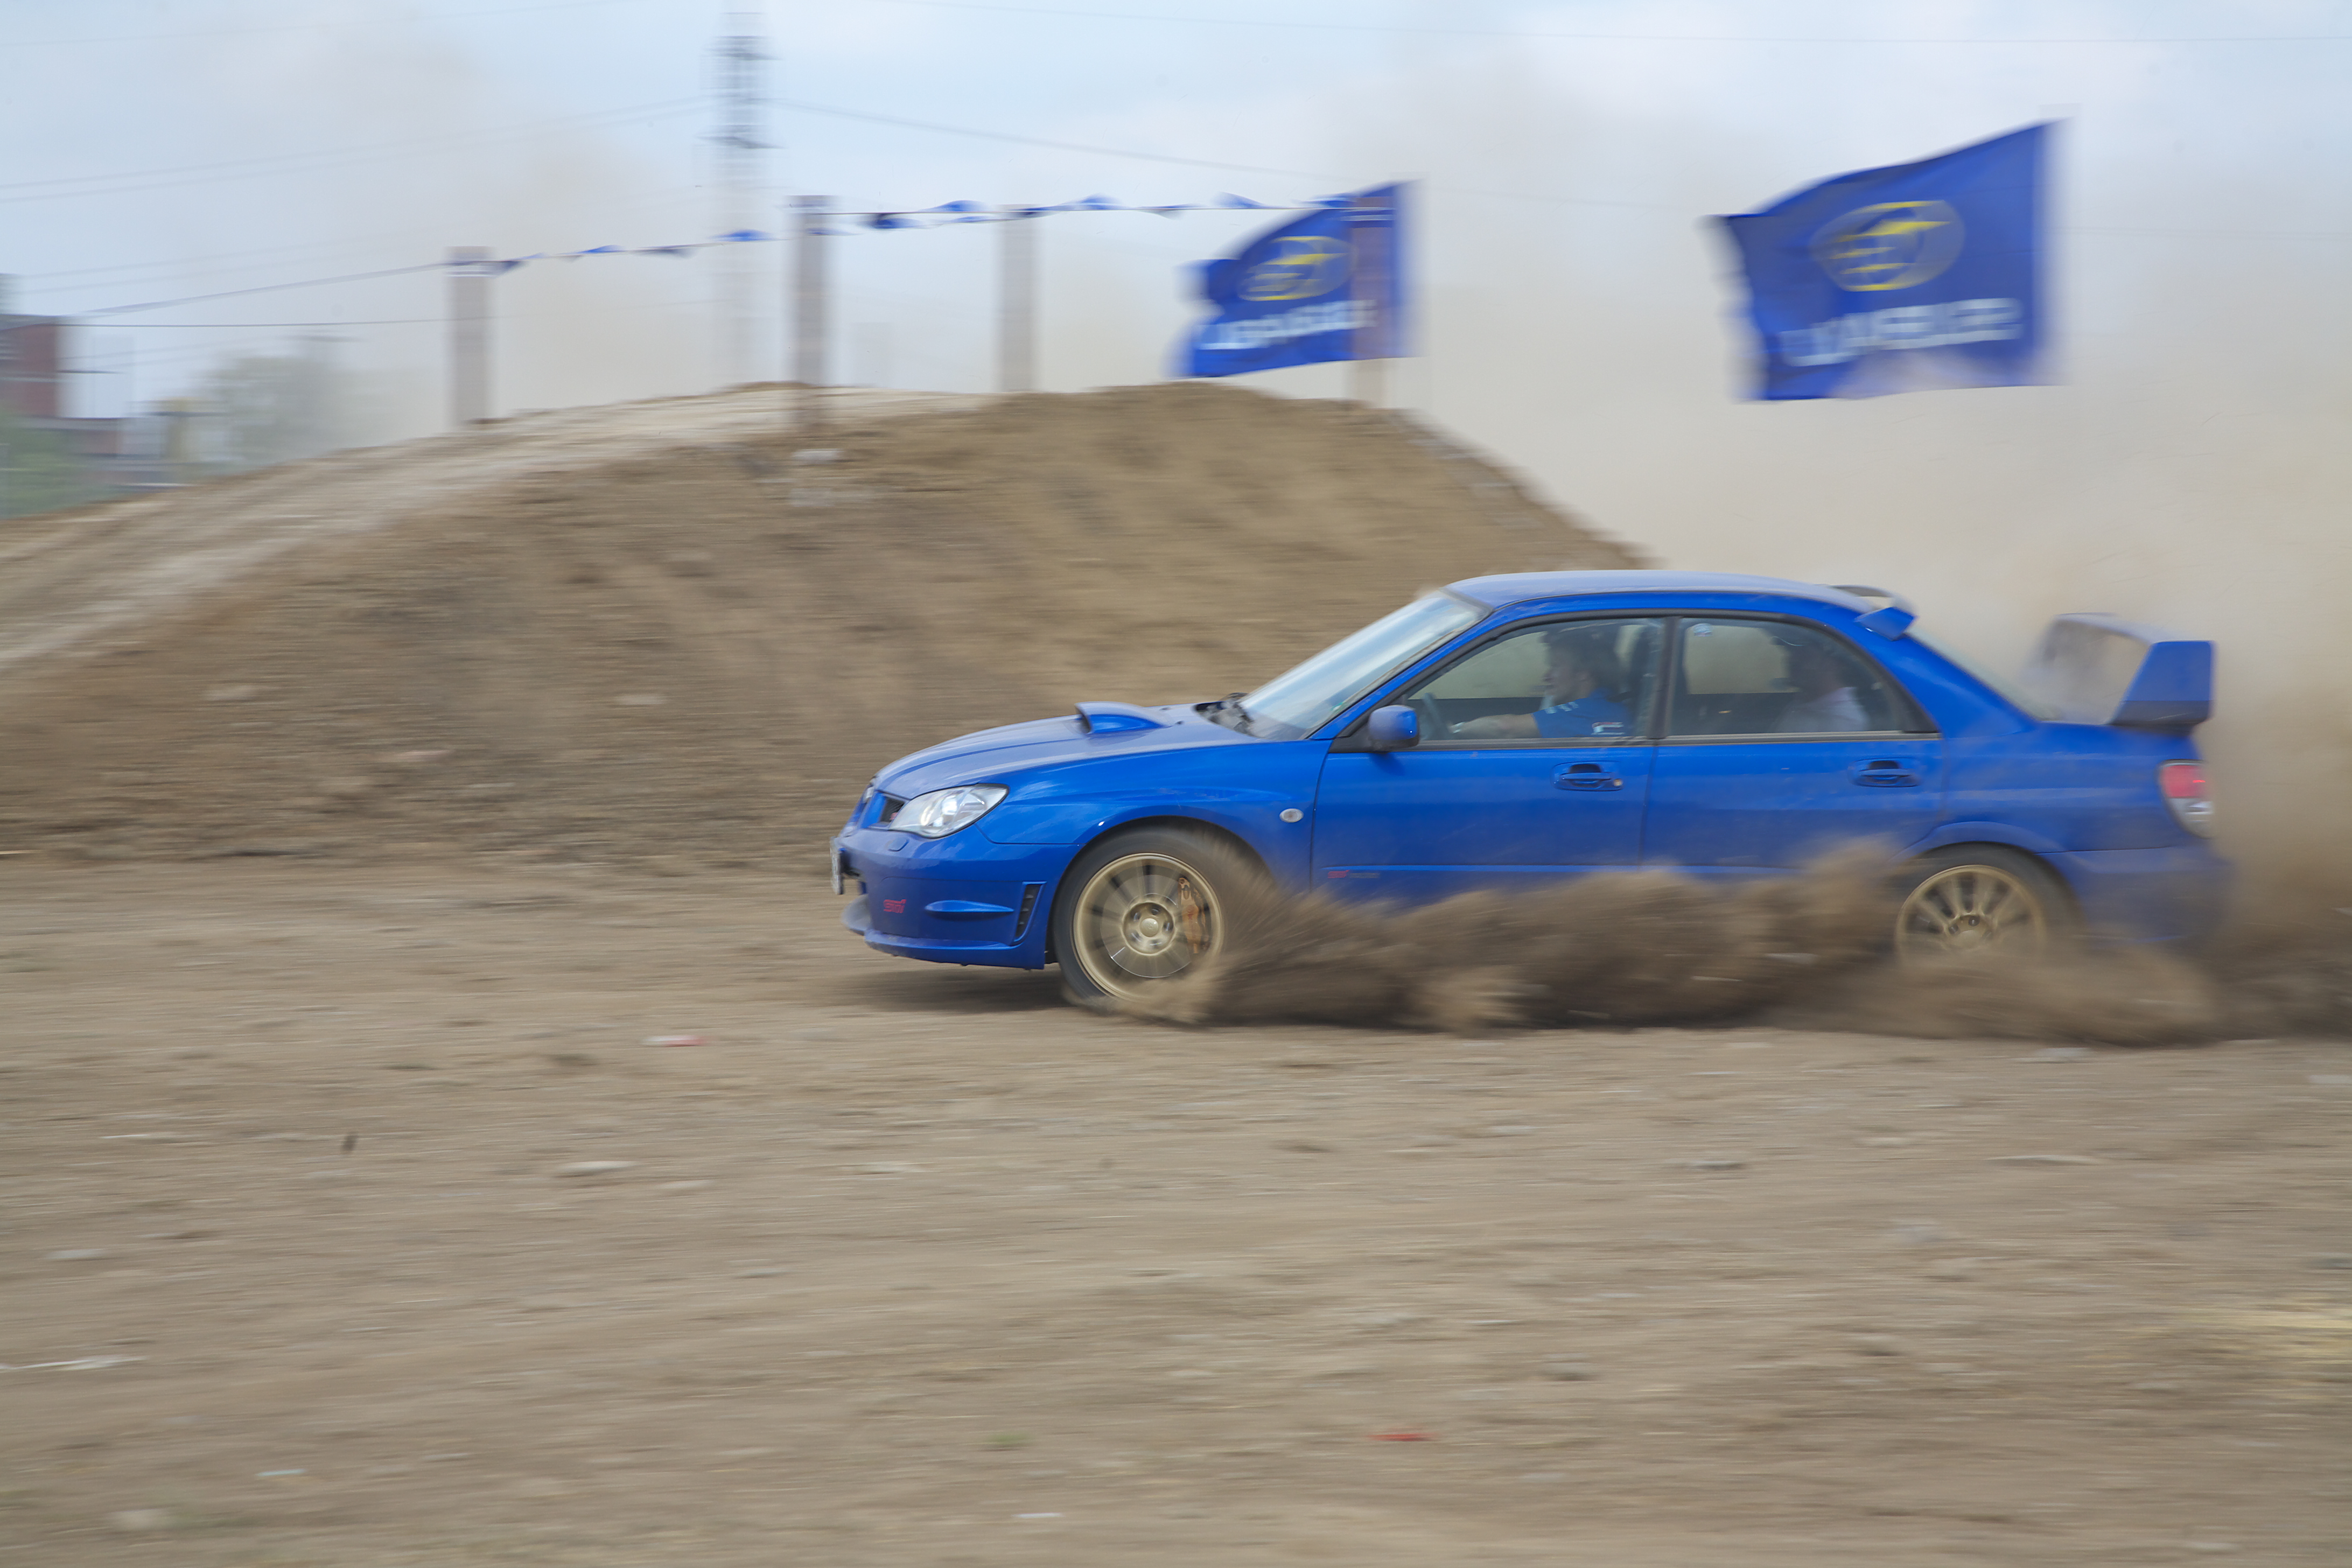
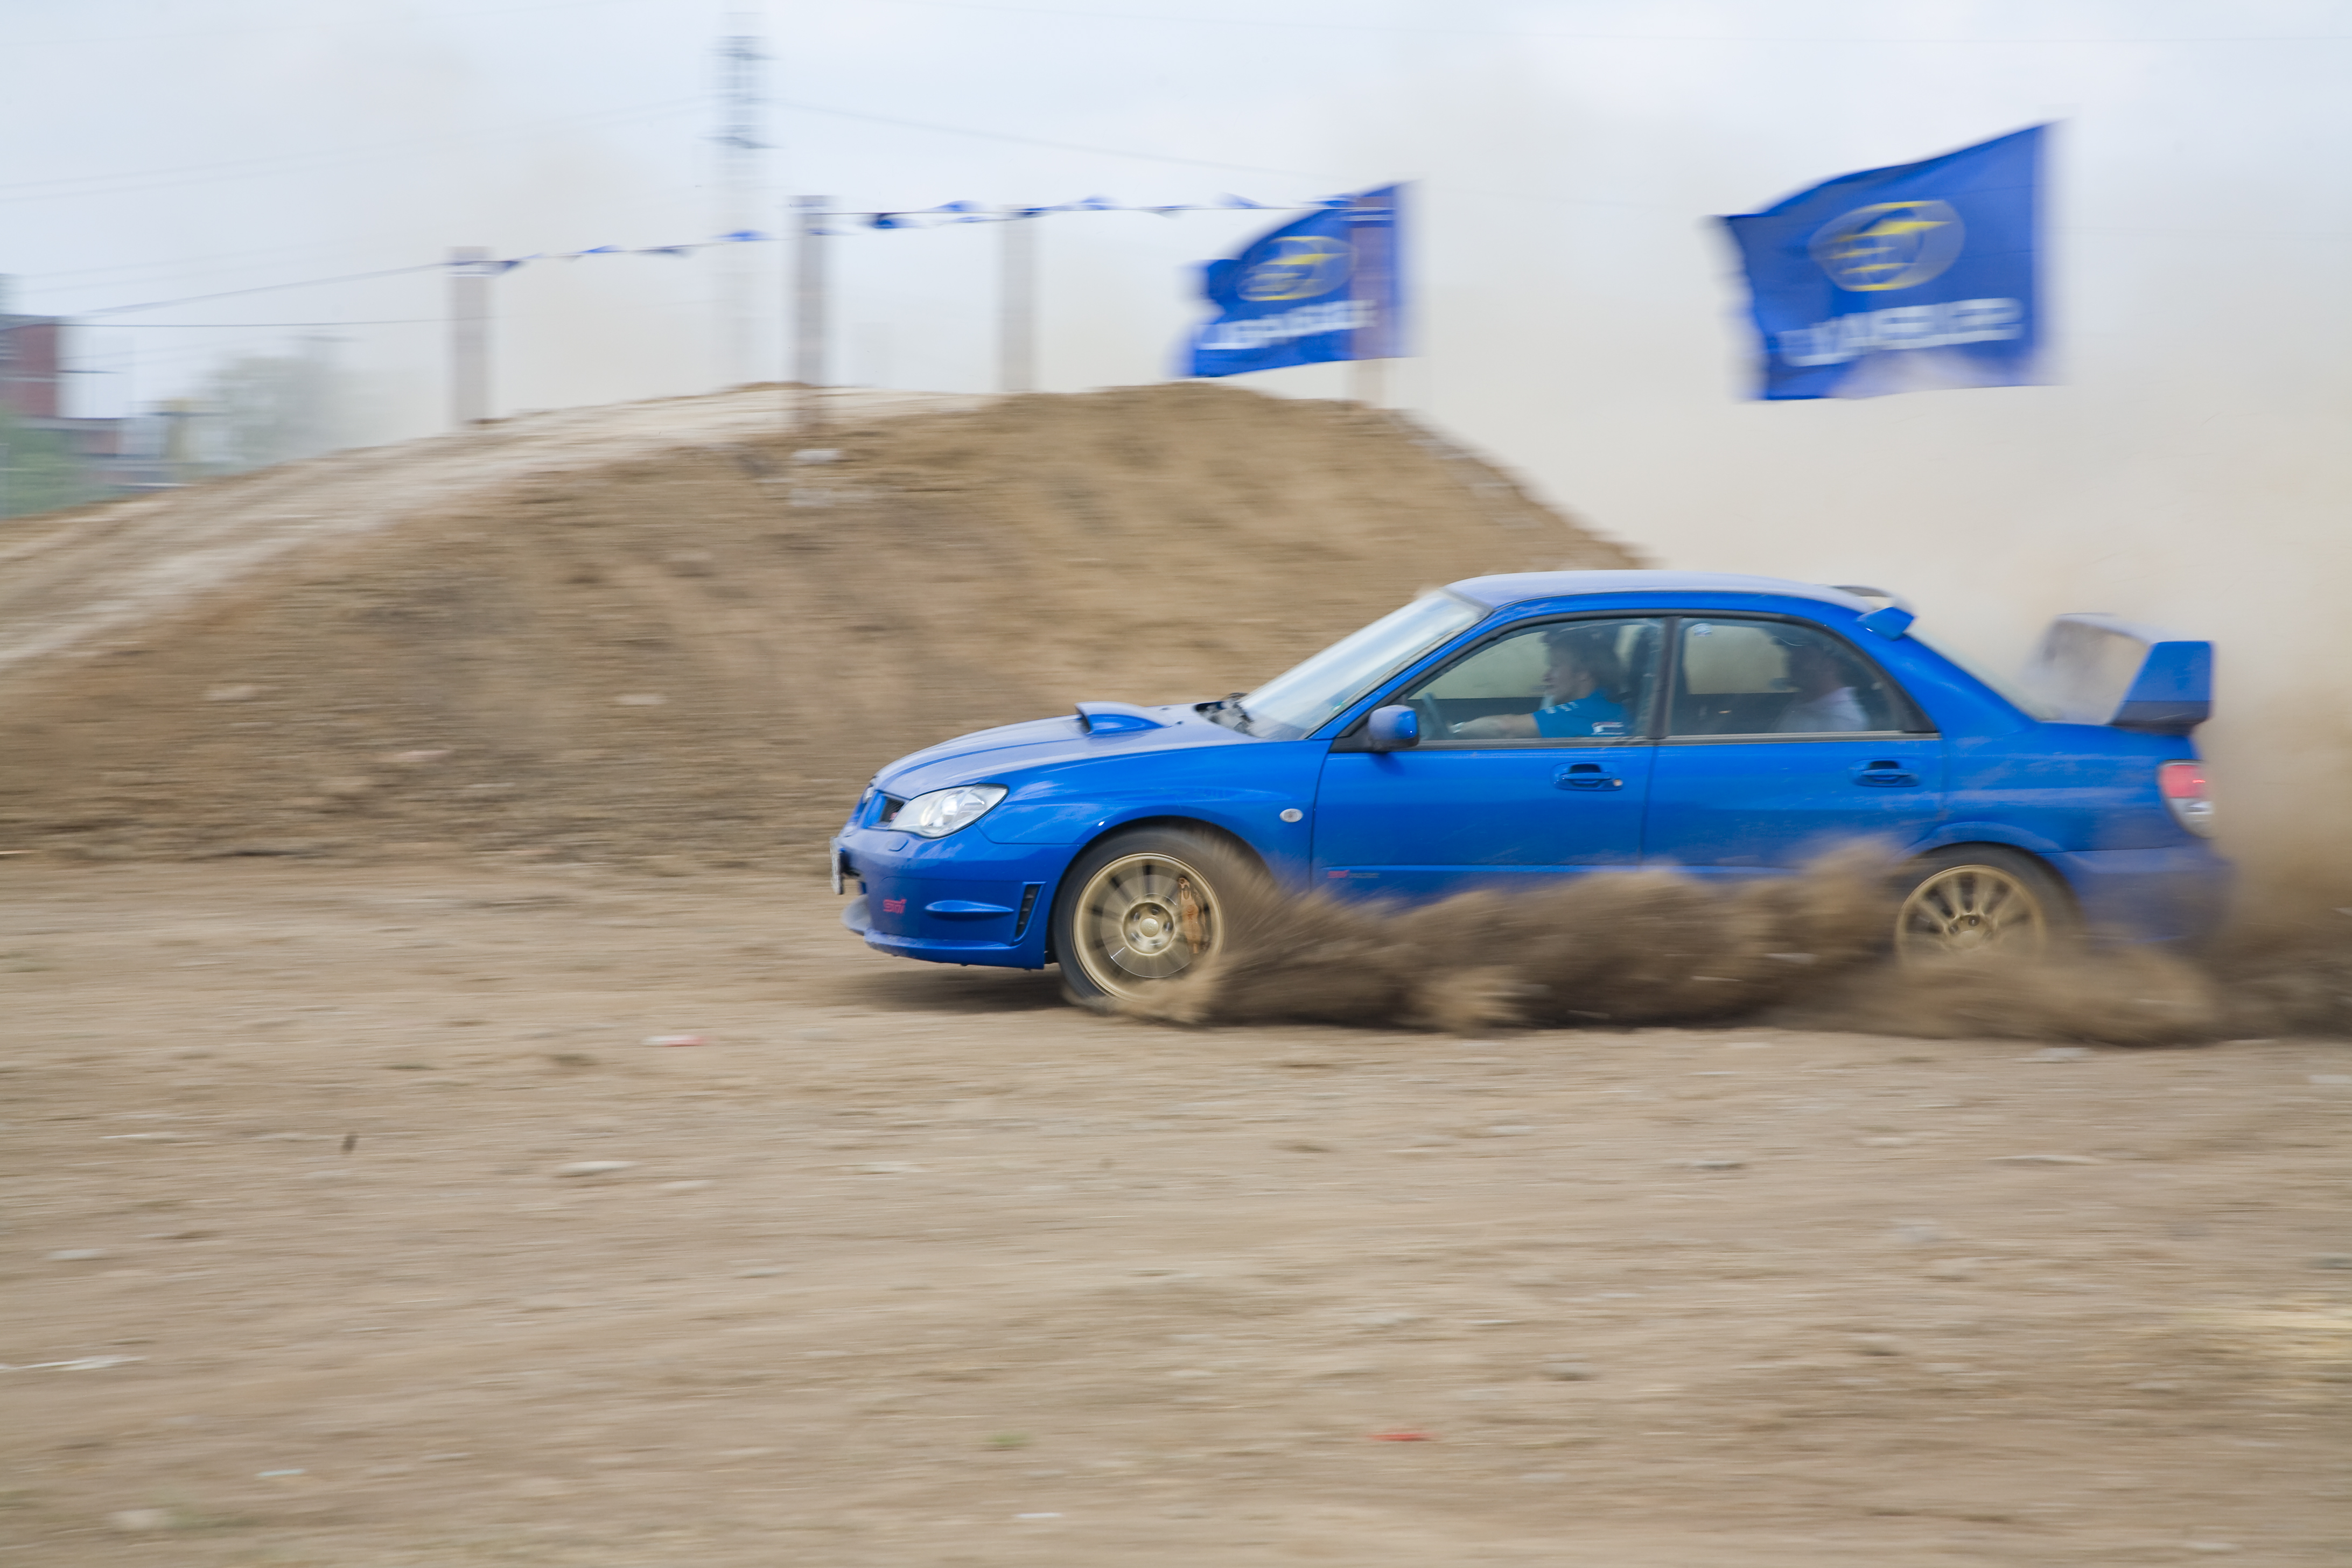
For the purpose of testing, I've used two RAW files. The landscape was taken with an "antique" Nikon D70 (coupled with an 18-70 f/3.5-4.5 lens) and the car was shot with a Canon EOS 5D. There are two versions for each file: one with standard settings and the other with some custom settings for contrast, noise reduction and sharpness. I've also boosted the saturation, but only by a small margin. The custom settings were made so that they produce about the same image characteristics. However, since developers have different values for their parameters and, in fact, different parameters, I tried to approximate these values. The extent to which I succeeded is for you to decide. You can download the full files, but arm yourself with patience as they are quite hefty. The order for each series is: SilkyPix, Lightroom and Capture One.
Here is the landscape JPEGs processed with standard settings. As you can see, SilkyPix yielded slightly warmer tones than Lightroom and similar sharpness. However, it's worth noting that SilkyPix's default luminance noise reduction (noise cancel) setting is much more aggressive compared to the others'. If you want to squeeze more sharpness out of the file I recommended decreasing this value. The image processed by Capture One 4, on the other hand, showed more contrast and saturation. Moreover, Capture One's standard sharpness settings are way too high and, as a consequence, you can actually see some artifacts. Overall, although the sharpness was not exactly top notch, the standard settings used by SilkyPix yielded good to very good results.


Speed and batching capabilities
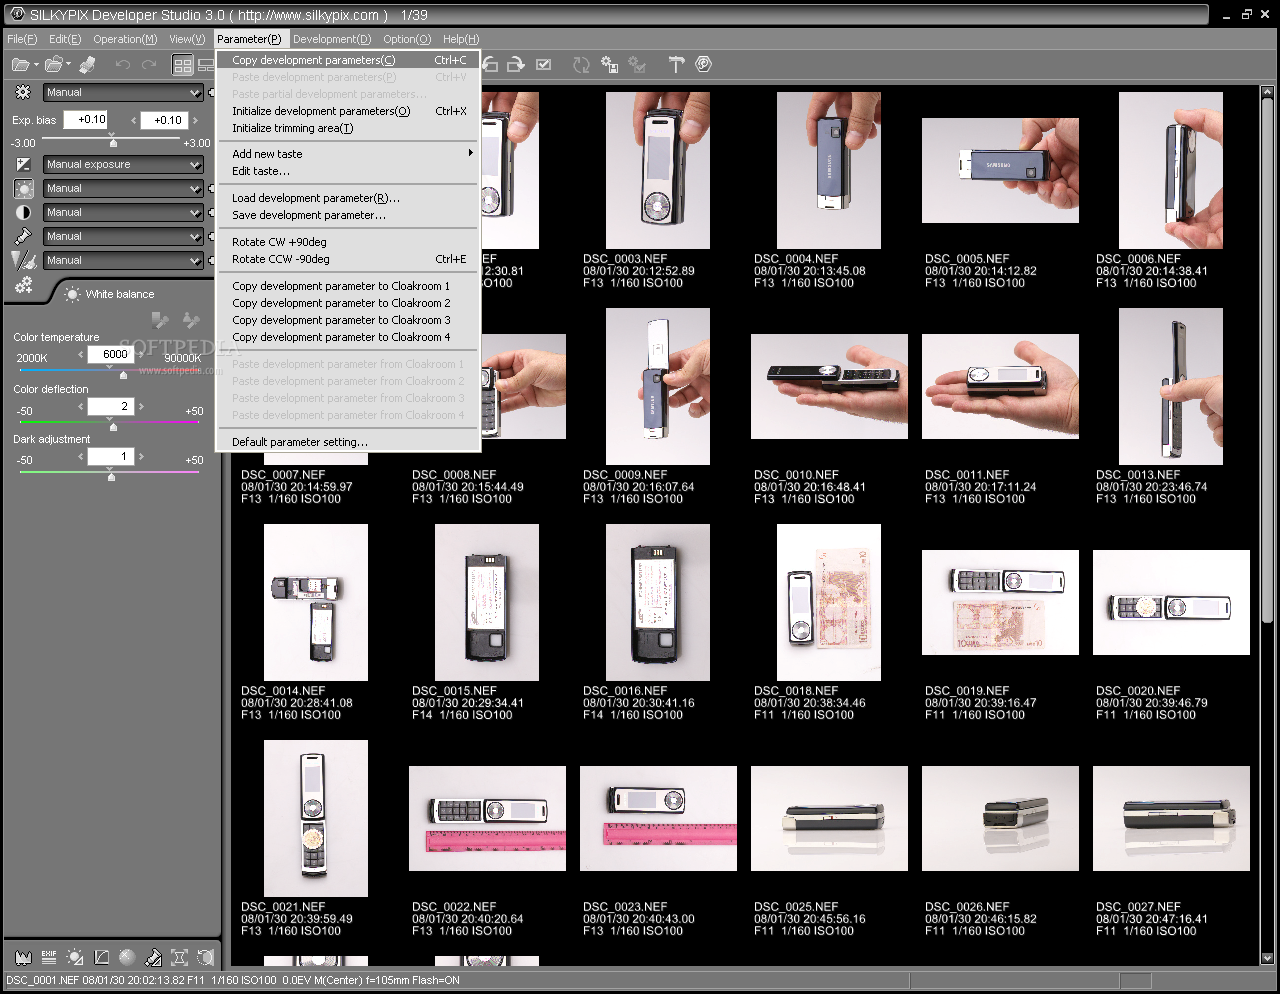
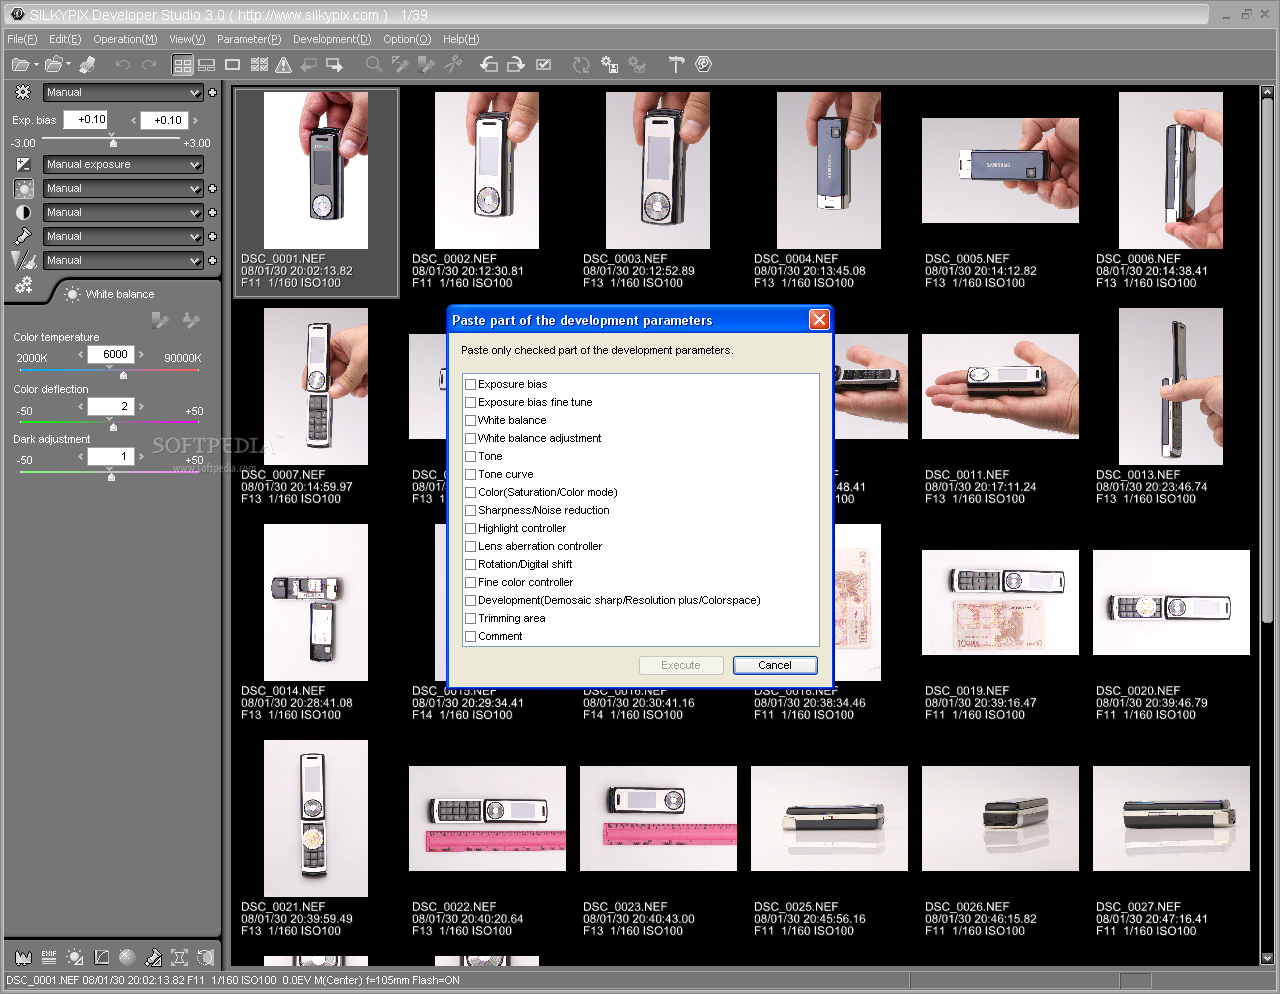
Apart from the image quality, what I really liked about SilkyPix were the batching capabilities. The application is really designed to speed up your workflow. Let's say you have a set of images shot in similar conditions and with similar parameters. You take one image, you change it to your preference and then all you have to do is to copy the parameters and apply them to all your files. Moreover, if you feel like some images in your batch deserve some special attention you can choose what parameters should SilkyPix apply to the rest of your images by using the "Paste partial development parameters" option. You will be prompted with a window in which you can select what parameters will be applied to the batch. An extremely powerful feature many converters out there lack.
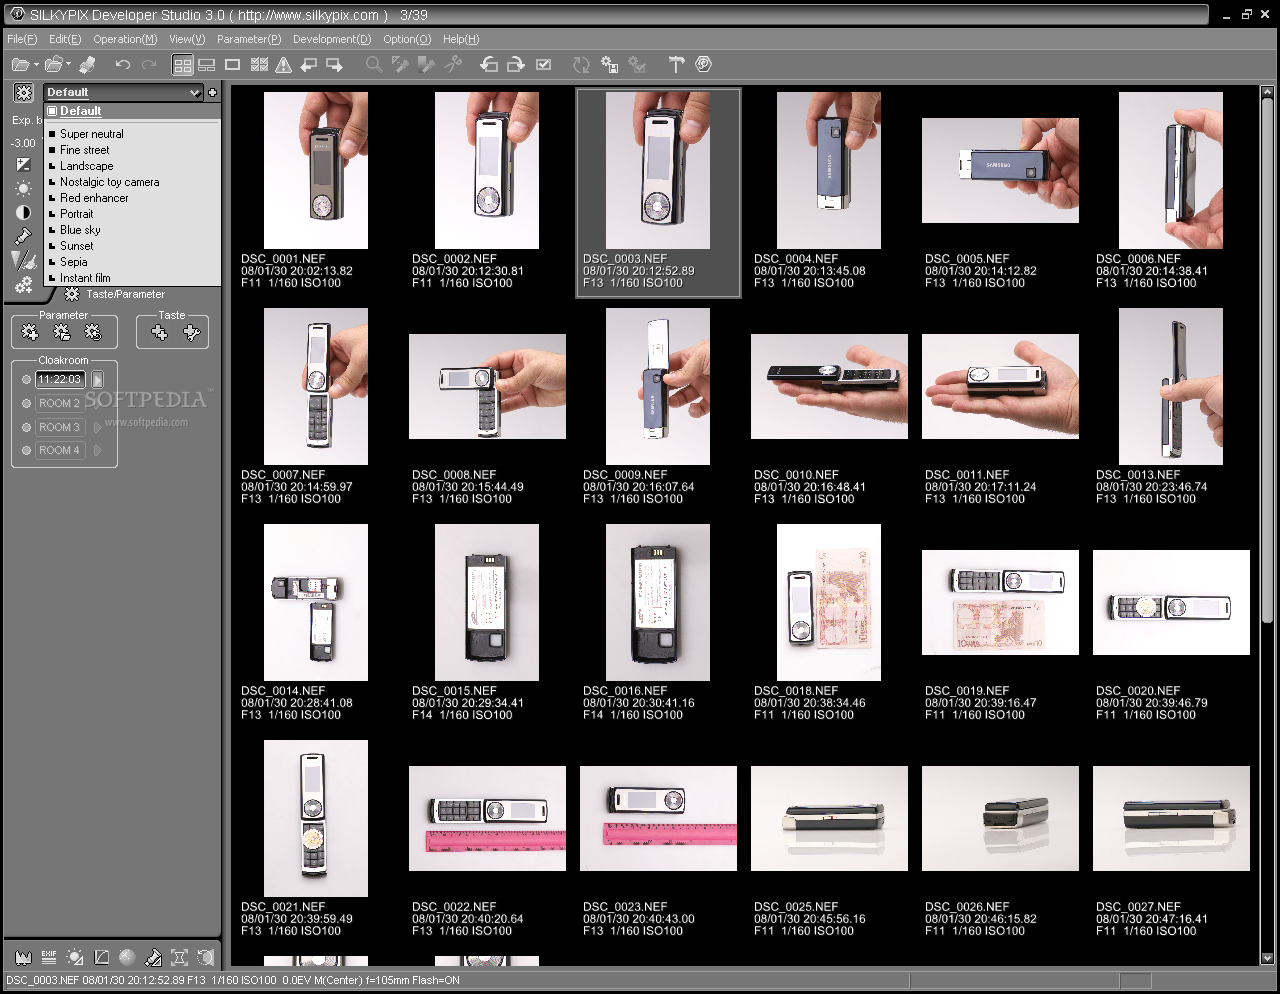
If you are lazy or you just want to experiment you can also choose one of the application's preset "tastes". Yes, I know, it's a strange term, but it's a matter of taste, so to speak. Speaking of tastes, the color parameter has some presets as well and you can simulate the look of different types of emulsions. You can also save your own taste with specific parameters, but that is something most converters do.
I almost forgot one important detail. Up until know, I've talked about RAW files, but SilkyPix also does a good job with JPEG files. Almost all of the batching options for RAW files can be used with JPEG files. I was quite surprised to see that JPEG files are treated just like RAW files. This means that you can apply settings, then go back and make additional changes, copy development, paste them, the whole nine yards.
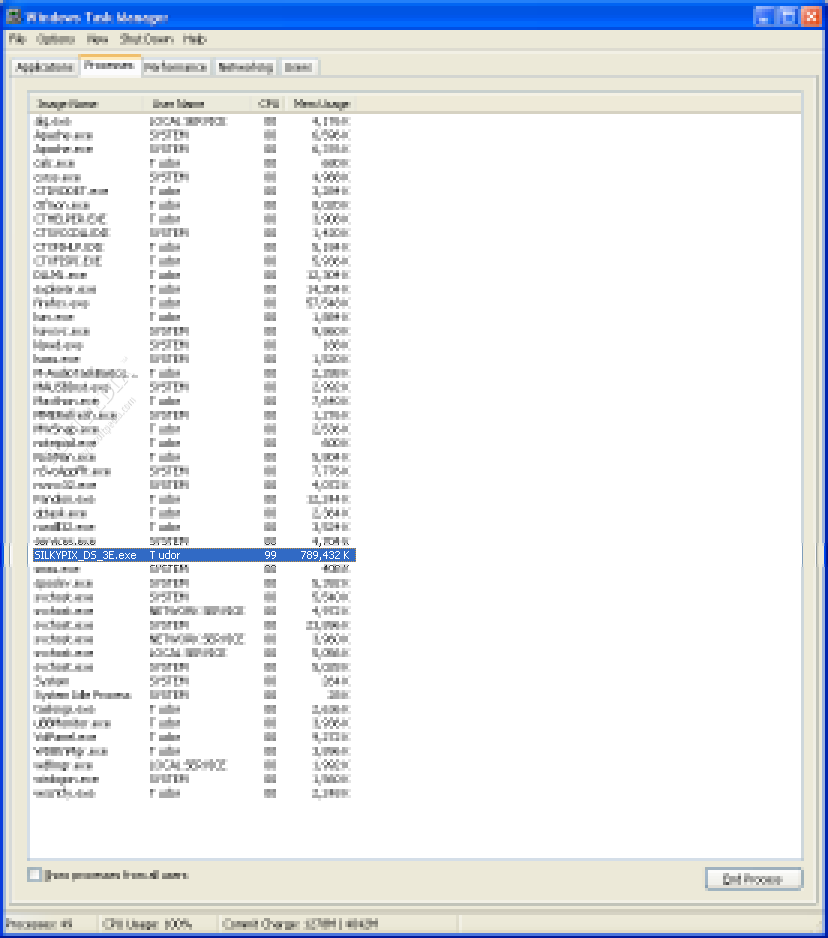
However, all is not jolly in the SilkyPix land and we're not talking small things here. In my opinion, SilkyPix's biggest problem is speed. The software took 11 seconds to convert the D70 file to JPEG at full resolution. Capture One 4 took 5 seconds, ACR 3.7 took about 4 seconds and Lightroom was blazing fast. Things got even worse with the EOS 5D file. SilkyPix took a whopping 18 seconds to process, while Adobe Camera Raw 3.7 (ACR) took 8 seconds. The same 5D file took 20 seconds to process into a TIFF. During thumbnail browsing and processing the memory usage was around 200MB, but I managed somehow (I don't remember how and I wasn't able to repeat the experiment) to get the memory usage close to an astounding 800MB. I think it was just a result of strange and misfortunate circumstances. I do have a screenshot though. In case you were wondering, my configuration comprises an AMD Athlon 64 FX-55 with 2GB of RAM and two Raptor HDDs at 10,000 RPM. It's more gaming-oriented, I know, but it gets the job done.
This is by far SilkyPix's worst issue and something the developers should take care of in future versions. Another section that should be improved is the batch rename command as it's pretty option-limited. I, for one, was not able to rename my files the way I wanted. A watermark option would also be welcomed.
The Good
SilkyPix Developer Studio 3.0 has one of the cleanest, clutter-free interfaces I've seen; it's intuitive, easy to get around, you'll master it in no time. In terms of image quality, I'd say that it provides very good to excellent results with pleasant colors and good overall sharpness. Feature wise, I really enjoyed the highlight controller and the skin white balance tool. The batching section is extremely well-developed and, as a consequence, the workflow is both fast and easy.
The Bad
The biggest issue is speed. The application is slow at processing files as it takes about twice the time of other converters on the market. Other gripes include the fine detail sharpness (the application preferring to smooth things out), the lack of a vibrance controller, the limited batch renaming option and the inability to watermark the images.
The Truth
All in all, SilkyPix Developer Studio 3.0 is an excellent application with very good results and plenty of tuning options that will surely get the job done. The batching capabilities are also top-notch and I see them as one of the strongest selling points. It does not yield the best sharpness, especially in the fine-detailed areas, but sometimes that is actually a good thing. So, my recommendation is to take it for a test drive (14-day trial) and see for yourself if it's worth $150. I think it is.
