14 DAY TRIAL //
 When nobody takes your word for granted, what's left for you to do is rely on the strongest piece of evidence you can find. In the vast majority of cases, bringing pictures is a good way to sustain the truth of your sayings, as no reasonable person can deny what's clearly depicted in front of his/her eyes.
When it comes to computers, taking snapshopts of certain windows or even of the entire screen can be useful in cases when you need to save information from your desktop, parental control, unauthorized usage of your system, and the list can go on. All modern keyboards have a Print Screen button included so you can take a screen capture at any given time. Because of the usefulness of this feature, nowadays many developers have taken the screen capture idea one step further and have come with applications that do more than just screen capturing.
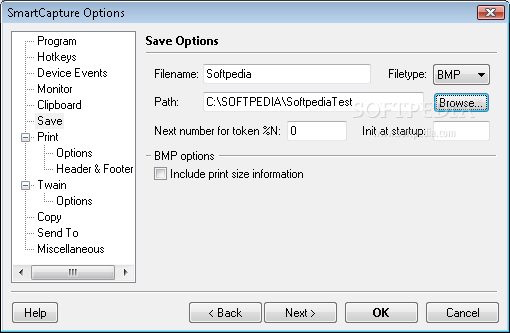
Today's topic is a piece of software called SmartCapture, developed by DeskSoft. As the name itself suggests, the program takes screen captures and saves the images on the user's hard disk drive as a PNG, BMP, JPG, GIF or TIF file. As this software application is using the most common image file formats, just any image viewing application will be able to read and display them, eliminating the need for dedicated image converters. In fact, these image types can be directly opened and viewed from Windows XP and Vista, so most users will not even need an additional application. Regardless of your snapshot's format, SmartCapture provides you with the possibility to adjust the quality settings according to your needs and preferences, a feature that indubitably enhances its functionality.
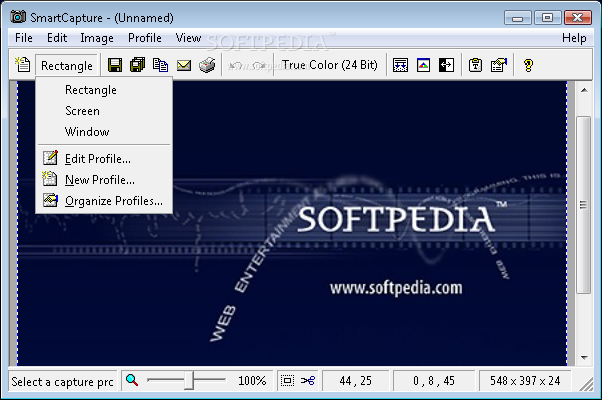
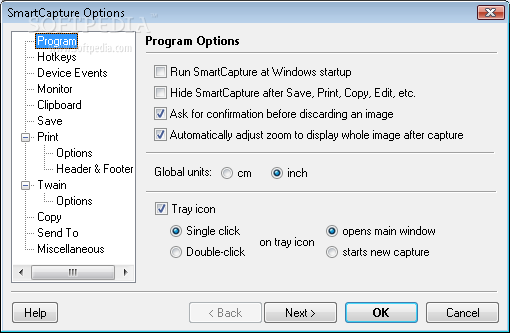
The installation kit of the current version, 2.0.0, has a very small size, 508 kB, and by simply following its instructions you won't have any problem installing it. SmartCapture places an icon in the system tray so you can go on with your work and take screenshots when necessary, without having to restart the application each and every time. The interface is pretty intuitive and user-friendly, with the typical menu on the top side and shortcut buttons right underneath. Let's say a few words about these items.
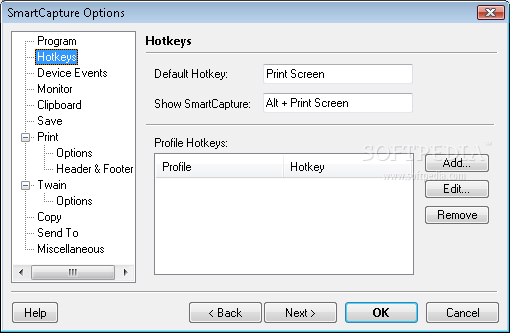
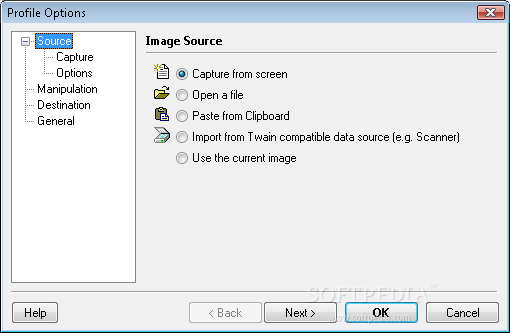
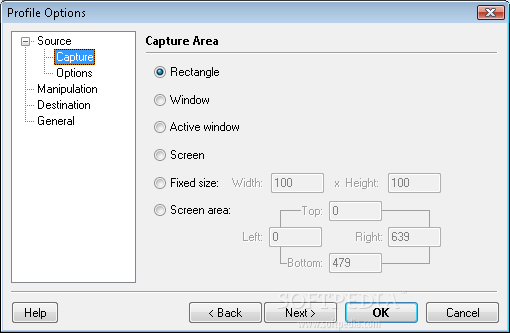
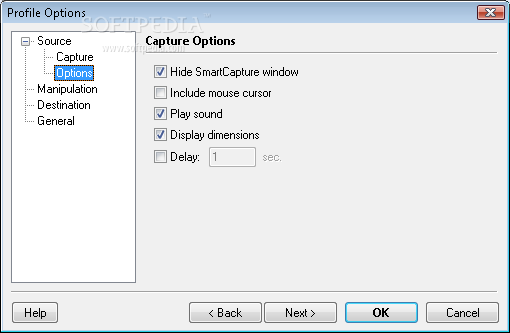
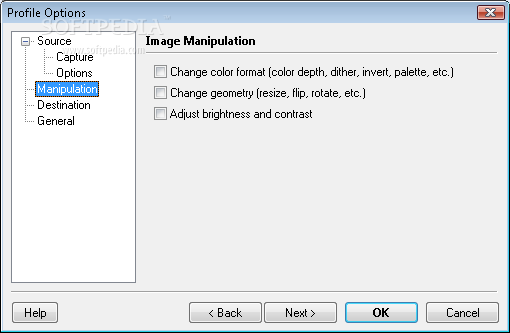
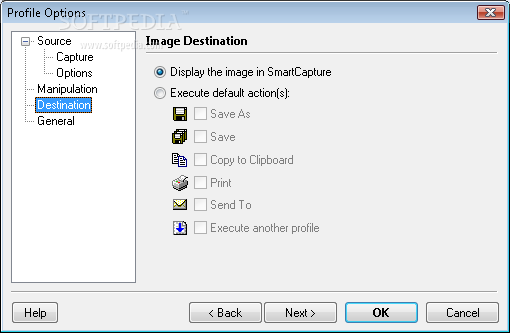
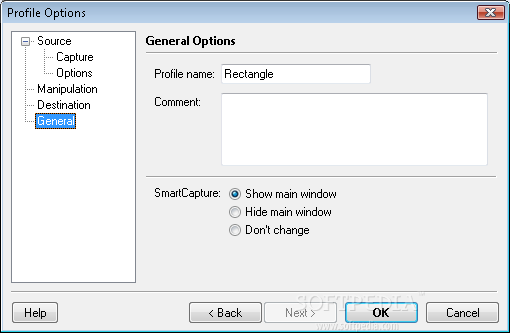
The first thing you need to do when taking a snapshot is to click on the New feature included in the File menu. You also have the possibility to hit the Ctrl+N key-shortcut, should you find this easier to use. Please note that in order to use this key combination SmartCapture needs to be the active application, as it won't work if you have another one that uses Ctrl+N for launching a certain feature. Right underneath the File menu you will find a button that allows you to select the type of snapshot you wish to take. By default you can capture a rectangle-shaped part of the screen but you can change this at any given time. SmartCapture comes with three predefined profiles: rectangle, window and screen, but it provides you with the possibility to define your own. You are also granted the option of modifying the existing profile, with a simple click on the Edit Profile button. The window that will be displayed includes several tabs that allow you to customize the screentaking action according to your needs and preferences. For instance, you can select a different image source, adjust the brightness and contract, or take fixed size captures.
Another thing that is worth mentioning here is that all profiles have the same key combination shortcut and you have to manually switch between them. Perhaps a better idea would have been to assign a different key shortcut for each profile, but on the other hand you would have had more to memorize.
Moving along further we find the Edit menu, where among the usual Undo, Redo, Copy and Paste features, Crop is included. SmartCapture allows you to select an area from the snapshot and magnify it. This can come in handy when, for instance, you need to pay close attention to details as you can zoom the selected area up to 3200%.
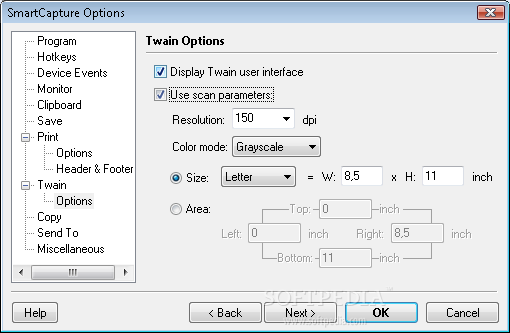
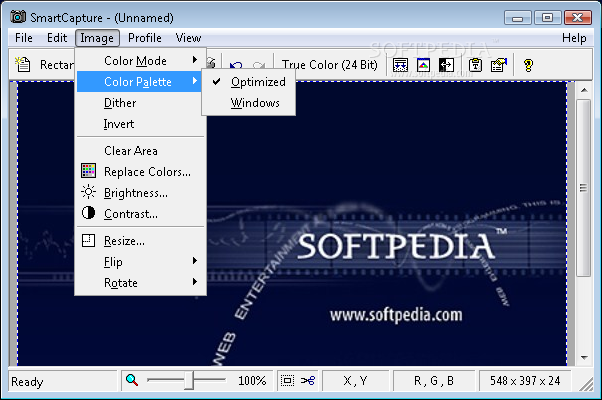
Our next stop is the Image menu. As the name itself suggests, this menu provides you with the possibility to edit/adjust the snapshots by replacing the default color palette and mode with another value found in the respective submenu. As for the brightness and contrast, these can be assigned a different value by sliding the cursor. Another useful feature that can be found in this is image resizing. SmartCapture allows you to rescale the snapshot by modifying its width and/or height as well as to change the resolution. For users needing to take many screenshots while keeping the image file size to a minimum, SmartCapture provides an easy way to modify the number of color bits, letting users select from a list the most convenient setting. These values range from "black and white" that uses just one bit for color to "true color" that uses 24 bits in order to draw the most accurate images. Unfortunately, this software application is not capable of working with some Windows default bit color values like 16 and 32 bits of color, so while capturing a desktop that natively uses a 32-bit setting, some information will be lost forever. But this is by no means a big problem as the human eye is somewhat incapable of making much of a difference between colors using 32, 24 and 16 bits.
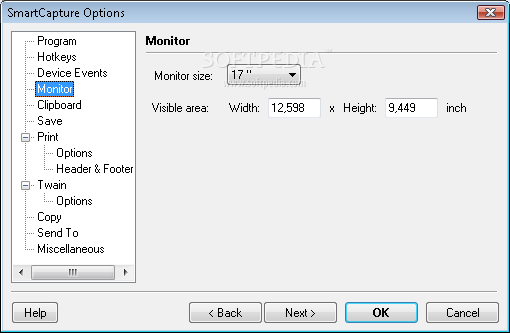
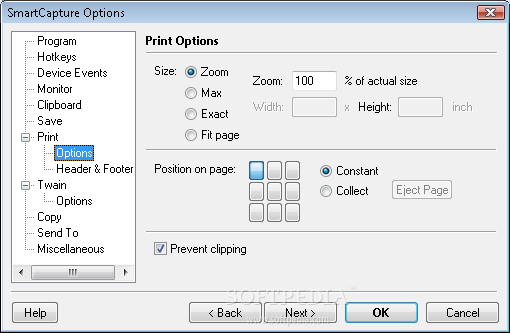
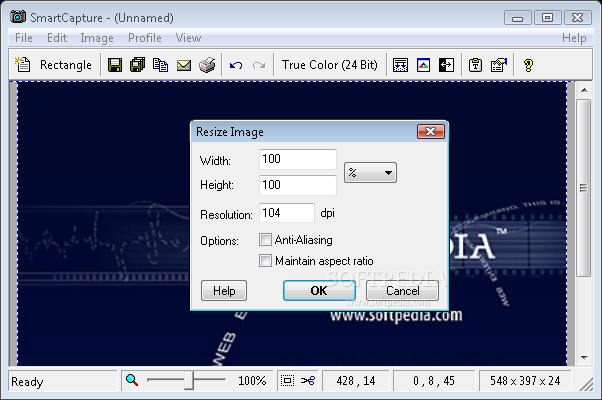
The "Image" menu also comes with a "Resize" feature that will pop up a small window letting users choose to maintain or not the image aspect ratio while procentualy resizing the image. Two other options are very important as they will greatly affect the end quality of the generated image: anti-aliasing and resolution. As anti-aliasing needs at least some degree of hardware support, this function will not be available to users keeping some older machines around, but it should work pretty well for the vast majority. The resolution option will affect the printing process, users having the possibility to change the number of dots per inch setting, resulting in clearer and sharper images. By default, the resolution setting is adjusted at 96 dpi, the value currently used by most Windows running machines.
The Good
SmartCapture does a great job when it comes to capturing the screen. Its user-friendly interface and highly configurable options make it useful for both experienced and novice users. The output formats supported by this application makes it suitable for posting the images on the web.
The Bad
SmartCapture might seem a little expensive, especially if we take into consideration similar software that can be used free of charge. Also, as I said before, it might have been better if there were key-shotcuts assigned for every profile, as some users might find manually switching between profiles a bit annoying. Another not so bright spot is the fact that this software application does not support 16 and 32 color bits, currently the most widely used color depths on Windows running boxes, but instead uses a 24-bit color setting that is more commonly found on machines running X and Linux.
The Truth
All in all, SmartCapture is worth trying, especially since it comes with a 30-day full-featured trial. My opinion is to give it a shot and if it serves you well, you can pay the 30$ license.