Keywords: wpf map control, .net ui controls, openstreetmap, touch map
SlimGIS Map Kit for WPF is a .net WPF component to help you to easily build up a Map based WPF application. It contains full function of SlimGIS Map Kit Core which comes with Geometry, GeoFunction, Symbology, Renderer, DataSource, Layer etc. In this guide, we are going to focus on the WPF component introduction and create the first application with it.
When you are reading this guide, I assume that you have installed SlimGIS Setup on your machine (if not ready, please visit this page and make it ready for few steps).
In this guide, I will introduce the following items:
- Scenario description.
- Add assembly references and init the map control.
- Add OpenStreetMap as base map.
- Build-in Touch and Mouse operation.
- Add a Shapefile and set styles.
- Add build-in controls: zoom bar, scale bar etc.
- Identify a feature and highlight it.
This project already includes the runtime license. If your trial license is expired, it still can run the project by "ctrl + F5". Or try executable.
All right, I think we can stop here. Not too much content. It is only parts of this WPF component. View this page for the full feature list.
What a basic map contains? I'm sure everyone has a different vision of it. Let's open the web browser and visit maps.google.com. It is the most popular map currently.
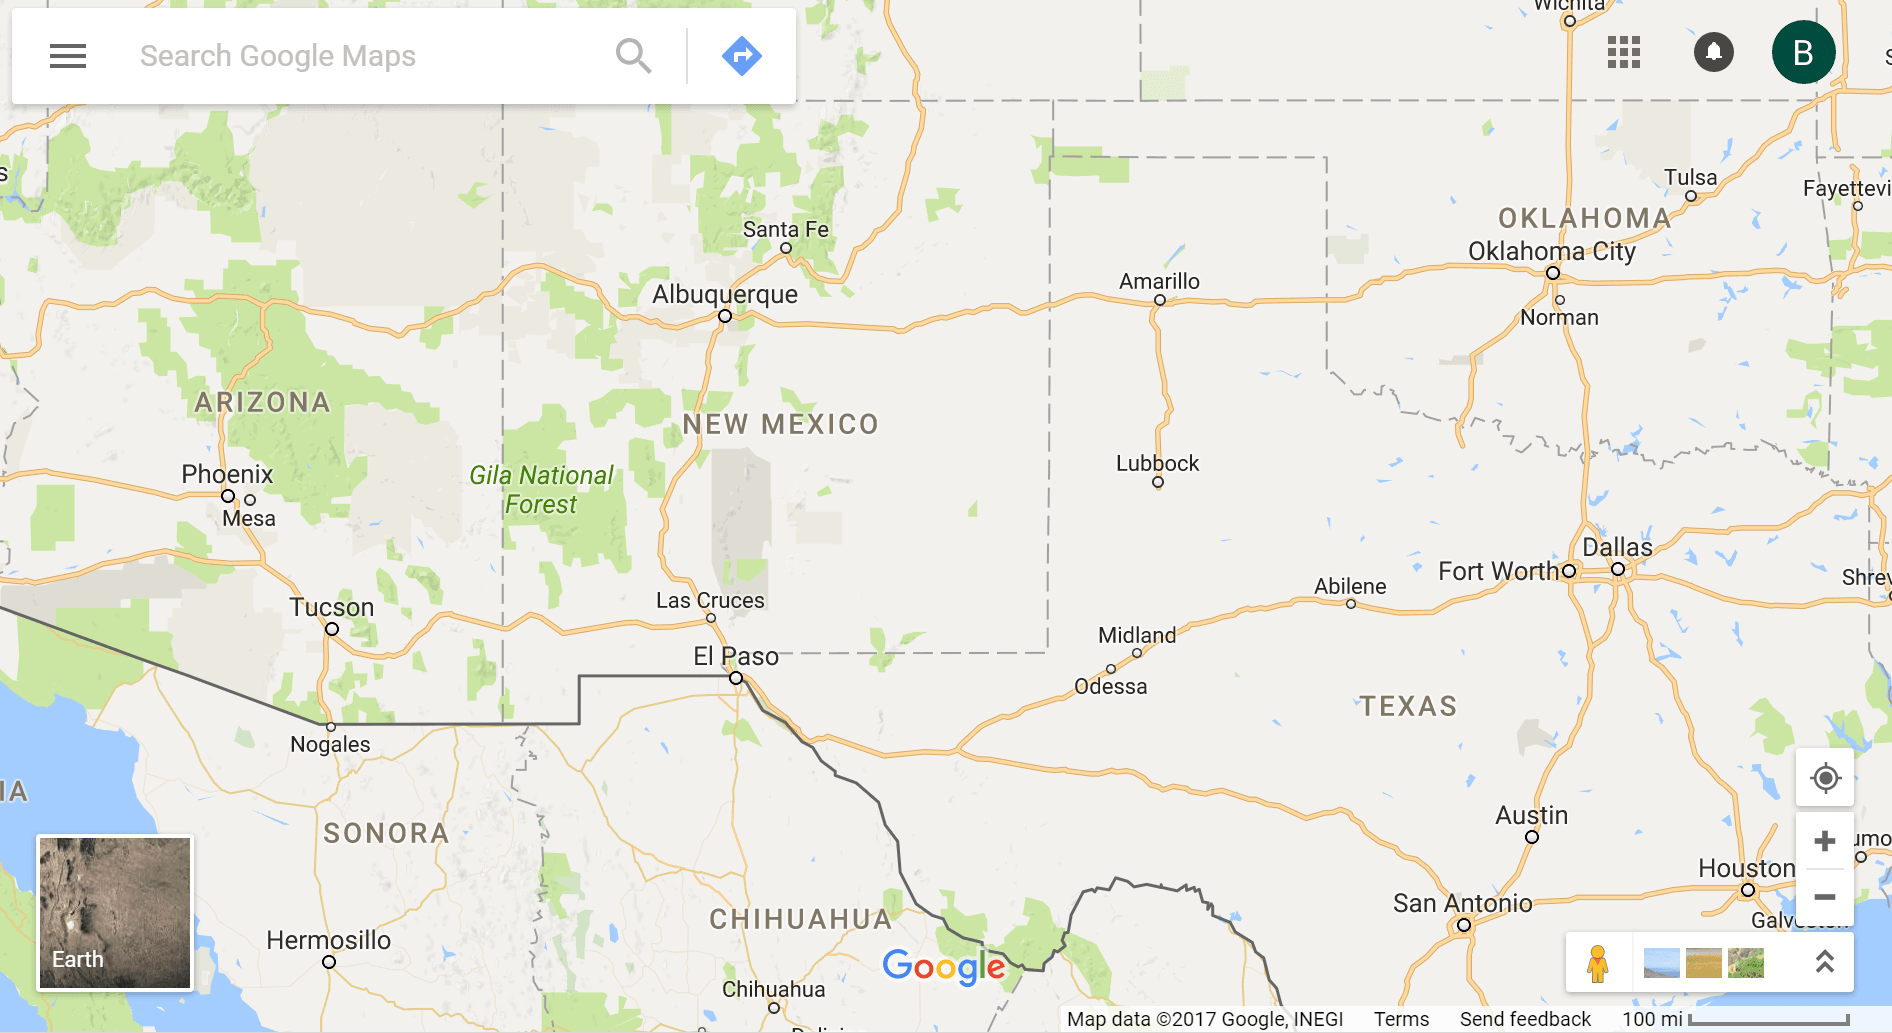 A basic map application usually contains a map of course; a serial buttons to controll the map viewport (In the screenshot above, it adorns on the bottom right corner, see the little "+" and "-" button). A scale bar belows the buttons on the right of the very bottom. We can add more controls to make it convenient to use. Like displaying current mouse coordinate. This is what all for a common maps have. That's not all for this guide. You know everyone loves Google Maps, but compare with a component, we can do more as we like. In the following part, we will load our own Shapefile, set a nice style and put a lable on it; then interact with it. Isn't it cool? Let's get start.
To start the demo, every developers know how to create a project with Visual Studio. In this guide, I will use Visual Studio 2015 Community version. Here are few steps, I will try to make it simple. Open VS2015 -> Create a WPF Application and name it QuickstartSampleForWpf.
At this step, there are several options to continue:
- Drag the map component from ToolBox in Visual Studio.
- Reference assembly from installed folder.
- Reference package from NuGet.org.
We will go with option one, as it is already installed on your machine at C:\Program Files (x86)\SlimGIS\3.0.0\SDK\Wpf. Let's drag SGMapKit.Wpf.dll into the toolbox; Visual Studio will automatically detect the custom controls inside this assembly and prepare the controls for you. See the screenshot below.

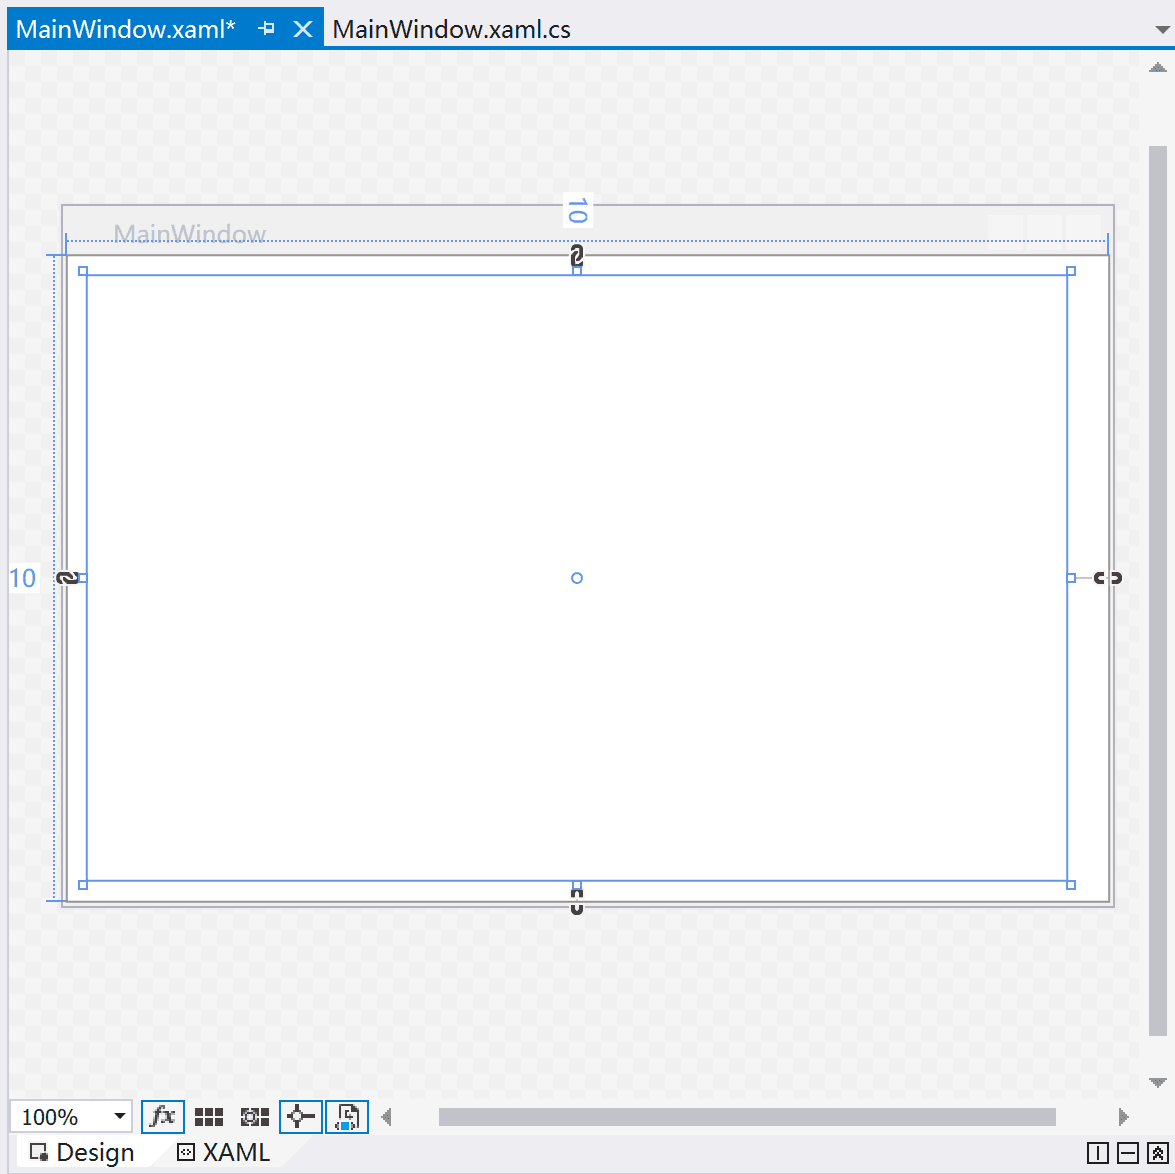
MapControl is what we are going to add to the MainWindow.xaml design-time. Drag this control into the default MainWindow.xaml that is created by WPF application template and set a proper size. I'd like to make it like following size.
Now we will add a Loaded event on the MapControl. Here will do a little trick on Visual Studio. Select map control to make it focus -> Press F4 button to open the Properties Explorer. First we set the control's name to Map1 and click the Event handlers for the selected element button.  Scroll down and look for the Loaded event, then double click on the textbox. Visual Studio will create the event handler method
 Map1_Loaded for you and auto switch to the source code. It is very convenient. This method is the major place where we will code at.
First, we set the very first and important setting on map, the MapUnit. MapUnit defines the primary coordinate unit which is used to caclulate the vectors or raster position or measuring etc. on the map. In SlimGIS products, we supports linear and degree (longitude & latitude) coordiante system.
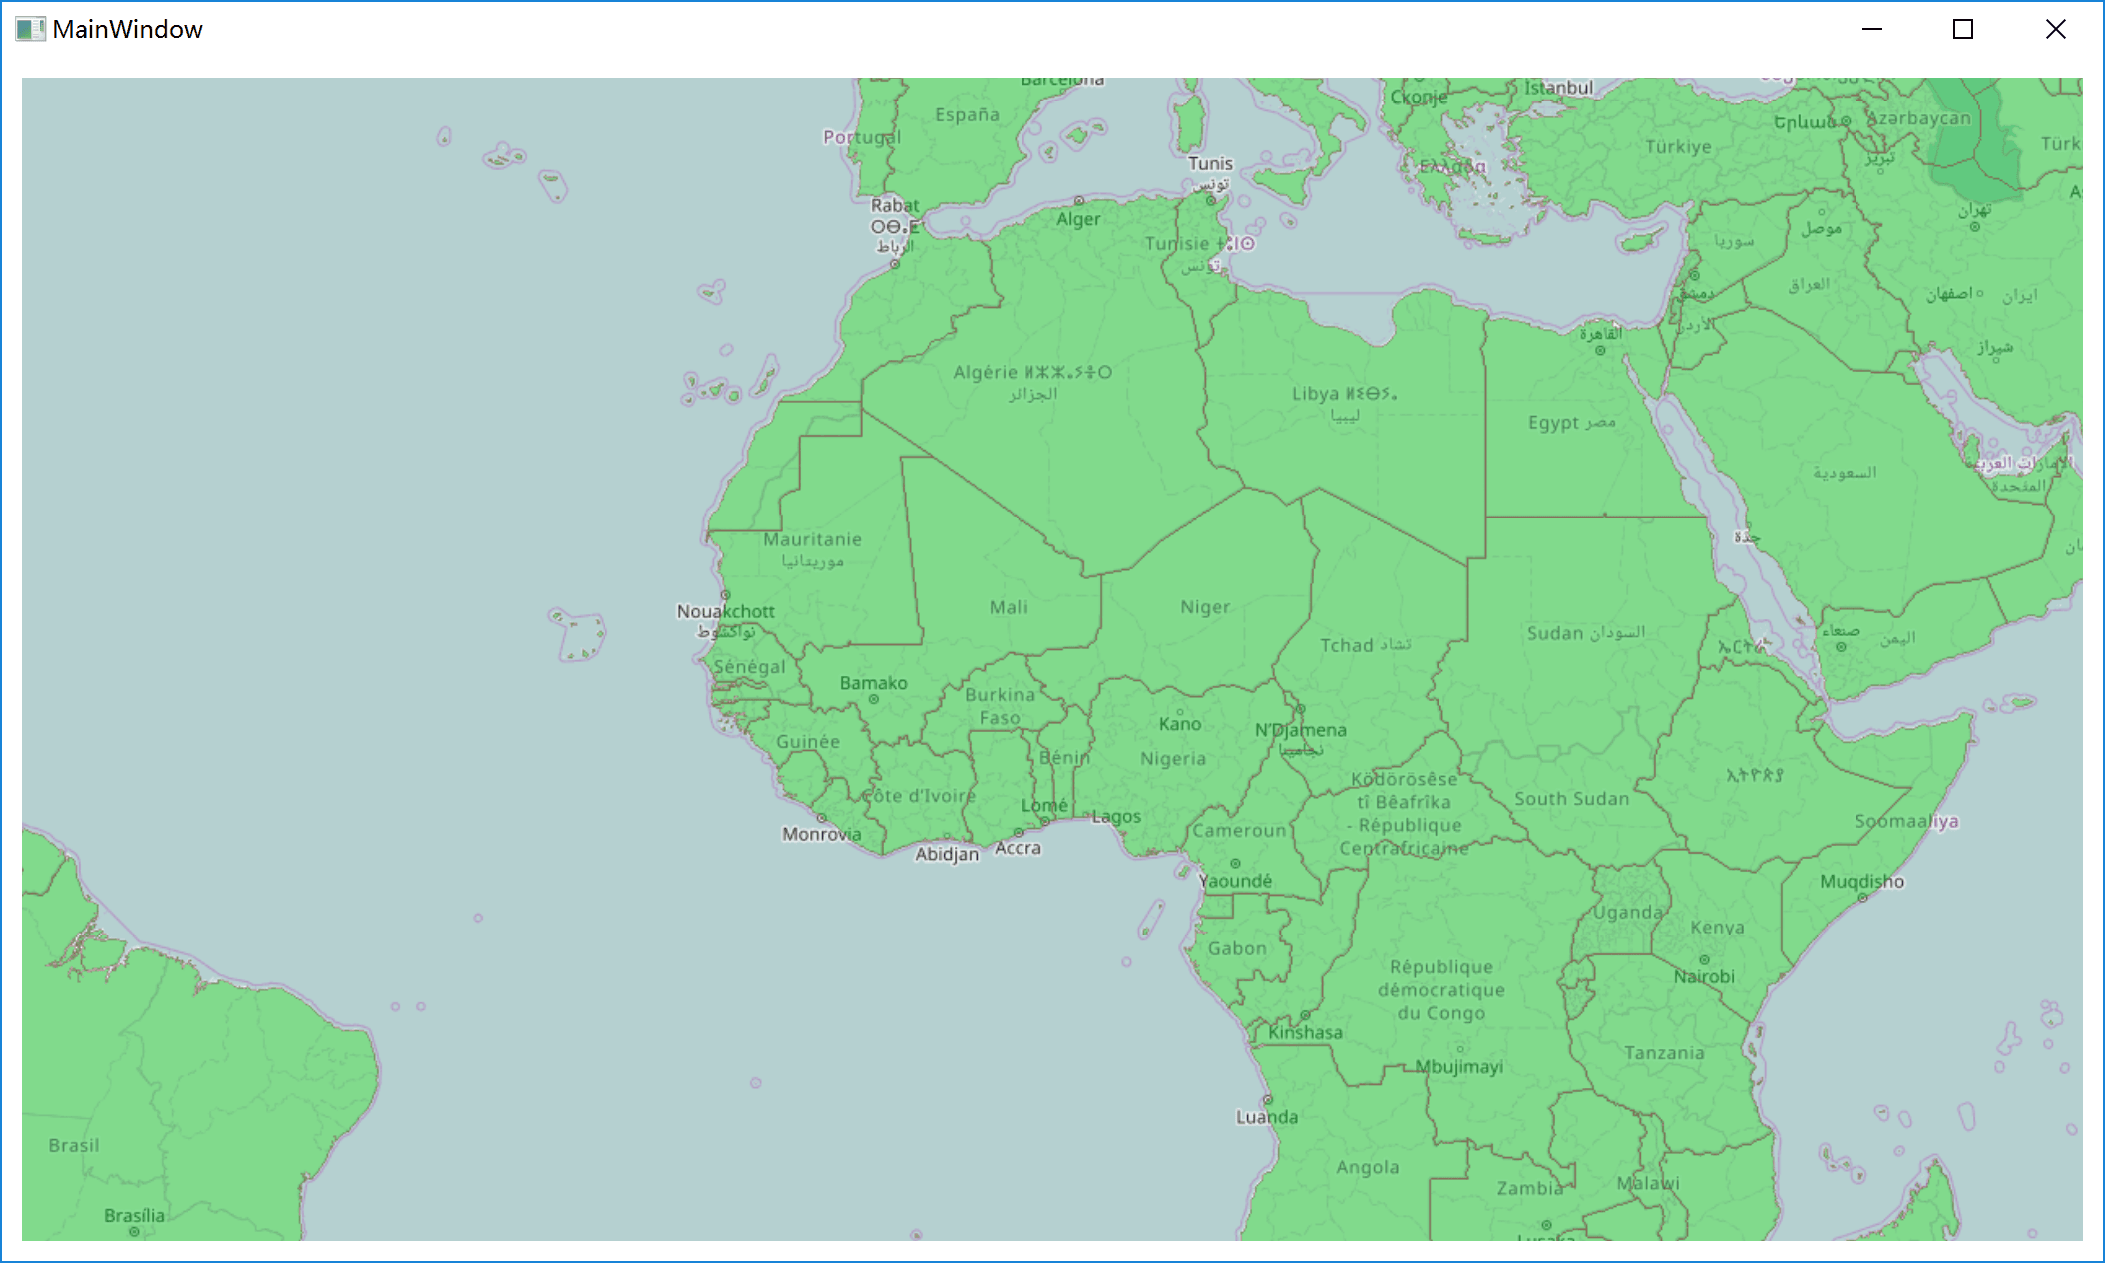
Map1.MapUnit = GeoUnit.Meter;We used linear coordinate unit Meter here, because as we described just now, we are going to add OpenStreetMap as base map. It is a 3rd part map imagery service that is provided by OpenStreetMap. While OpenStreetMap is using linear coordinate unit Meter, so we have to follow the base map's primary coordinate unit and use it for the further caculation.
Now we are going to add OpenStreetMap as base map and zoom the location to the full bound of it.
Map1.UseOpenStreetMapAsBaseMap();
Map1.ZoomToFullBound();
That's all to add an OpenStreetMap as base map now. Vert straight forward right? Let's press F5 to see the effect.

Now you could feel free to do the operations below.
- Pan the map around with dragging the map and move your mouse.
- Zoom in/out by mouse wheel up/down.
- Zoom current map viewport to the next level by double click.
- Press
Shiftkey on keyboard and hold -> use mouse to draw a rectangle to zoom the drawn area.
If you have a tablet device with OS Win8 above, that is a fantasy part, we support mouse and multitouch at the same time. Try to touch map with following gestures.
- Pan the map around by one finger touches on the screen and move it.
- Pinch the map to zoom in/out with two fingers.
- Rotate the map with two fingers and rotate.
- Double tap on the map to zoom in to the next level.
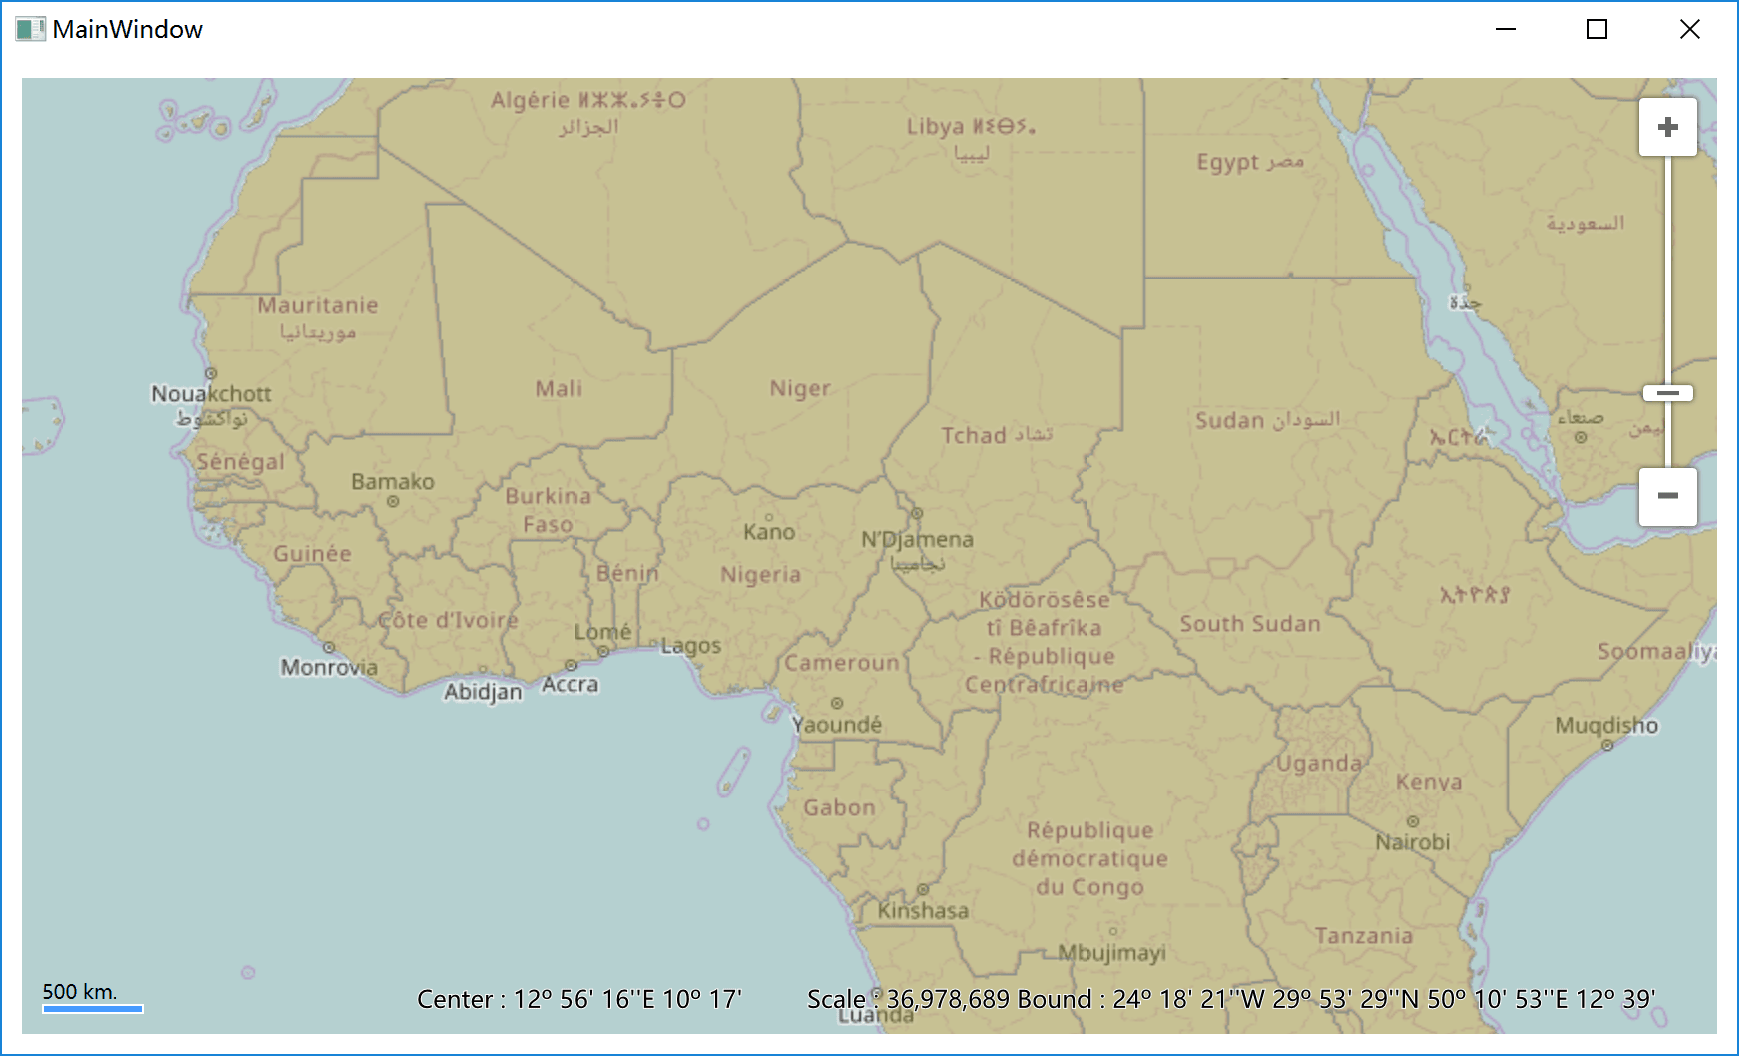
We prepared a contrys ShapeFile data in Spherical Mercator in the sample. If you are following this guide to create this sample step by step, please copy the AppData folder from the project folder to your's. Let's take a look at the code below:
ShapefileLayer shapefileLayer = new ShapefileLayer("../../AppData/cntry02-900913.shp");
shapefileLayer.UseRandomStyle(120);
Map1.AddStaticLayers("Dynamic Layers", shapefileLayer);
Note: shapefileLayer.UseRandomStyle(120) means we give it a random style with 120 alpha component for the fill color. So the screenshots below might have different fill color.
Now, our map becomes this:
We have a build-in pan-zoom bar which allows we to zoom the map with. We could add it by XAML or programmically in the code behind. I guess most XAML developers like to write code in the XAML part. We will go this way. We are going to add a zoom bar to the upper right corner, a scale bar on the lower left corner and text to display current viewport's information on the lower right corner. See the code below:
<!--  ZoomBar  -->
<Wpf:ZoomBar Margin="20"
             HorizontalAlignment="Right"
             VerticalAlignment="Top"
             Map="{Binding ElementName=Map1}" />

<!--  ScaleBar  -->
<Wpf:ScaleBar Margin="20"
              HorizontalAlignment="Left"
              VerticalAlignment="Bottom"
              Map="{Binding ElementName=Map1}" />

<!--  ViewportBlock  -->
<Wpf:ViewportBlock Margin="20"
              HorizontalAlignment="Right"
              VerticalAlignment="Bottom"
              Map="{Binding ElementName=Map1}" />
Note: one important setting is the Map property. we have to bind the defined map to the control.
Now, our map becomes this:
At current step, our map is static map. Although we have build-in function like guesture, mouse interaction etc. But that is not enough for a map control.
In this section, we are going to do some custom interaction with map. Like the normal map that allows to identify a feature and show some information of the feature on the map.
- add a click event on the map. We will add it in XAML like we used to do.

- Implement the event as following.
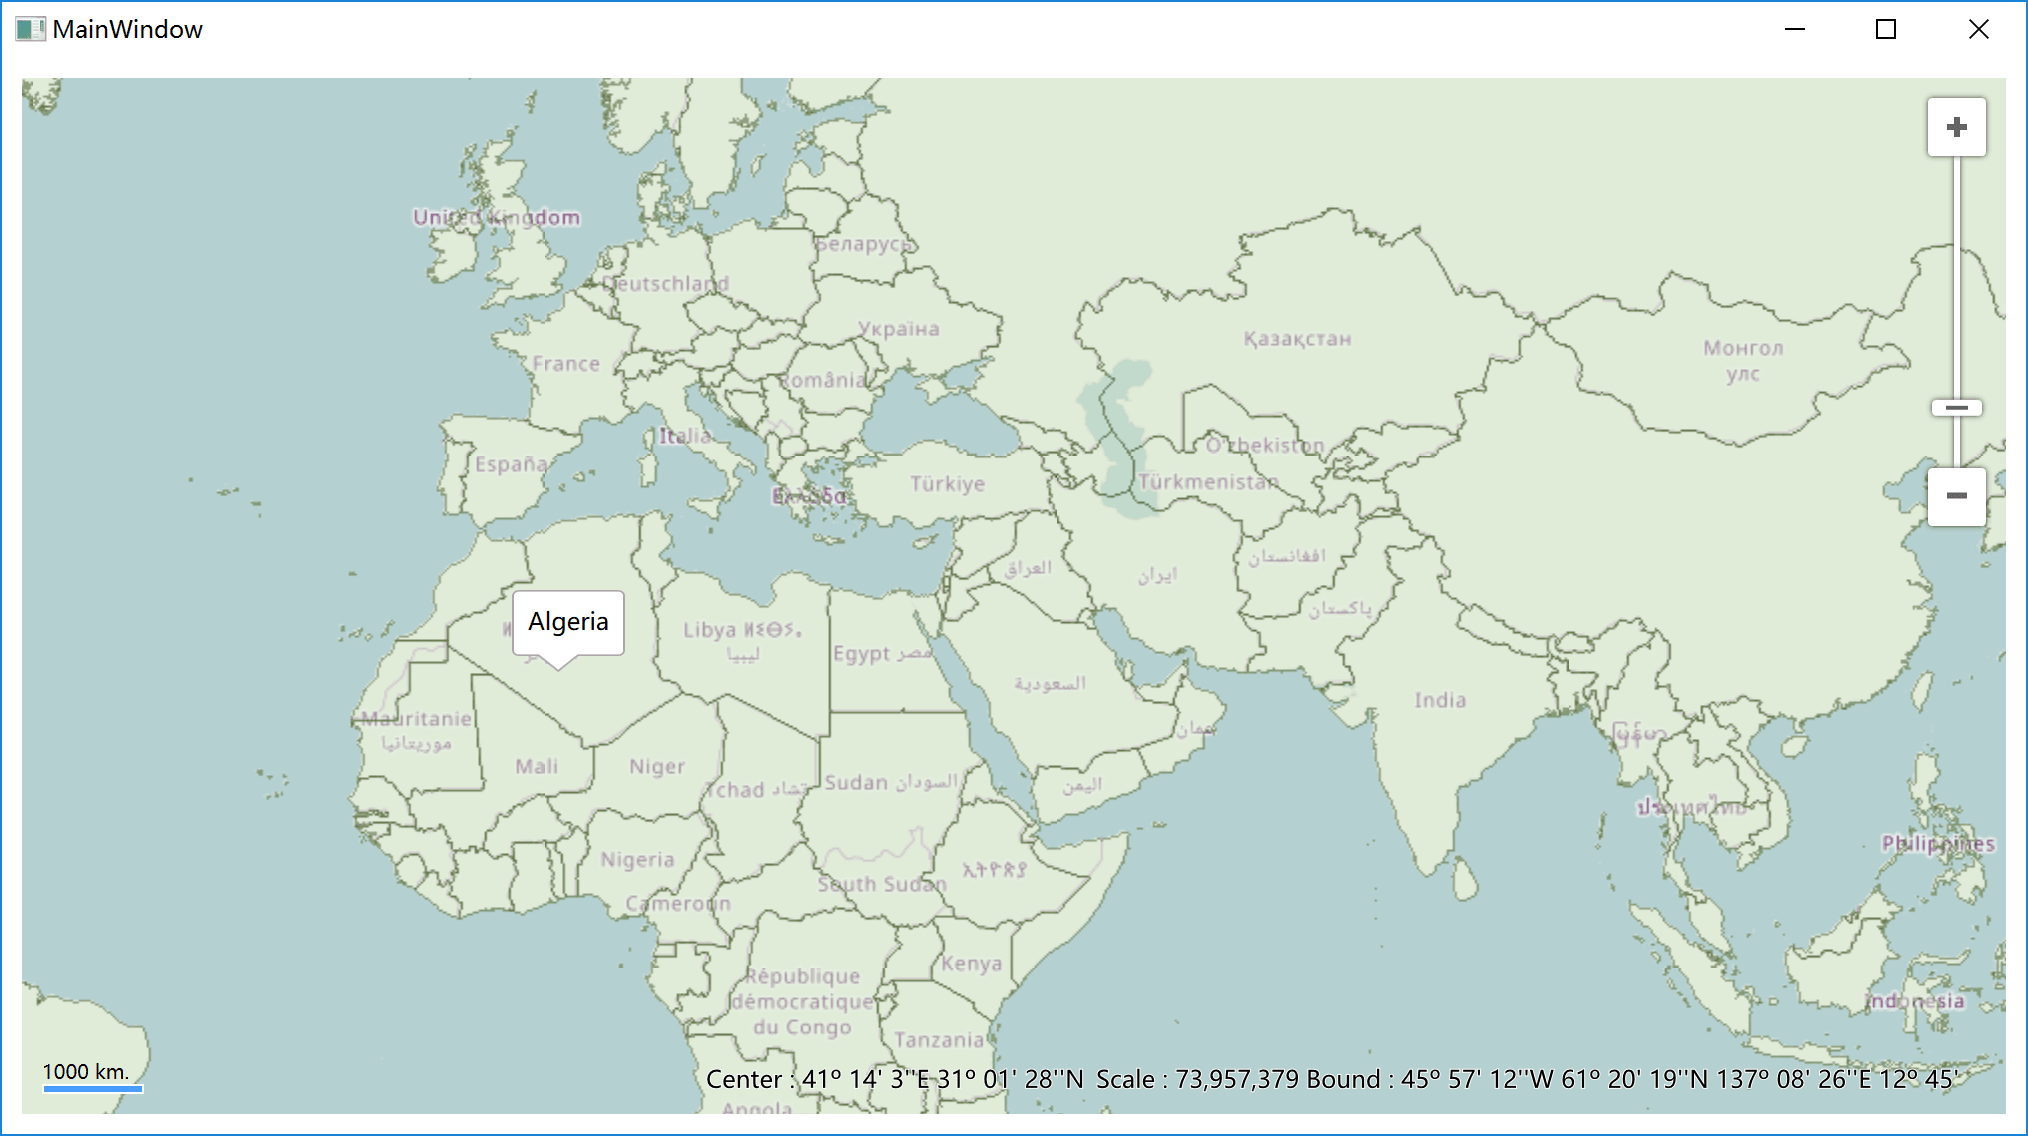
private void Map1_MapClick(object sender, MapClickEventArgs e)
{
    // We added a ShapefileLayer in the Loaded event,
    // it's default name is the name of the shapefile.
    // so here, we could find the layer back by the shapefile name without extension.
    FeatureLayer featureLayer = Map1.FindLayer<FeatureLayer>("countries-900913");
    Feature identifiedFeature = IdentifyHelper.Identify(featureLayer, e.WorldCoordinate, Map1.CurrentScale, Map1.MapUnit).FirstOrDefault();

    Map1.Placements.Clear();
    if (identifiedFeature != null)
    {
        Popup popup = new Popup();
        popup.Location = e.WorldCoordinate;
        popup.Content = new Label { Content = identifiedFeature.FieldValues["LONG_NAME"] };
        Map1.Placements.Add(popup);
    }
}
Done, press F5 to run your first fantasy map application. It's pretty simple.
I'm sure you have more ideas for this guide. Please feel free to create a pull request, we are glad to take suggestions from you. Also, let us know how you think by dev@slimgis.com.