14 DAY TRIAL //
 When talking about GPU software, it's rare not to see MSI Afterburner being mentioned. Whether you're after increasing your graphics card's performance, upping its efficiency, or simply looking to have more control over it, MSI's offering is well-established in an industry where overclocking tools are certainly in no short supply.
The program comes as a solution for those seeking more precise overclocking controls for their graphics card, offering users who are not happy with their default GPU software interface an alternative way of controlling their performance.
An overview of your card
Before going over operating the software, it's worth noting that it includes the Riva Tuner Statistics Server (RTSS) component, which it collaborates with to provide an exhaustive hardware monitoring solution. Even if you're not familiar with monitoring hardware performance, Afterburner integrates RTSS so well that you won't even have to concern yourself with accessing the latter's interface. With that being said, you can entirely omit installing RTSS if you're not interested in its capabilities, as Afterburner will work just fine without it.
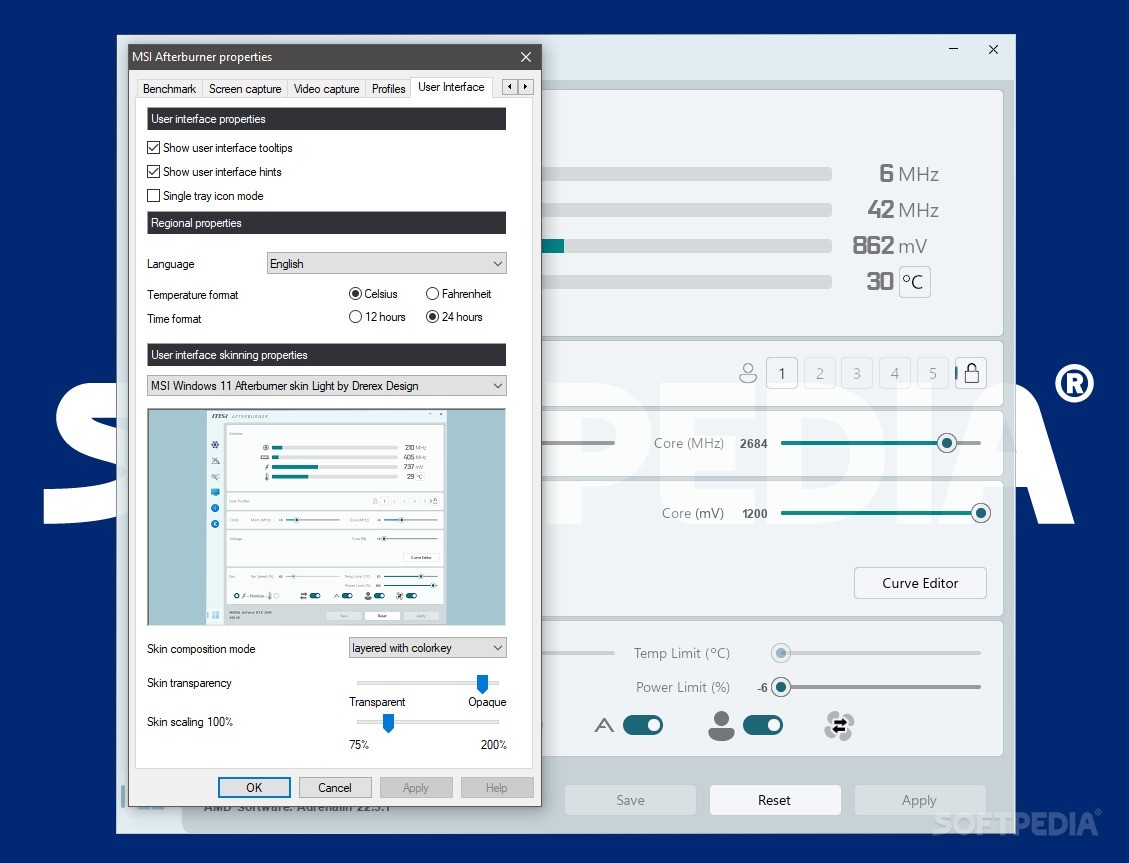
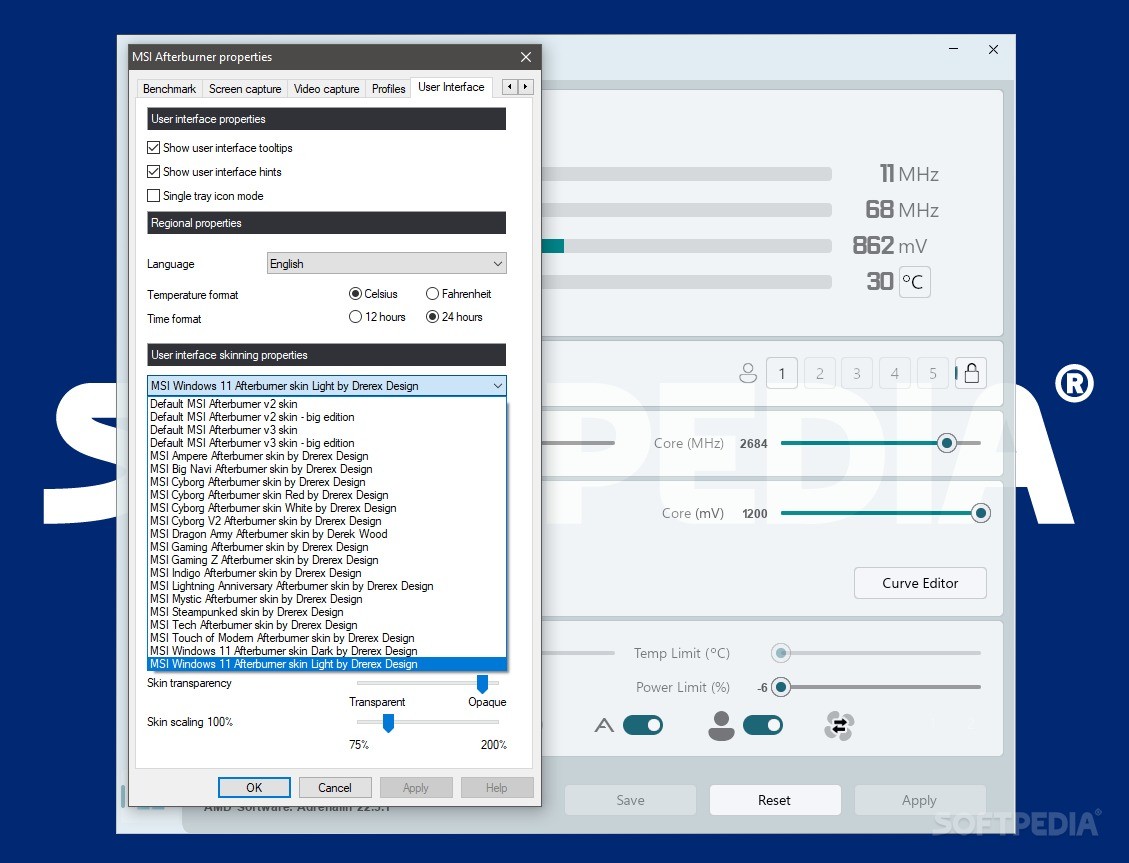
Interface-wise, Afterburner has recently gotten a redesign to make it appear more in line with what users would often call a "modern design." Some are fans of it, some aren't — I'm among the latter — but this redesign doesn't significantly change anything at all about the program: just its looks. Luckily, you can change it under the User Interface tab in the Settings menu.

Information about your GPU's usage, clocks, voltage, temperature, and fans is displayed front-and-center, so bringing up the program to the forefront may be a good way to check that data at once.
Control your GPU's voltage
The Properties menu is where Afterburner flexes its proverbial muscles when it comes to affording overclockers the options they need. Basic options, such as enabling hardware control and monitoring, as well as the low-level IO driver, are already enabled, but given this is an overclocking program, you might be surprised to find the voltage control option being locked by default.
This is to prevent access to the Core Voltage section by a less knowledgeable user. Though giving your card too little voltage will, at worst, shut down your computer, giving it too many millivolts runs the risk of burning it. In any case, keeping it locked by default is a smart decision from MSI.
Should you be interested in tampering with your card's voltage, Afterburner provides some presets for you to work with. Standard, Extended, Reference, and Third Party. These presets work to limit the amount of voltage to apply to your card: I never once needed to change it from Standard, but your mileage may vary.

Undervolting, overvolting, and other things you can do with the software
As a rough guide, with today's graphics cards, you'd be hard-pressed to feel the need to give them more voltage, especially as manufacturers tend to overvolt them from the factory. There's a reason that undervolting is so popular these days, after all. Some cards can be undervolted straight from the general interface, while for others, you'll have to use the Curve Editor tool. If you want to be thorough, you can tweak your voltage according to your card's frequencies via the aforementioned utility.
It's very much recommended to undervolt your card if you have the time: look up your model, find what other users have come up with, and see how your chip stacks up. Starting out with a slight -10mV undervolt is best, but you can give your card -50 from the jump if you're up to it. Stress-test it to check for any instability, and see if you can undervolt some more. You're also free to overclock and underclock the GPU to your liking: don't overlook stress-testing it afterwards, however.

Instability usually means that you'll have to give it a little more voltage. It's a time-consuming process when you account for the stability testing, but the lower thermals and lower power draw are worth it in the end. What's more, it's common practice to overclock some GPUs while undervolting — RDNA 2 chips, especially — but it may not be the case for everyone. Forcing constant voltage is very architecture-dependent. Newer architectures typically ramp up and go down in voltage frequently, so unless the documentation for your card states otherwise, forcing constant voltage is rarely an option you would enable.
Fans, temperatures, the works
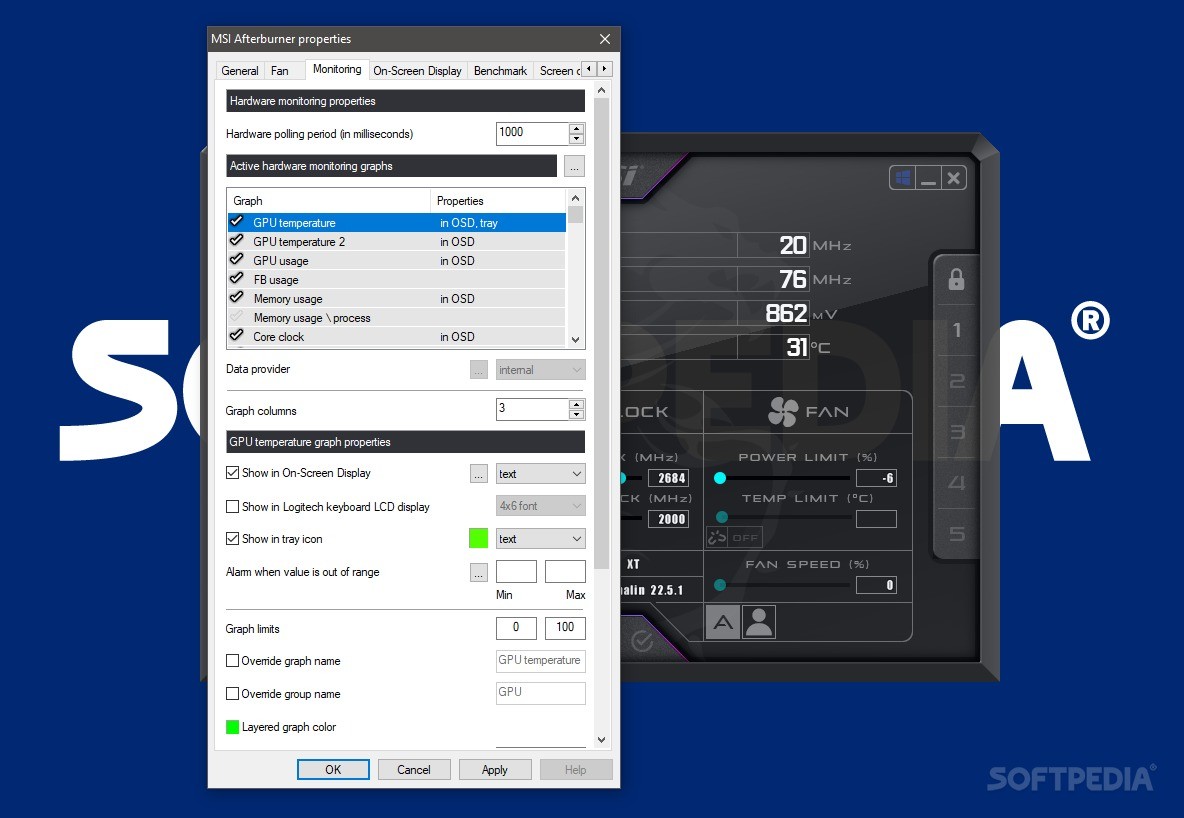
The Monitoring screen is where users can fine-tune their hardware monitoring by selecting their preferred graphs and values. To take advantage of this option, the program will require RTSS to be on to provide monitoring data within full-screen applications. If you do not wish to utilize RTSS, but still get some monitoring benefits, you can have Afterburner display your monitoring data of interest through tray icons. Whether it is your CPU or GPU's temperature, the usage of a certain core, or your framerates and frametimes within a game, all manner of monitoring graphs can be toggled here.
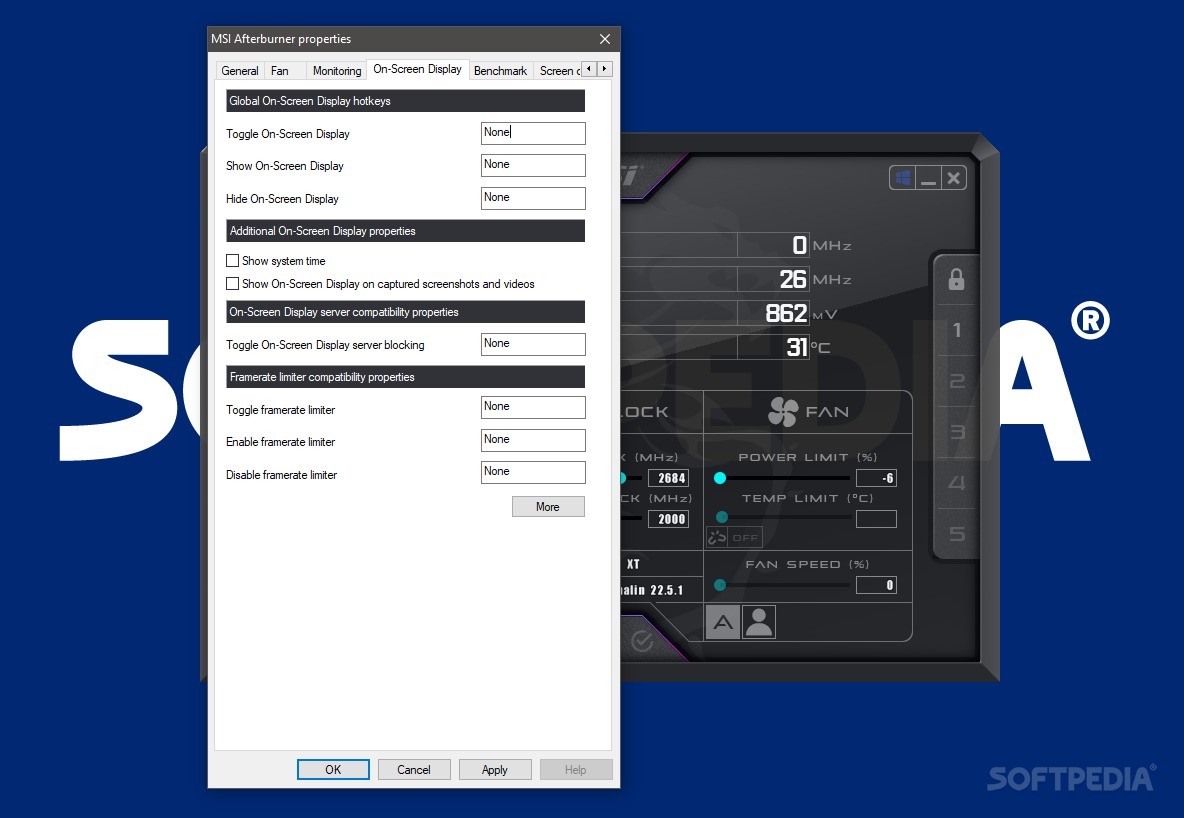
It's best to set a hotkey to overlay those graphs whenever you need in a game. By way of the same menu, users can also toggle the framerate limiter, which can help if you're experiencing screen tearing, or simply don't want to go above a certain framerate.
Dealing with your hardware temperatures shouldn't be an issue, as your components should already have reasonable fan curves set by default. If you're after modifying your GPU's fan curves, head over into the Fan tab, and fine-tune those curves. Depending on how cooperative your GPU is, you might have to switch on the Firmware Control mode to save your fan curves within the card's firmware.

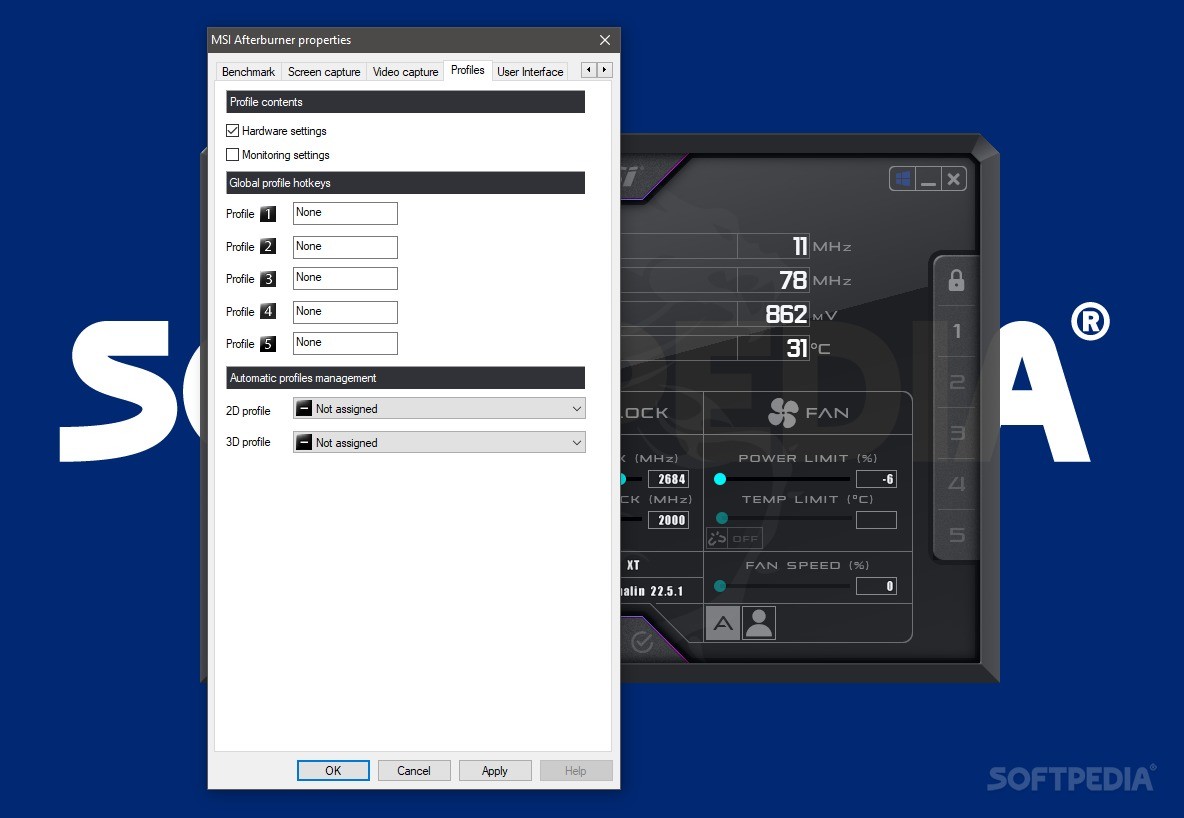
Once you're happy with your modifications: fans, clocks, voltage, and the like, feel free to save your profile. Multiple profiles can be created, allowing you to switch between them and activate the relevant one whenever necessary.
Take in-game photos and videos
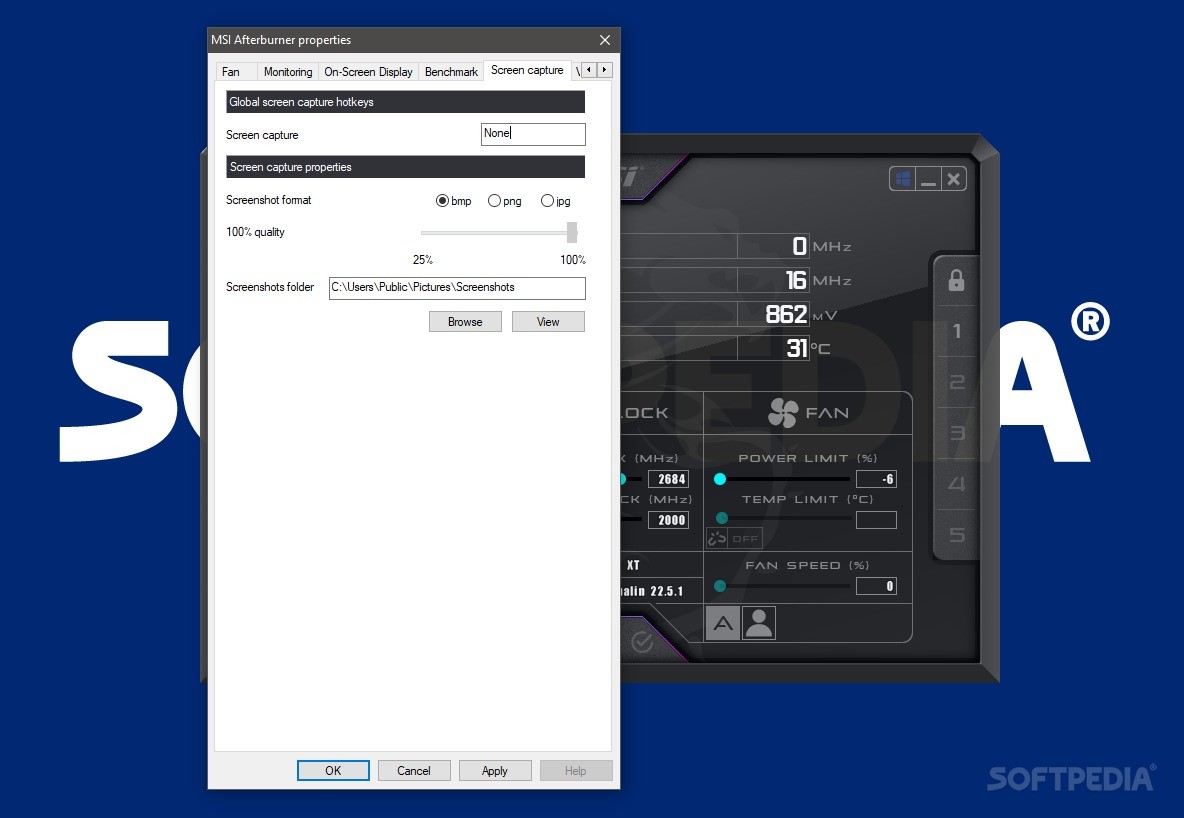
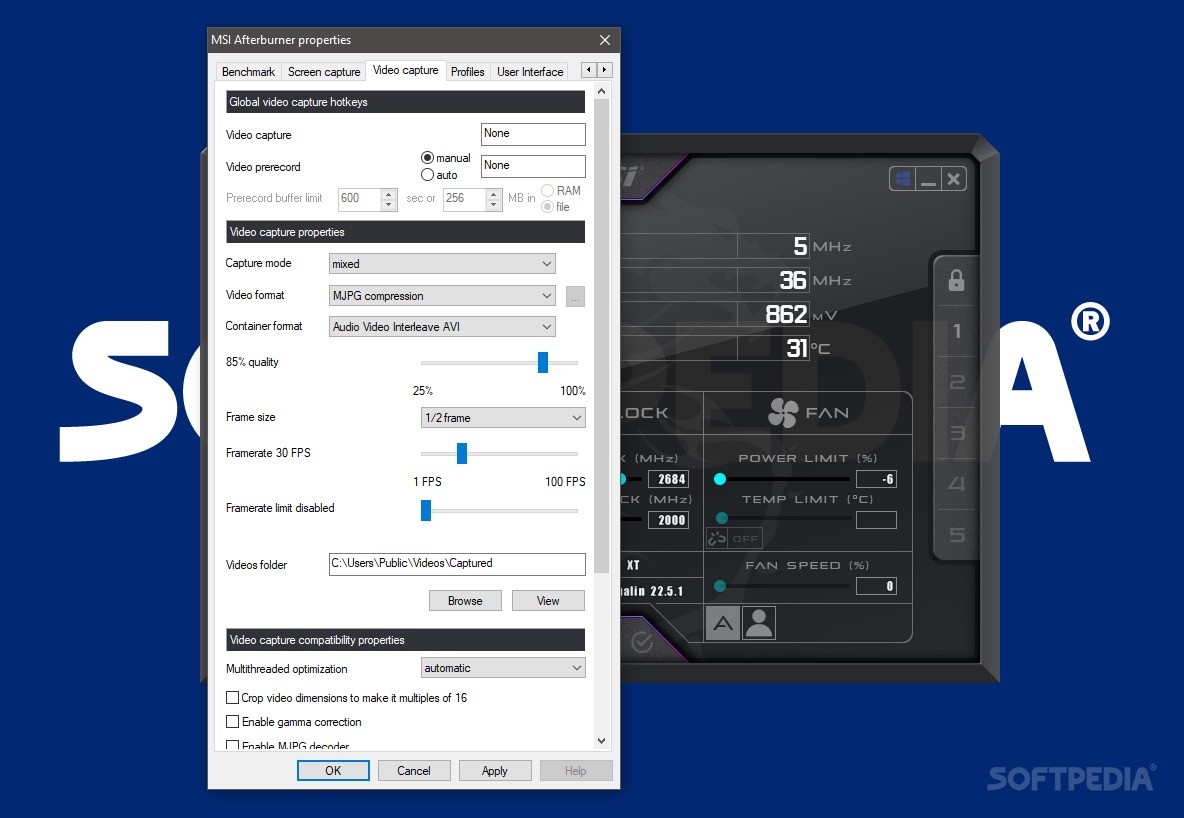
Utilities to help capture photos and videos within your games are also provided. By default, these features have no hotkeys assigned, so there's no way to trigger them. Head into the Settings menu, and set your preferred hotkey and formats to get everything up and running.
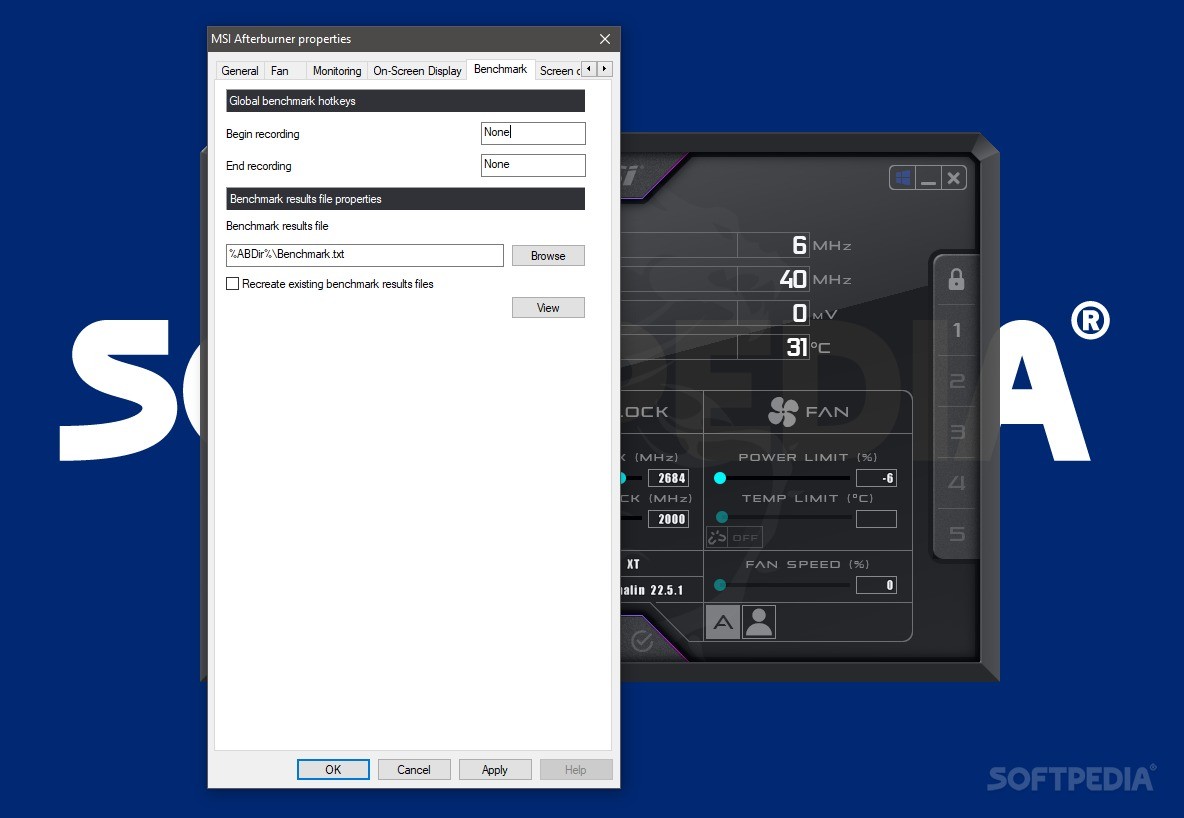
While you get a few options when it comes to taking screenshots, capturing in-game videos features some quite advanced controls. For instance, users can select their desired video format, set a frame size and a framerate limit, and even establish prerecord buffers to record footage in advance.
Speaking of in-game capabilities, you should be able to overlay your monitoring graphs over any fullscreen application. Simply toggle them through your desired hotkey, and they should appear in the way you configured them. If you find the monitoring information to be taking too much space, you can always go back to the software and modify it.

The Good
Being able to configure your fan curves within the tool's interface is an intuitive process. Though GPU manufacturers like NVIDIA and AMD provide the software to configure that by default, many users prefer doing everything in Afterburner instead.
The monitoring controls are some of the most advanced, but you don't have to go too in-depth if you don't want to. The end-user is essentially able to dictate how thorough or minimal they want to be with their monitoring.