14 DAY TRIAL //
 Have you ever considered to give it a try in the music industry? Are you looking up with admiration at music producers like Armin Van Buuren, Paul Oakenfold or Carl Cox? Maybe you didn't went after this dream because you considered they produce this music in very expensive studios and you will never be able to match the quality and the functions of professional hardware synthesizers. Well, you can just give it a try with music production without spending a dime out of your pocket. In Linux there are several free music production software, and the best are LMMS and Rosegarden. This review will be about LMMS, because it installs the easiest and will not give you headaches about a bunch of missing libraries and jack. With a little bit of talent and a little bit of luck you will become a star in no time.
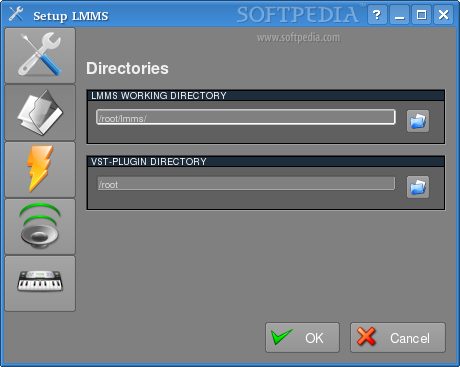
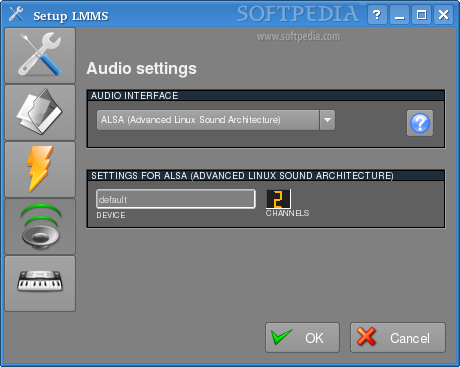
At first you will notice a splash screen and then a window where you can setup LMMS. The most important settings are related to the buffer size, window behavior, sound and midi interface. One thing that I like is that when you move the buffer slider it shows how many frames are buffered and also what impact this has on the latency. Another nice thing is that you can make the program's interface display it's windows in a centralized interface or in separate windows just like in GIMP. The last two are self explanatory. Note that you will not have to use jack with this program, but I still recommend it. Unfortunately I wasn't able to test the midi interface, because I don't have a midi keyboard.
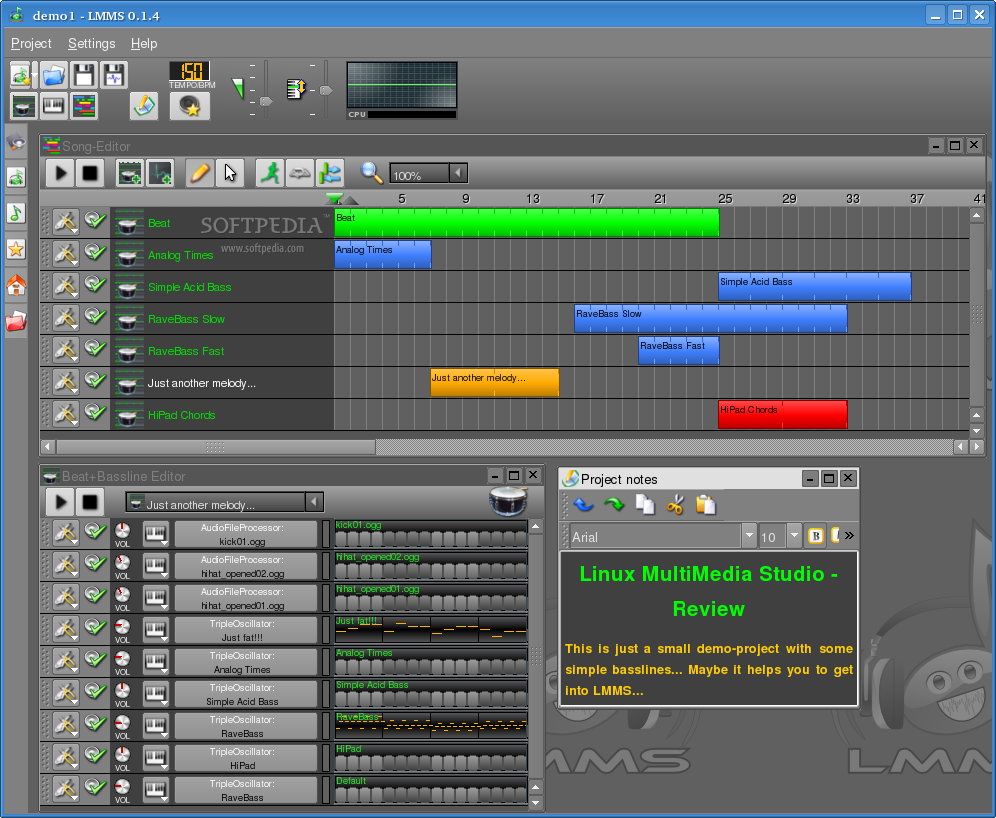
About LMMS interface I can say only one thing. I love it! It has a very good usability and it also looks nice. Applications like this are rare in Linux. When you fire up LMMS you will see two main windows: the song editor and the beat+bassline editor (I would have used the term “baseline” but I don't want to upset the developers). Another versatile tool you will definitely play with is the piano-roll tool.
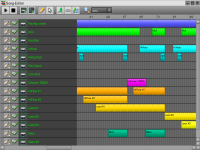
The Song Editor
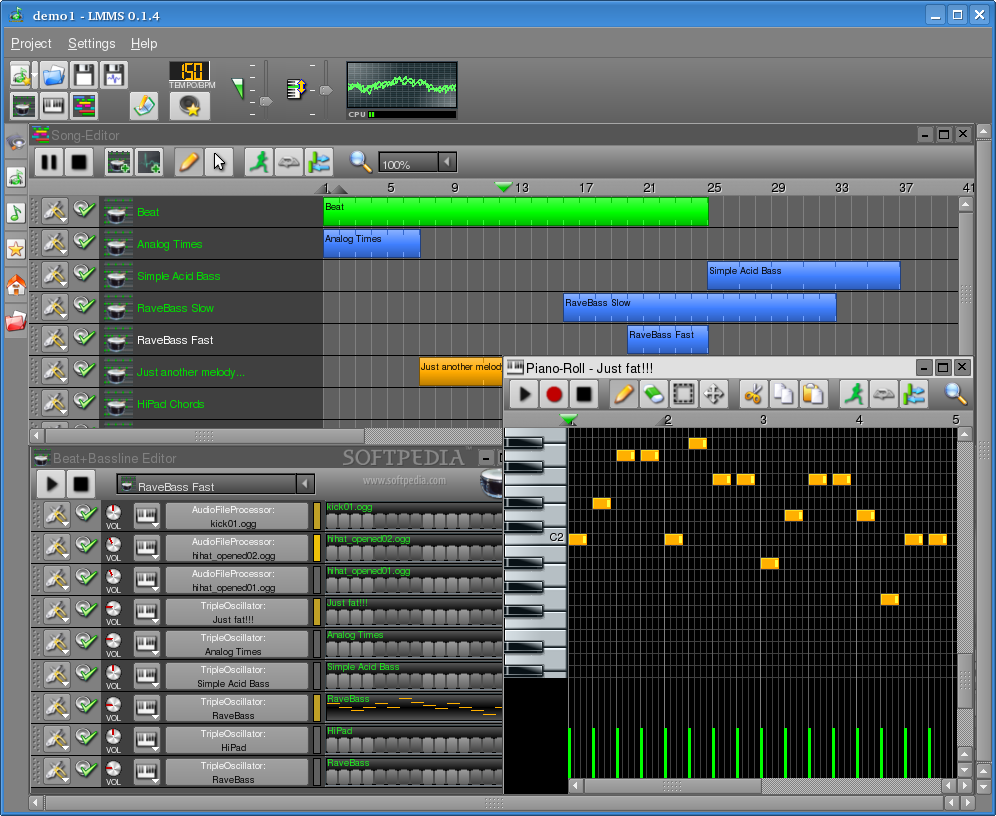
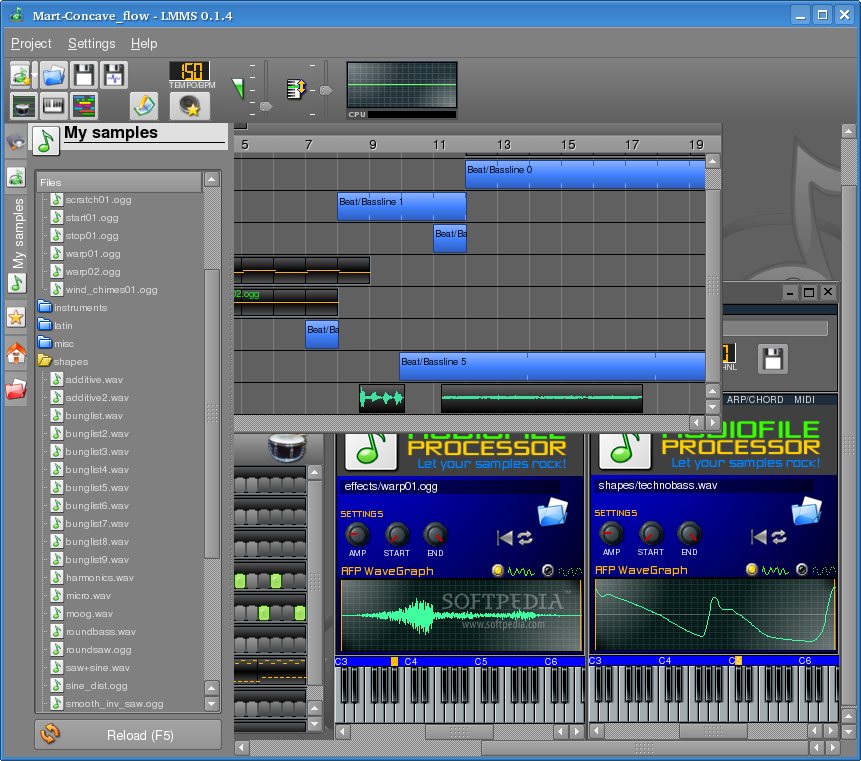
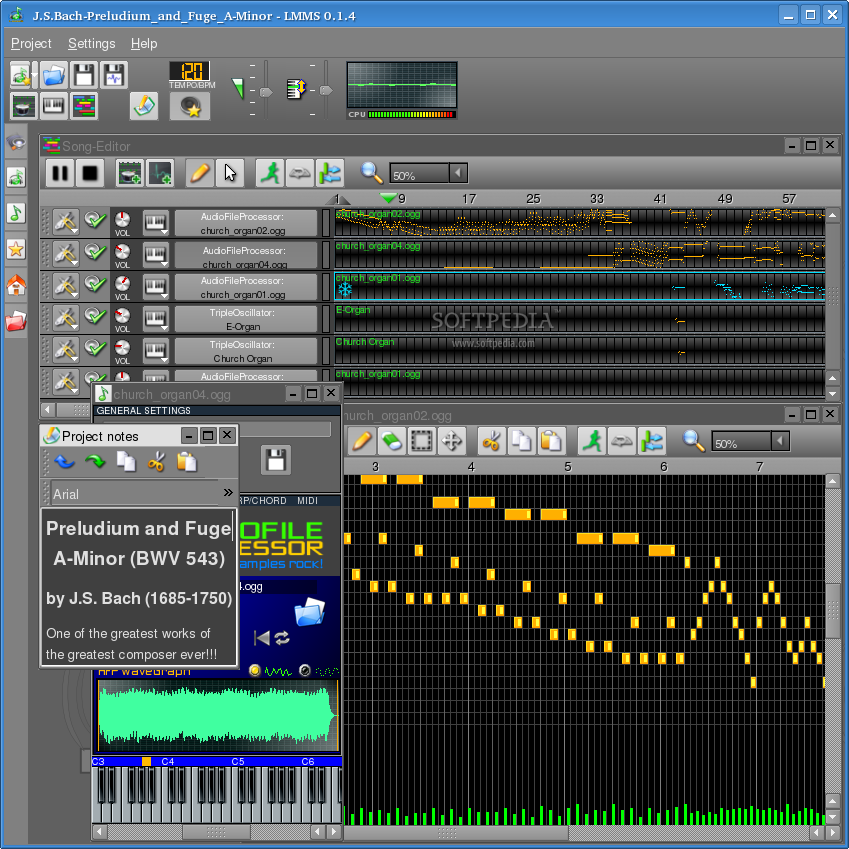
From the song editor you can add beats/basslines and sample tracks. Those are very nicely displayed in a timeline. They can be repositioned, resized and copied with amassing ease. With this basic operations you will arrange your sound passages in a song. Segments can be renamed and the color can be changed. Imagine how easy is to manage your project. Tracks can be turned on and off with just a click of a mouse and they can be cloned with two. With double-click or single right click you can rename them. In the little drop-down box that shows the amount of zoom, left-clicking increments the zoom and right-clicking zooms out the timeline. This allows fast and precise aligning. I wonder what you can't do in this window?! When adding sample tracks you should know that this software supports a fair amount of audio formats, but doesn't support the most common ones: mp3 and wma. I really can't figure out why those two are left out. Audio samples are displayed as waveforms in the timeline and the piano segments are displayed as patterns. Neat!!! The rest of the magic happens in the beat+bassline editor and in the piano-roll window.
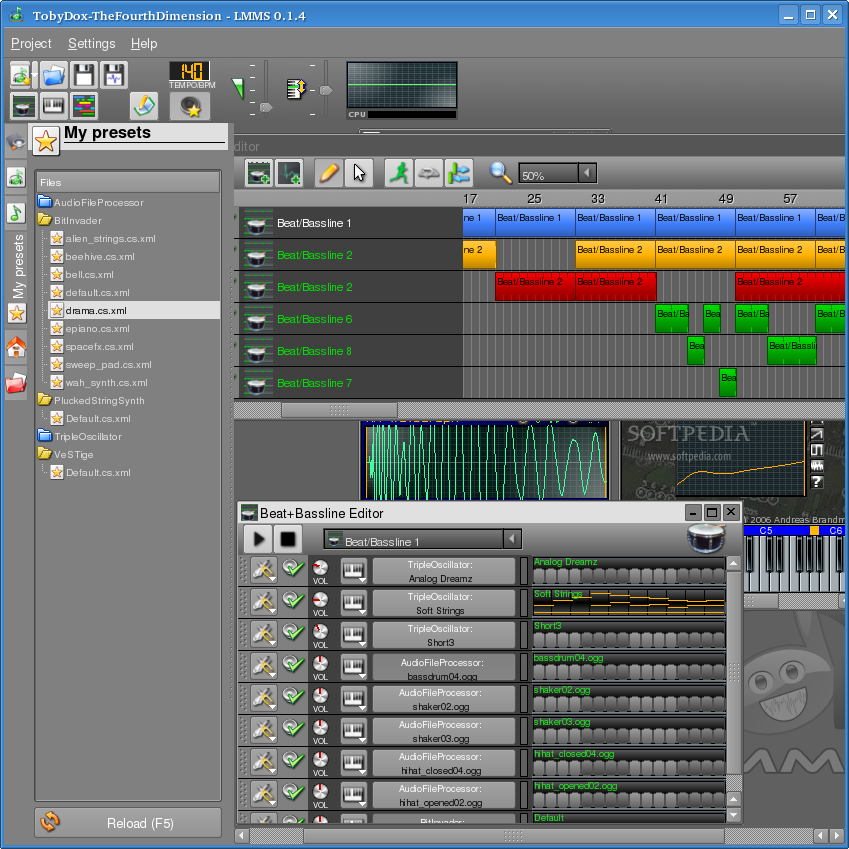
Beat+Bassline Editor
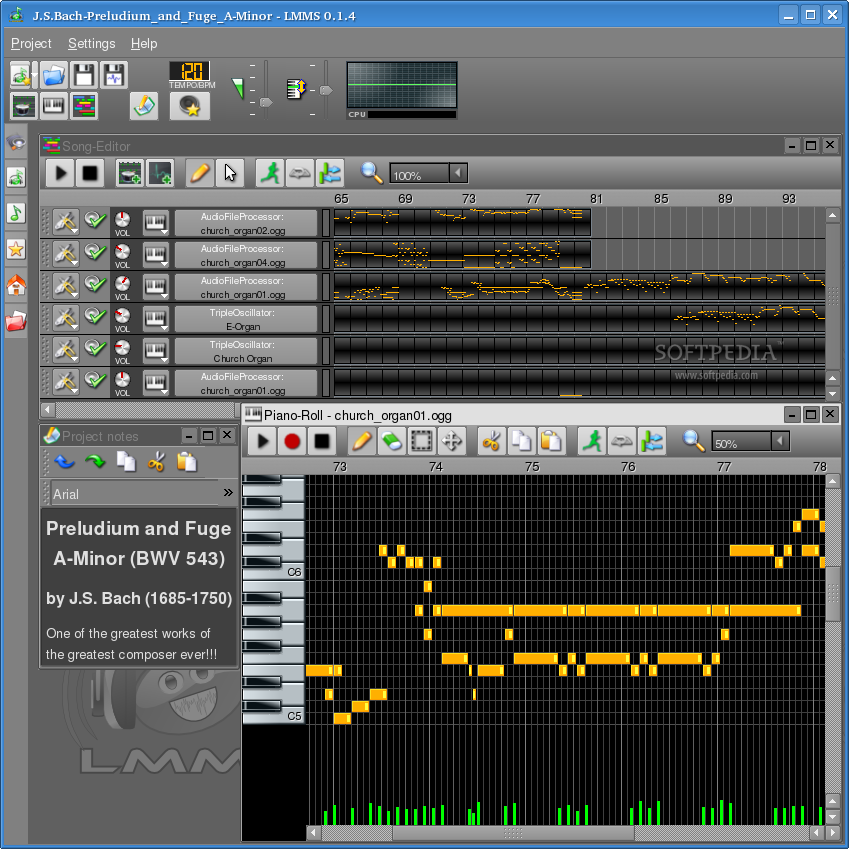
In this editor you add most of your samples. They can be found in the left pane, in My Samples tab. For each sample are 16 steps set by default. Clicking this buttons you can easily make a pattern with beats. The number of steps can be easily customized. You can add between 1 and more steps you can count. There is an option to freeze a beet pattern or even a piano roll pattern. When those are frozen any modification you make to the pattern only applies after you unfreeze them. A sample can be opened in piano-roll. This gives a lot of versatility to the program. In the piano-roll tool you can configure easily how long a note lasts, how intense the sound is and a very advanced pattern for the notes. Even though the sound can't be very real, the ways you can play with this tool are out of this world. The tool has nine octaves and imagine that you can play all the notes in the same time with a different length time for each note and a different intensity. WOW! You will fully understand the power after you use it. For a better idea of what it can do open Bach's Preludium and Fuge that comes with LMMS. For those of you who have a keyboard, Piano-Roll can record notes from a midi device.
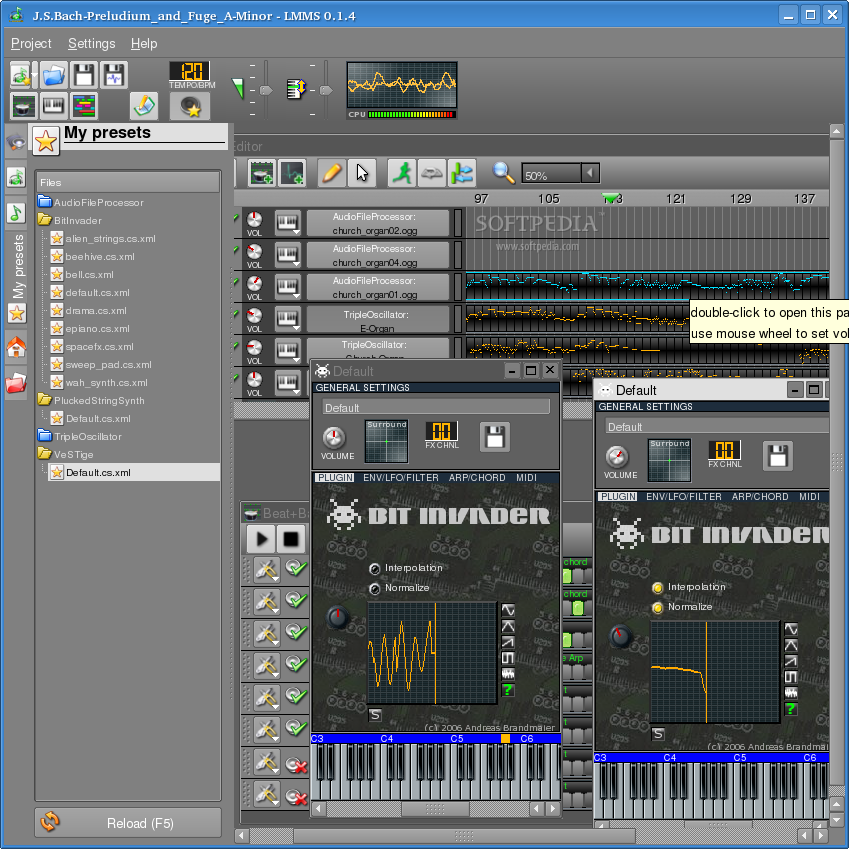
Instrument Plugins
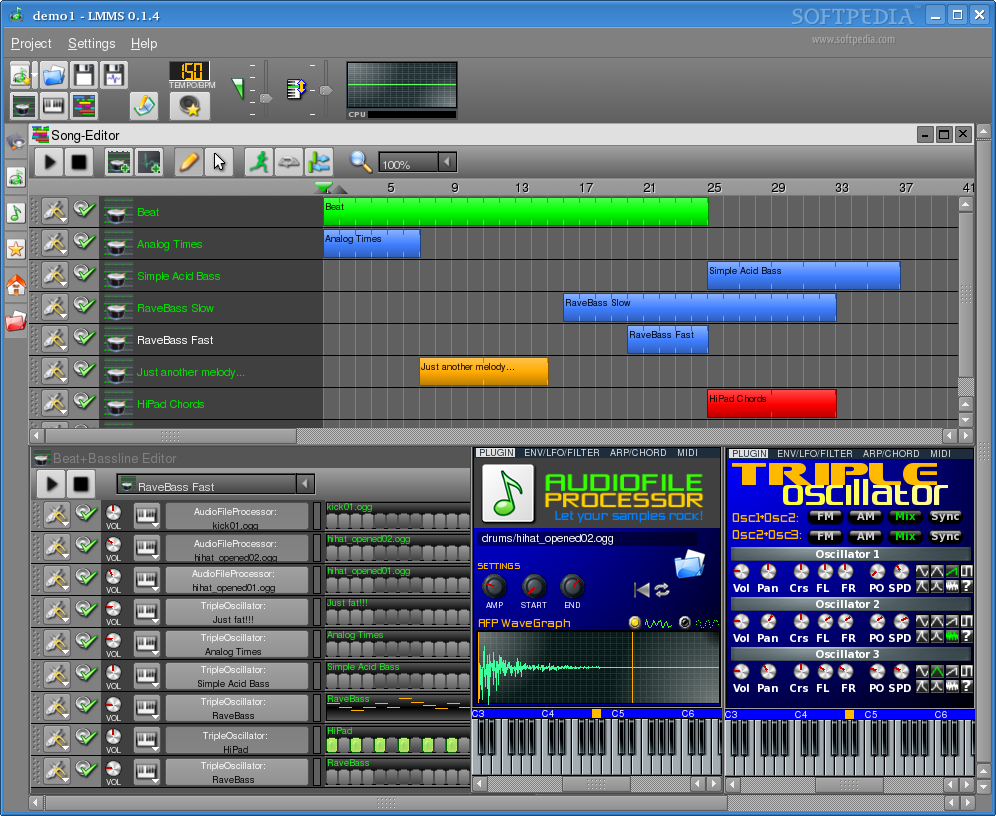
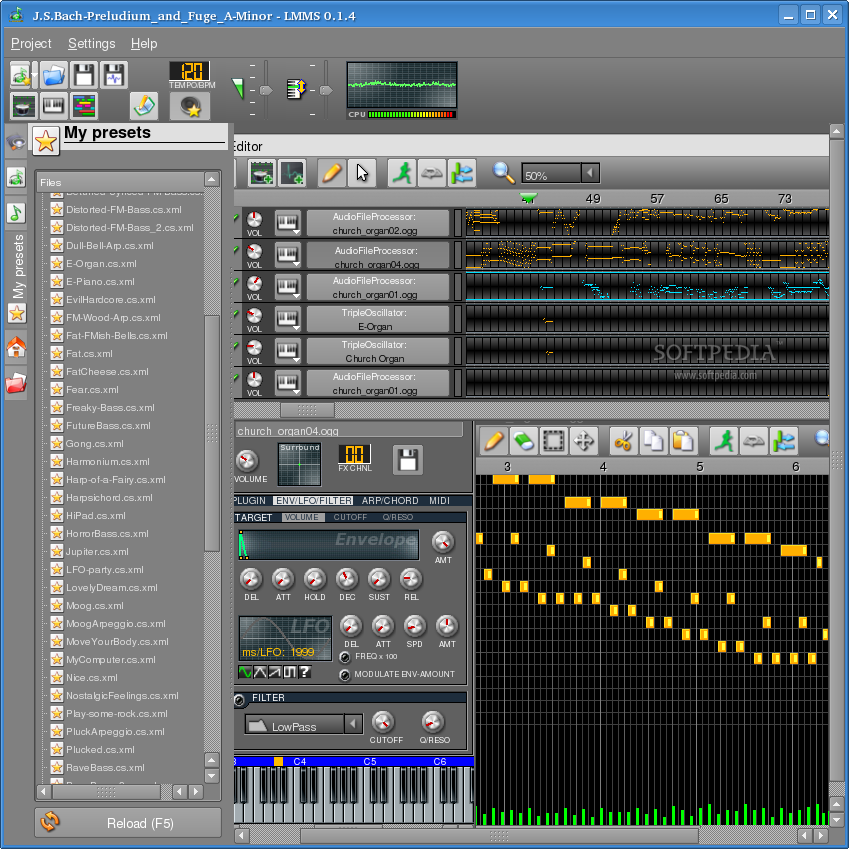
You can drag and drop the plugins into the Beat+Bassline Editor, Song Editor or into a channel window to start using them. There are for available plugins: AudioFileProcessor, BitInvader, PluckedStringSynth and TripleOscillator. The AudioFileProcessor is sort of the default plugin. It is a simple sampler, but with it you can make a lot of good samples. You can't cut and paste in the sample, but you can easily set a start and an endpoint and you can also amplify, reverse and loop the sample. For most people it can be more than enough. One of my favorite plugins is BitInvader. It is a wavetable synthesizer. I like synthesizers and about this one I like that it is highly hands-on configurable. PluckedStringSynth tries to be also a synthesizer, but unfortunately it's quality is not satisfactory for me. As the name suggests, the last one, TripleOscillator, contain three oscillators. They are very powerful and highly configurable because they can modulate each other and because they support eight types of wave. No wonder that sometimes this plugins can suck some processing power out of your computer.
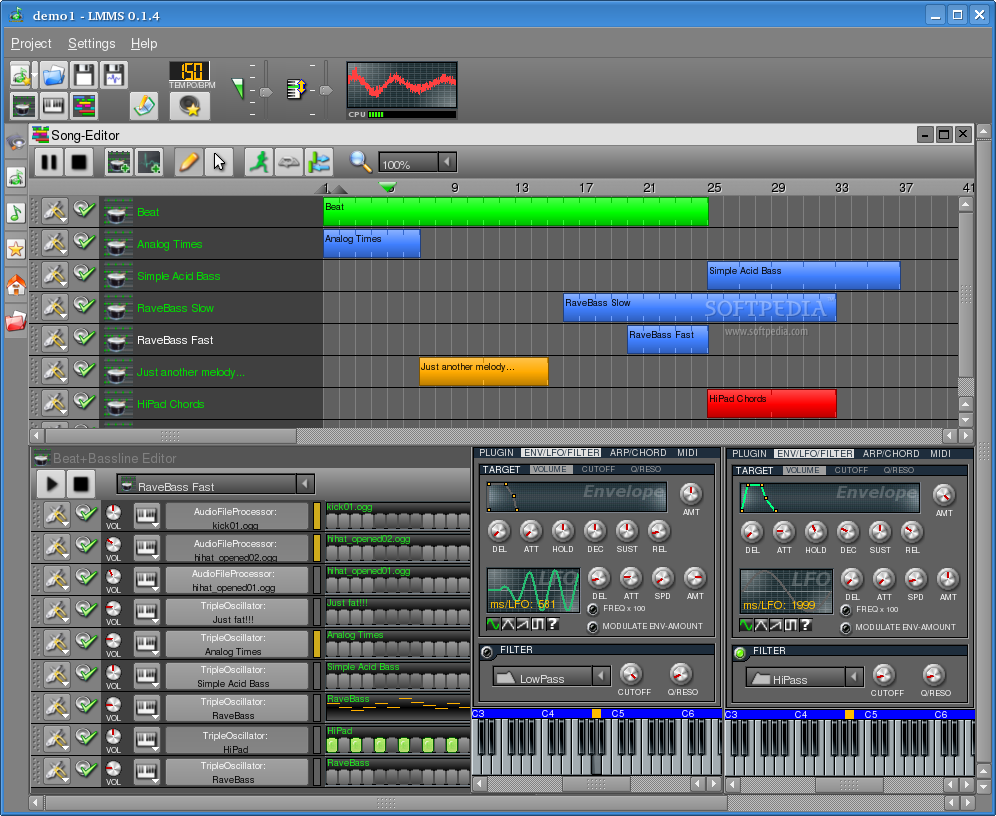
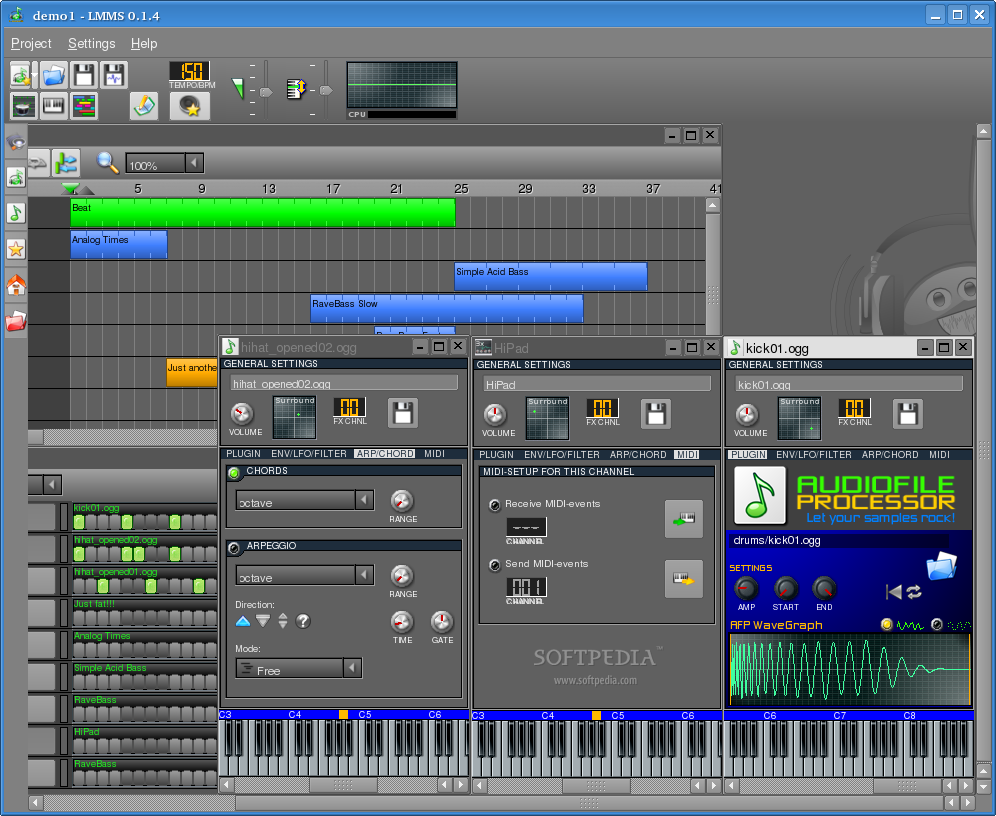
The secret of getting some out of this world sounds is to use the Envelope, LFO and Filter functions. Those are very powerful and can be used with any of the plugins. There are also options for Chords and Arpeggio, but I don't know much about them. I guess I should have attended the music classes more. You can save any configuration you make to the plugins and you can also load some of the many preset, the program comes with.
Using Ctrl you can drag and drop most of the things that pass through your mind: knob-values, track objects and even whole tracks. You can also drag and drop MIDI-files, samples, instruments and presets.
The good
Well, the software is not perfect, but it's pretty good, maybe the best in Linux. I like those of powerful synthesizers and samplers in a modern, user-friendly and easy to use graphical user-interface.
The Bad
A big inconvenient of this program is that you can't import mp3 files. Imagine what mixes you can do with this software. I'm sure you still can, but you would have to convert the mp3 to ogg or other supported format.
The Truth
This program goes in the direction of FL Studio formerly Fruityloops. If the direction in which this program goes doesn't change, this program could be one of the reasons to switch to Linux. It is a very good music production software, especially for home users who just want to have fun creating cool sounds and loops. It is a free software and Linux it is also free and the quality of this software doesn't really justify paying money for other software, if you are not a professional. I really believe that you can use it with a hardware mixer in live acts.