14 DAY TRIAL //
 Do you know anybody that doesn’t like to watch a good movie from time to time? Is there anyone in your group of friends that is so into their daily activities or hobbies that they totally ignore the news that blockbusters like “Avatar” or “Sherlock Holmes” just came in town?
Well, I’m afraid there are some workaholics or skeptics out there that simply don’t want to admit that there are few things more enjoyable in life than gathering your friends around a huge bag of popcorn, and enjoying their company together with a warm and fuzzy but full-of-excitement movie.
Well, does it sound like a good plan for a stormy Sunday afternoon? It could be if the entire scene is properly set. If you choose to go to the cinema, there is nothing to care about. But what if you are the one who organizes the popcorn-party and has to take care of all the details, including the movies’ quality?
Usually, the DVD rental shops and the specialized websites that legally offer you films to download also provide you with some good subtitles. But what if you have just downloaded a film that has bad or no subtitles and you really want to see it? Or worse, if it has no subtitles in a language that you or your friends can speak?
Wouldn’t it be nice to have the power to adjust the translation and the frequency of the subtitle lines, so that anyone can understand and enjoy the movie?
Well, with Annotation Editor this kind of magic can be easily learned and practiced, until you reach perfection. But this, of course, if the demo version persuades you and, given the first 15 subtitles added, you decide to buy the full version.
The Looks
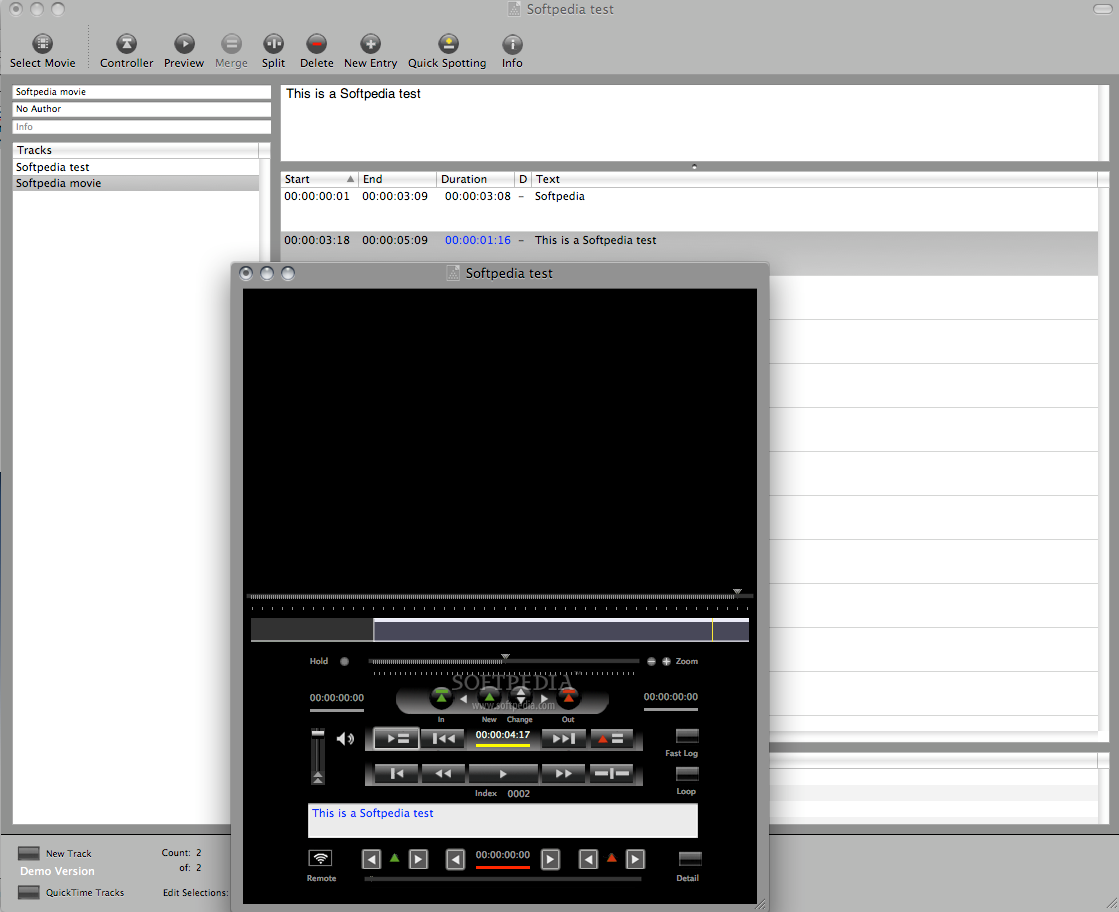
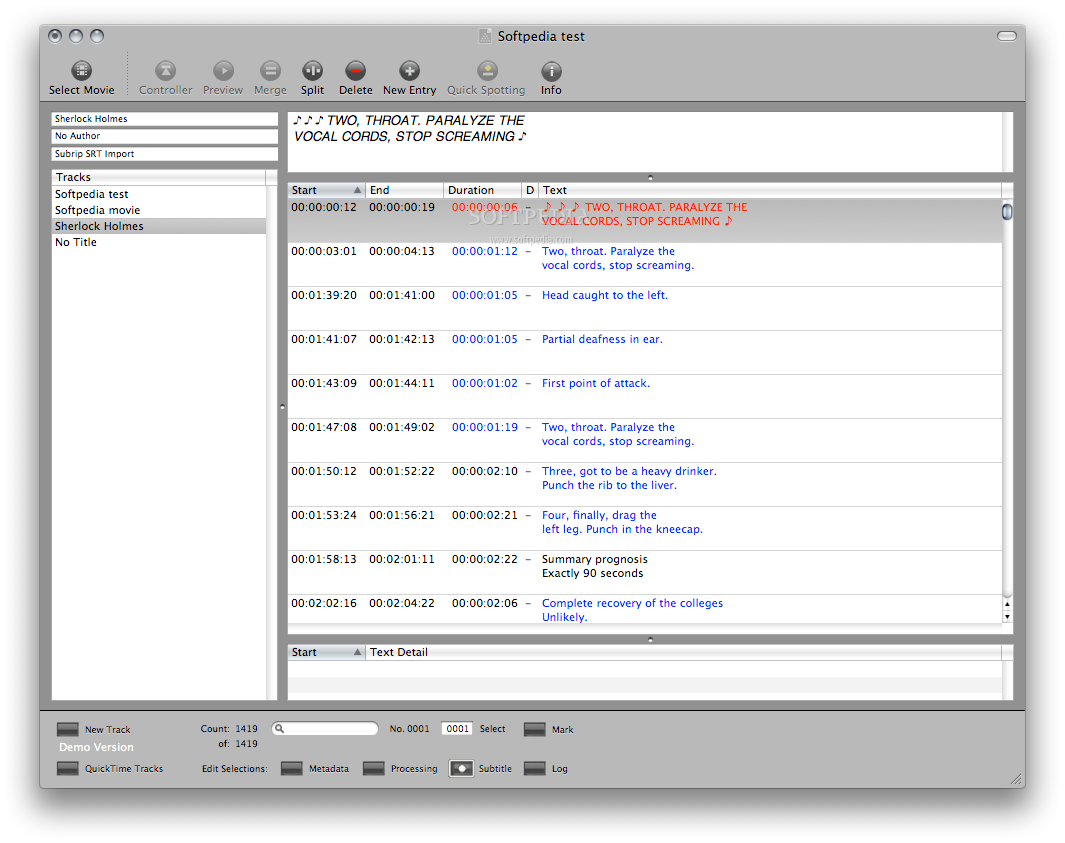
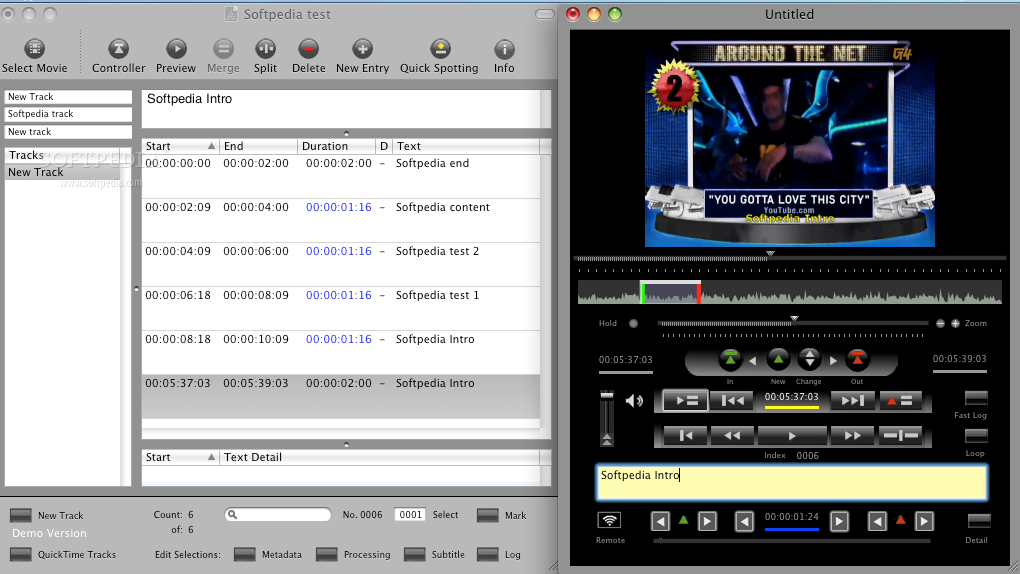
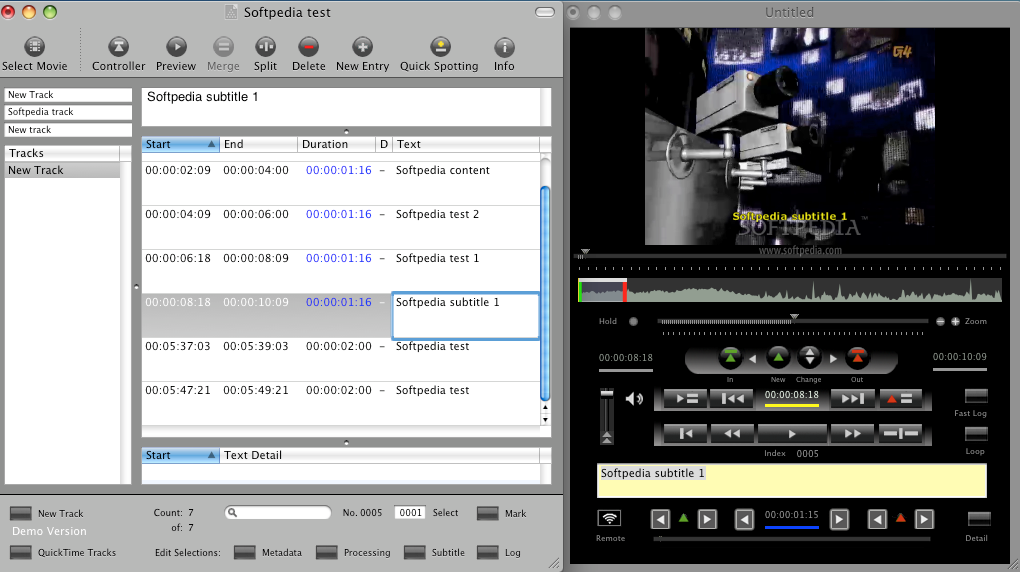
The main window of the application is divided in three areas: one vertical column on the left, a relatively thin, horizontal raw on the top of the right panel and the main window on the bottom of the right panel.
The left panel is the place where the list with the newly added tracks will be displayed. For every track, a list with subtitles will appear in the right panel. In the thin raw, on the top, you will see only a line of text – the one that is currently being edited.
In the main window, right under this highlighting-text area, you can see all the annotations, in the order that they are supposed to appear in the movie. The chronological order can be deduced from the three fields that are assigned to each line of text: the Start, the End and the Duration. Above these three areas, there is a toolbar with buttons that gives you quick access to the most frequently used commands and additional windows, as following: Select Movie, Controller, Preview, Merge, Split, Delete, New Entry, Quick Spotting and Info.
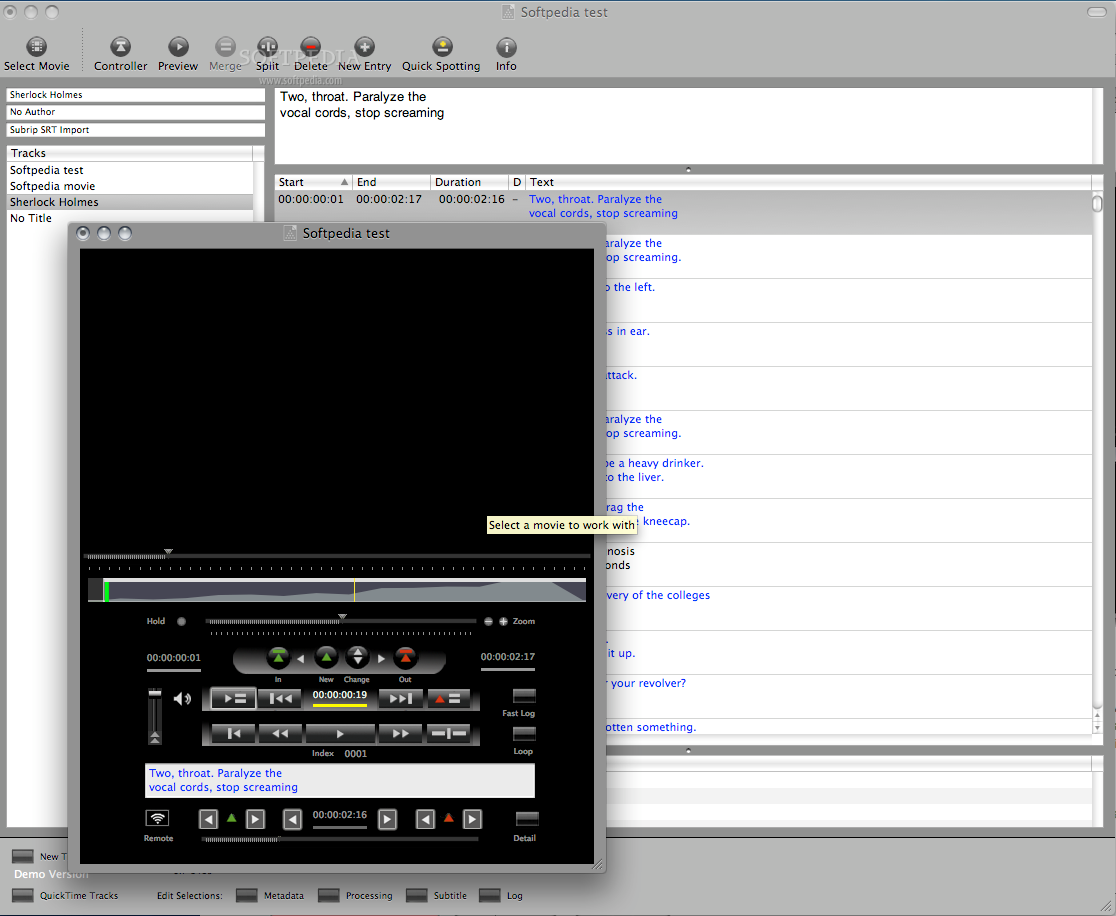
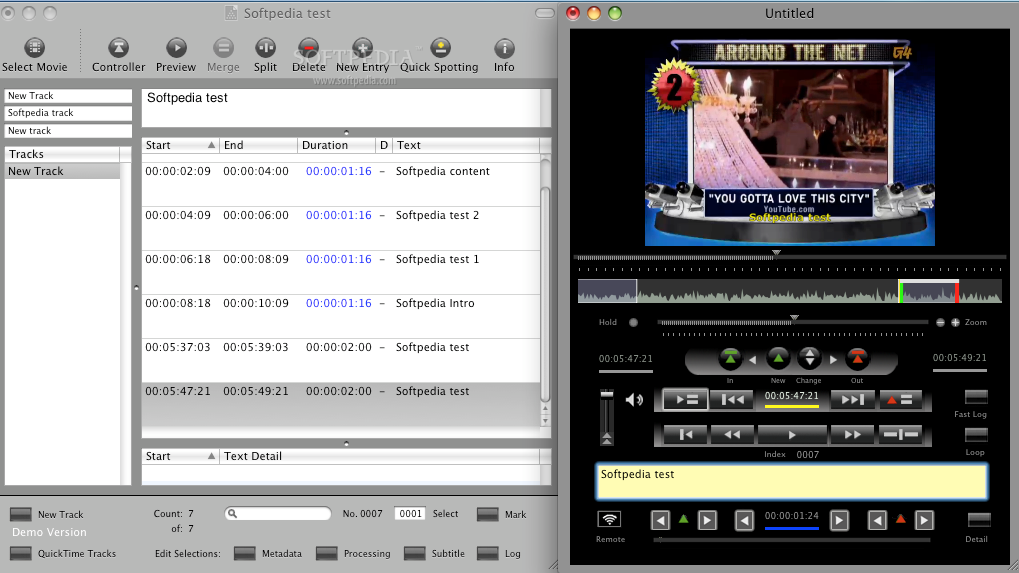
And, since for the rest of the buttons any other details would be superfluous, as their names speak for themselves, I think that, for the Quick Spotting button, an extra line about what it was designed for might be very helpful: this button serves the purpose of opening the player window, where you can review the movie files and control how the subtitles are assigned to every image.
This mini media player includes all the buttons you would expect from any movie or mp3 player interface: Start/Stop, Forward, Rewind, but also some specific buttons as: Split text and timecode at insertpoint, Jump to selection start / or end, Set mark in or out, Change values, Expand / Shorten selection, and much more. To get familiarized with the button names, all you have to do is move the cursor over each of them and test them on more than a file.
The File menu lets you open any .mpeg file or directly import QuickTime Captions. Furthermore, the Edit menu allows you to modify track or line entries. To edit an entry, for instance, you have a whole bunch of options, among which: Merge with Previous Entry, First Word to Previous Entry, Split Entry, Wrap Entry, Adjust Gap on Cut or Adjust Duration.
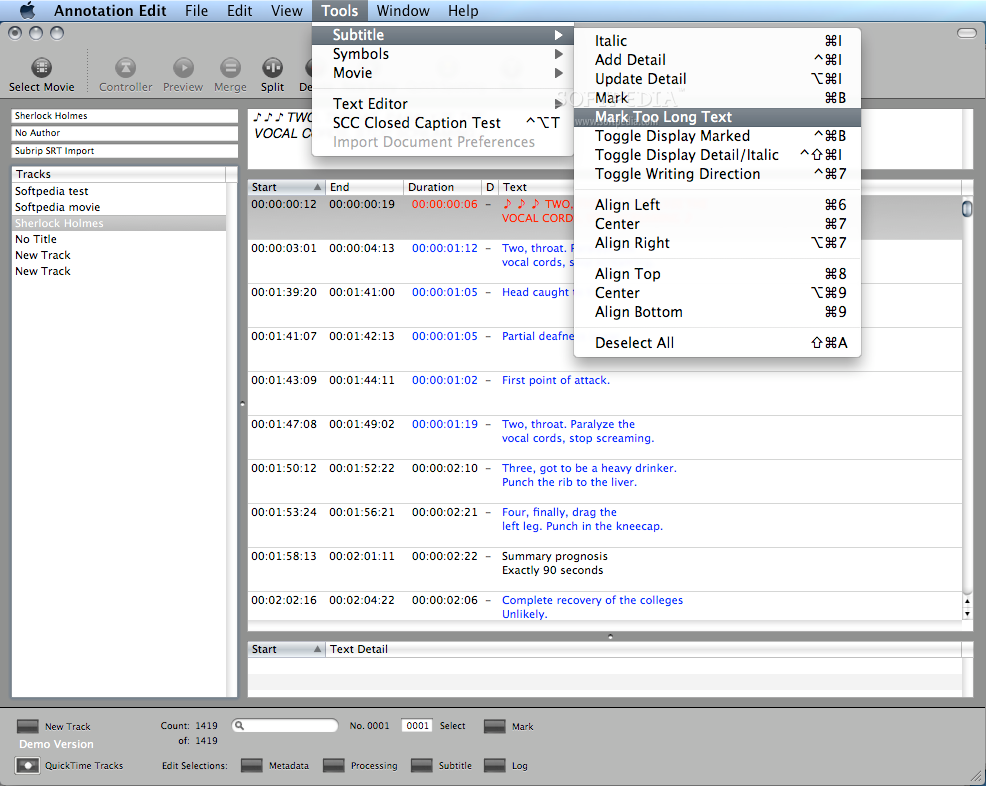
The Subtitle option from the Tools menu offers you the possibility to change the font of the subtitling.
Finally, in the Help menu tab, you will find a comprehensive list with all the Annotation Edit Key Commands.
The Works
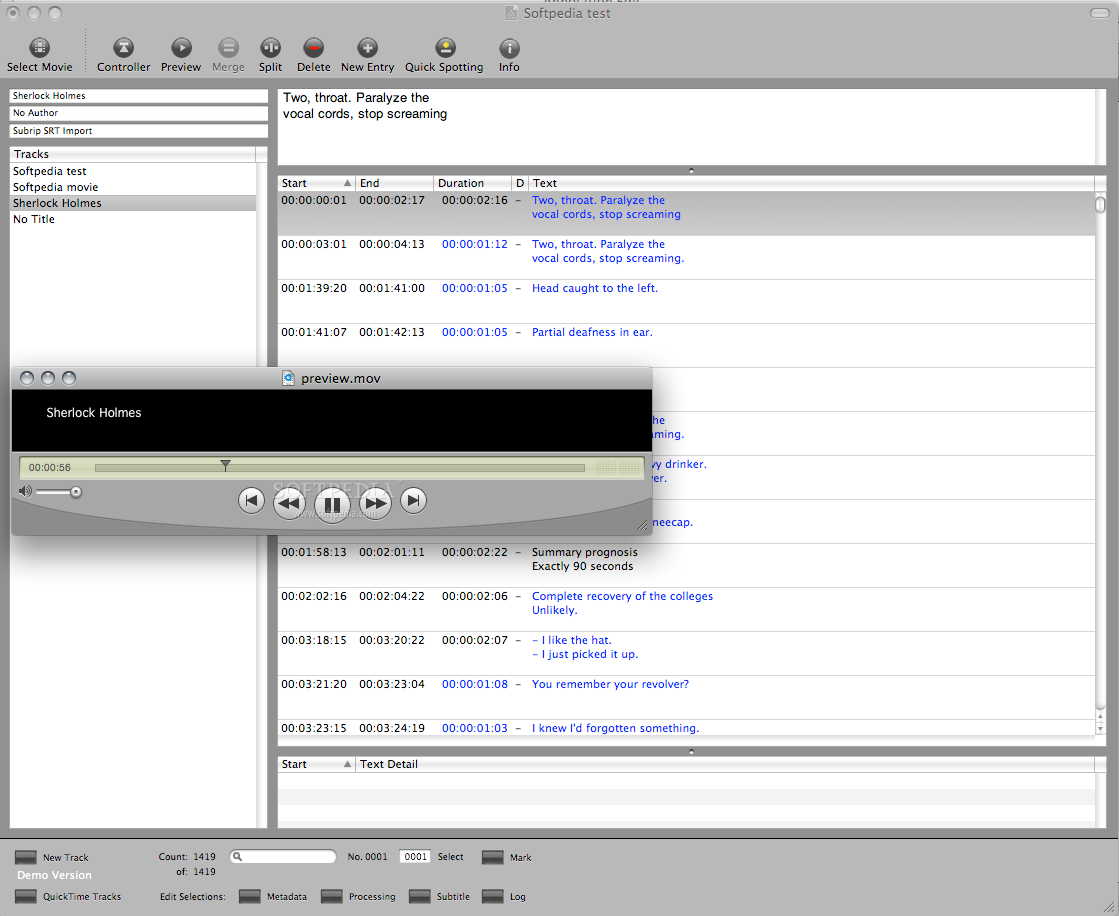
If you want to prepare closed captions, you can either start from scratch by using the Quick Spotting option for every new entry or open a file from your translator.
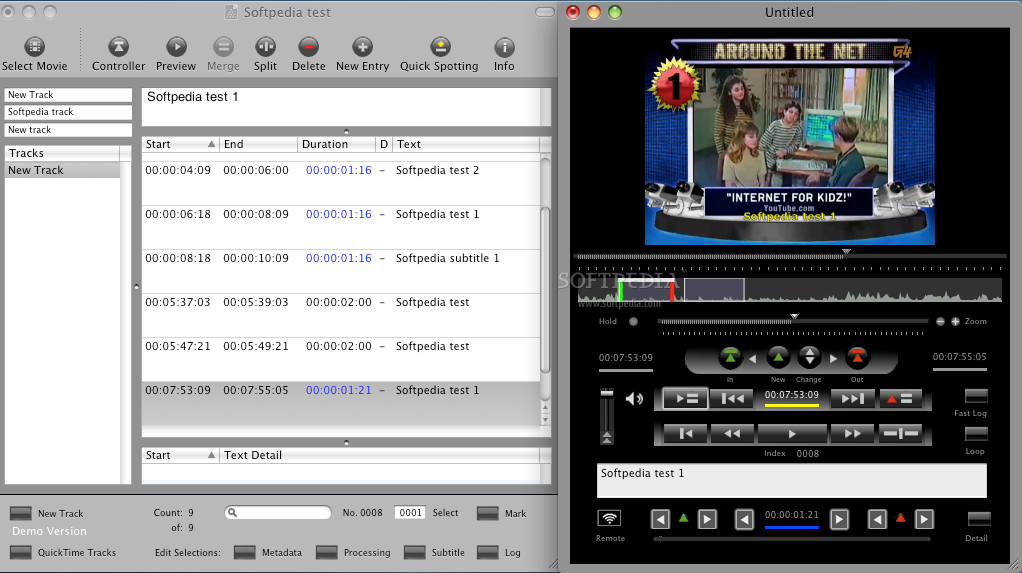
Let's assume that, at the very beginning, you want to use an example to see how Annotation Edit works and later on you will take care of creating your own subtitle entries. In this case, the next step is to add the demonstrative track to your project. The main window of the player will be opened, so that you can watch the video with its subtitles by using all the common buttons (Play, Fast Forward, Rewind Stop, etc.) that a normal player provides in order to see how subtitles are attached to each image.
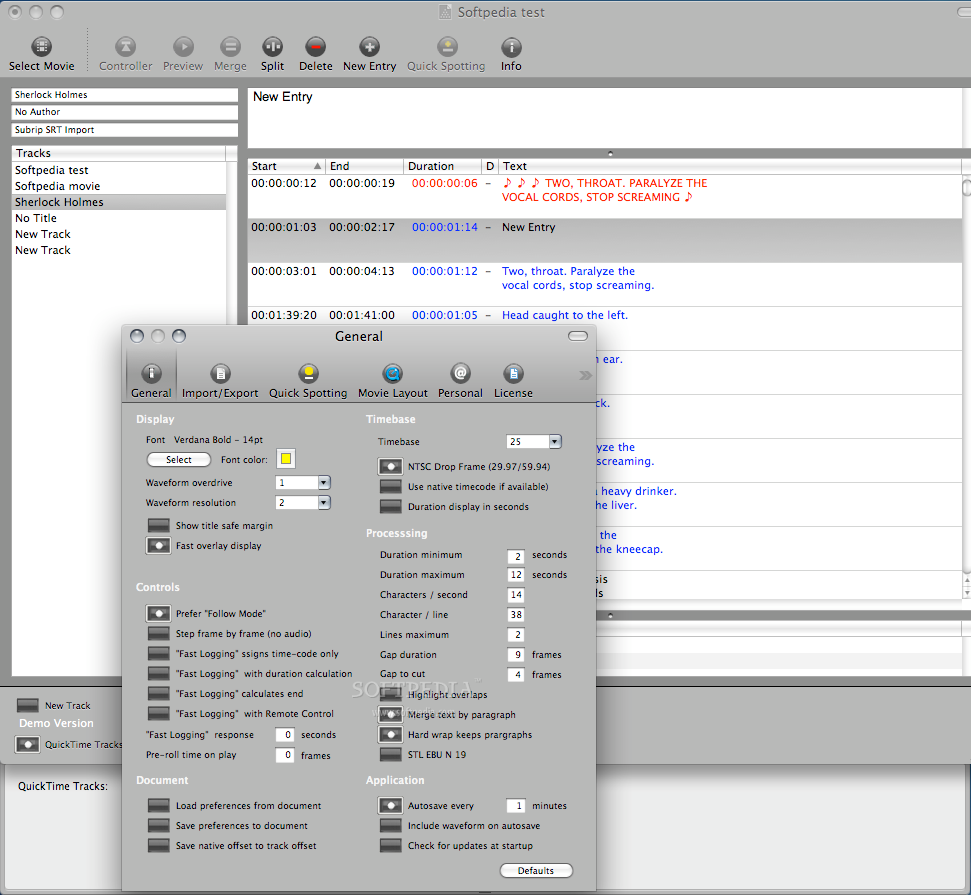
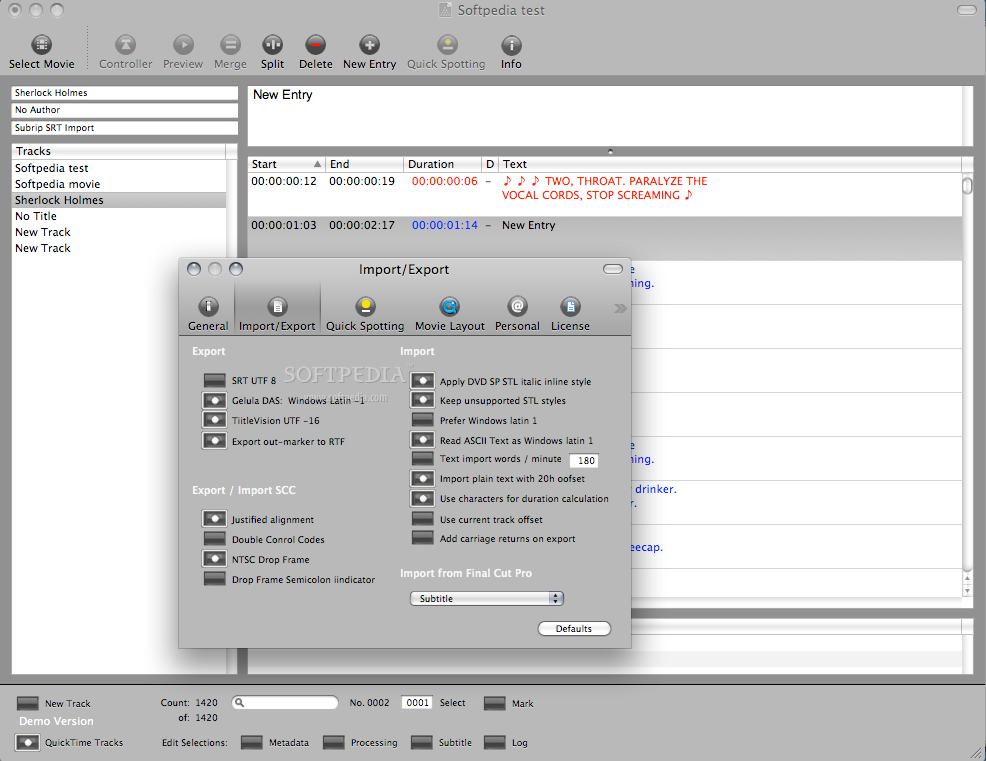
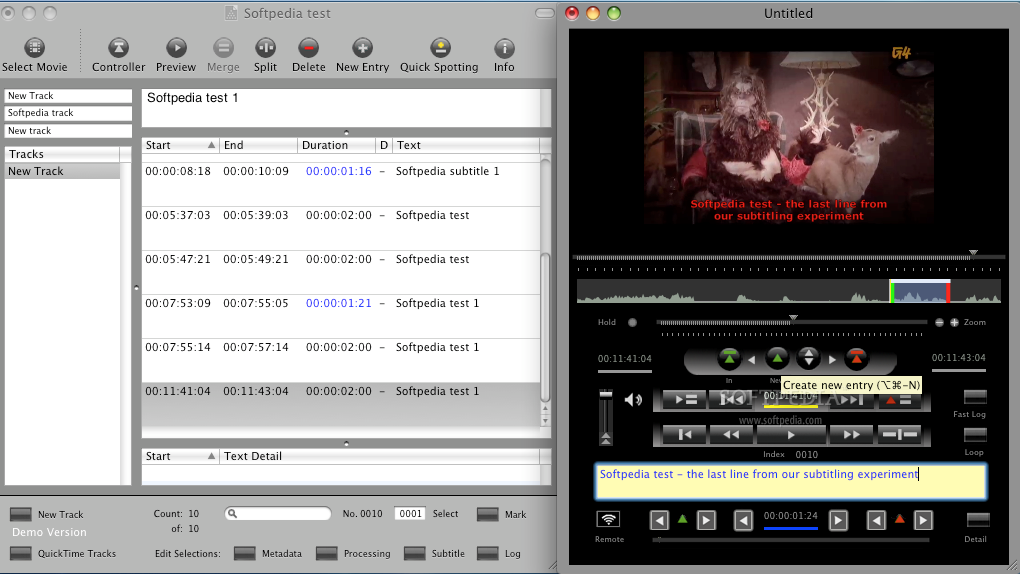
There might be cases when the lines are too long and they don’t exactly match the images because no line breaks were set. In this case, you can open the Preferences from the File menu and adjust them in accordance with your file. In the General tab you have options related to Display, Timebase, main Controls, Processing duration or other specific options regarding different types of documents and applications existing on your Mac.
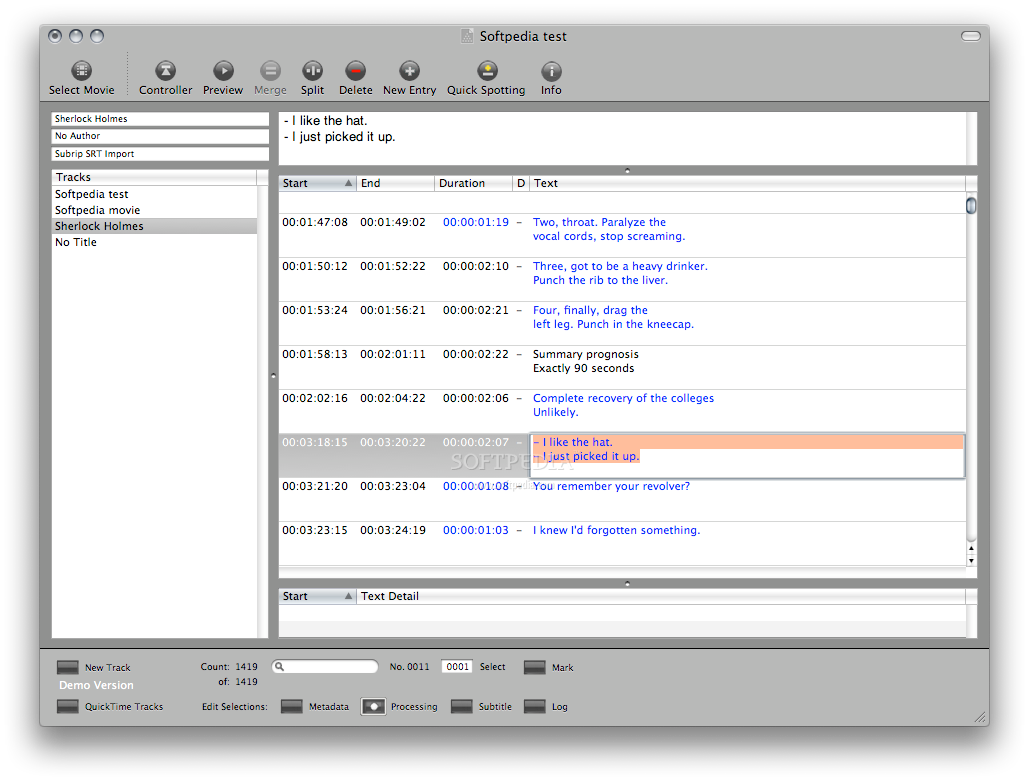
To solve our problem with the long lines, all you have to do is play with the values in the Processing list, as, for instance, the number of lines and characters, so that your subtitles perfectly match the images. As a general rule, a line should not contain more than 32 characters.
To see for how long a subtitle is being displayed, monitor the right panel of the application where a detailed list with fields that include the start, the end, and the whole duration is assigned for every piece of text.
But, besides the step-by-step method, there is also another one: you can define a style for all the entries, so that all of them comply with some pre-defined rules. This method is particularly suitable if you have to deal with a large amount of lines and it is painstakingly difficult to control and edit all of them by hand. For this case, you can also ask for help from another related application, named “ Annotation Transcriber” from the same developer. This application lets you add line breaks and time codes with ease.
After you have made all the batch changes that you needed, you can save the file and come back to Annotation Edit. Here, after you make the final changes, you can export the closed captions as an SCC file.
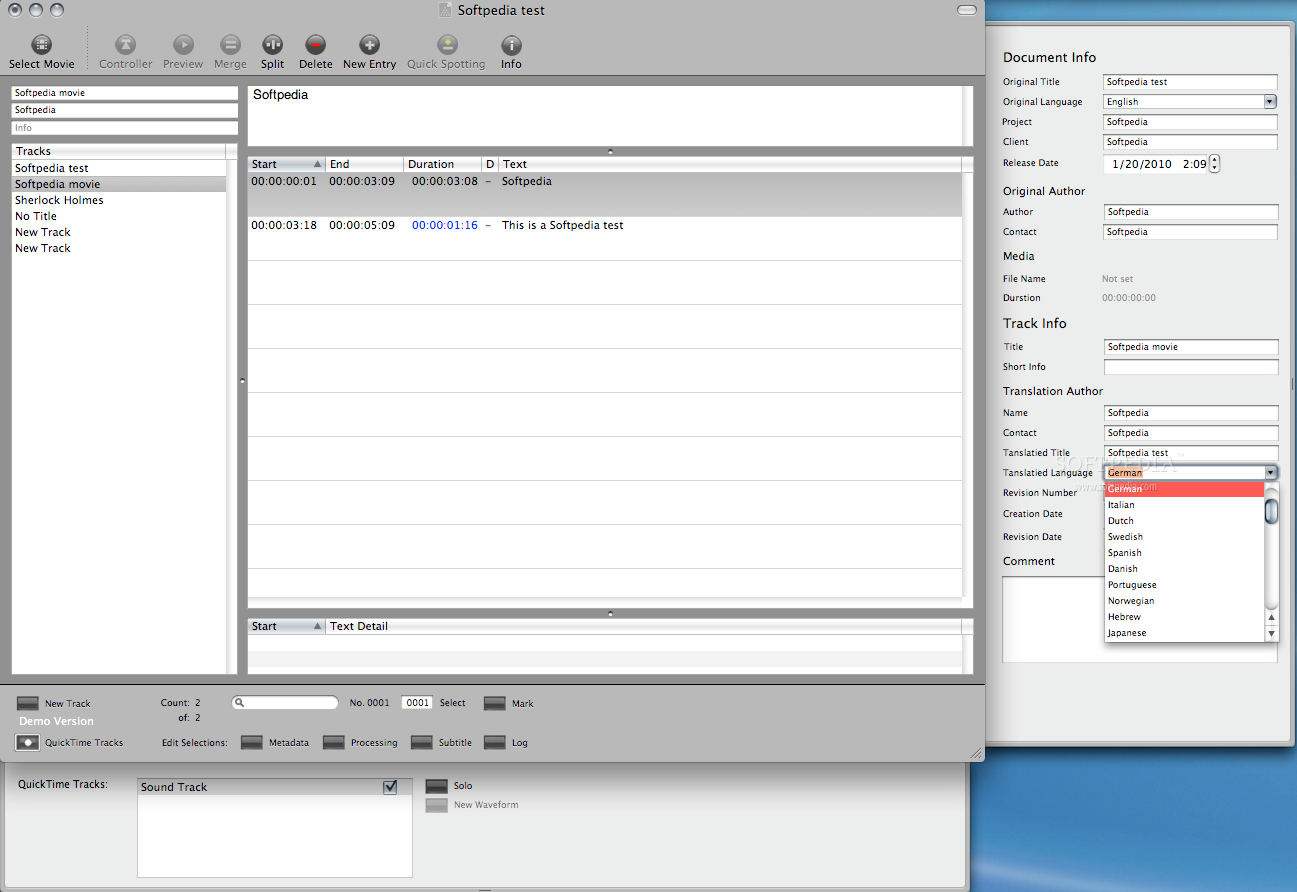
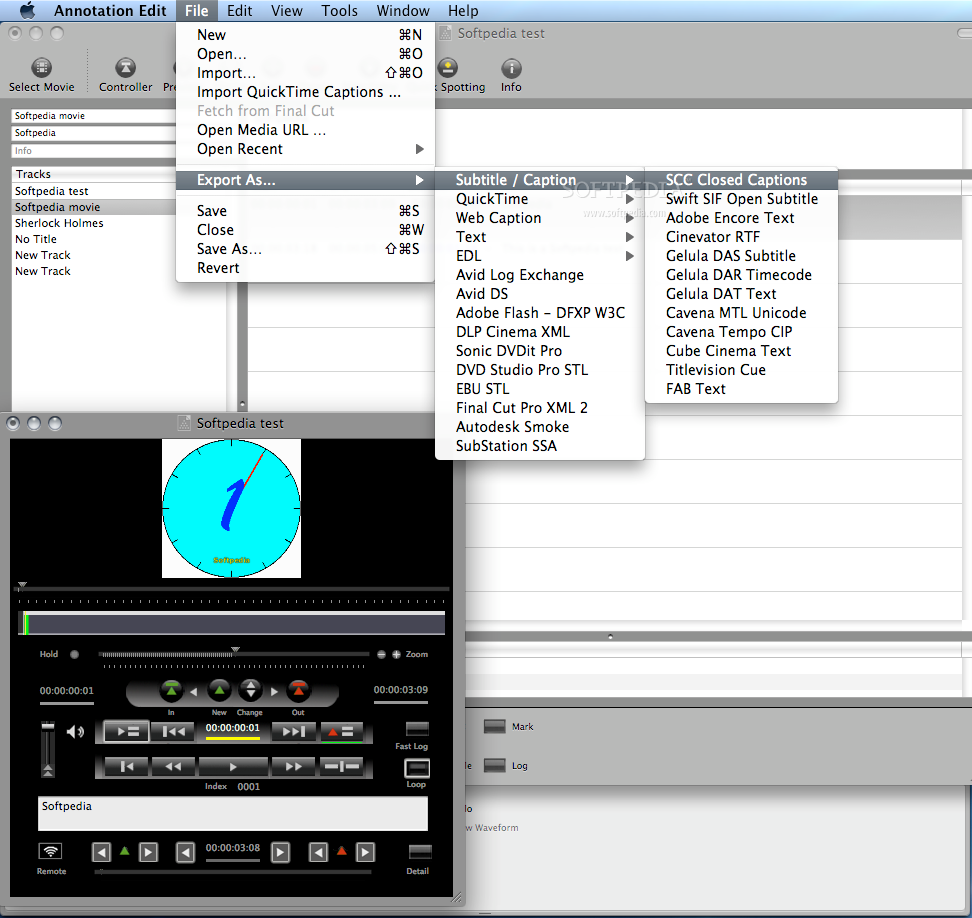
And, as we have arrived at this point, it is worth saying that the Export feature in the File menu offers you a wide range of options, as, for instance: Subtitle/Caption, QuickTime, Web Caption, Text, EDL, Avid Log Exchange, Adobe Flash, DLP Cinema XML, Final Cut Pro XML, etc.
The first five options provide their own list of options. To enumerate only the Subtitle/Caption ones, here is the palette from where you can choose: SCC Closed Caption, Swift SIF Open Subtitle, Adobe Encore Text, Cinevator RTF, Gelula DAS Subtitles, and so on and so forth. So, you don’t have to worry about the formats you can save your movies with added subtitles in. There are plenty of them to choose from.
In our case, since we have started talking about the usage of the QuickTime player in tandem with the Annotation Editor, we will follow this line, and we will continue our annotation process with this kind of files.
So, the next logical step is to create the captioned QuickTime movie. For that, you have to launch the QuickTime application and to open your previously created SCC file by hitting the Open File option in the File menu.
If the subtitles look fine in the player, your work is ready, if not, you can return anytime to the Annotation Edit application to make further changes.
When you are satisfied with the changes, you can get to the next level, namely adding the movie. This task can be easily performed by choosing the Select all and then the Add Movie options in the QuickTime Player’s Edit menu or with a simple drag-and-drop action to the closed caption movie window.
You might be surprised to see that, at this moment, the captions will be still hidden by the movie.
To fix this problem, you will have to set up the closed caption track, so that the subtitles can be displayed in the front. This setting can be easily made if you assign a negative value to the track number. Let’s say, you choose from the drop-down menu the -2 value for the Layer. Now hit the Play button and you will see that the captions will be displayed exactly as you programmed them to act, with the Annotation Edit tool.
In conclusion, your movie is closed captioned now. The final step is to save the result with the .mov extension and to enjoy the subtitling when your friends come to visit you with a huge bag of popcorn.
The Good
The Bad
The Truth