14 DAY TRIAL //
 Don't you love listening to music on your way to school or anytime you get stuck in a traffic jam or you have to wait in line for no-matter-what reason? Your iPod is probably your best ally in the daily fight with boredom and irascibility.
That is why you should take good care of the unique playlists, podcasts or videos that you love but are only saved on your iPod.
A very good method to secure your favorite media collections is to save them on your Mac or online, in multiple locations. This solution is good for the security of your data, but it might cause you a lot of headaches when it comes to tracking and renaming the duplicates.
Luckily, especially for your media files, there is a better solution: Music Rescue. This is a smart piece of software that lets you copy, sync and organize your tracks simply and efficiently. With Music Rescue you can also define rule sets for naming the files in a consistent way and save the results on multiple Macs.
So, no more unnecessary duplicates, confusion and wasted time or memory space. Not to mention the ease of cleaning and rebuilding your playlists in iTunes or the possibility to recover all sorts of media files.
And all in one single, user-friendly application: Music Rescue.
The Looks
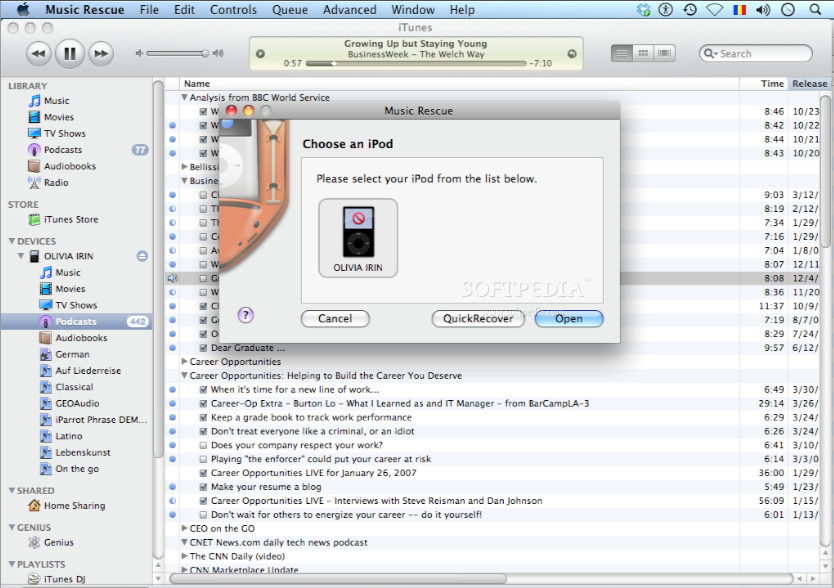
The first thing that you will be asked to do when opening the application will be to connect the iPod or the iPhone device that you want to be synced with the iTunes library.
In case you use a device compatible with the latest Music Rescue's release (which supports all the iPods that were on the market in 2009), the following three buttons will be activated at the bottom of the page: Cancel, QuickRecover and Open.
The QuickRecover option is a new feature in Music Rescue and it aims to supply the role of a careful and circumspect doctor for your playlists. More exactly, it can inspect and recover all or some of the media files that you have on your iPod without asking you too many questions.
You can easily choose this option if you don't care too much about the tracks that are about to be copied or if you don't want to pay too much attention to the formatting of the tracks. If you need more control over the media files that will be synced with the iTunes library, click on the Open button.
Once you have clicked the Open button, you will see the main window, which is divided in five main areas.
The top area includes a Browse button and a search field.
The upper part of the sidebar shows you all the available sources on your iPod. The bottom part of the sidebar displays details about the current selection.
Finally, the larger area of the main window contains a list with all the tracks included in the source that is currently selected in the sidebar.
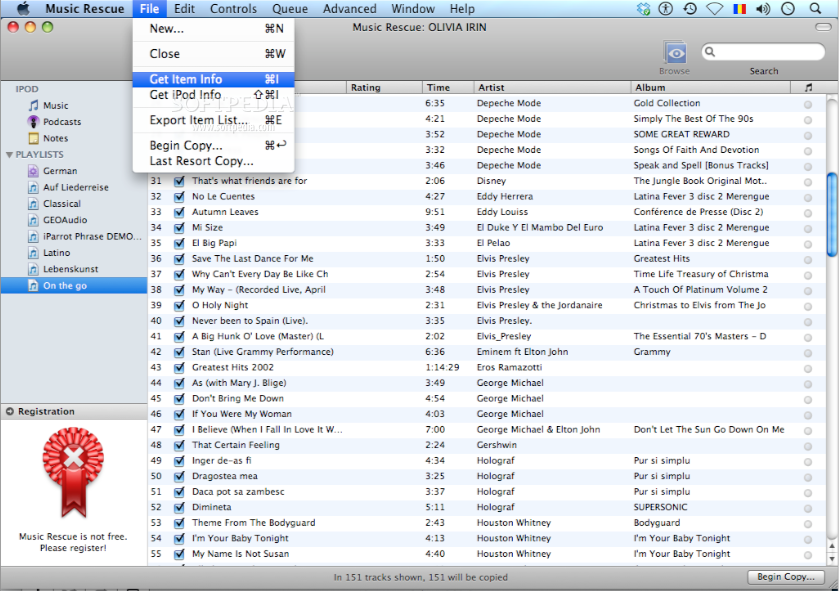
On the bottom of the page, you will find the Begin Copy button that will need to be clicked after you have finished the adjusting of all the settings. You can also find the Begin Copy option in the File menu.
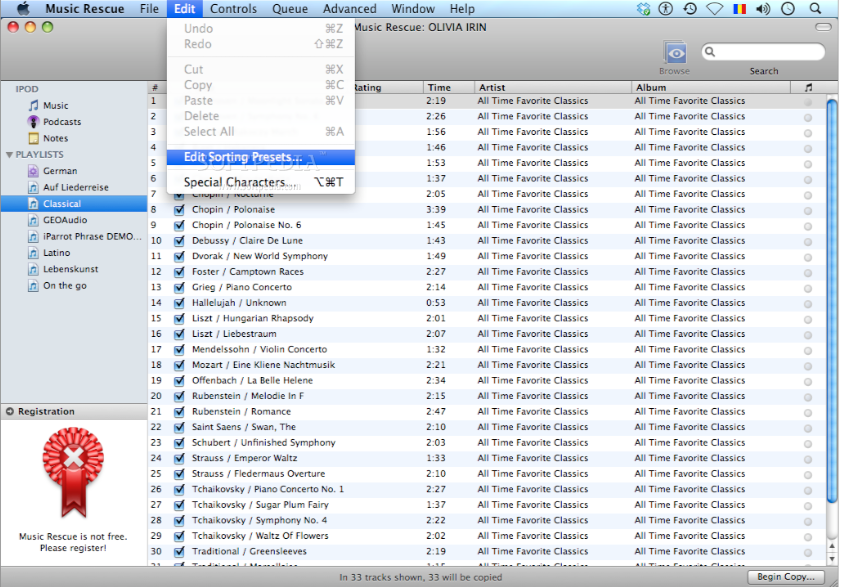
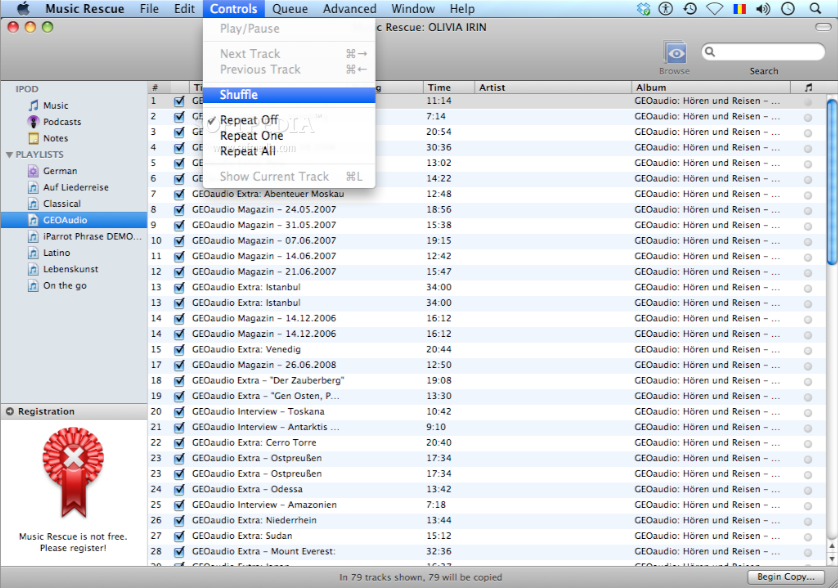
Furthermore, the Edit menu lets you Edit Sorting Presets. The Controls tab offers you options similar to the ones provided by iTunes in its Controls menu, namely: Play/Pause, Next Track, Previous Track, Shuffle and Repeat (Off/One/All). In addition, Music Rescue has the following self-explanatory option: Show Current Track.
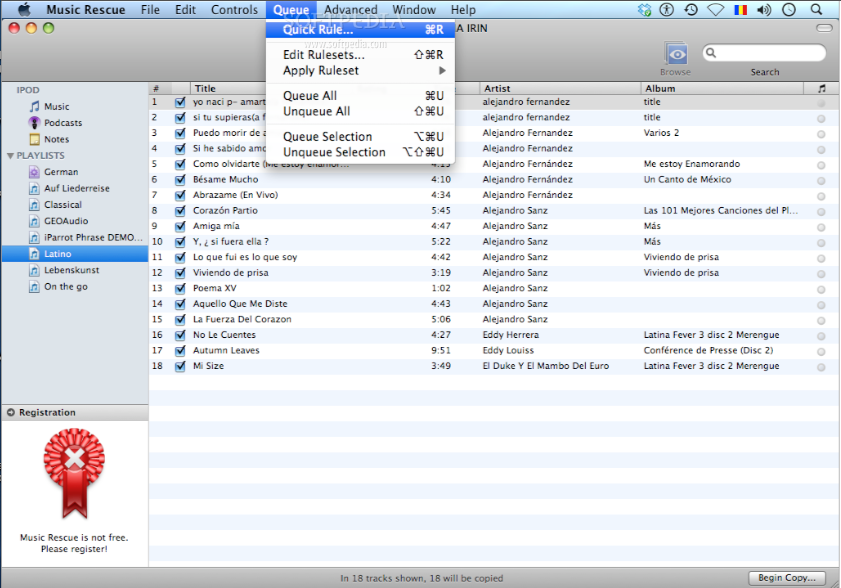
In comparison, the Queue menu tab provides you only with options specific to the Music Rescue application. Here are two of the most appealing and utilized ones: Edit RuleSets and Apply RuleSet.
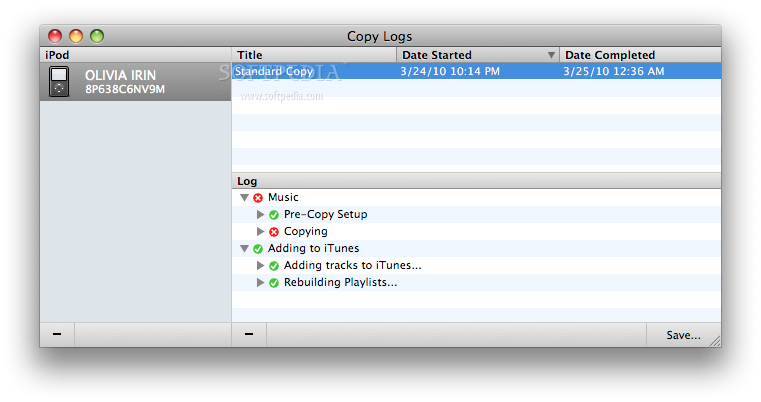
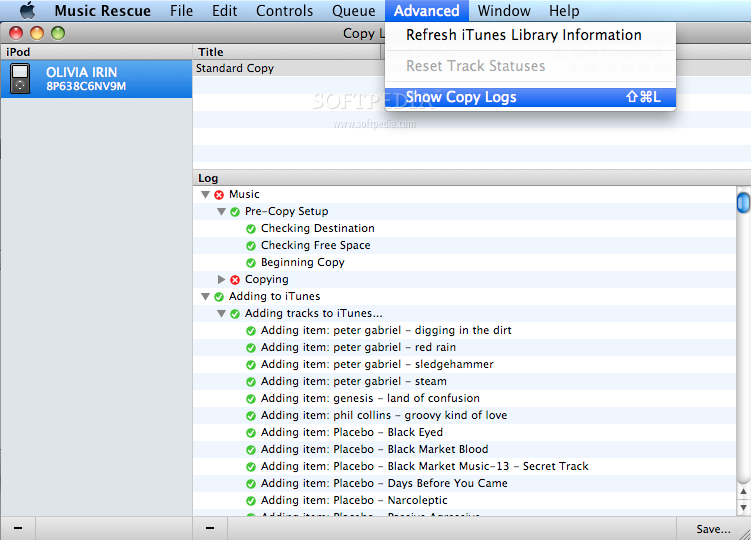
The Show Copy Logs option in the Advanced tab aims to help you with the troubleshooting, in case an error occurs during the copying process.
The Works
As you have probably understood by now, the very first steps for configuring a backup process are to connect an iPod or an IPhone to your Mac and to open the main window of the application.
From this window, you can directly click on the Begin Copy button, on the bottom of the page, to enable the application to copy all the files that you have stored on your external media player device in your iTunes Library.
In other words, after you click the Begin Copy button, you will see a list will all the media types that can be copied. In case you don't uncheck any of the provided options, all the check boxes will be checked, by default.
For a better understanding of the process, I will enumerate all the options that you can choose from in this particular window: Music, Video, Podcasts, Audiobooks, Recordings and Types.
As mentioned above, if you do not want a certain kind of media to be copied, you can deselect it. On the contrary, if you want to keep an option but you want to find more about it, click on the Configure button, placed on the right side of any option.
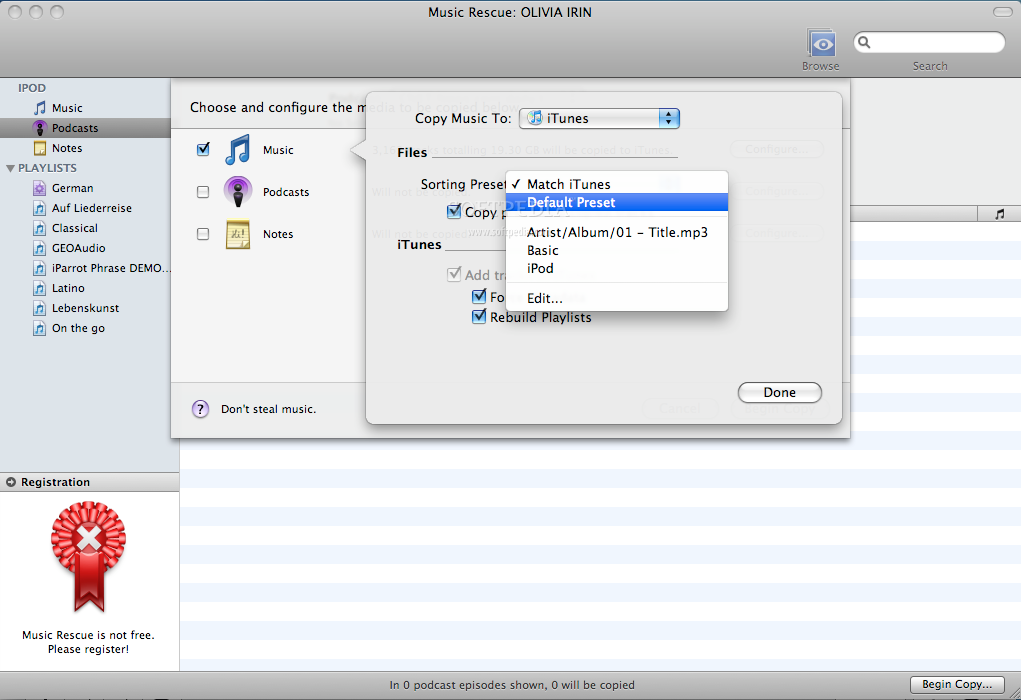
Luckily, all the Configuration windows have the same structure: a drop-down list with the folders where the tracks can be copied, a drop-down list with options for Sorting Presets and a section where you can check some options related to the iTunes behavior.
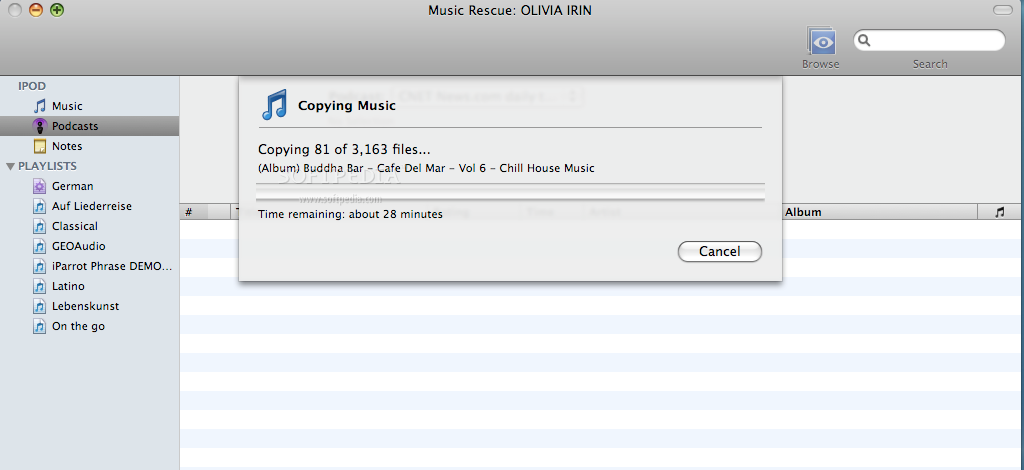
When you are done with the configurations, you can hit the Begin Copy button and monitor the copying process. In this window you will see the name of the media file that is currently being copied, a progress bar and, of course, the remaining time until the completion of the process.
Here is how Music Rescue will work in the background: it will take each media file, analyze it and copy it in accordance with your settings. Every time it encounters a file that has a similar name with a file that is already in your iTunes library, Music Rescue will ask you how it should proceed: Overwrite it, Skip it or use the Unique Naming technique.
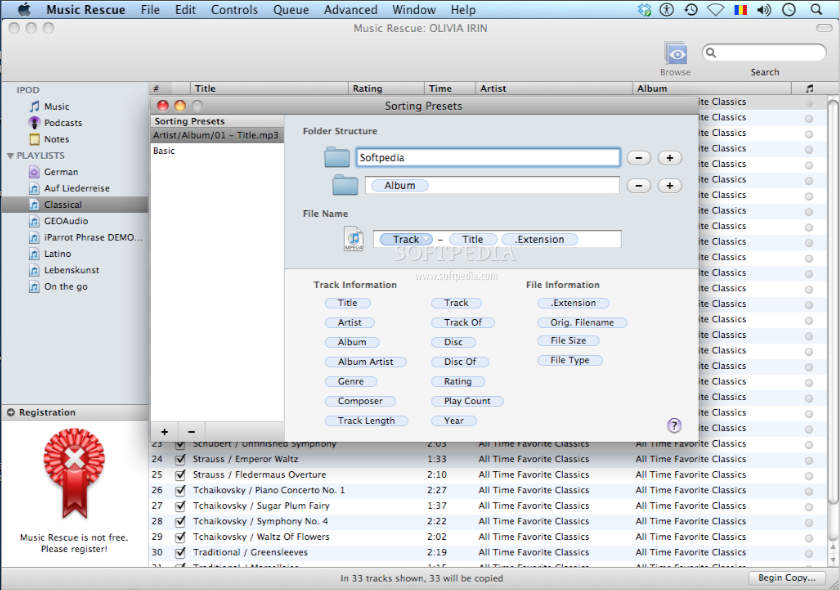
Now, let's have a quick look at the more advanced options. The Sorting Presets option is a very special and useful one, and it was introduced in the application to help you customize the structure and the name of the destination files. By default, Music Rescue works on the iTunes' library structure, but you can easily customize the way the copied media files will look like at the end of the process.
To start editing the Sorting Presets, you can either use the appropriate option in the Edit menu or the pop-up window that opens when you want to configure one of the media types that are about to be copied, when you hit the Begin Copy button, in the main window.
The Sorting Presets window is divided in two: on the left, you can see a list with the presets that has been previously defined and, on the right, a panel that has, on top, two text fields for defining the Folder Structure and the File Name, while on the bottom there is an area with metatags related to the currently selected Track, plus a list with File Information.
All you have to do to edit a folder or a file name is to type a text into the specific text fields or to drag-and-drop tags from the bottom area. The only difference consists in the fact that, when applying a defined preset, the text will be preserved as such and the tags will be replaced with the appropriate values. This is how, at a glance, the Sorting Presets option can help you. Now, back to the advanced options, it is mandatory to say a few words about the RuleSets and the Show Copy Logs options.
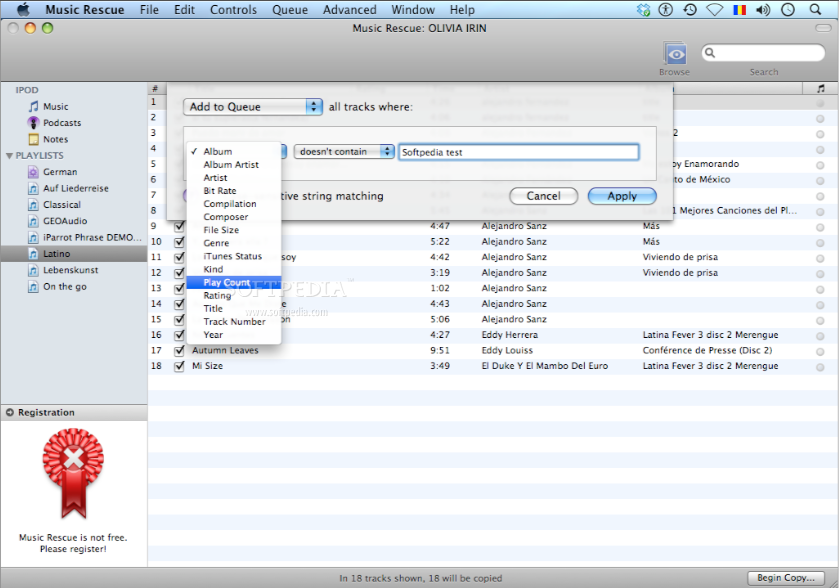
Again, briefly, the RuleSets feature allows you to define rules for queuing or unqueuing items from your iPod. Being defined in a way similar to the Sorting Presets window, the RuleSets window is divided in two: on the left, you can see a list with the already defined RuleSets and on the right, an area for editing the rules.
The drop-down list, placed on top of the right area allows you to choose among three options: Add to Queue, Remove from Queue and Set Queue to tracks that match all or only some of the rules described below.
The filtering rules refer to Albums, Artists, Bit Rates, Composers, File sizes, Genres or many other fields that match certain criteria. To add or remove rules you have to use the plus or the minus buttons, placed on the right of each rule.
Finally, if you want to trace and analyze the errors that have occurred in a particular copying process, you can use the Show Copy Logs option. Everything is just fine by now, but be aware of the fact that Music Rescue only keeps track of the last five logs for every iPod. If you want to save all the logs for a later analysis, you have to copy them to the disk.
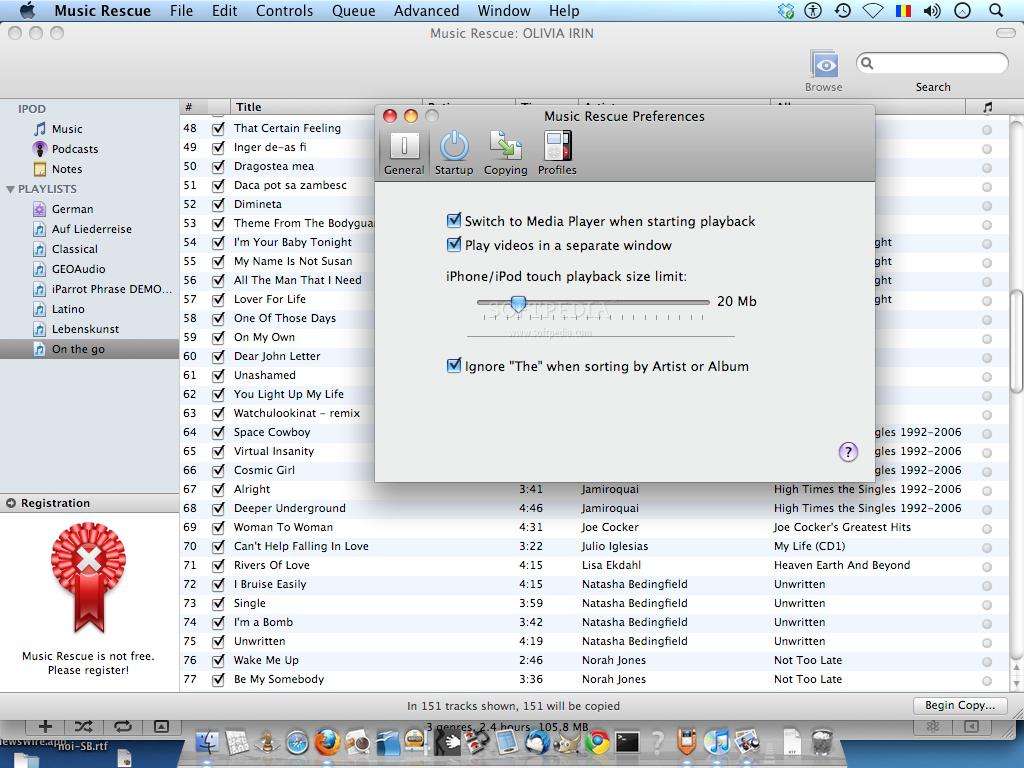
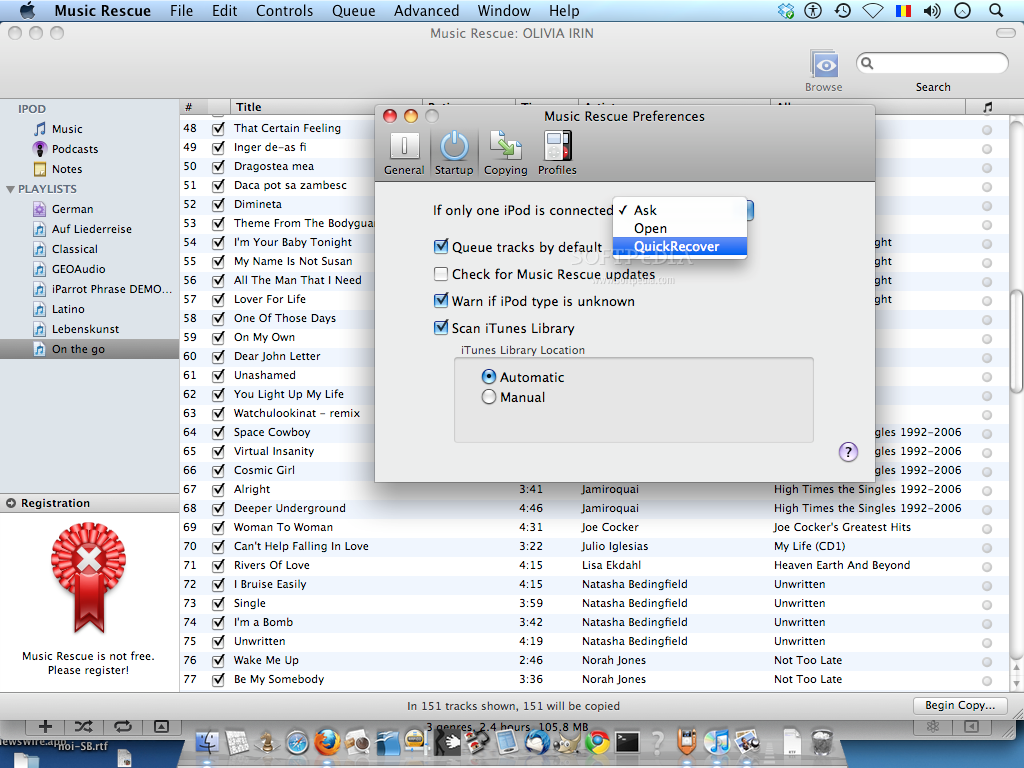
In the end, let us analyze the Preferences options a bit. There are four tabs in the Preferences menu: General, Startup, Copying and iPod Profiles.
As expected, the General tab offers you the possibility to adjust the Music Rescue's behavior when performing some specific operations. For instance, here you can find a sliding bar for indicating the iPhone/iPod touch playback size limit. This is useful for limiting the size of the very large files that have to be loaded in the memory, before being copied in the iTunes Library.
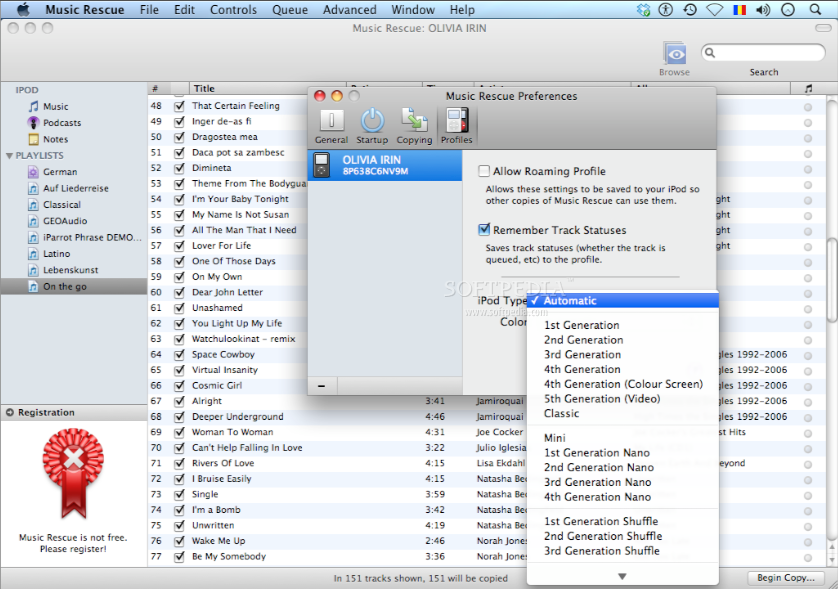
As the Startup and the Copying tabs are pretty intuitive, I would skip them and get directly to the last tab, that is particularly interesting. In the iPod Profiles tab, you can save precious info if you plan to sync your playlists from different types of iPods.
Again, the configuration window has two main areas: on the left you can see a list with all the iPods' profiles, and on the right you have an area where you can adjust the settings. If you check the Allow Roaming Profile option, the selected profile will be saved for later use on other Macs. Next, you can check the comfy Remember Track Statuses option or even specify some details about the iPod Type or color.
In conclusion, Music Rescue provides you all the options that you can think of when it comes to copying a playlist from an iPod to a Mac and even something more.
The Good
The Bad
I understand that the purchasing price is not too high (only 10 GBP for the Computer License) but still. Maybe it was my fault as I wanted to copy all the media files that I have stored on my iPod to my Mac, in one single shot (and this is more than 20 GB). Anyway, I ended up by being terribly irritated by the number of times I had to hit the OK button in the demo Licensing window!
The Truth
Here are some snapshots of the application in action: