14 DAY TRIAL //
 Paperless aims to be your best companion when it comes to organizing receipts for tax time. It comes with an eye-catching digital filing system and with interesting options for filtering and customizing personal data fields.
Paperless is basically an application that helps you scan, store and organize any type of document, in a readable format. As a result, Paperless can be used to create a database for everything.
For instance, you can use Paperless for managing and retrieving data from your medical receipts, income, tax or expense documents, or simply for putting together, filtering and securely sending by e-mail, when needed, any type of file or folder, such as your kid’s photos or your partner's business cards.
Not that you couldn't do all that with other applications, but Paperless provides a compact system for gathering and organizing all your documents in one place.
Give Paperless a try if you want to dramatically reduce the amount of paper at your work place and have a multifunctional app for keeping track of your bills.
The Look
Paperless has a standard Mac interface, featuring a menu bar on the top and a toolbar directly below it.
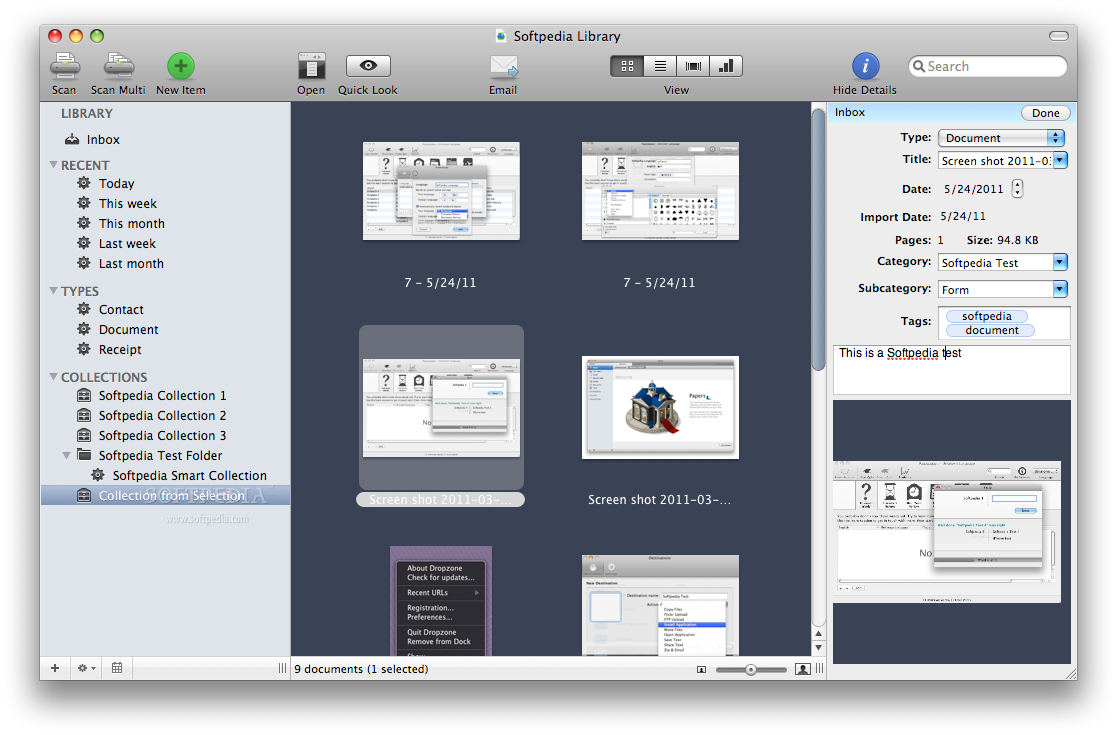
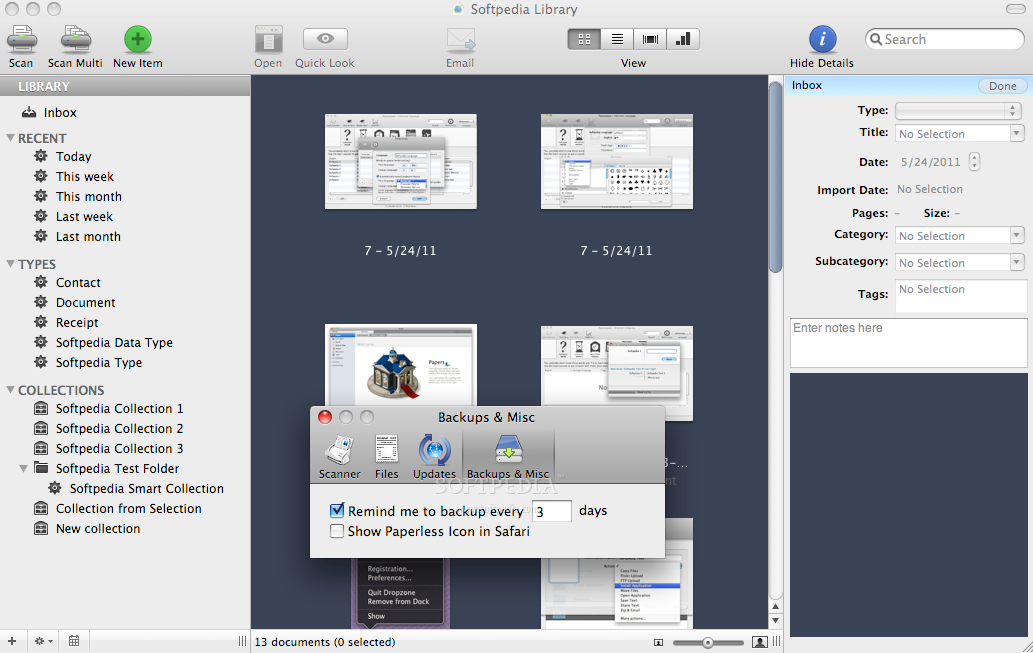
[admark=1]The main window contains three areas: a left sidebar where you can see a list with libraries and collections, a main area where you can visualize the items included in a particular library, and a right sidebar with details about the currently selected item in the central area.
The toolbar displayed on the top of the window is highly customizable. It can be shown or hidden and customized with the buttons that you need at a particular phase of your work.
By default, the toolbar includes a button for scanning single or multiple documents, a plus button for adding new items, open, preview, e-mail buttons, a suite of four buttons for switching views (Thumbnail, Cover Flow, Table or Reports), a button for showing or hiding the details sidebar and, finally, a search field. The sidebar hosts the Inbox (an area with items that need to be processed) and the items included in the central area, sorted by collection, type and usage date.
On the bottom of the main window you can also see three buttons, and a scrollbar. The purpose of the three buttons is to let you quickly add new items in the left sidebar, namely to group your files in simple or smart collections. The scrollbar can be used to set the size of the thumbnails in the main area.
So, as a conclusion, the interface is pretty simple and clean, without lots of gimmicks. Most of the buttons carry intuitive names, but the GUI does not highlight in any way the app's best features. Therefore, you might overlook some of the good stuff during the first test run, but after taking a closer look, you will surely notice the app's highlights.
The Works
When opening Paperless, users will be asked whether they want to back up their libraries. This question is useful, in case you have already created some libraries and you want to be sure none of your data gets lost.
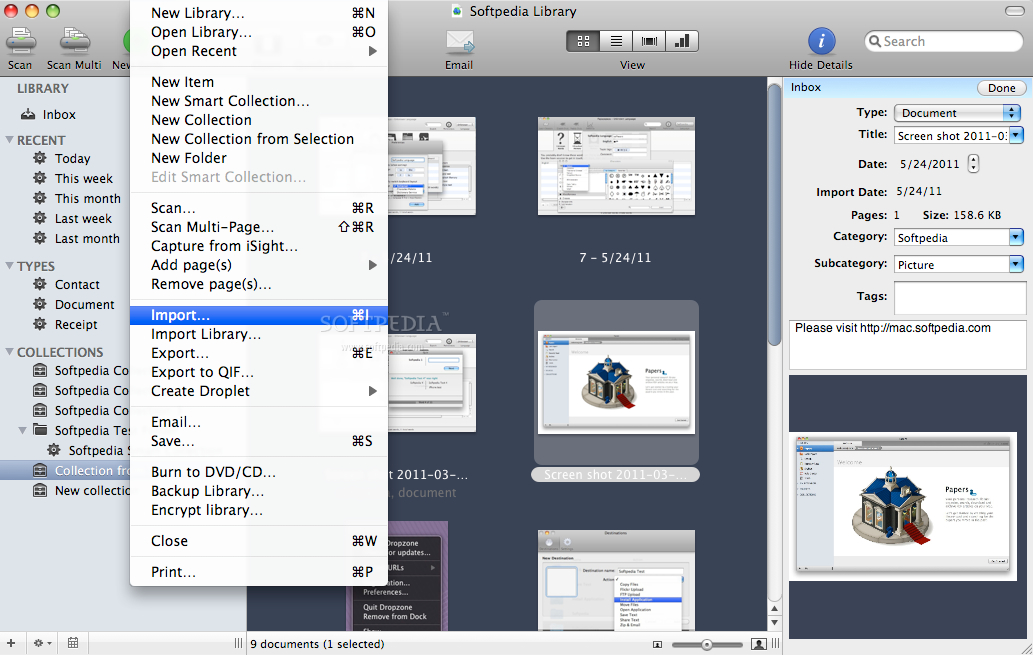
If you open Paperless for the first time, you would probably want to start either by creating a library from the scratch or by importing an existing one, from your disk. In case you want to create a library by using the documents saved on your disk, you have the freedom to add any type of files. You can also directly scan a set of documents and add them to your libraries, but it is advisable to start by using the first option.
After you understand how things work in Paperless, you can scan the documents that you need to process, and start organizing them by different criteria, so that you get the most of what Paperless has to offer.
As mentioned before, Paperless lets you import many different types of files, such as PDFs or other types of graphic files (JPEG, BMP, TIFF, GIF, etc.). The files in an unsupported format will be automatically converted.
In order to add a new file, you can simply use the plus button in the toolbar or drag-and-drop the items you want to add onto the app's main window (although you have to make sure the focus is on the central area and that you are in a graphical view.
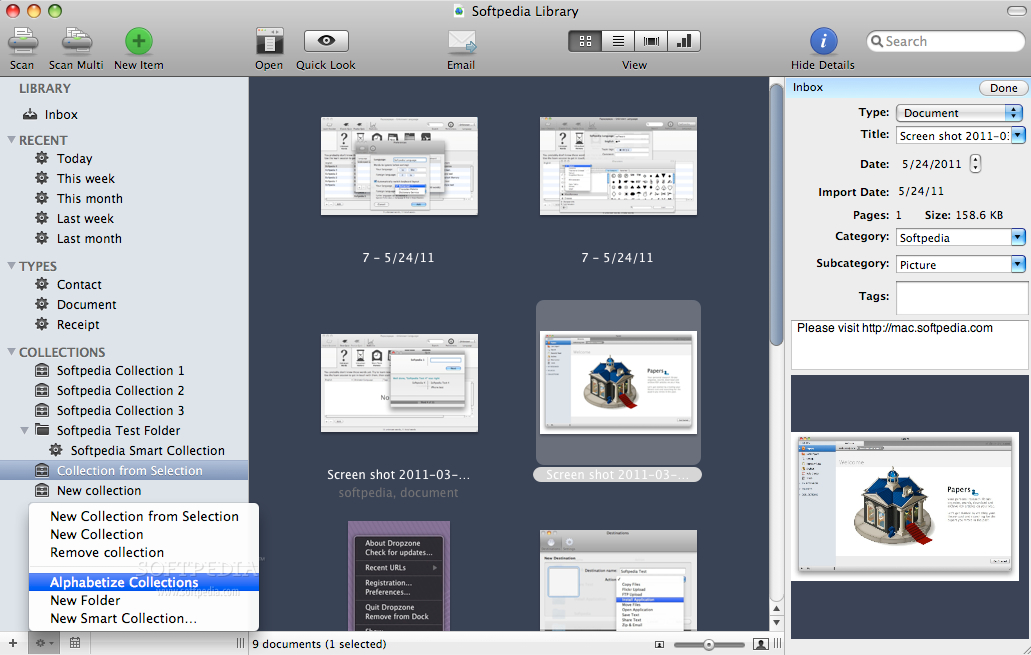
If you'd like to add more advanced items, such as simple or smart collections, you will have to use the plus button at the bottom of the left sidebar.
The collections can help you organize documents by different criteria, so that you don't get lost through files and folders.
In fact, this is the main advantage of using an application like Paperless: instead of building stacks of papers with the documents that arrive daily on your desk, you have an app that lets you scan, organize, process and securely store all your papers, directly on your Mac.
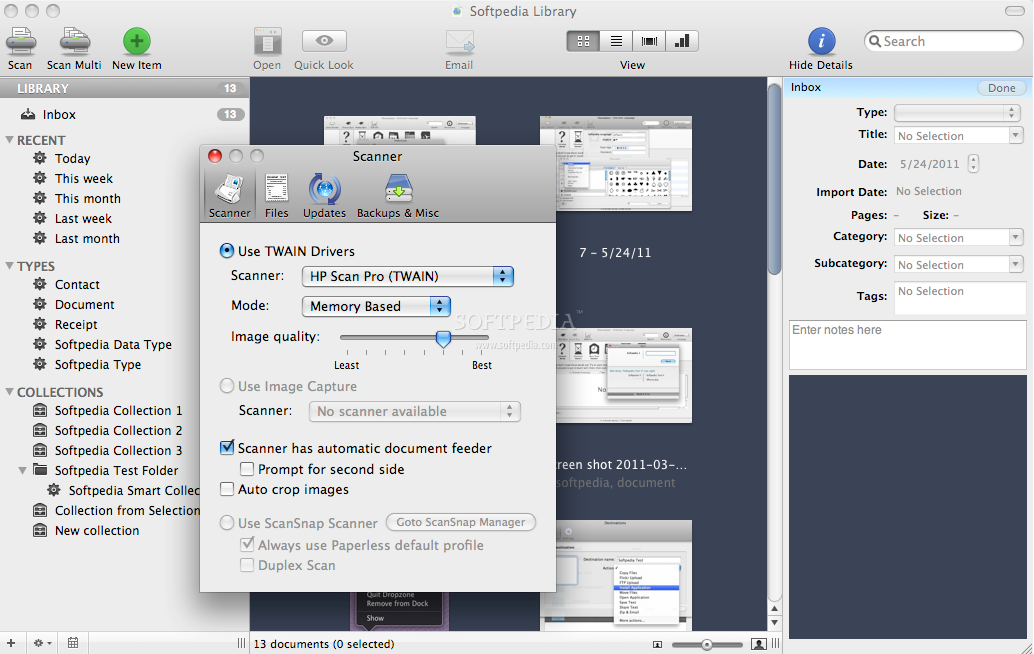
Paperless provides two ways for scanning documents: you can use the Scan button in the toolbar to send an item directly to the Paperless Inbox or the Scan Multi button to scan multiple documents as separate files. Please note though that, sometimes, hitting one of the two buttons can freeze the app.
With regard to the technical requirements, Paperless claims to support almost any type of scanner, as it uses the Apple's Image Capture method. To be more exact, the Paperless' developers say it can work with any TWAIN-compliant scanner, but they highly recommend you use the Fujitsu ScanSnap line of scanners.
If you want to know more about this line of scanners and to keep track of the special offers, you have to go to the Paperless' website.
Now, supposing that you've managed to set up a scanner and you've also created a folder with scanned documents on your disk, you should start organizing them in smart collections.
A smart collection basically includes a number of files that match certain criteria. To create collections, Paperless comes with some precise filtering criteria, that allow users to group and, later on, to quickly find, within a particular set of files, exactly the items they need.
What is particularly nice about Paperless is that it lets you create libraries and collections, that store just about anything: receipts, document, warranties, user guides, bills, etc. Considering this, you can use Paperless to process and securely send by e-mail all sorts of important tax documents, directly to the certified authorities.
Because security is a very important issue, Paperless also helps you organize the very sensitive information, stored in some tax documents (such as name, address, how much money you make, your bank account, etc.), so that you avoid any possible identity theft.
Another very important pair of features in Paperless is the one that lets you backup and encrypt your documents. Such options help you prevent those unpleasant situations when, some of your data is lost, misplaced or damaged.
Not to mention that the encryption option, used in conjunction with the filtering options (that can be used when creating smart lists), will help you stay calm and relaxed when sending e-mails containing personal information.
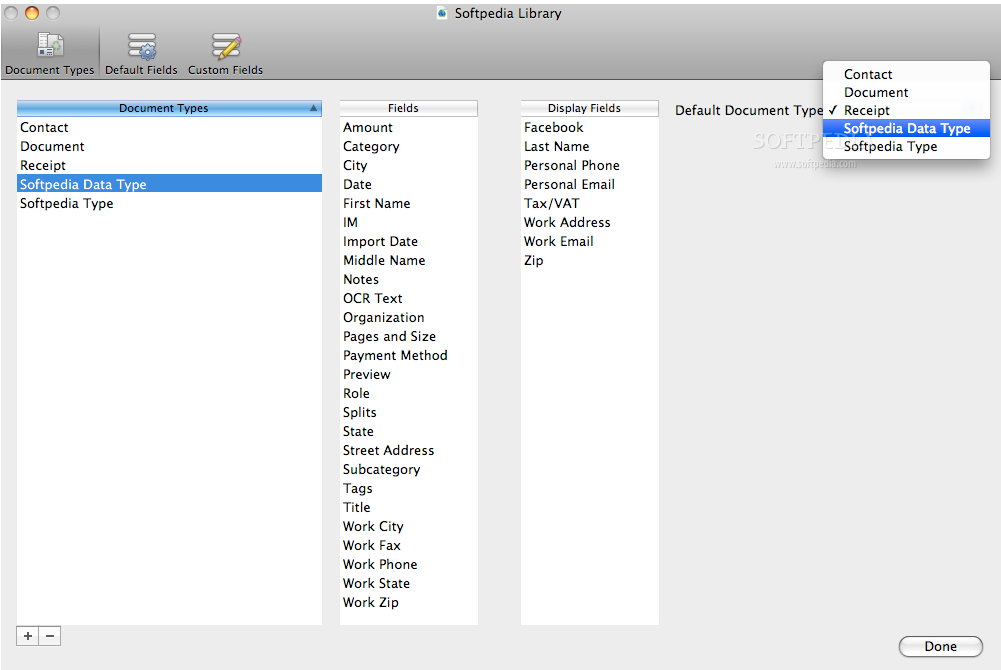
To see a list of all the supported document types, add new ones or change any of them, you have to open the Library Configuration area by using the Cmd+L hotkey or the Show Library Configuration option from the View menu.
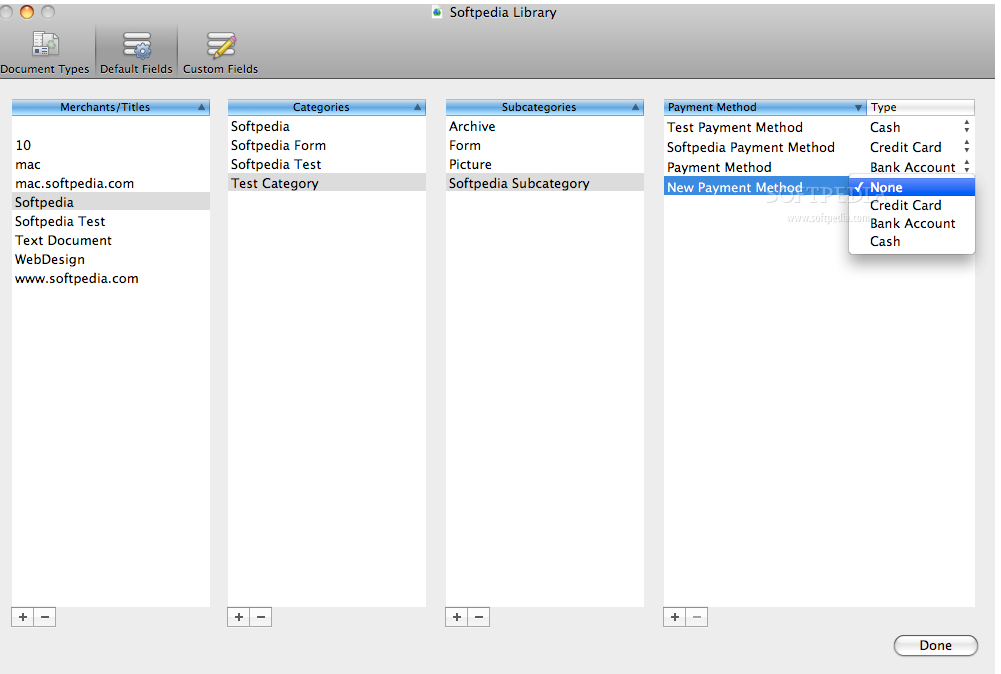
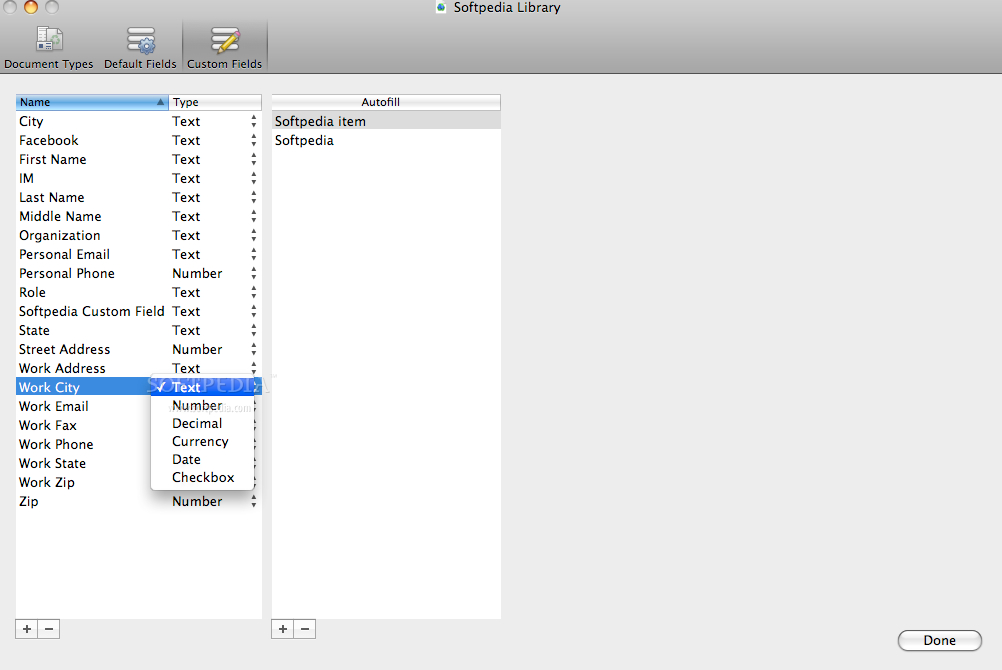
In the Library Configuration window, for each document type you can see a list with all the available fields that can be used, when filtering the information you want to be shown in the Details area. In other words, here you can create your own fields or customize the default ones.
Besides the fact that it provides you a pretty wide palette of default fields, this window also lets you drag-and-drop and rearrange the fields, in any order. The default fields include a list with merchants, titles, categories, subcategories, payment methods, and their respective auto-fill values. This feature is particularly useful for the payment area that lets you choose different types of payment methods for any of your receipts.
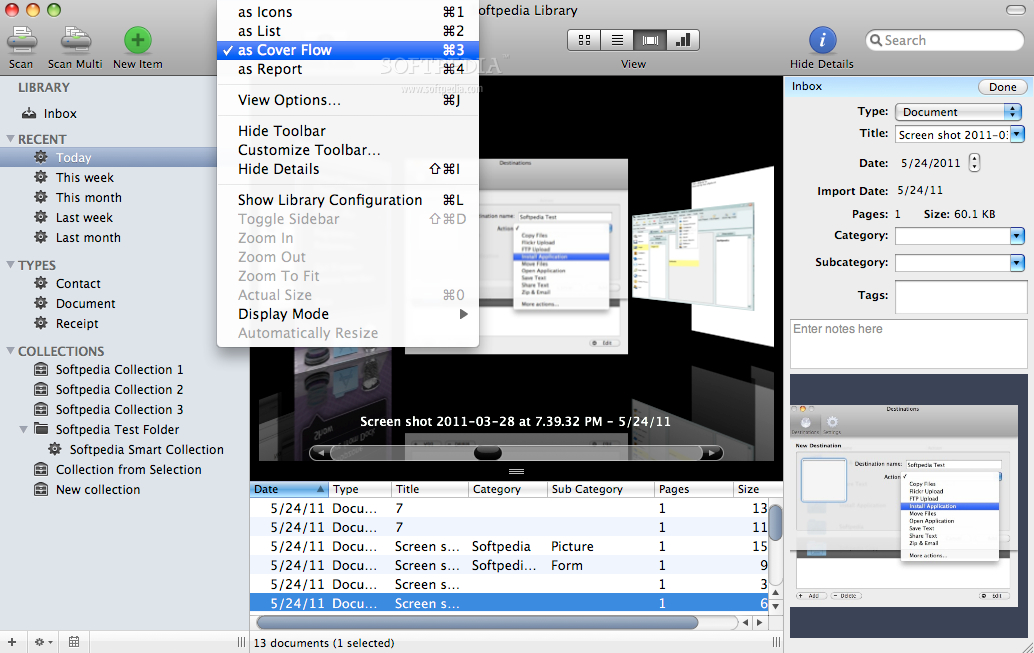
After customizing the fields and the payment method, you can go back to the main page and analyze the items added in your libraries, from different perspectives. Paperless lets you view the entries in your libraries in four different modes: as Icons, List, Cover Flow or as a Report. To switch views you can either use the buttons included in the toolbar or the options provided in the View menu.
Receipts or documents can appear in as many collections as you want. If you remove a receipt or a document from a collection, it is not removed permanently. In order to remove items permanently, you have to remove them from their corresponding libraries. However, when you remove an item from a smart collection, it will also be removed from the library.
Paperless also lets you efficiently itemize the information found in a scanned receipt, so that you can export the important data in a particular format. To do this, you have to go to the Details column, that is traditionally displayed on the right side of the main window, and enter the split information.
The Good
Furthermore, Paperless facilitates the scanning of documents and supports text recognition, which can be really useful when you want to retrieve data from your scanned documents. Moreover, Paperless provides you other important features for easily processing files, such as import, backup and encrypt.
Also, Paperless lets you use collections for organizing your data. The Customization Library page offers its users many default types and categories to choose from. In addition, it lets you drag-and-drop the fields in any order and specify which data you want to be shown in the Details area, for a selected document or contact.
Finally, Paperless comes with an extensive help, a knowledge base and a collection of video tutorials that can help you understand the features that are not so intuitive.
The Bad
With regard to usability, the Paperless' GUI is quite clean and intuitive, but I would have liked to see a link or a button for accessing the Library Configuration windows, right from the toolbar. The only way to do this is to access the View menu. Considering that the configuration pages are so important, I think there should be other ways to get to them.
Furthermore, in some cases, the Scan and Scan Multi buttons don't work properly. For instance, if you use other scanner than the recommended ones, Paperless might stop responding, without displaying any error message. In such situations, you will have no other option but to force the app to quit and to open it again.
Also, even if it has dropped from its initial release, the price of the application is still pretty high.
The Truth
Moreover, it lets you choose the fields that you want to be shown in your receipts. This can be very useful when you want to send such documents via e-mail, for instance.
What is also noticeable about Paperless is that it enables you to securely backup and encrypt your data, when needed.
So, although it seems to be stuffed with great features, from my point of view there are still things to be done with regard to usability and error handling.