14 DAY TRIAL //
 Although modern devices are basically proofed for every situation that may occur while an intensive usage, I am sure that at least once, sitting in front of a storing device, you didn't understand why was your data gone or you regretted erasing a file that you actually needed. That is why Stellar Phoenix Photo Recovery is a very useful tool to have around.
The application is designed to deal with all the rather common mishaps that your storage devices might be exposed to, like accidental or intentional deletion or formatting, media corruption or damage.
The Looks
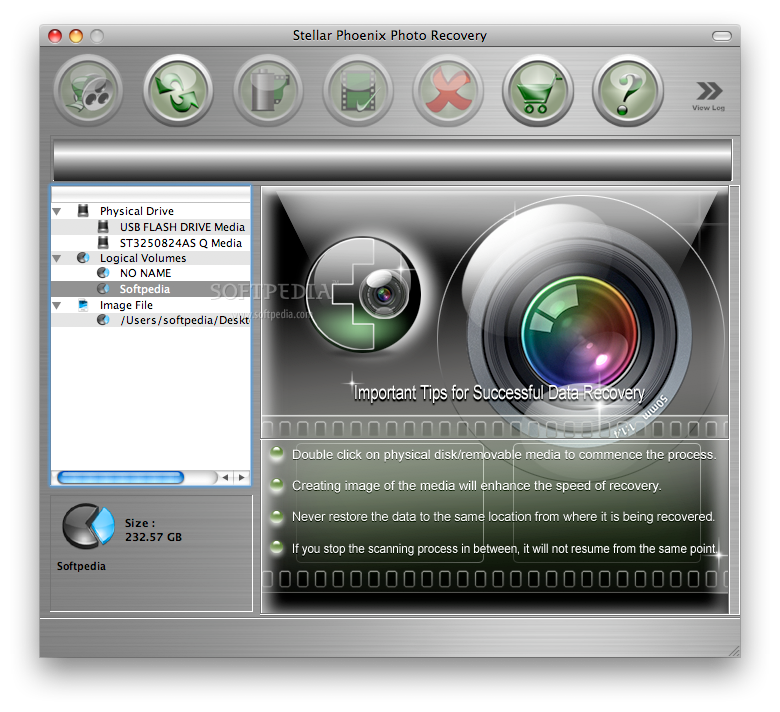
The Stellar Phoenix Photo Recovery interface is able to provide maximum efficiency in a beautifully designed shell. In fact, you are able to use the application almost instantly, due to the brief indications that are displayed in the main panel.
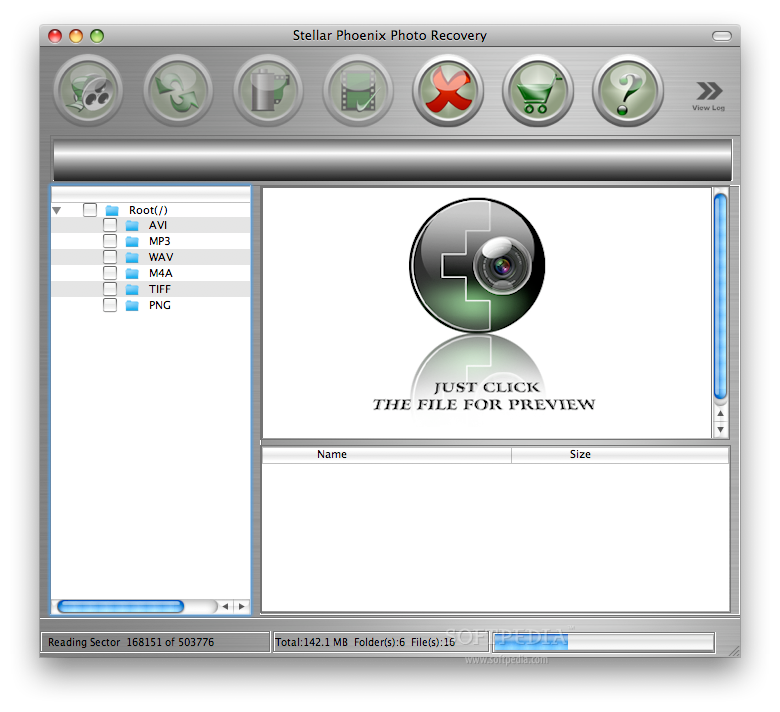
The main and only window is separated in three different areas: the button bar situated on the top, the browser panel that you can see on the left side where you can spot the physical drives and logical volumes, and the main area where you can read the instructions. For every selected drive or volume, you will be able to see a graphical representation and the value of the currently used storage space.
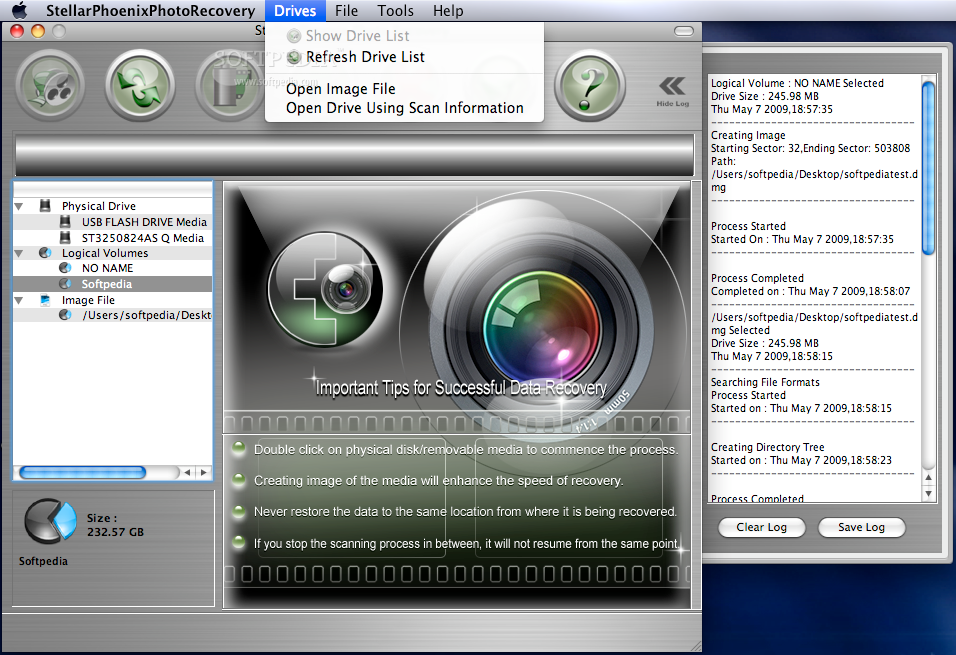
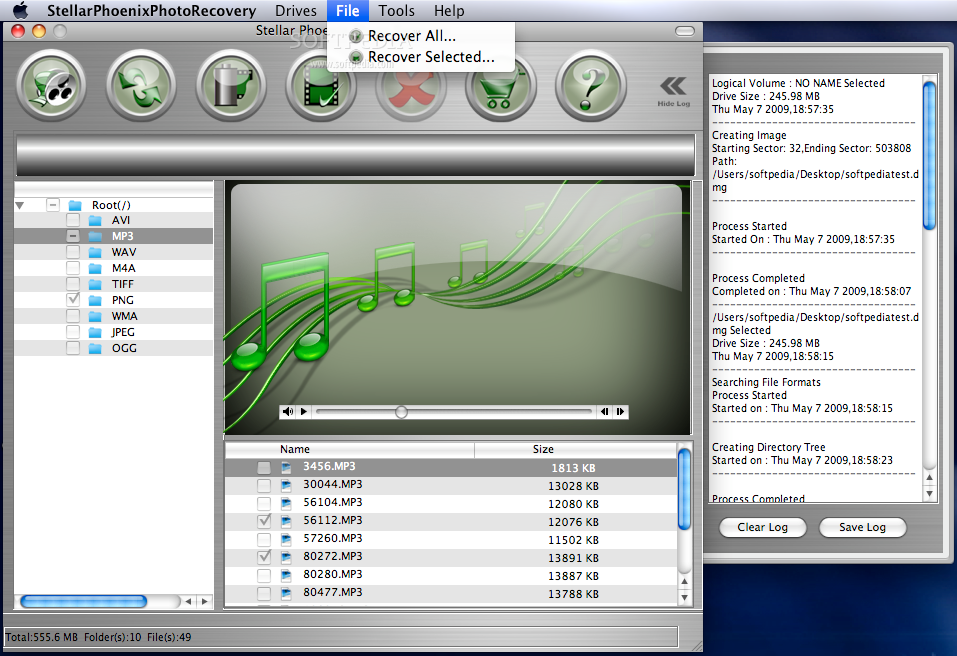
Stellar Phoenix Photo Recovery also gives you the possibility to track your actions by providing easy access to the history log on the right side of the window.
The Works
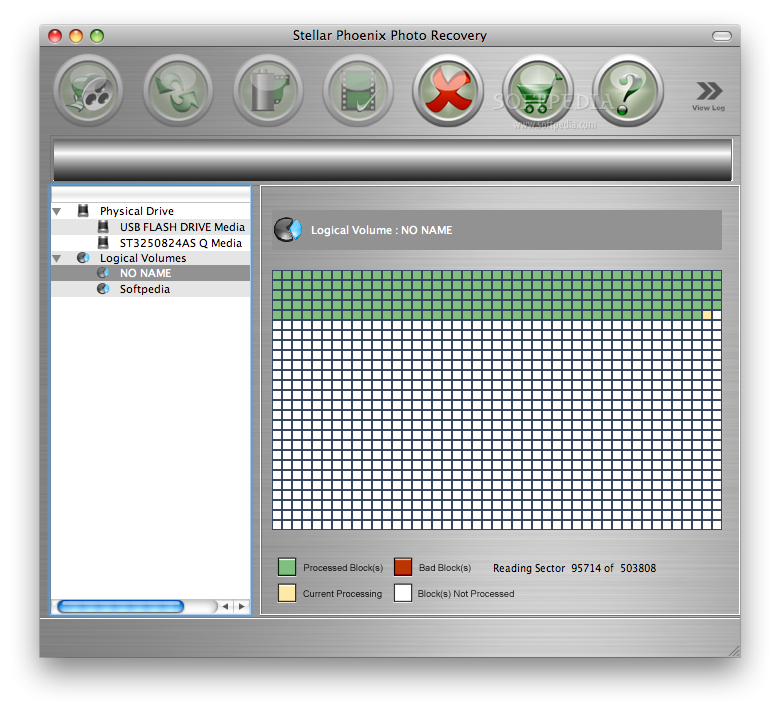
In order to recover your media files, Stellar Phoenix Photo Recovery requires you to follow two steps: scan the storage device (USB, hard drives, memory cards, digital camera, or any other kind of device that may contain media information) and then choose which files you want to restore.
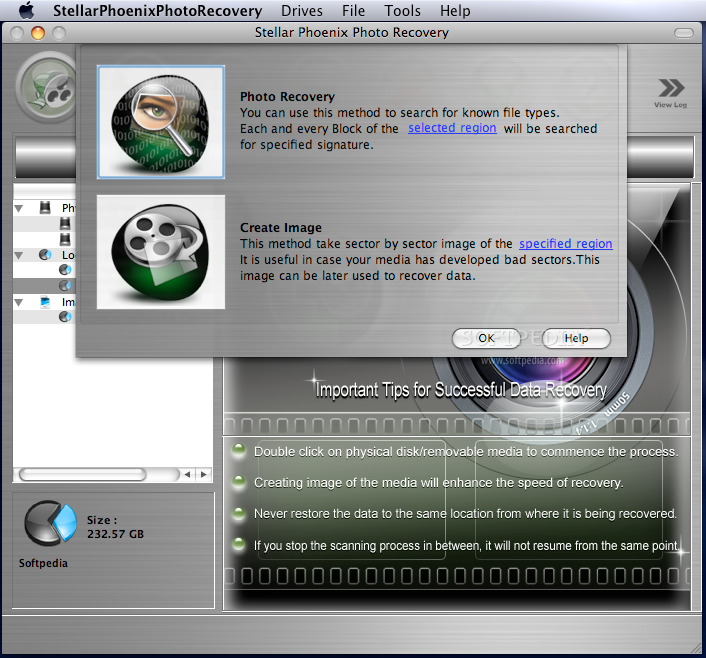
Once you have decided on a certain drive, you must double click and you will be asked if you want to directly perform Photo Recovery or create an image first. If you choose the latter option, you will be able to save the image on a desired location and perform the scan on the image that will reduce the processing time. Also, the respective picture will become accessible at any time.
When the scanning process is complete, if you are not satisfied with a particular result or want to access a device connected after the application launch, you have the possibility to easily go back to the drive list and refresh in order to make sure the most recent data is used.
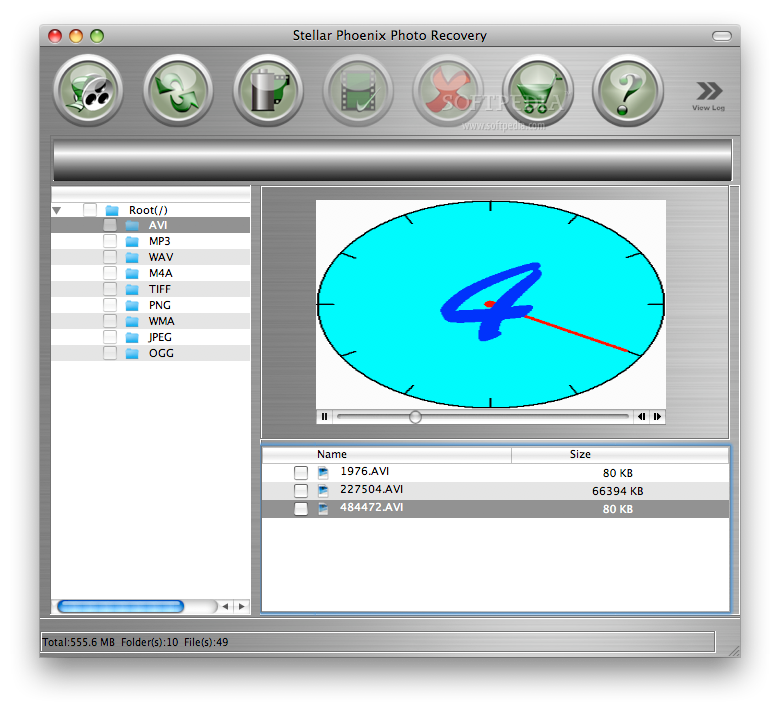
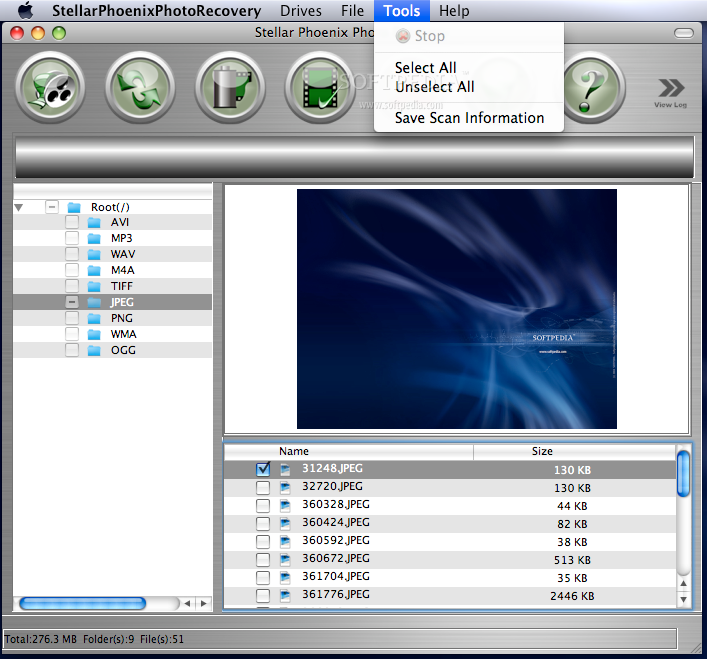
In case you want to directly scan the drive, you will be able to save the scanning information in order to access it at a later time. Every time you want to start a scanning process, you will be asked to specify the file types you would like to search for. Currently, Stellar Phoenix Photo Recovery provides support for over 40 media file formats, like JPEG, GIF, MP3, PNG, WMA, TIFF, WAV, M4A, AVI or OGG.
You will be able to preview the recovered files, but some formats are not yet supported. All you have to do next is select the files you want to save and push the Recover Selected button, after which you will have to specify the saving location. You may also save all the files by pressing the Recover All button situated on the toolbar, and the files will be restored to the root folder.
All the Stellar Phoenix Photo Recovery features can also be accessed through the application menus, Drives, File and Tools, although hotkey combinations are not provided.
The Good
The Bad
The Truth
Here are some snapshots of the application in action: