14 DAY TRIAL //
 The Windows Installer, previously known as Microsoft Installer (this is the source of the MSI extension of the setup packages) is an engine for installation, maintenance and removal of applications running on modern Windows systems. This is the follower and a big improvement over the old Setup API, bringing new features such as a GUI framework, automatic generation of the uninstallation sequence and powerful deploying capabilities.
Each MSI package has a well defined structure and a lot of elements that should be taken care of in order to obtain a good result, and having an authoring tool to stand by your side is a great advantage, and this takes us to the subject of this review, a commercial program called Advanced Installer Professional.
The free trial version of this program that I have here comes as a - what else? - MSI package having 5.5MB in size and some nag screens here and there, and its setup process is easy to follow for everyone. Once the program is up & running, we should start digging in, and this is what I am going to do next.
What we have here is nothing out of this world, but an excellent and up to date Windows interface that's a pleasure to look at and easy to use. The elements present here are the main menu, a toolbar, a left panel that houses tabs containing the settings areas and a main work area.
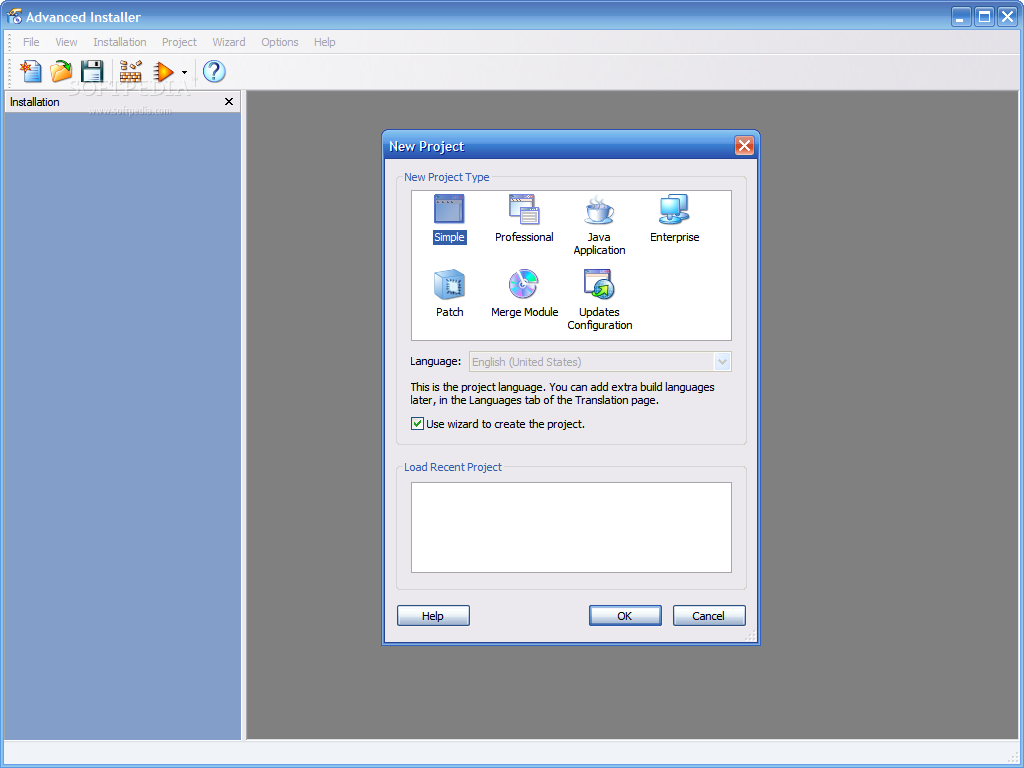
First thing to do while you're inside Advanced Installer Professional is to choose the type of project your want to start. The available choices, seven in number, cover everything that I can think of, like Java applications, enterprise projects or even patches, modules and updates.
Since the differences between the Professional setup packages that can be created with this program and the other six available are not that big, I'll browse through the steps needed to have your project ready for deployment.
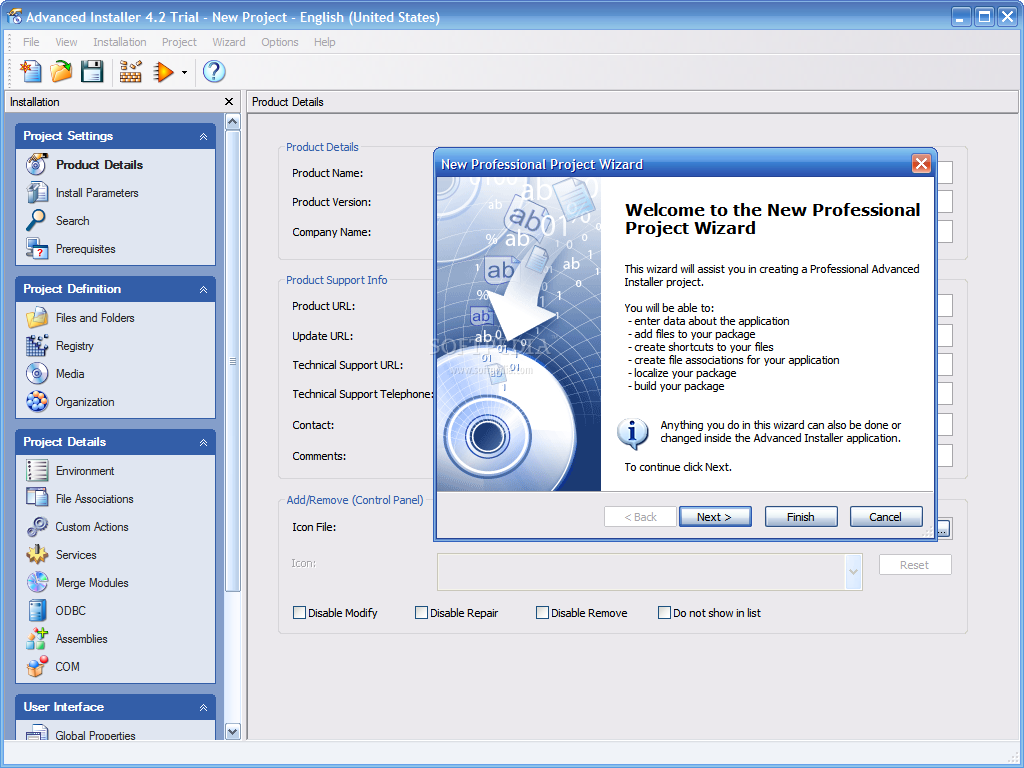
First thing that happens after choosing the Professional is the appearance of a small nag popup that reminds you that you're using the free version and you need to register the program in 30 days...you know the story, but we don't care about that now, our goal is to see what's behind the fence, and after clicking the OK button we are taken to the main interface and the New Professional Project Wizard window opens. Everything that you can do inside the wizard can be done or changed from the program, but for now we'll follow our Merlin's steps...
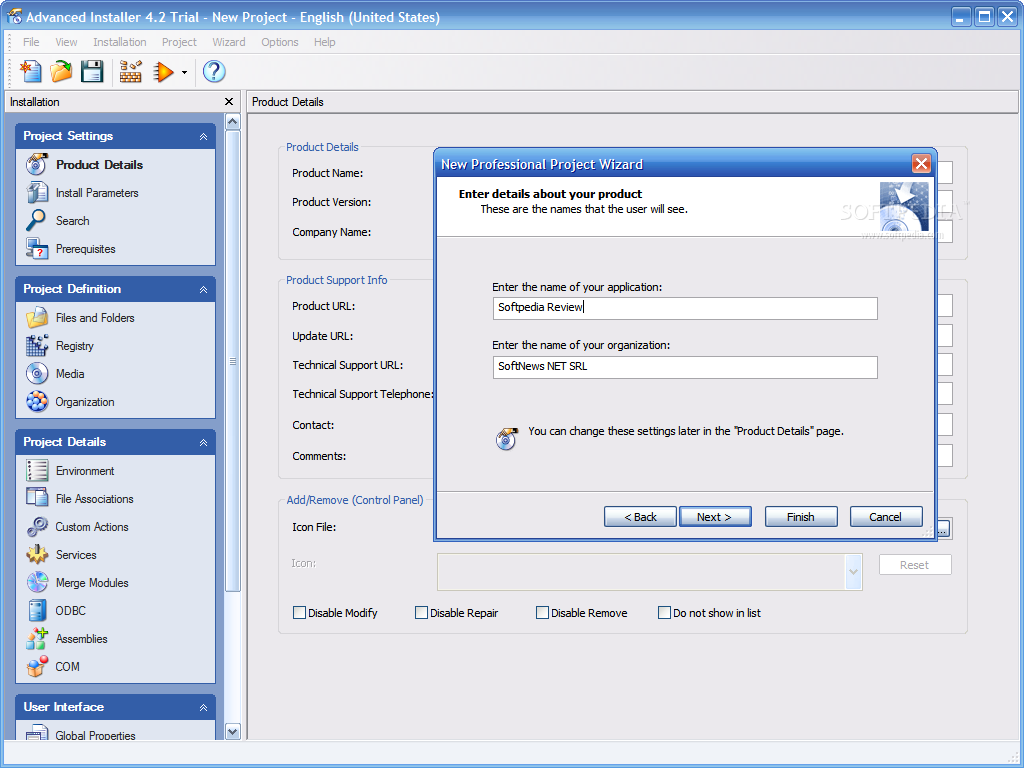
Before everything else, you have to baptize your application and enter the name of your organization, but you can change these later in the Product Details page.
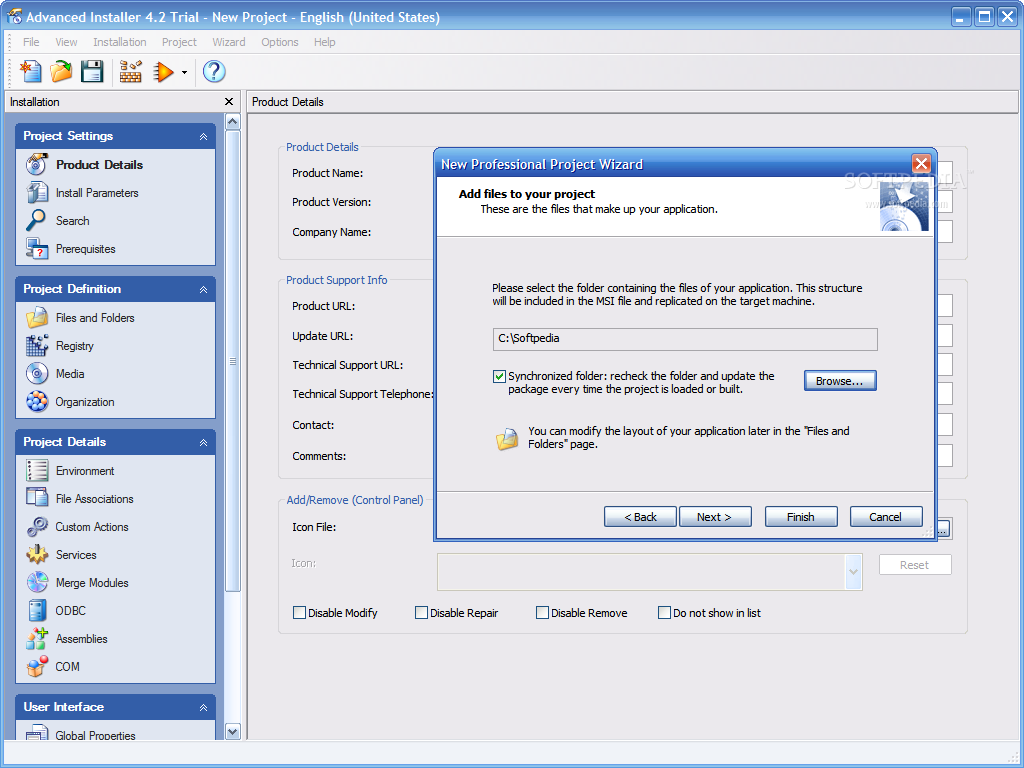
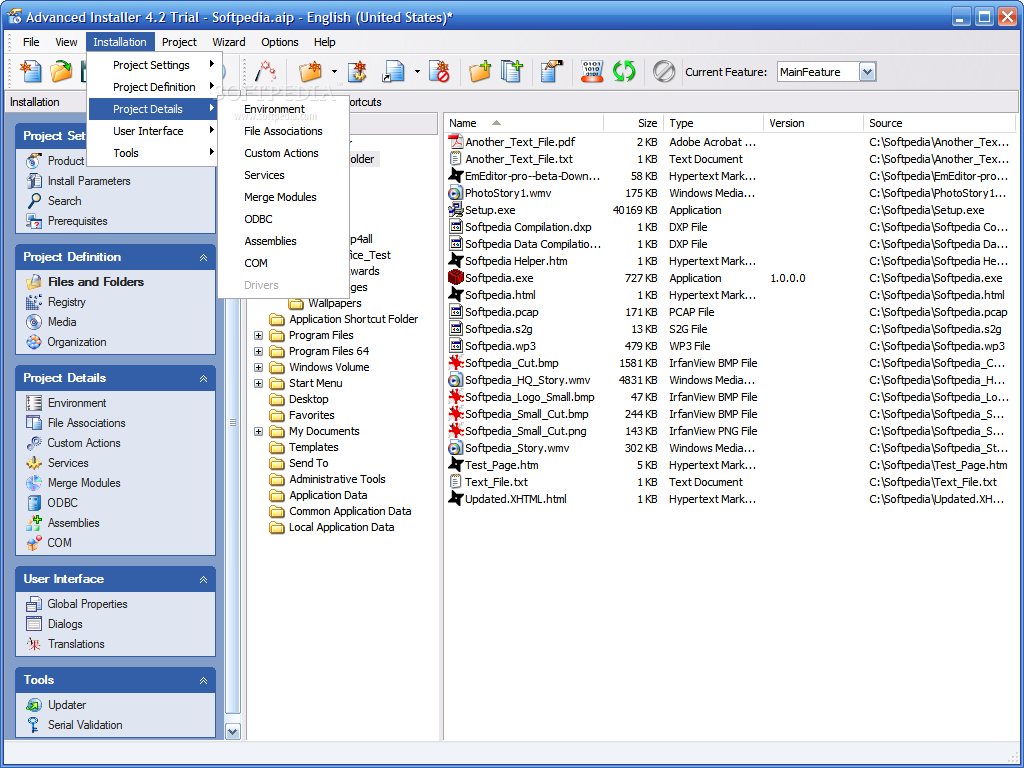
Adding files to your project is what you have to do after the first step is complete, and you have the choice to synchronize the folder each time the setup package is rebuilt (this looks extremely useful when creating kits for updated versions of your applications). To change these settings later, you will have to use the Files and Folders page.
When your program will be installed using the kit you are creating now, the user will have to choose whether to install shortcuts or not. Now, it's your turn to choose the executable files that you want to create shortcuts for, and Advanced Installer Professional lets you choose different settings for each file (who needs to create shortcut on Desktop for the uninstall program, for example?).
Moving on, we have to set up file associations, if needed. To associate a certain file type with your application, all you have to do is type it into the File Extension field or leave it empty if you don't need such a thing.
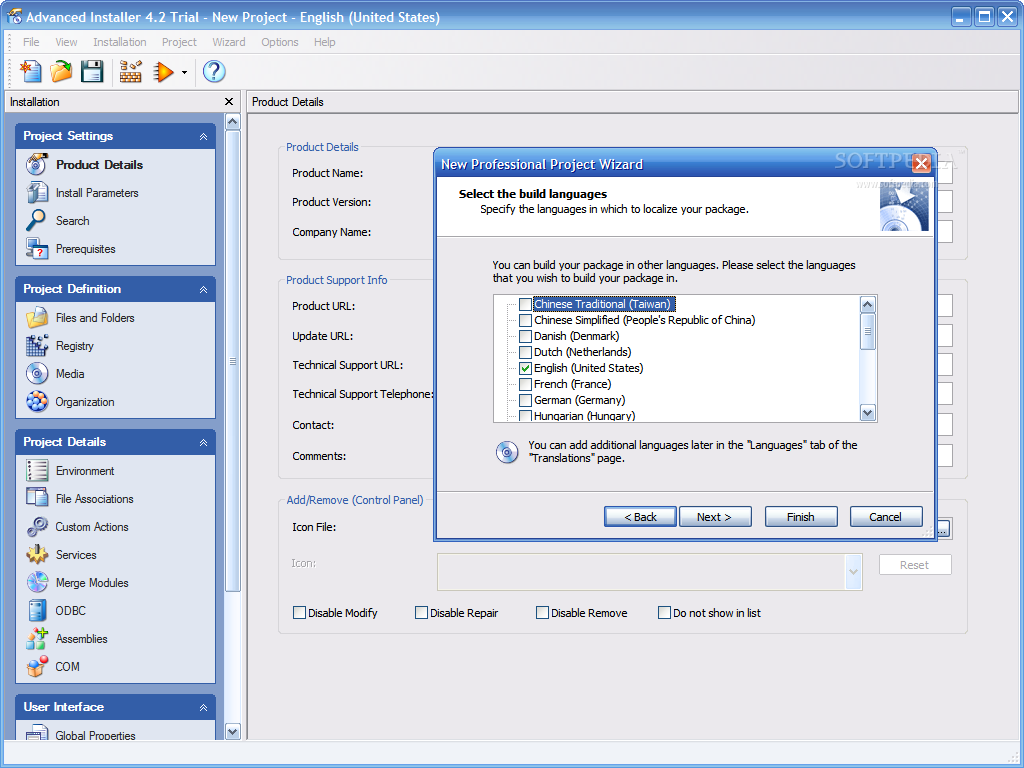
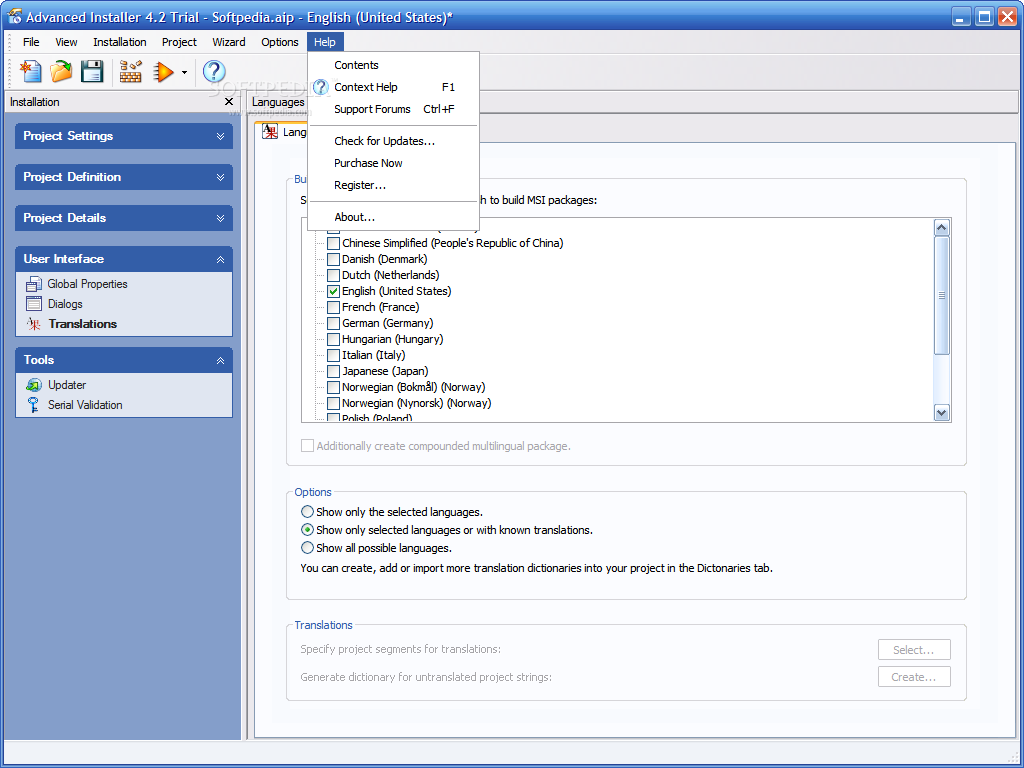
The setup package you are creating can also be built in other languages than English, and all you have to do is select the ones you need by selecting the corresponding checkboxes. For the last two steps, the settings can be changed using the File Associations and the Languages tab of the Translations page, but we still have a long way to go, so let's move on and follow the wizard.
The end? No way, this is only a second beginning! The program says we're done, so all we have to do is uncheck the Build the project now button and start hunting down advanced project settings available.
Getting back to the Product Details, we notice that there's more to it than the wizard asked us. Additional support information can be added, such as product, update and tech support URLs, tech support phone, contact name and more.
The Install Parameters allow you to choose the default destination folders for your application, versioning options (upgrading the previous versions or allowing side by side installs) and installation options such as forced reboot after install or package type (yes, this program can create 64bit setup packages for Itanium or x64 processors!).
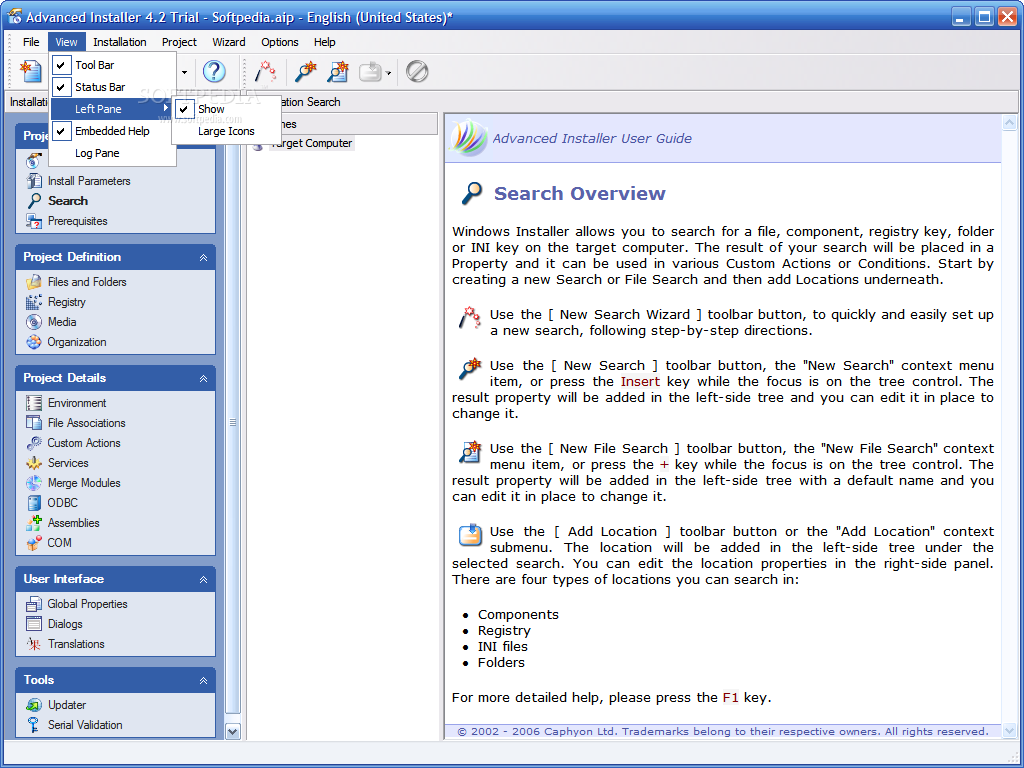
The Search page has a more advanced purpose, and that is searching for a file, folder, registry key, component or INI key on the target computer and placed in a Property for later use in a field of Formatted Type.
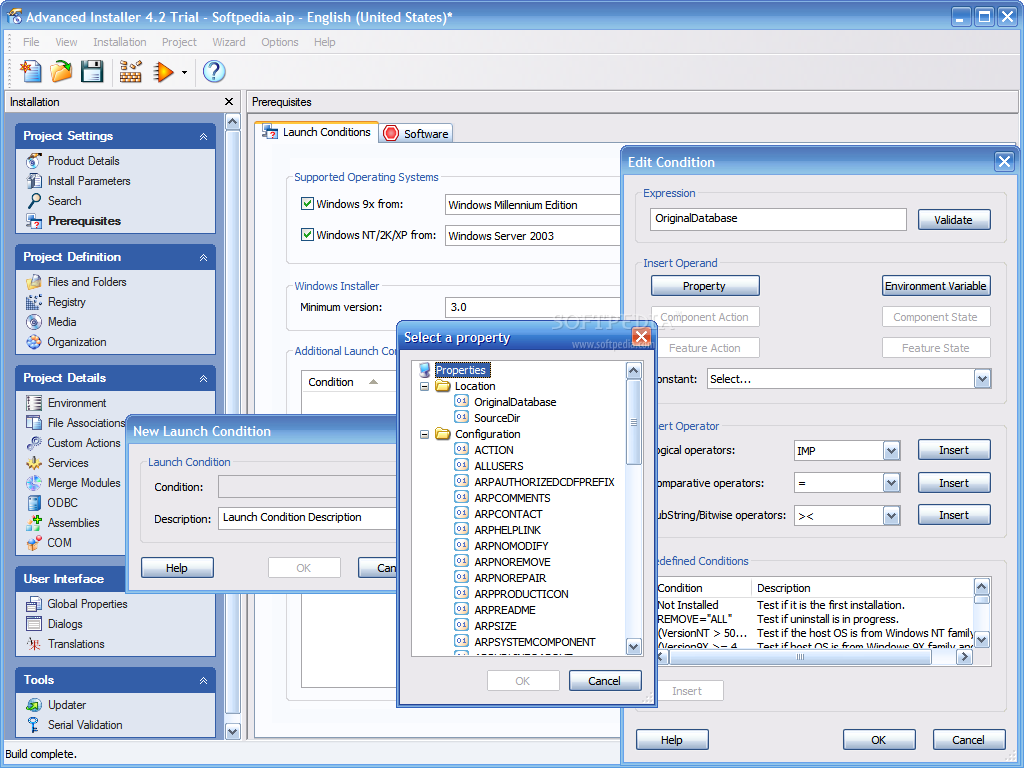
The Prerequisites page allows you to set the requirements of your program to function properly, such as operating system version, Windows Installer version, additional launch conditions (for example, you can use the Search page to check the screen resolution of the target computer and set a launch condition that requires this to be larger than 800X600) and software requirements (DirectX, .NET framework and others).
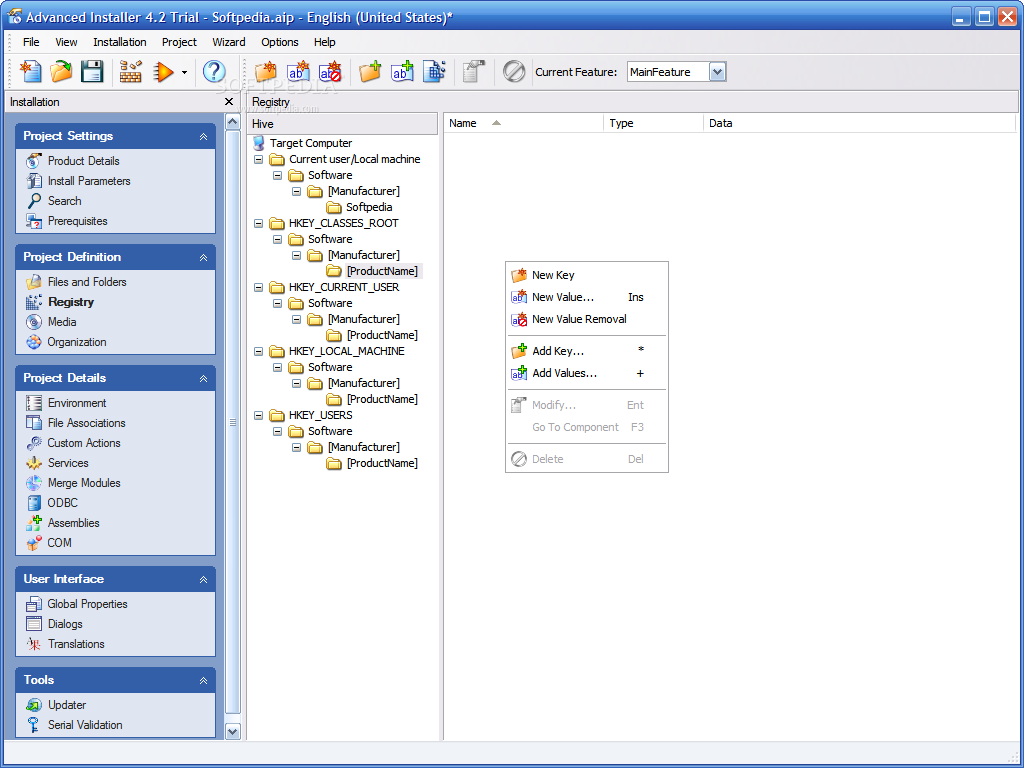
Once the Project Settings have been left behind, next area that we visit is called Project Definition. There are four pages here, and the ones called Registry and Files and Folders should have an obvious purpose, so I'll jump to the last two, Media and Organization.
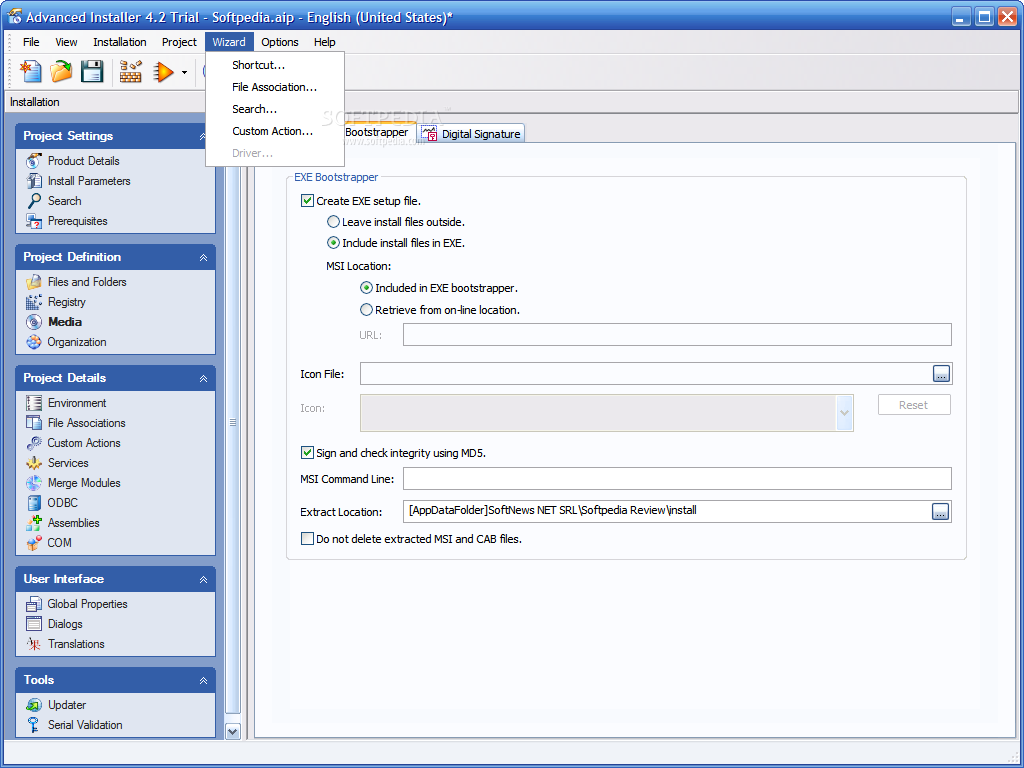
The Media page has three tabs that you will have to discover, and some of the options that worth mentioned are the ability to create multivolume packages, enable MD5 integrity check or add a digital signature.
The Organization page takes care of your product's features and components, allowing you to create new features and to select which components belong to one.
Next, we have another three realms to pass through until the end, their names being Project Details, User Interface and Tools. If I would tell you the details of each settings page, you would probably get old reading this review, so I'll try to speed up things a little...
Even more Project Details? Yes, it seems so, and things start heating up with the Environment and File Associations, that handle the creation of environment variables and file associations.
A hot issue of most Windows programs is the junk they leave behind after being removed from the system the nice way, using the Add/Remove Programs, and the Custom Actions page can help you solve this problem, at least for your application. You can do more that just that, this page allows you to set user-defined actions for each step that can damage the user's software environment, like Install, Uninstall, Rollback and Commit.
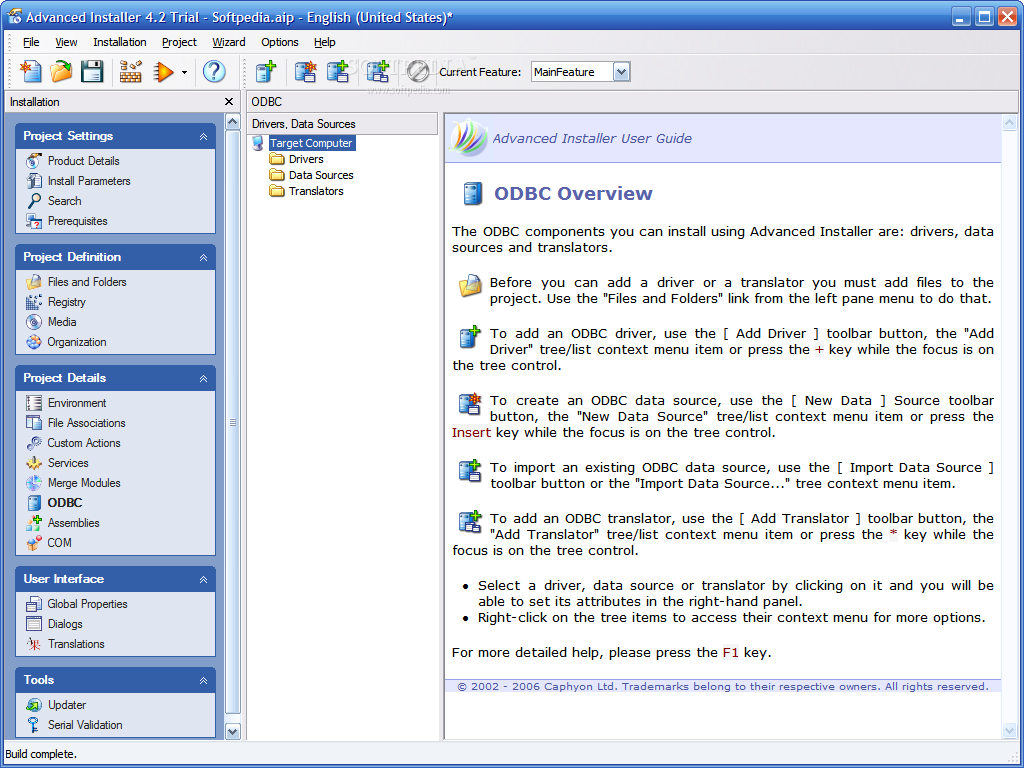
Next pages go deep into the heart of the operating system, allowing you to install and manage Services, COM modules, Type libraries, define .NET and Win32 assemblies and more. People who know their way into this will find this extremely useful, while the others can study the excellent Help system available, while I'm moving to the User Interface area.
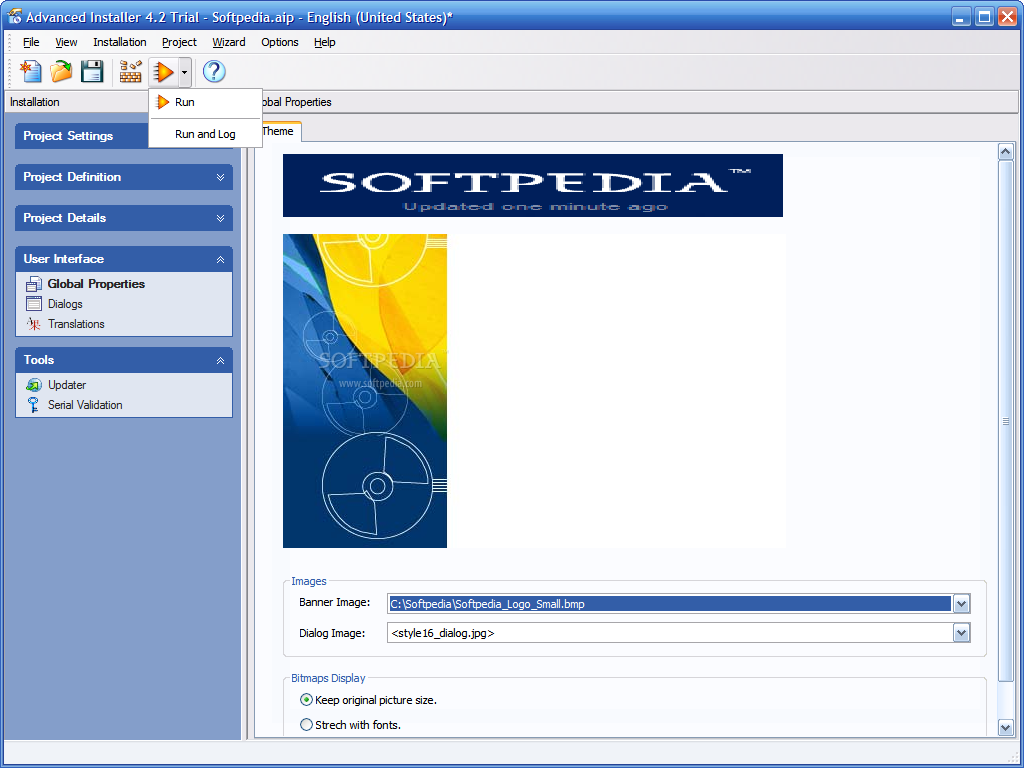
This is a really nice area to play with, since the Global Properties page allows you to choose the graphics that will be displayed by your setup program while running, and this is the first impact with the user, a well chosen look adding that little "extra" that's always good for business. You can use your own banner and dialog images or choose from the available templates, around fifty in number.
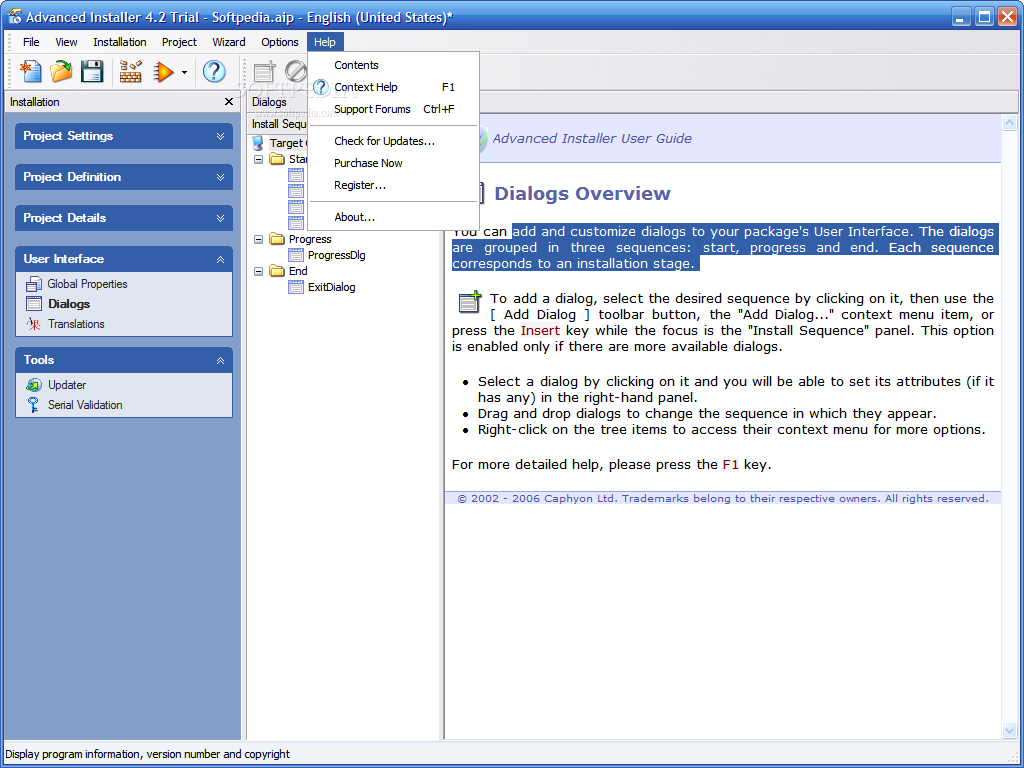
Next page allows you to add or remove standard dialogs, from Welcome to Exit, but it would have been interesting to have the ability to change their text. Well, maybe I am not such a "fit to standards" guy, and that's why I am so much into having custom items for everything...things are really fine here, I can't see any real problem in the Dialogs page, and now I'll jump over the Translations page, a really useful and easy to use one, to the Tools area, last one of this program.
Smart applications know how to update themselves from the Internet, but smart install packages must have this auto update feature included, and this is the purpose of the Updater page. Once enabled, it will bundle an auto updater with your application, and your task is to specify the updates URL, download destination folder, update frequency and three basic display settings.
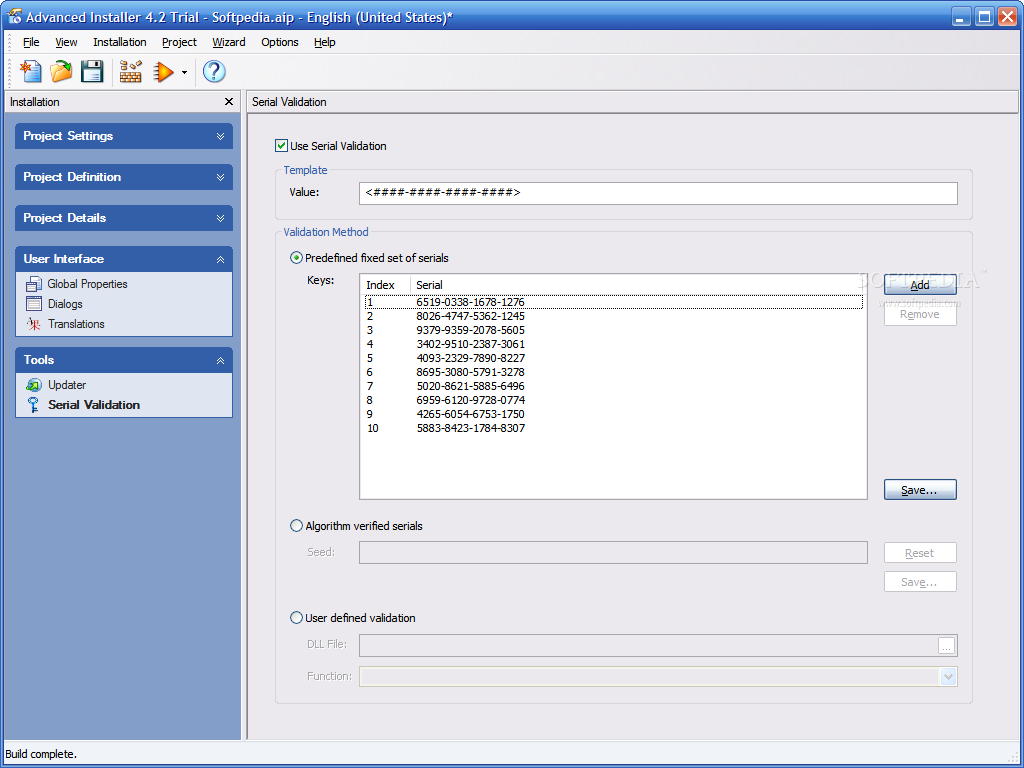
Last page contains a great feature, and is called Serial Validation. This says it all, doesn't it? You have three ways to do the generation and validation of serial numbers, starting with the predefined set based on a template, algorithm verified serials or user defined, when you can do this by calling functions from an external DLL file. Sounds great to me, and I am sure the developers using this program will be delighted!
My long journey ends here, and yours is just about to begin, so don't be afraid to take this awesome program for a ride. I am sure you'll enjoy this at least as I have!
The Good
Advanced Installer Professional is a powerful yet easy to use application that benefits from an excellent interface and an extended set of useful features. Although targeting software companies, it can be used successfully by individuals without experience due to its helpful wizards and excellent documentation.
The Bad
The only thing that I can consider bad about this product is that the price may be too high for home users, its main target being software companies.
The Truth
Advanced Installer Professional can make the difference between you and your competition when deploying setup packages, and if you think that retail is better than bulk, you have to put your hands on it! For me, this is the ultimate setup authoring tool that I have seen so far, so don't wait any longer for the 30 day free trial!
Here are some snapshots of the application in action: