14 DAY TRIAL //
 One very important element in image editing consists in the gradients. They are giving the picture that special something, that sense of insubstantiality and lightness. The colors softly combine with each other and it seems there are no boundaries between the end of one and the beginning of the other.
Intensely used in digital art expression, the gradient tool is of great effect in the smallest amount of time. All you need is an eye to combine the colors in an artistic way and then decide what to do with the result. However, most of the image editors available do stress enough the importance of the gradient tool and most often, the effect will not be the desired one or it'll take too long to obtain the compounds you want.
So the use of a third party application to do your gradients will became the answer to the problem. For simple or more complicated gradient works (not too complicated though) or for creating nice combinations of colors, you can use Gradient Studio, a very small application especially designed for you to easily obtain cool gradient effects.
The software is absolutely free and right now it is in a beta stage, so don't expect everything to work just fine, because it won't. In fact, if during your work with the application you feel your computer is moving too slow, take a look at the resources used by the tool. Impressed yet? When looking in Task Manager, I froze. The first time the application was eating about 1.2GB (not a typo, that is 1.2 Gigabyte) of RAM and the CPU was fully committed.
The interface is simple enough for you to get along with without the need of a help file (there isn't any right now, so that should not even be a choice). The "calibration" tools are available in the left hand side of the application window and the result is displayed on the right. Previewing the changes is done in real time so you will not lose a moment to see how the colors look like.
The upper part of the screen lets you fix the size of the "canvas" you are about to cover in gradient. The limit is imposed only by your monitor as the boundaries go as far as you can resize the application window. The condition is available for both height and width. Entering a higher value manually seems to work at the beginning but as you move to the next box it'll change to correspond to the limit of the "canvas".
Next, you have to define the number of steps the gradient should take to obtain the desired effect. If you're going for lightness and a smooth combination of the colors, I recommend keeping this value to 1. On the other hand, if you need a gradient in multiple solid color steps, then crank the value up to the desired limit. In this case, the value is preserved no matter what.
The four arrows available define the fall of the gradient. Unfortunately up, down, left and right are the only possibilities here, but for a beta of the first release, they are enough. However, having richer choices in here would bring more value to the application.
Next on the list are the gradient keys. There is a full display of the software's flexibility here as you can add as many keys as you want and manipulate them the way you need. Adding more keys is done by simply pressing the "gradient key" button with a blue "+" sign on it. At the beginning, the classic two keys are available and the default in this case is solid red and white.
If by any chance you need the keys to be located at the same distance from one another, the button next to deleting selected key will do the trick just fine. The number of the key hues and colors in the line is of little importance and all them will be positioned equidistantly.
RGB color mode is used in the program so red, green and blue are the colors to play with and create your hues with. The great thing is that knowledge about color is not required at all (although having information on the matter will make things go faster) and all you have to do is drag by the sliders and watch the work area for viewing the changes.
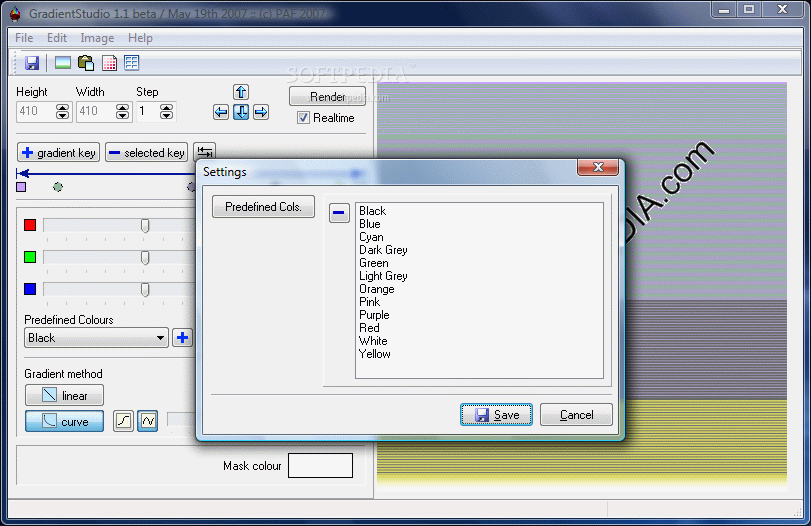
You can start from predefined colors and work your way to the desired result. The great thing is that the preset colors' list can be enriched with new elements. Just create a gradient and add it to the list by hitting the "+" sign in Predefined Colors section (for advanced users: notice the HTML color code).
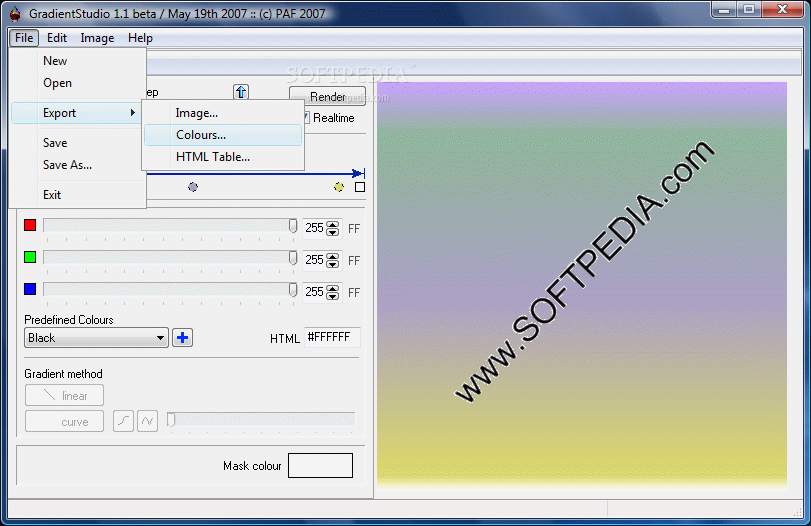
The two gradient methods available in the application let you make them either linear or curve. So play around until the desired result is achieved. At the end, you can save it as a BMP image or save the color codes in a TXT document for using it in other applications.
The Good
Gradient Studio is a very easy to use application. Gradients are made fast and with the least effort. The installer is about half a MB large and the install folder does not take more than 1.5MB.
Images can be added over the gradient thanks to the Import function of the program.
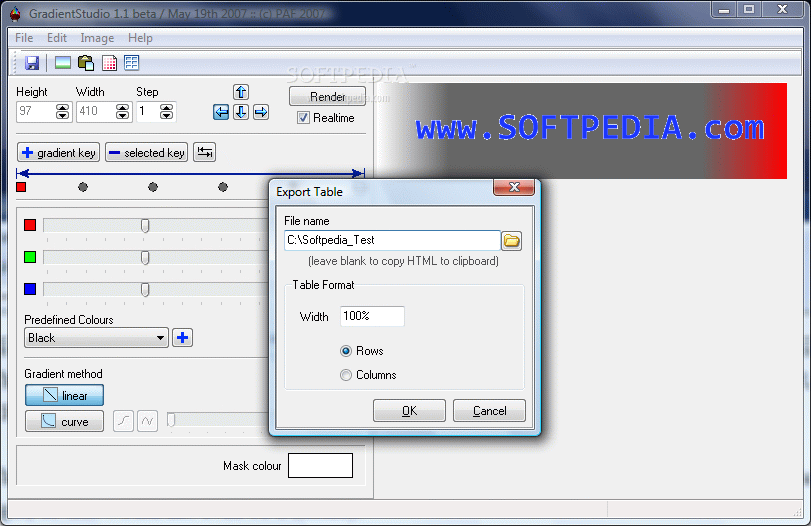
The images with the result of your work can be exported to BMP and the colors can be exported to text for later use.
The Bad
The resourced needed for a more colorful effect are definitely one of the weaknesses of the software. The more keys you add, the more RAM you are going to need.
The Truth
Now this little tool is simply great. It allows you to achieve great gradient effects with the minimum effort. However, the resource usage is just too high. At one point, out of the 1.5GB of RAM available on the testing computer, 1.3GB were allocated to Gradient Studio. The more keys you add to you project, the more RAM the software is going to absorb.
Here are some snapshots of the application in action: