14 DAY TRIAL //
 Websites are a tricky thing. You have to do a little experimenting or just read documentations in order to make it right. One aspect to take into consideration when making a website is the loading speed. Statistics show that a website that takes a lot of time to load will have an incredible low number of users. And I think that you also have given up on sites that took an eternity to load.
The websites that take a little longer to load are generally those that include video, audio files and images. But there are softwares that diminish the size of the images so that the site loads properly.
Image Optimizer Professional is one of these softwares that "cook up" your image files. The developer's name is Xat and the software has become mature enough (v.5.10). The installation file "weighs" a little above 1MB. You probably ask yourselves: what can a software this small do for your images? Let's take a look inside.
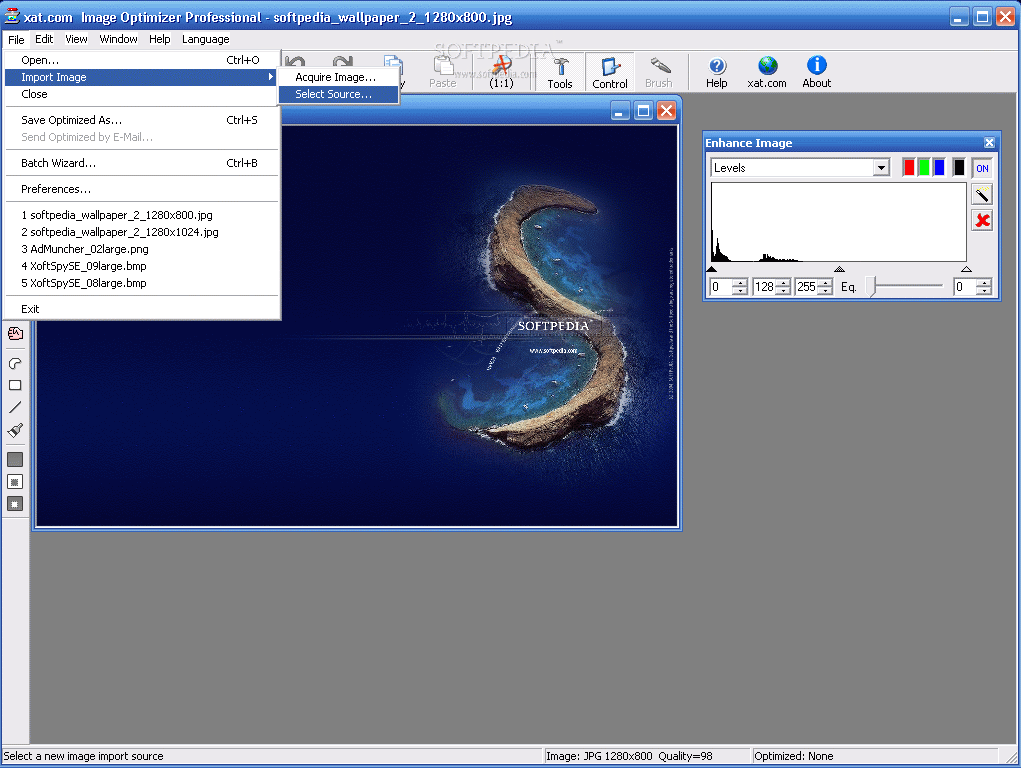
The interface is as simple as can be. There is the main area, dedicated to the images you want to process, that occupies the largest part of the application window. Above it there are the standard buttons and the menu bar and in the left you have the toolbar.
The most important options in the File menu are the Import Image (that allows acquiring images from a TWAIN scanner directly into Image Optimizer), the Batch Wizard (useful when you want to optimize multiple image files), Send Optimized by Email and the Preferences menu (compute download speed, GIF/PNG Color reduction are just two of the options in here).
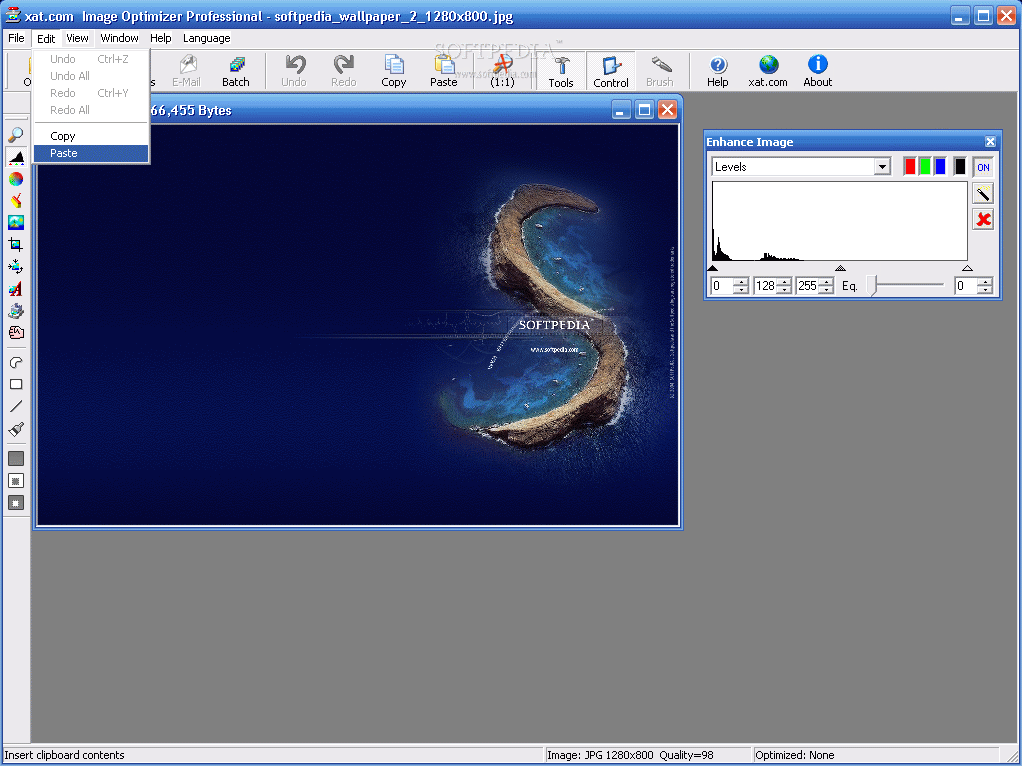
The Edit Menu commands are the usual Undo/Redo, Copy and Paste options. The View Menu covers the viewing options for the Toolbars, Standard bar, zooming in and out options, and image information.
Let's focus on the tool palette bar as here you will find the tools you're going to spend the most time with. The first option in here is the Zoom tool that you can use to enlarge the image you are about to optimize.
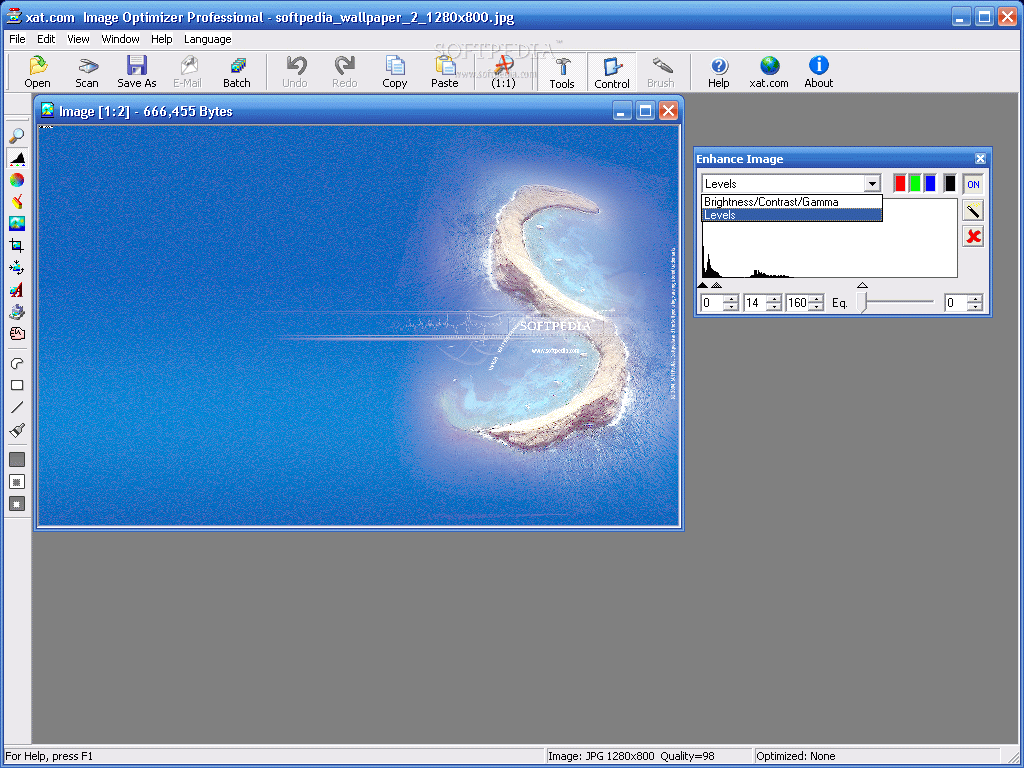
Next in line is the Enhance Image Control Palette. Press this button and a floating dialog will appear. You can position it anywhere on the screen. It will help you change the range of colors and set the brightness and gamma levels of the image.
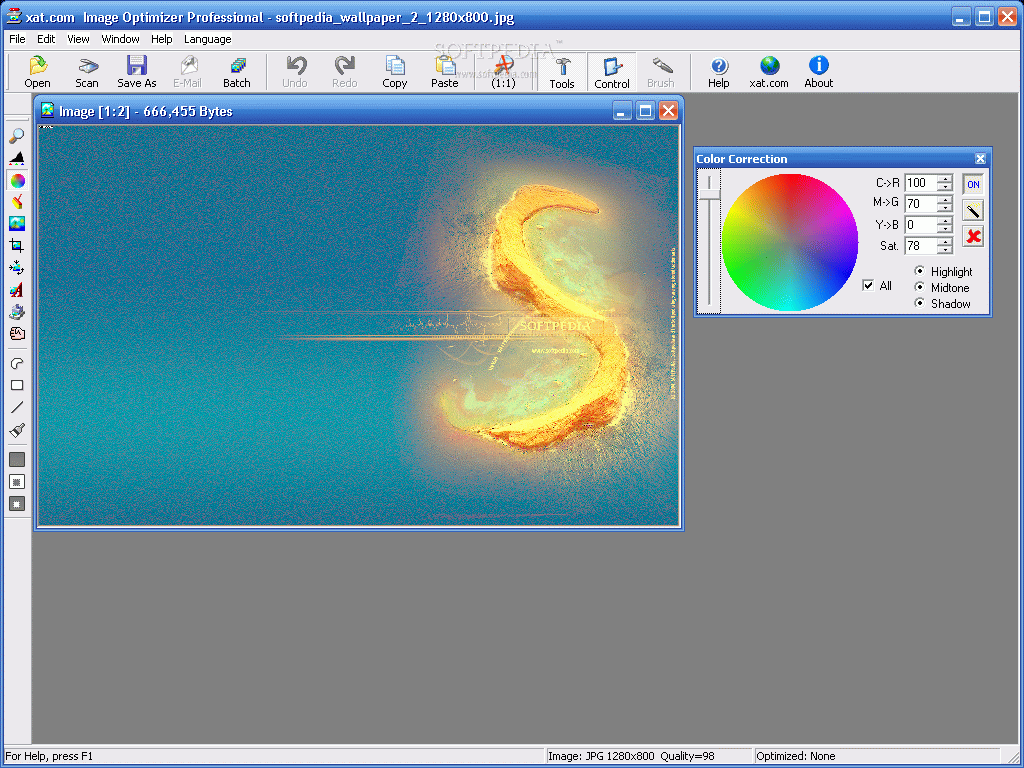
You can remove the color casts or shifts from the image in Color Correction by editing the three color boxes available (Cyan to Red, Magenta to Green and Yellow to Blue) and you can also change the saturation in the image to the desired levels.
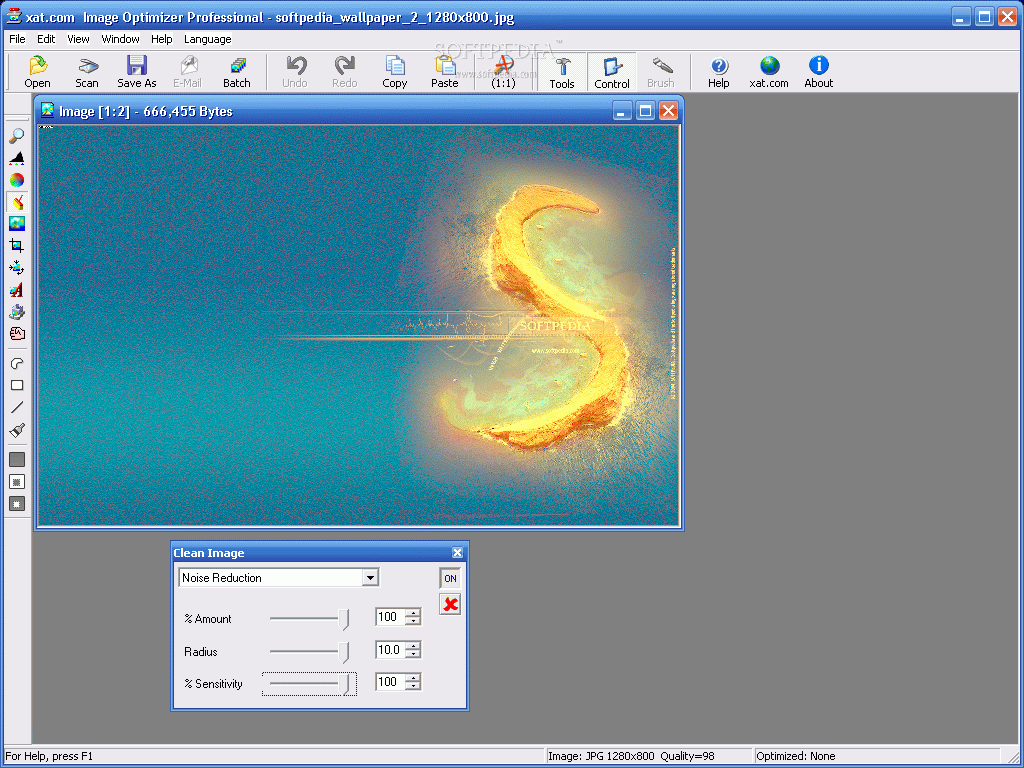
The Clean Image button provides you the means to remove the spots or dead pixels and the image noise. The % Amount slider will set the overall amount of noise reduction applied, the Radius slider sets the number of pixels the noise algorithm will process over and the % Sensitivity bar will set the detail percentage that the noise algorithm will preserve.
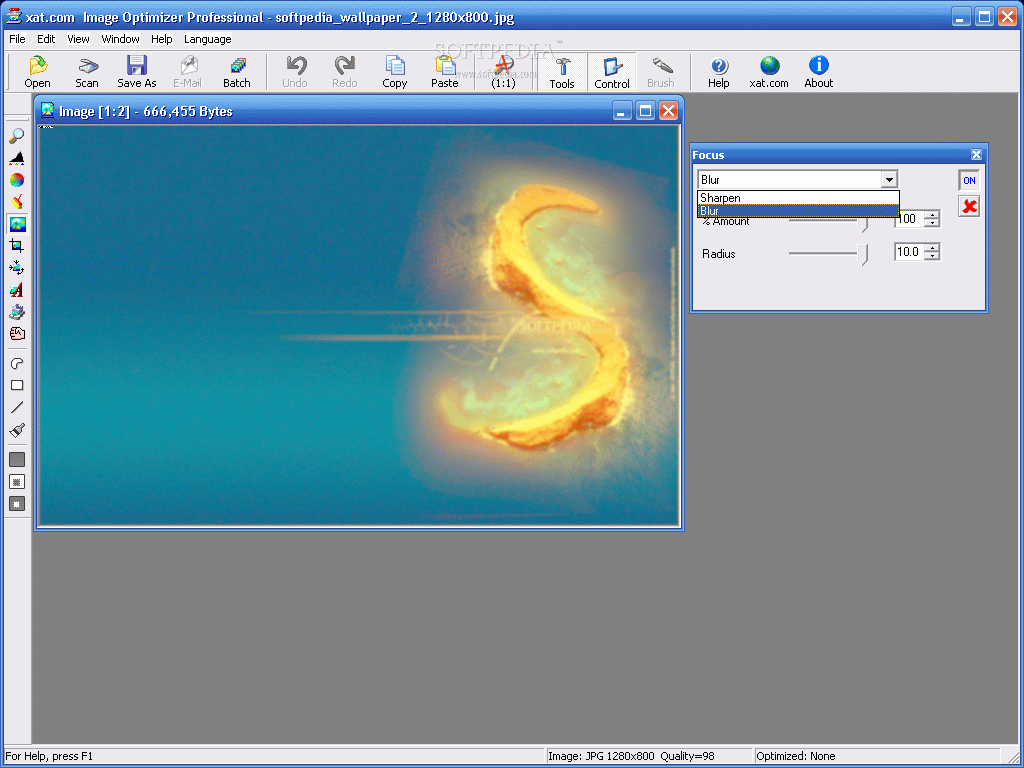
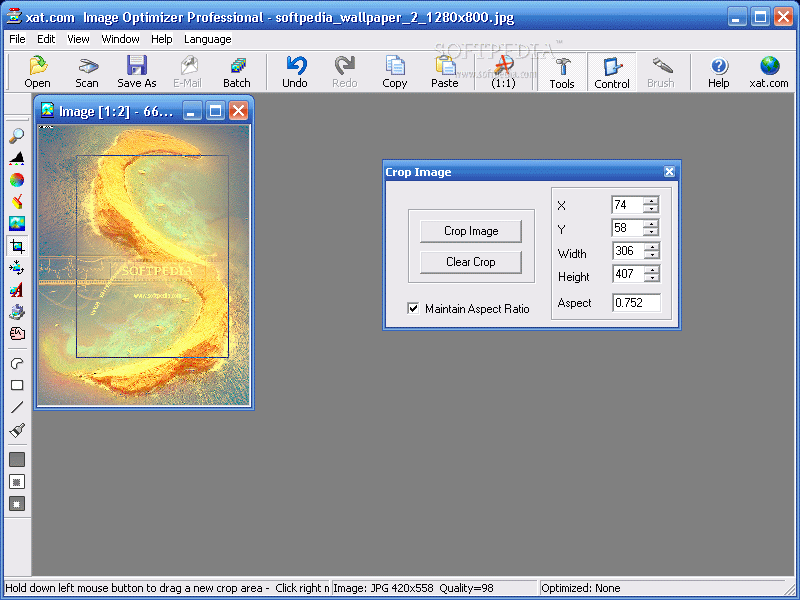
The Focus button allows the user to apply sharpen or blur effects over the image. For cropping an image we go to the Crop Image control that will permit you to notch off the part of the image that interests you. The X and Y boxes set the width and height offset of the left corner.
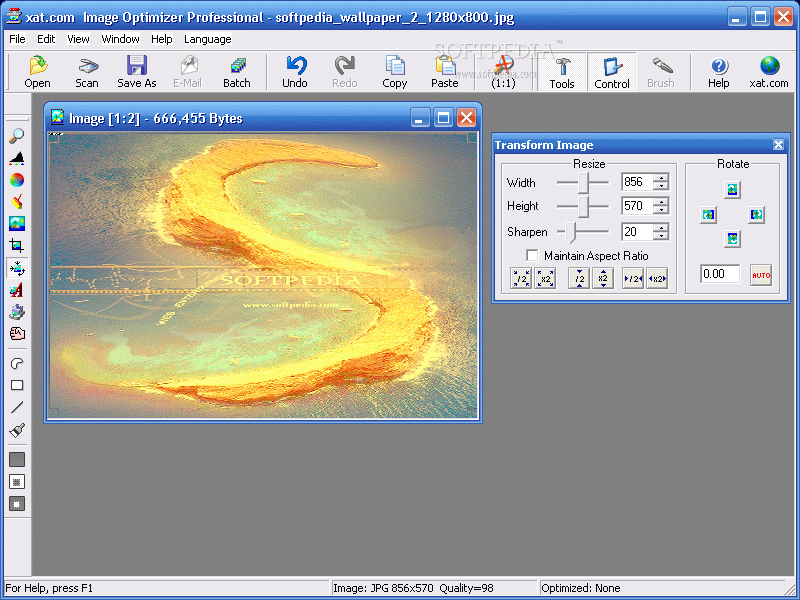
The image can be transformed by resizing and rotating it. The resize options are the following: halve the image, double it horizontally and vertically and half shrink it horizontally and vertically. The user can enable preserving the aspect ratio.
The Caption button will enable the user to apply watermaks (both text and image) to the optimized image. The captions can be positioned wherever you want on the image and you can set the opacity, colors, margins and control transparency.
In Watermark the software provides you with the option of applying a digimarc watermark. Here you can create a new entry for a creator ID, set the intensity and the DPI (dots per inch), the Type (copyright, image ID or transaction ID) and the attributes of the image (restricted use, adult content or do not copy).
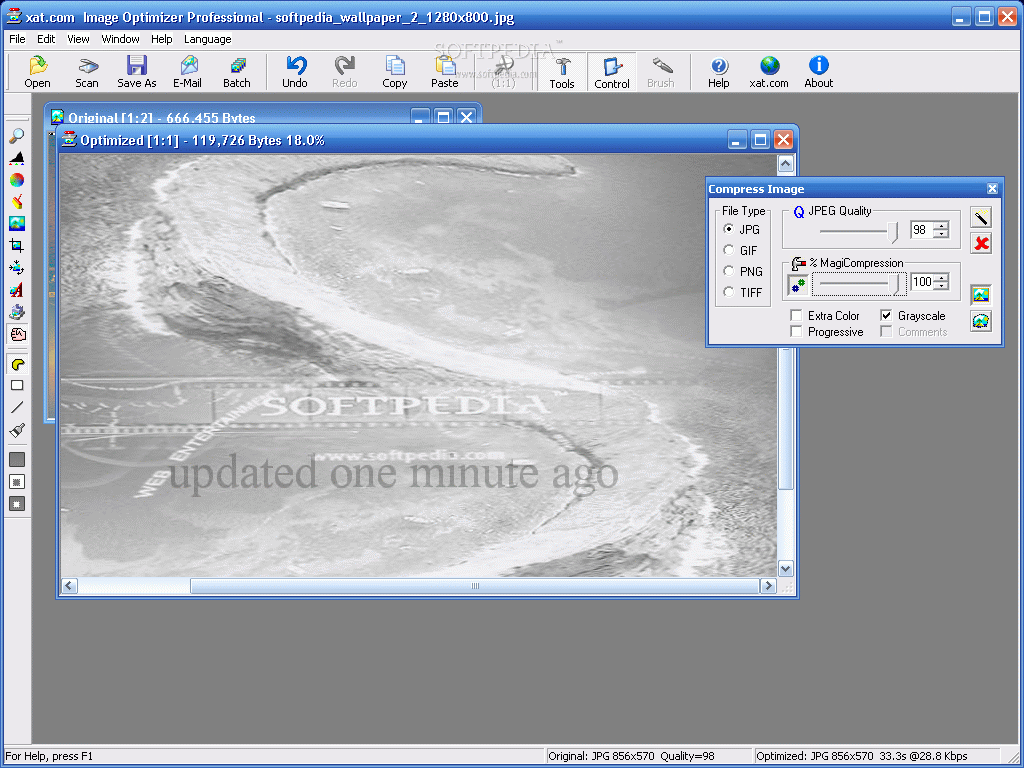
The image you are optimizing can be compressed to different formats: JGP, GIF, PNG and TIFF (use it when you do not wish to compress the file at all). For JPG you can set the quality and the MagiCompression (compresses the file by more than the standard amount). In GIF you can increase/decrease the number of colors and the dithering percentage.
The PNG files have the same options as the GIF format and in TIFF there are no options as this format keeps the image uncompressed.
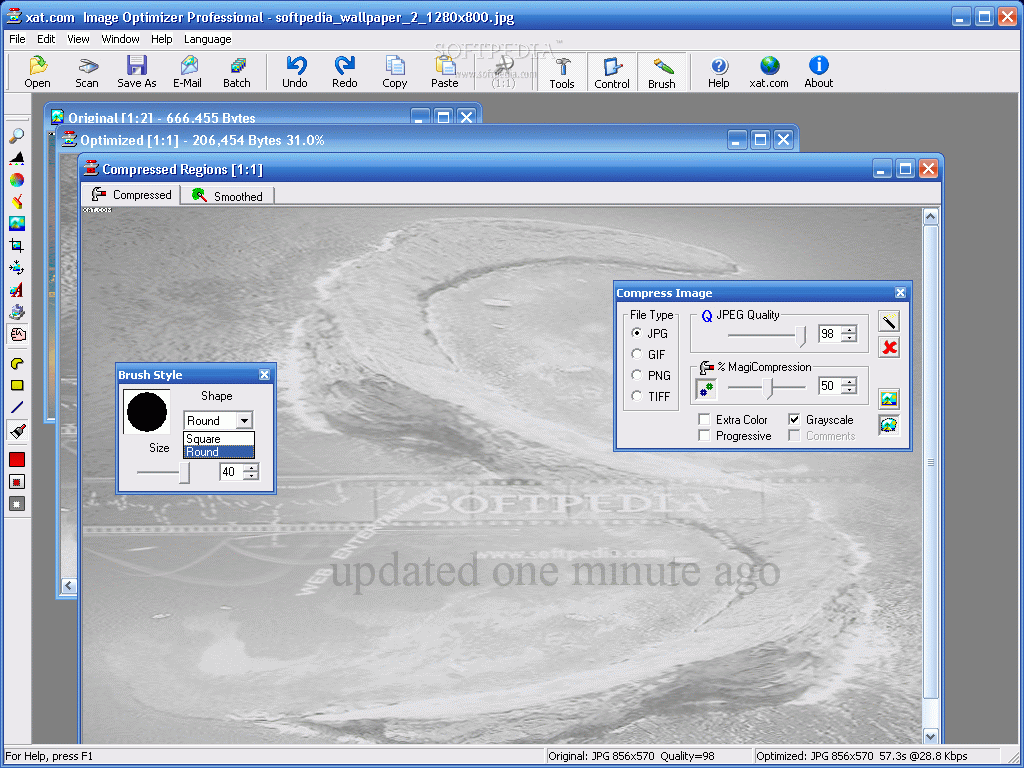
Some other tools that you may find useful at some point are the Brush (paint optimization on the window), Line, Rectangle and Freehand.
All the buttons in the Tools Palette have to be turned on before you use them and most of them have an auto option that will make an automatic adjustment of the image.
The Good
The software is very easy to use and the options it includes are quite useful in creating images for the web.
The Bad
For most of the buttons, you have to turn them on first and only after this you can work with them.
The Truth
The application does a pretty good job and the optimized images are just perfect for the web. The quality diminishes a little bit, but that's just impossible to prevent when you are compressing.
Here are some snapshots of the application in action: