14 DAY TRIAL //
 Hardware virtualization has been underrated for far too long. Many users discarded this possibility, as technology indeed did not offer virtualization of every piece of hardware available on the 'host' computer. But the process is extremely valuable for software testers as by using a virtual machine you no longer jeopardize the sanity and safety of the real computer putting less stress on it.
The solutions on the market are many, but few rise up to the needed standards, providing you an exact replica of a real operating system environment that can be handled with ease. Surprisingly or not, Microsoft came up with Virtual PC and did a great job. Unlike all major applications from the Redmond giant, this piece of software is absolutely free and, more than this, they even provide a pre-installed operating system especially created to work in Virtual PC also for free. The only downside is that the virtual XP image cannot be updated online and you have to download a new version after it expires in order to get the updated one.
Microsoft also provides images of Windows Vista if you want to try out their new operating system, but these have a 30 days expiration period while with XP, you can use it over and over again. But let's stick to the good news, Virtual PC.
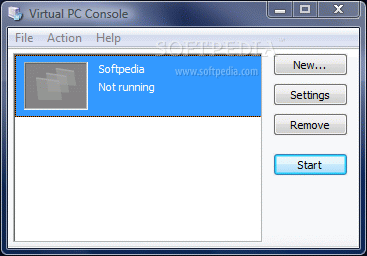
Launching Virtual PC causes a console to appear on the screen and that is the starting point to creating your virtual machine with whatever operating system you want (Windows or Linux). As "New" button is the only one active, proceed and a wizard will start, guiding you through all the steps of making the right configuration to your VM (Virtual Machine).
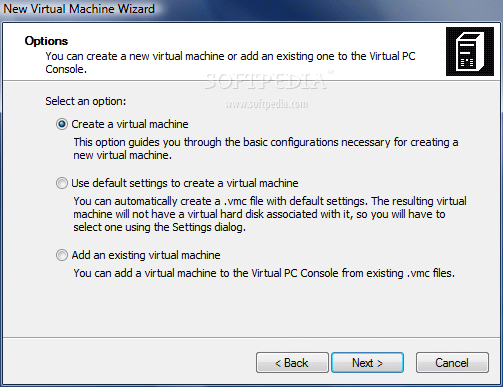
Square one consists of creating the computer which on which a new operating system will run. Virtual PC shows its flexibility from the beginning as it provides you with options for creating a VM from scratch, use the default settings for creating one (the application will just create one and you can adjust the settings later) or, if you already have a VM (VMC file format), just add it.
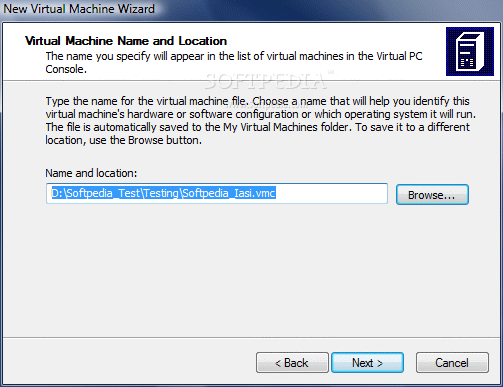
If you make the first choice, the wizard will continue to assist you until all the settings are in place and according to your needs and wishes. After defining a storage location for the VMC file, you get to choose the operating system you'd like to run on the new VM. The drop down menu contains choices starting from Windows 98 and ending with Windows Vista (practically all Windows operating systems). Linux fans can use Virtual PC for loading various distros, but Virtual PC is not the best choice and you may encounter some trouble.
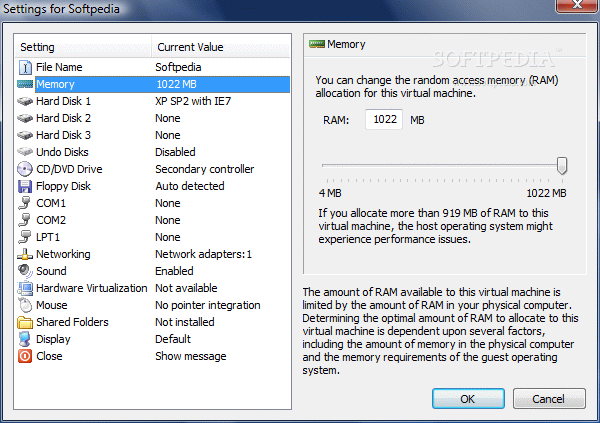
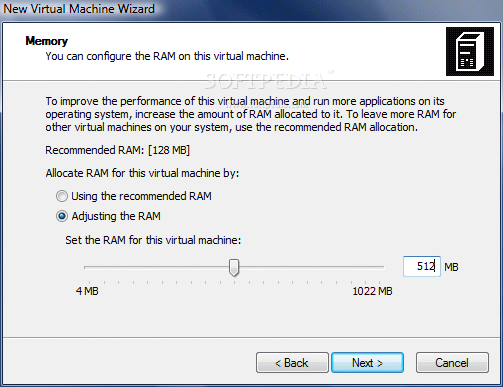
The moment you opt for the operating system, the default requirements are automatically calculated and displayed on the screen. Of course, recommendations are not rules, and you can make your own adjustments to allocated RAM and define the size of the virtual disk. When adjusting RAM, the software will let you allot for the VM as much as possible, but leaving some for the host to function as well.
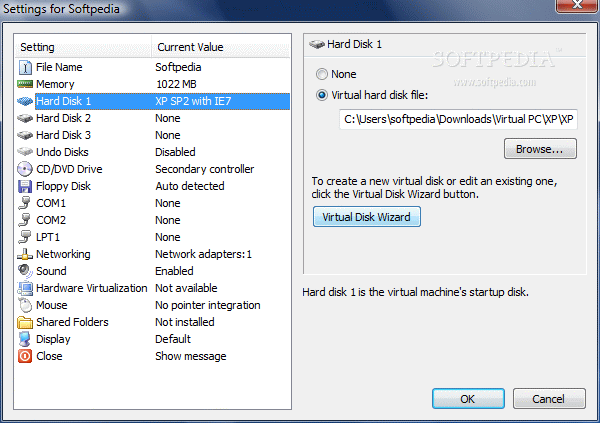
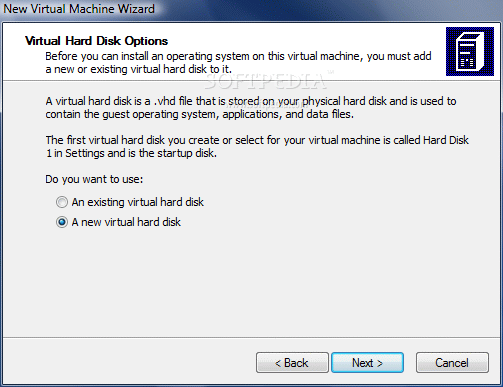
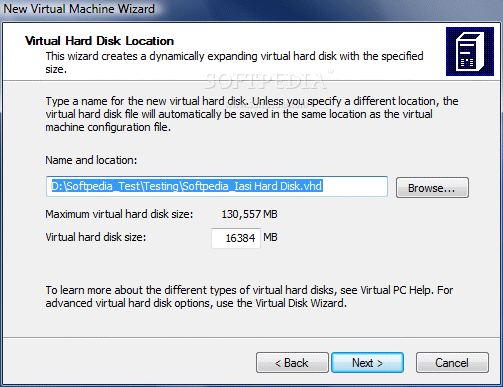
Next step is creating a virtual hard disk to install the operating system on. Now, if you have already downloaded and extracted the pre-activated Windows XP SP2 virtual hard disk simply add the VHD file and that is it, you will have XP already installed the moment you start the virtual machine. Otherwise, you have to define its size and then start installing the operating system by yourself.
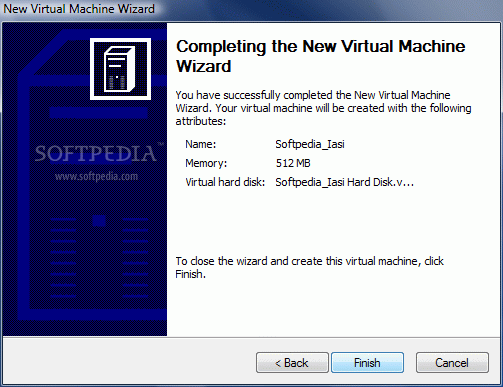
At the end of the wizard, all your choices are presented and you can go back and make the desired modifications. An experienced user should not spend more than 2 minutes configuring the virtual machine, as the wizard is quite simple and explicit when providing the options. Also, less skilled computer users cannot go wrong about this or that option as the wizard will alert you if too much RAM is allotted to VM and if the host computer is in danger of experiencing performance issues.
Ulterior options and features allow transforming the newly created virtual disk into a dynamically expanding one (it will gulp up as much space as it needs, depending on the amount of files stored on it) or just leaving it to a fixed size by editing the existing virtual hard disk. The action can be accomplished directly from Virtual PC console, under File menu.
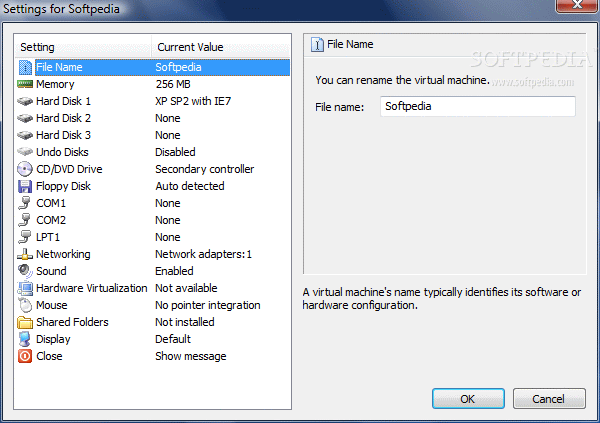
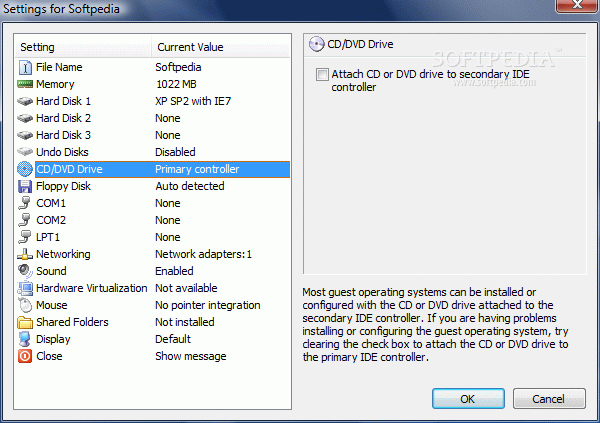
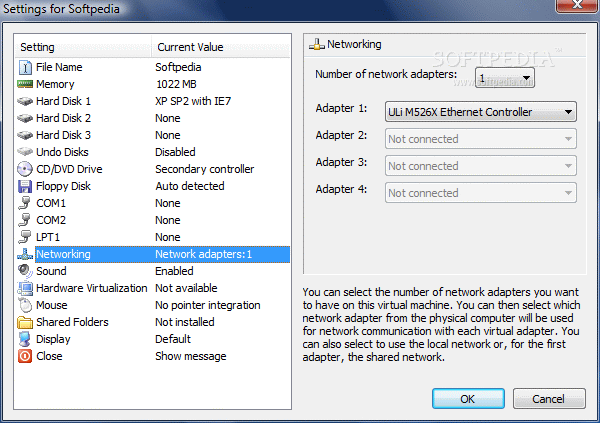
All the settings made to create the virtual machine can be changed afterwards with little effort. Some of them (like modifying the name or networking) can even be changed while the machine is running. Changing RAM allocation, modifying virtual hard disk (VHD) size and attaching primary or secondary CD/DVD can be operated when the VM is fully stopped.
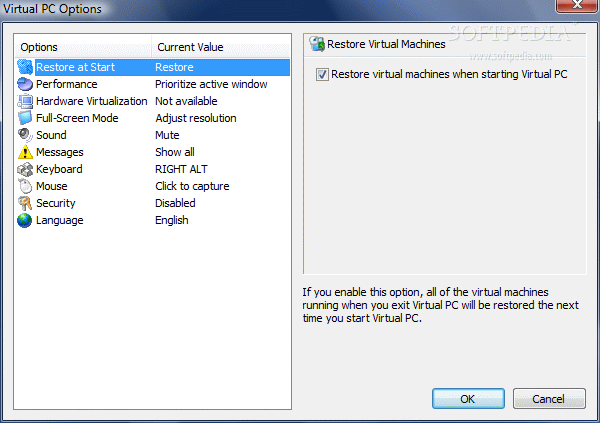
To make things easier for you and resume your work in VM from any stage, Virtual PC allows saving an image of the current state of the machine and loading it at the next startup. Thus, if some documents are opened but not finished yet when you save the state of the machine, the next time you load the virtual machine the documents will be just as you left them, waiting for you to finish what you started.
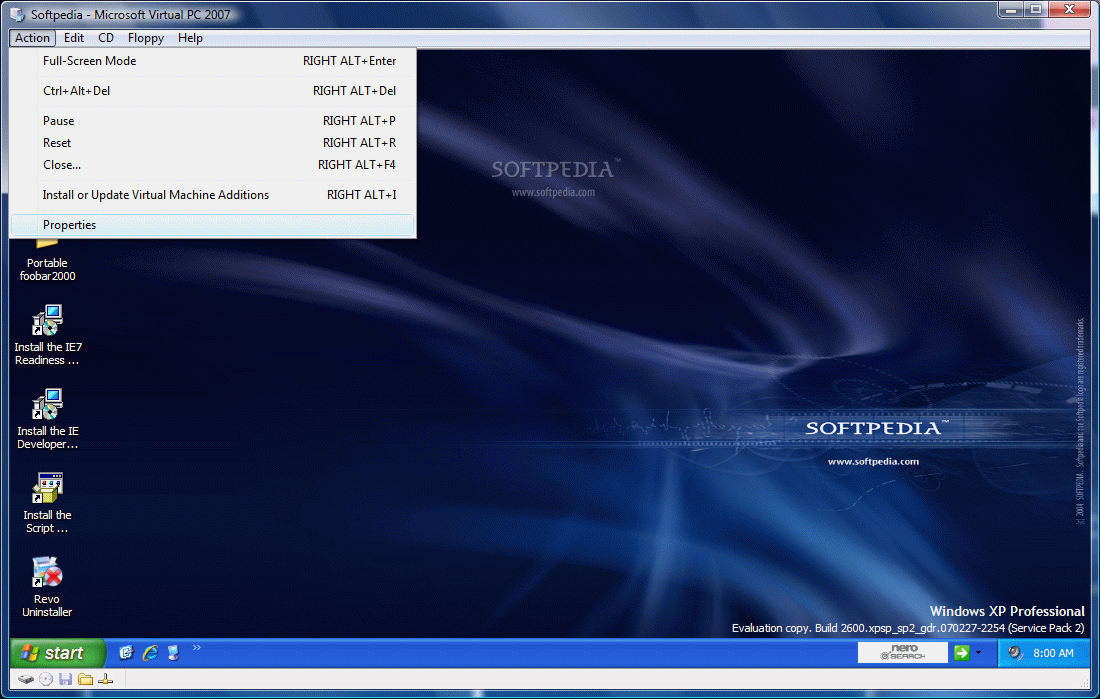
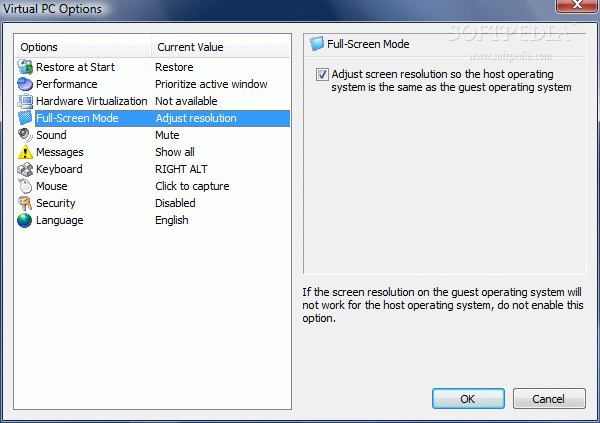
For the utmost experience of the virtual machine, you can work with it in full screen mode. This way, you can work with it as if it were the default operating system on the host computer. But, if you are not working in fullscreen mode, Virtual PC comes with a very easy way to swap between 'guest' and 'host' operating systems. Generally, other virtualization softwares provide a host key that once pressed while inside VM will make the change to host OS. In Virtual PC, things are as simple as clicking inside or outside the virtual machine in order to make the swap.
To put it briefly, the virtual machines created with Virtual PC act just like any other software: a click inside it will capture the mouse in the guest OS while clicking outside it will give mouse control back to the host operating system. As you work with the application, you will realize the benefits of this feature.
More than this, you can copy a link or a text string in host OS and paste it in a document inside the VM. The bridge between host and guest OSes is so tight with Microsoft Virtual PC that even drag and drop of different items works with absolutely no problem. The benefits of these features are definitely appreciated by a great deal of users as it makes transferring various tools from host to guest by far easier.
Certainly, there are several key shortcuts that are used regularly on a real computer, and which do not work in a VM. Prompting Task Manager for instance is made in Virtual PC machines by pressing Right Alt+Del. Going for the classic Ctr+Alt+Del will cause the Task Manager of host computer to appear. These are safety measures for when in fullscreen mode of the host OS.
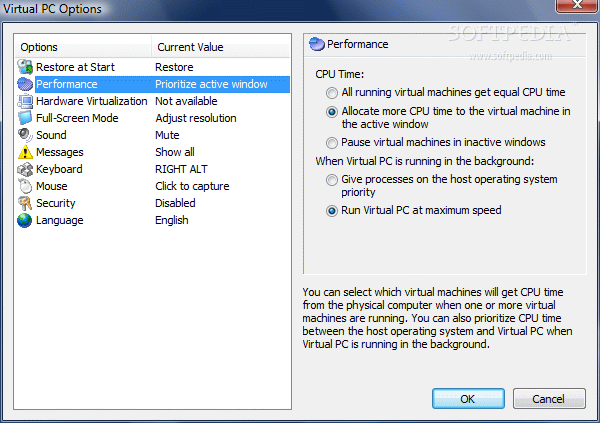
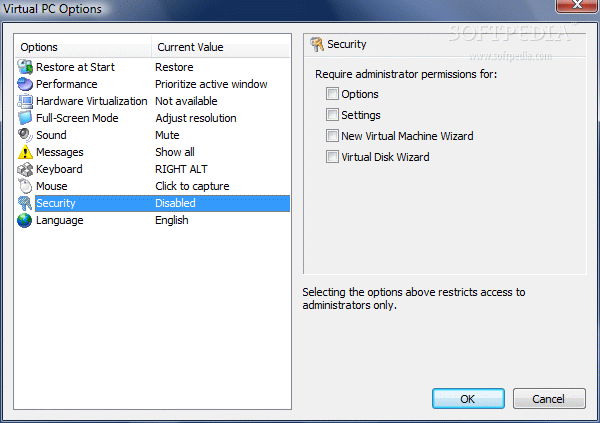
Configuring Virtual PC is no stressful job either. There are little settings to be made and there is nothing complicated about them. You get to set CPU time (in case you have more than one VM running, decide which one is the priority, CPU-wise), sound enabling for all virtual machines, define host key (which is kind of obsolete considering mouse options available).
Pointer capturing can be done in two ways, both of them being automatic: either at clicking inside/outside VM or simply by moving the pointer inside the VM window. Both ways are convenient and comfortable and do not hinder your work; on the contrary, they make it less fragmented. However, simply moving the pointer inside the VM window works only if you pass it from a desktop window into virtual machine. If you pass it from a document opened in host machine or other VM a click is still needed.
Virtual PC is a good companion for creating Windows based virtual machines. It is extremely easy to use and the built-in wizards save you a lot of time by providing the right options and explaining what the options are good for. Even a beginner user will find that configuring both the virtual machine as well as Virtual PC is not a tedious job reserved for computer experts.
The Good
Built-in wizards simplify all the work of the user to maximum. You have total control over the amount of RAM allotted to the virtual machine, the number of drives available and size of virtual disk.
The user controls all aspects of the virtual machine, from the way it runs and closes to virtualized hardware. Snapping images of the current state of the virtual machine is available when closing Virtual PC.
The Bad
Microsoft Virtual PC 2007 does not claim to support Linux distros and there is a good reason for this: installation is a chore as it took me a helluva lot time to complete the installation of Ubuntu (the truth is that once installed, everything worked perfectly).
There is no support for USB storage devices and drag and drop does not work between Windows and Linux OS.
The Truth
Virtual PC is absolutely free of charge and addresses all users who want to try out different Windows OSes or to test all sorts of Windows-based applications in a safe environment.
During our testing, all virtual machines were stable and no crash was recorded. The only hard time was with installing a Linux distro in a virtual machine. Regarding the performance, virtual machines were surprisingly fast and steady, even Linux distros.
Bottom line is that Virtual PC 2007 is specially crafted for Windows OS as Linux distro installation takes unbelievably long times to install. My recommendation is to use it for Windows installations only.
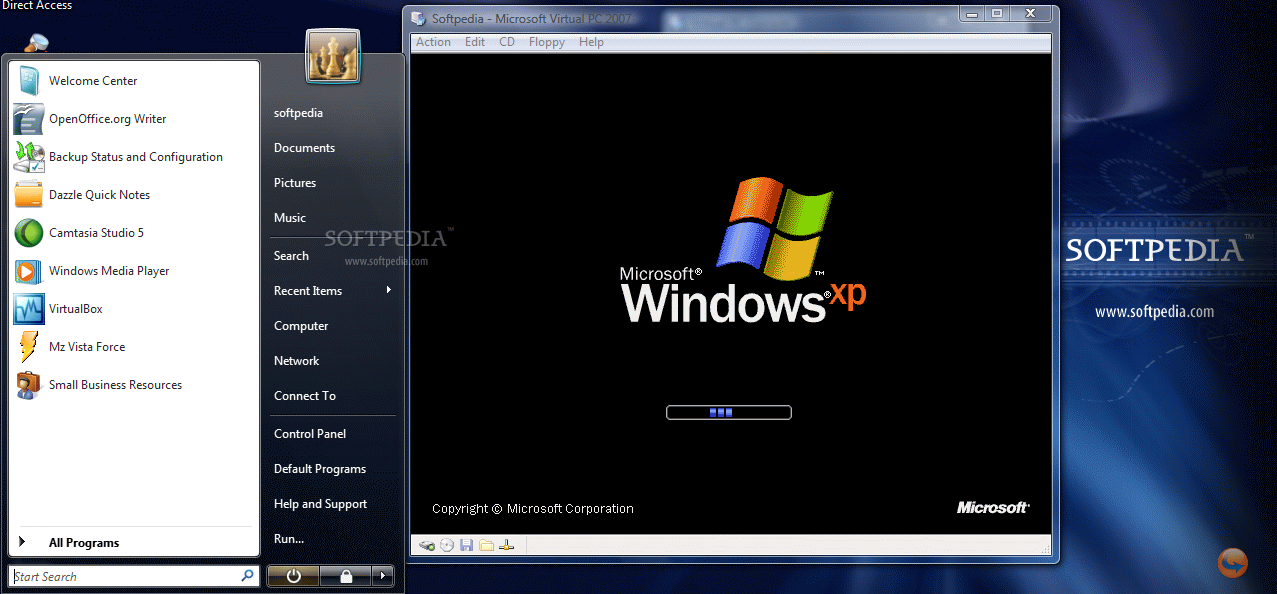
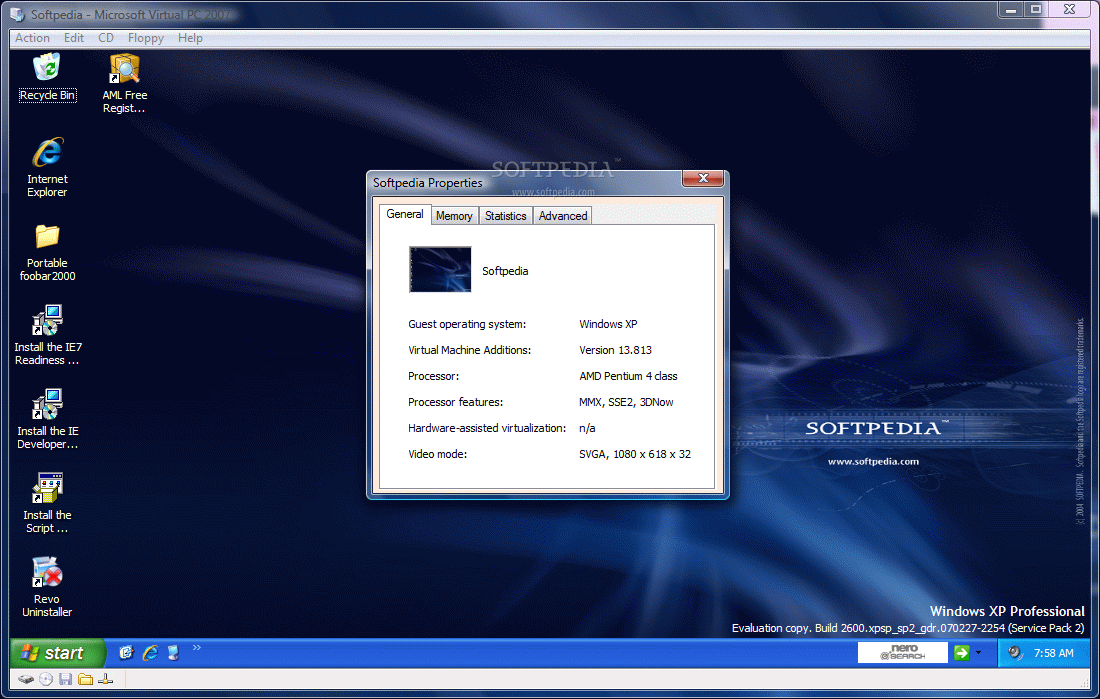
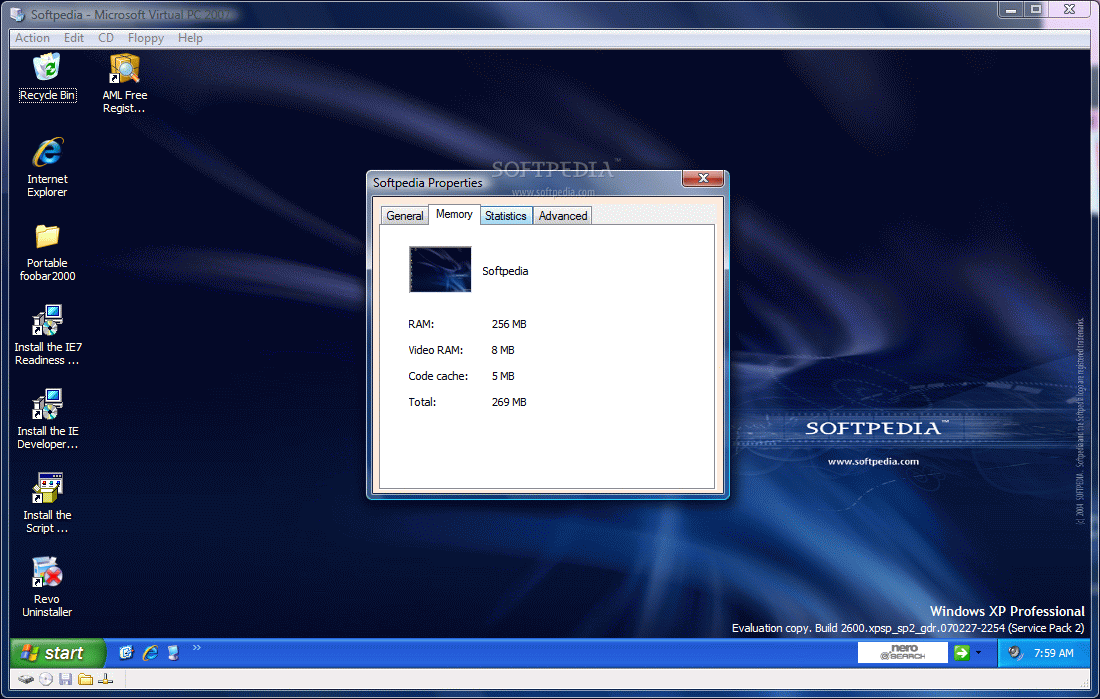
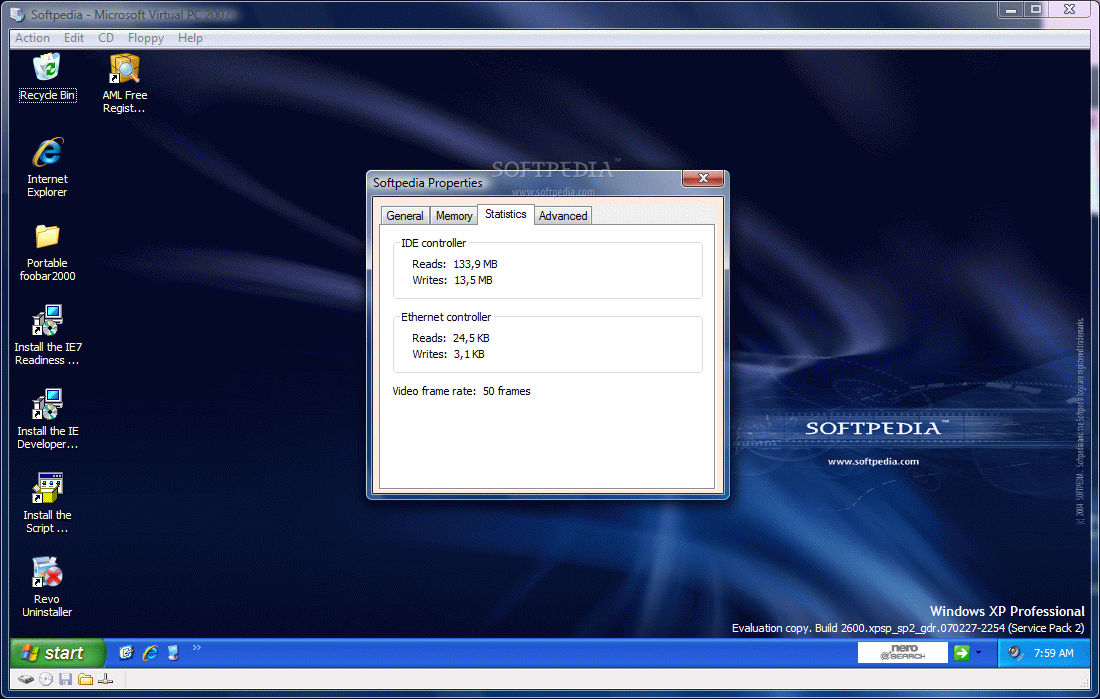
Here are some snapshots of the application in action: