14 DAY TRIAL //
 Have you just come back from the most beautiful vacation of your life and realized that all your pictures are blurred and you can't exactly see the beauty of the places you visited? There may be a solution to your problem? Try Neat Image and your pictures will look as clear as they are in your memory.
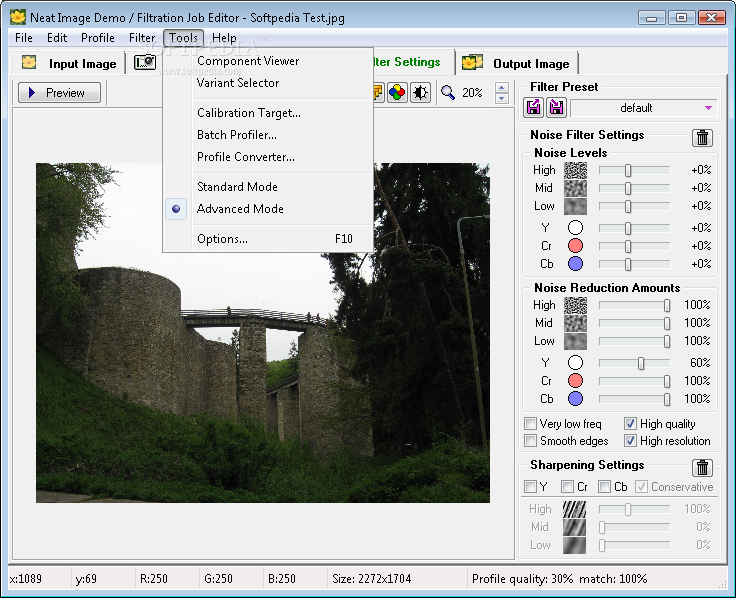
Neat Image is provided as a standalone application, but also as a plug-in for a wide range of image processing applications, like Adobe Photoshop, Corel Photopaint, Ulead PhotoImpact, PhotoLine32, IrfanView and others. Neat Image is cleverly built, in order to fit everyone's needs. It provides the users with two sets of controls organized in two modes: the Standard mode - designed for the beginners who just started using the application, and the Advanced mode that gives the users maximum manual control over the program's features.
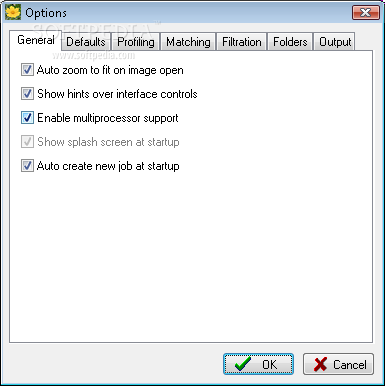
From the first glance, you will see that Neat Image is easy to use even for the non-professionals. All you have to do is follow four simple steps to get the photo quality that you want. Neat Image has a tabbed interface that guides you through the image enhancement process.
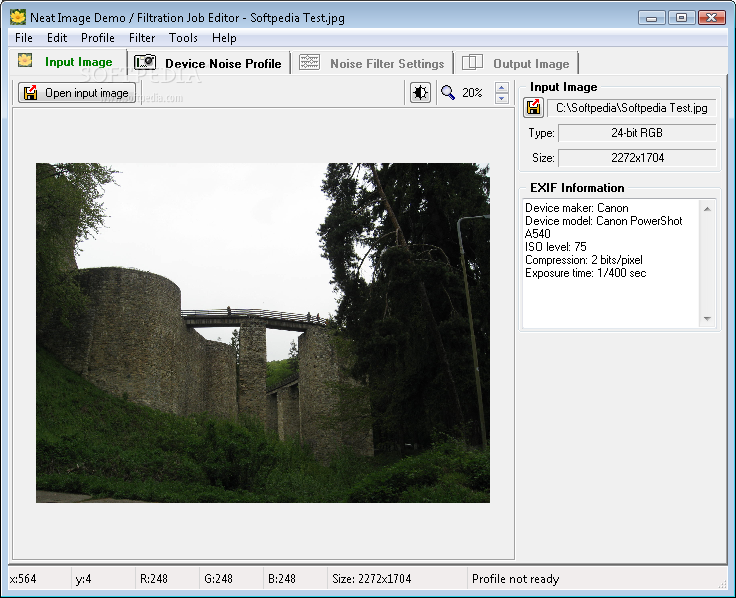
The first step is to open the input image. Neat Image will show several details about it and the EXIF information, if that is available. The application enables you to change the zooming level of the picture and offers a zoom range from 5% to 400%. At this point, you can also perform some adjustments, like modifying the luminosity, contrast or the Gamma correction.
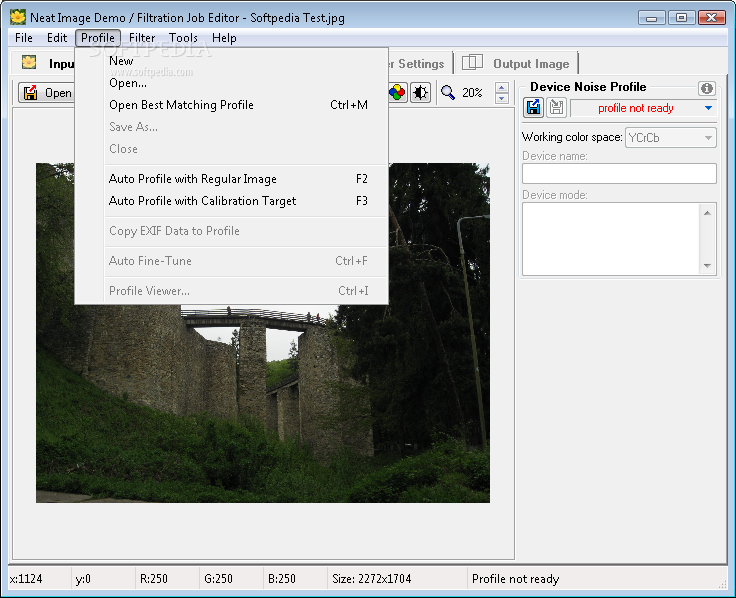
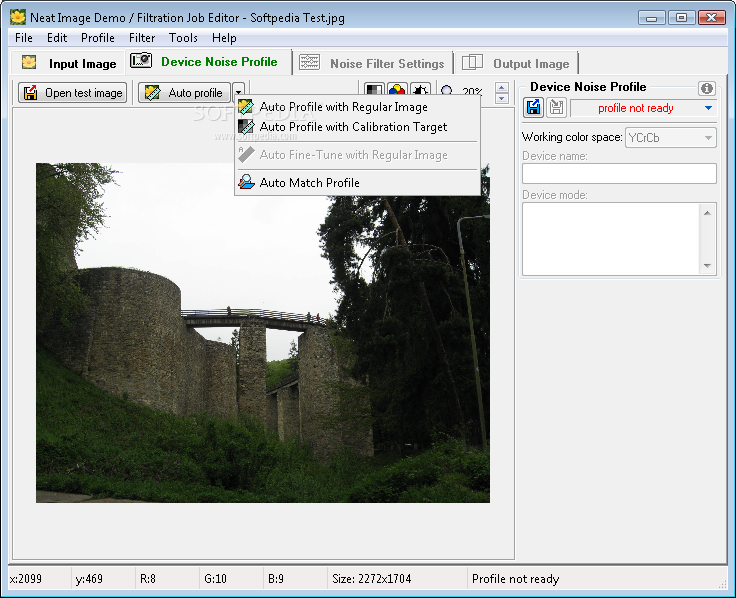
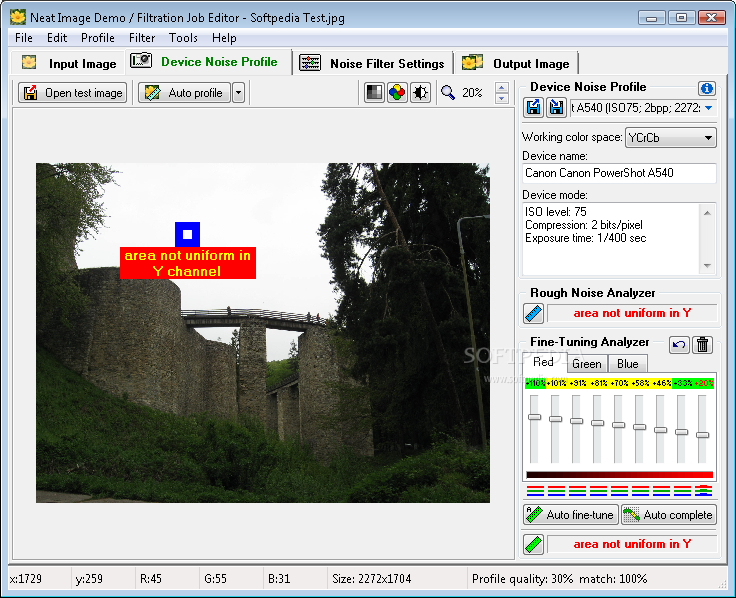
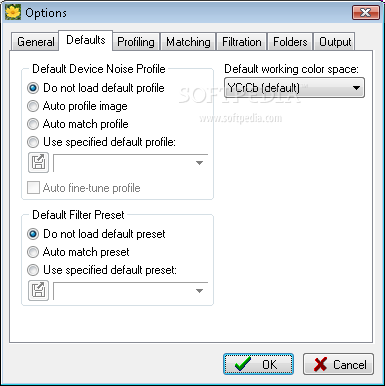
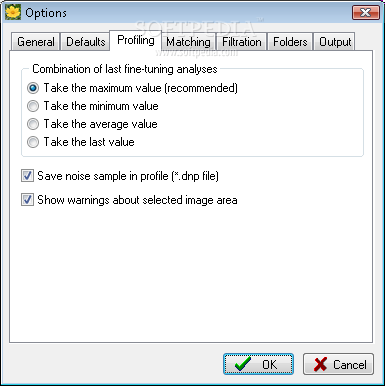
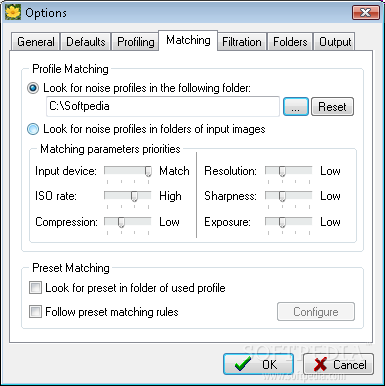
Using the EXIF information, the Device Noise Profile tab shows the device name and mode and enables you to create a device noise profile. This can be obtained by using one of the methods the application provides: Auto Profile with Regular Image, Auto Profile with Calibration Target or Auto Match Profile. The first modality is the easiest because it will create a profile based on the current image or on a test image that you select. If you have already created a set of profiles, you can use the Auto Match function to identify the one that best suits your input image. The Advanced mode offers more professional tools, like the Rough Noise Analyzer, the Fine-Tuning Analyzer and buttons for the Auto Tune and the Auto Complete functions.
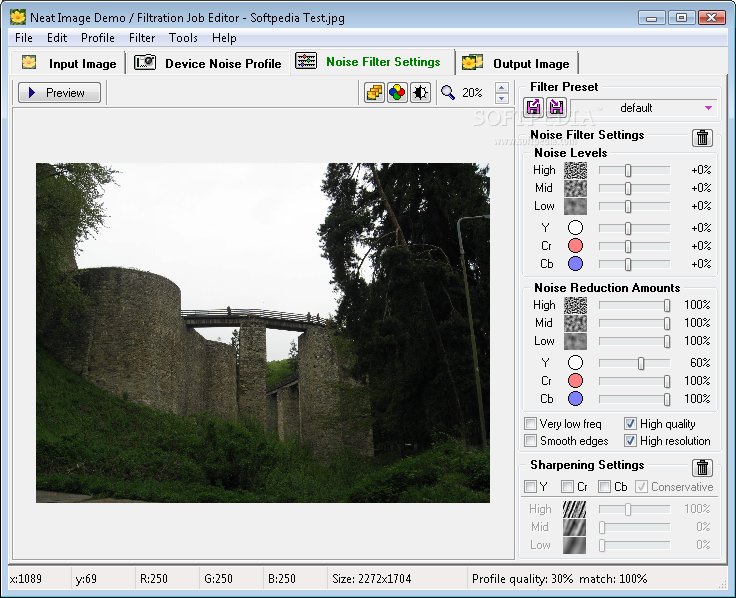
Neat Image's Noise Filter Settings tab lets you customize even further the image enhancement settings. The application provides you with a wide range of default filtering presets, including the most common and frequently used ones, like Filter and sharpen image, Remove all noise, No filtration and Sharpen image, and also some advanced ones: Filter and sharpen slightly out of focus images, Filter low frequency splotches, Filter more of chrominance noise and others. If you don't want to use any of the given presets and you know exactly what you want to modify in your picture, you can manually change the noise levels and the noise reduction amounts. When you modify any of the filter values, you can preview the resulted image at the zoom level you choose. If the Standard mode is too limited for your photographic skills, you are welcome to select the Advanced mode, where the range of filtering settings you can customize is significantly larger.
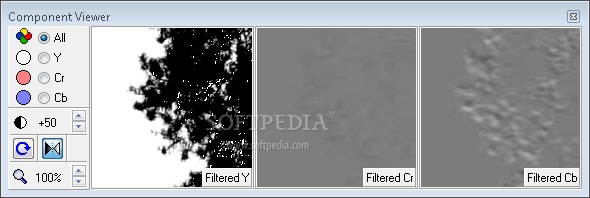
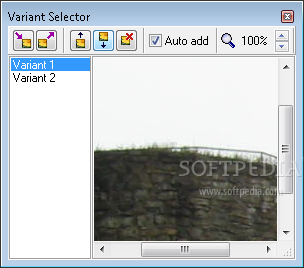
When you find the perfect filtering configuration for a series of photos, you can save it as a preset and just load it for all your other pictures. This way, you don't need to perform the same changes for every picture that you need to adjust. Another feature available in this section of the application is the Variant Selector that allows you to select different portions of the image as variants for viewing the processing results. Among the various tools provided by Neat Image, there is the Component Viewer that shows you the original and filtered image for each component of the noise filter. You can previews for the three components Y, Cr and Cb in different states: High Freq, Mid Freq and Low Freq. This helps you see the values that you need to change in order to make your picture as clear as you want it.
Neat Image lets you create a queue with your desired filtration tasks and apply it to multiple pictures which you can load by selecting the Batch feature. In this manner, the currently selected profile and filtering modifications will be applied to all the pictures you select.
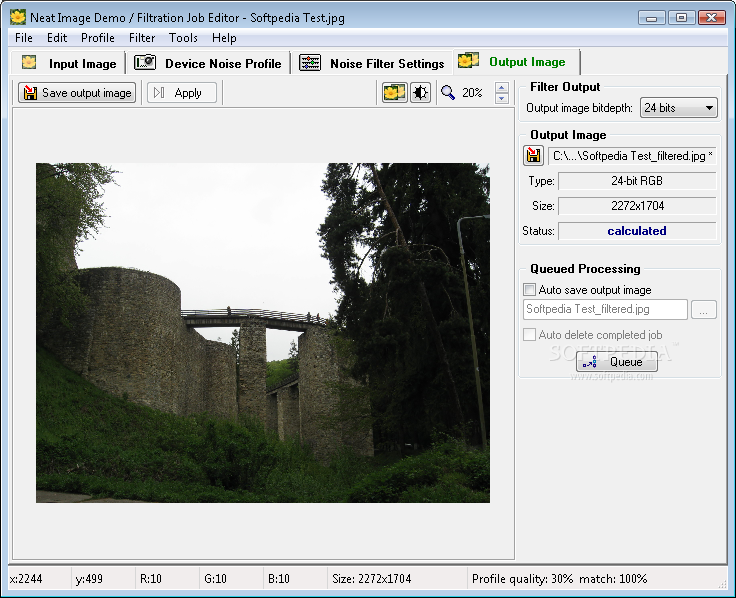
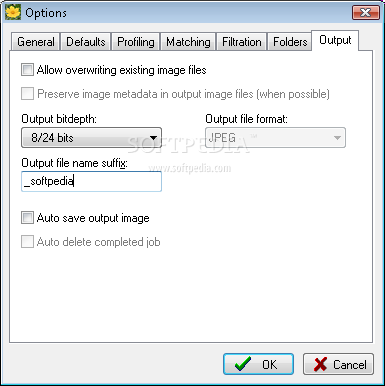
The last step is the Output Image tab, where you can view the resulted image and compare it to the original one, and of course save it. You can also select the output image bitdepth and view some details about the image: its type, size and status.
The Good
Neat Image allows both novices and photo professionals to adjust and enhance their pictures and obtain the image clarity they need. With its easy to use interface, it enables its users to perform the filtration tasks in no time.
The Bad
In the Demo version some of Neat Image's advanced functionality is disabled and it only allows you to save JPEG images at a fixed quality. So, if you you're interested in professional filtering features, you can acquire the Home or Pro version of the application and you'll get all that and more.
The Truth
In four easy steps, Neat Image will transform your raw pictures into clear, professional-looking images. And you don't need a whole lot of photographic knowledge to do it!
Here are some snapshots of the application in action: