14 DAY TRIAL //
 What makes a website appealing? The first impression is given by its looks. Mark Twain was saying that you can make a first impression only once. Pretty trivial piece of advice, but you know how difficult it is to change a first impression. So the looks are important, next comes the content. Lousy old news and articles are never in trend and keeping up with the most recent happenings is extremely important. Ease of use and a smooth navigation are also essential, but let?s stop at that first impression.
The first thing you look at when opening a new website are the menus. They are the navigation keys allowing you to jump from this to that area. And good looking, neatly arranged menus are always sought after. Making them could take a long time, appending the necessary links to different parts of the website and all that stuff for which users don?t seem to appreciate your effort. Originality plays an important part and xeroxing the menus is just not ethical.
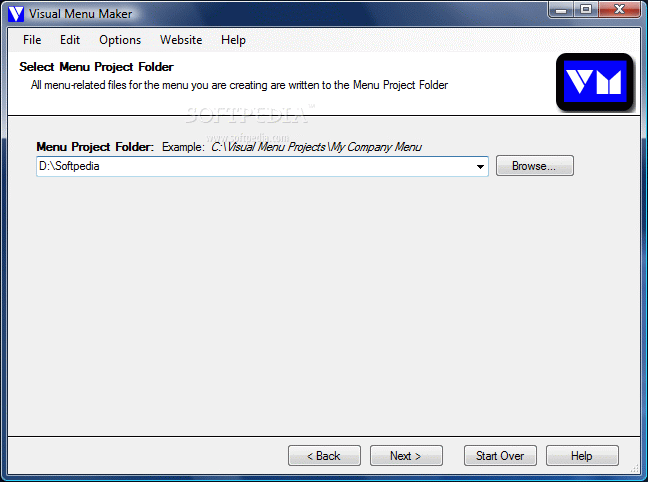
But if you need to create a bunch of web menus fast, take a look at Visual Menu Maker. It is a $149 solution for web developers, providing an easy and fast answer for upgradeable menu solutions. The trial period gives a fully functional application with absolutely no restrictions for as far as 30 days.
The application is addressing both advanced users in search of a fast solution for creating a menu, as well as novices that want to do something on their own. The interface is actually an intuitive wizard that guides you from the beginning of the project to generating it. In between, you get to customize it the way you need it.
In the first step, there are three options. If you are using the application for the first time, then creating a new menu project is what you need. Start the project and finish it whenever you have the time as the second option in the window allows you to open a menu project. Advanced users can use the third options available and convert the menu data from XML to JavaScript.
When starting you work, the first thing to do is choosing a template. 36 variants are waiting to be picked. Some of them are plain and simple with standard borders while others come with composite borders. The bottom line is that there are plenty of examples to choose from. Don't judge their colors and the icons appended to them as these come off very quickly and can be replaced with some of your own. The purpose of this step is to select the orientation and alignment of the menu (in case standard borders are picked).
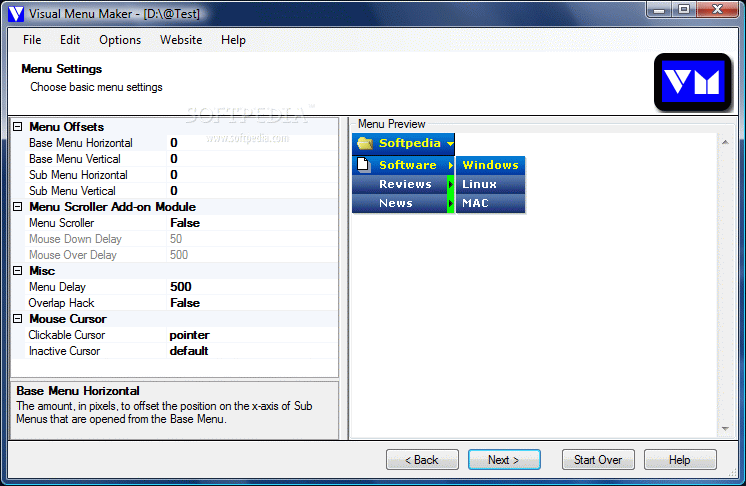
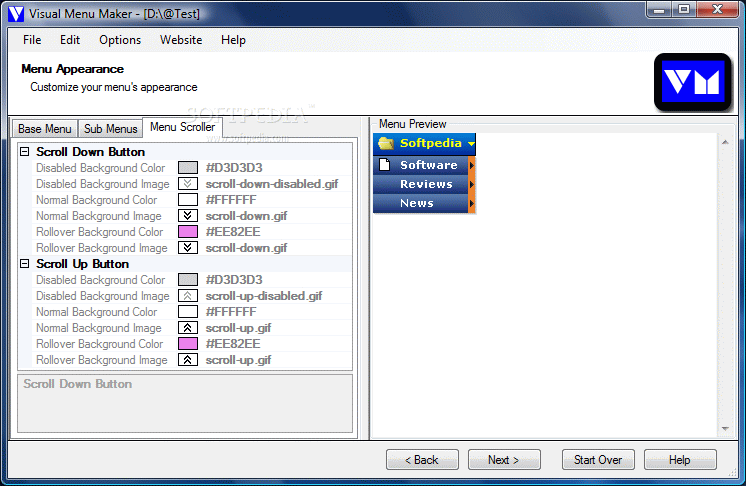
Configuring the menu to look more like the way you want it to look is the next step. These are basic settings that let you set the menu offsets (base menu horizontal/vertical and submenu horizontal/vertical), menu scroller add-on module, menu delay, overlay hack and mouse cursor settings (the type of the clickable and inactive cursor). For each of the modifications of the template, you will benefit from a preview in the right hand side of the window.
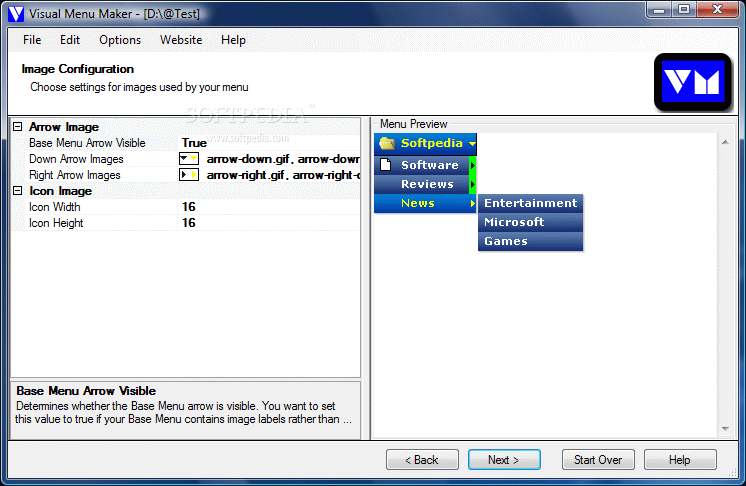
Image configuration menu allows you to insert icons and images in the menu. Thus you can hide or make visible the base menu arrows, select them from a list of presets or add some of your own. The same is available for icons. For a better description of the menu, you can add them in the base menu or submenu as well.
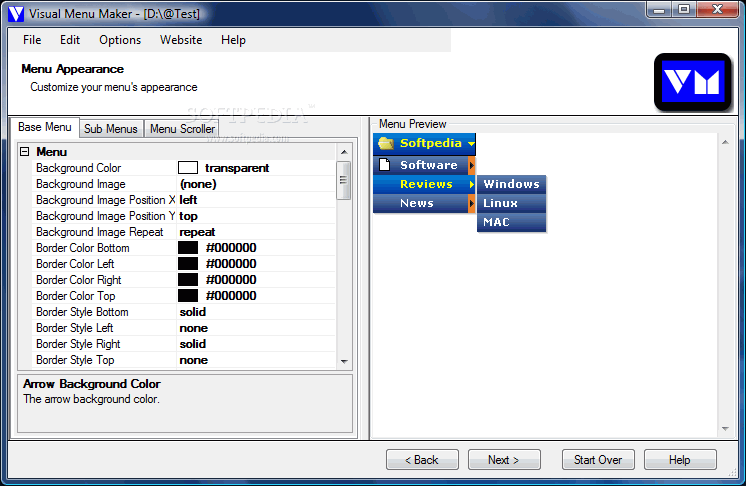
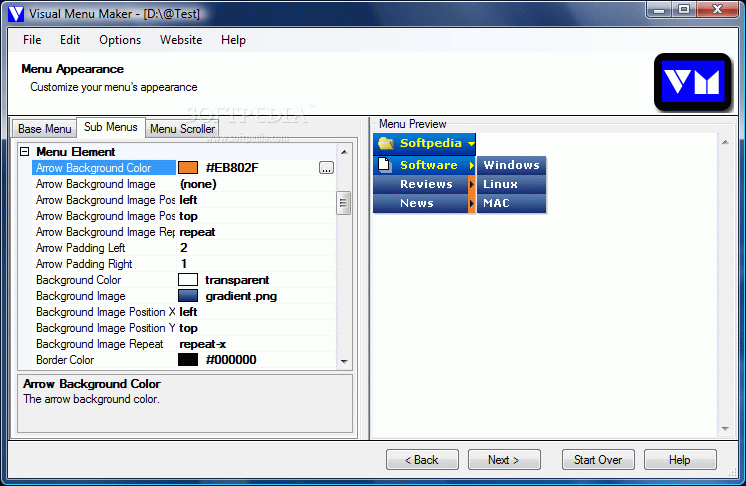
Deep customization of your web menu comes with the next step: Menu Appearance. Everything can be customized in this section, from colors (background and rollover), positioning of the image in the menu, border color style and proportions, padding of the elements of the menu, font (formatting included) to the separators (color, font and padding).
The submenus section presents the same options, and only the target is different. To choose the colors you can open the color picker and start looking for one that fits or simply type in the color code and it is automatically selected. One piece of advice though: do not attempt to paste it in the HEX box as it does not work. The copy/paste functions are available in the context menu and pasting works in any text editor and window supporting the function, save in the Visual Menu Maker's color picker.
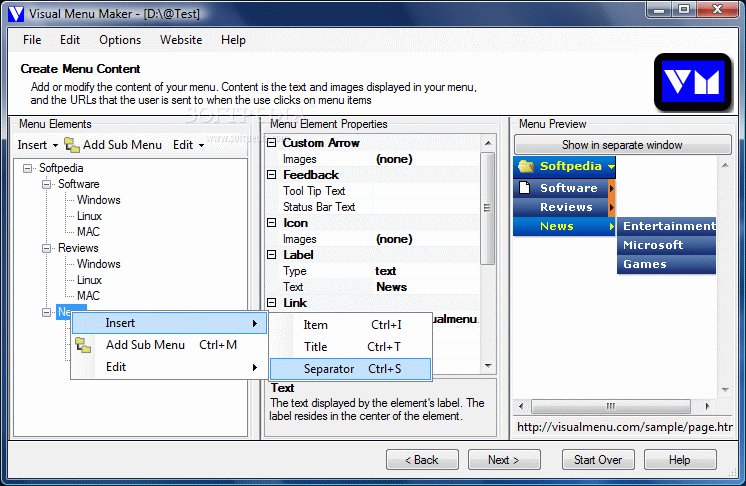
After setting up the entire appearance of the menu, it is time for content customization. You can add as many submenus and items as you want, as well as base menus. Also, adding tooltip text for everybody to know what it is all about is also possible. The Properties window contains options for changing the icon, the text of the menu, add URL, configure the width, and the override class.
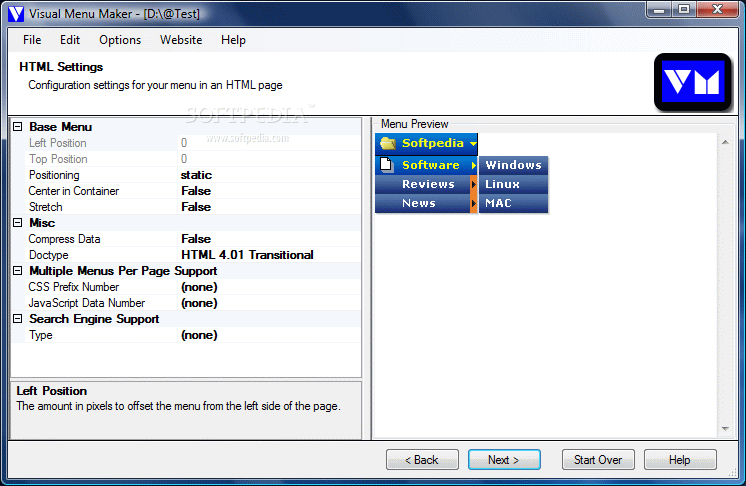
Visual Menu Maker permits configuration of the HTML settings by allowing setting the doctype (DTD), if the menu data should be compressed or not, the CSS and JavaScript numbers, positioning etc.
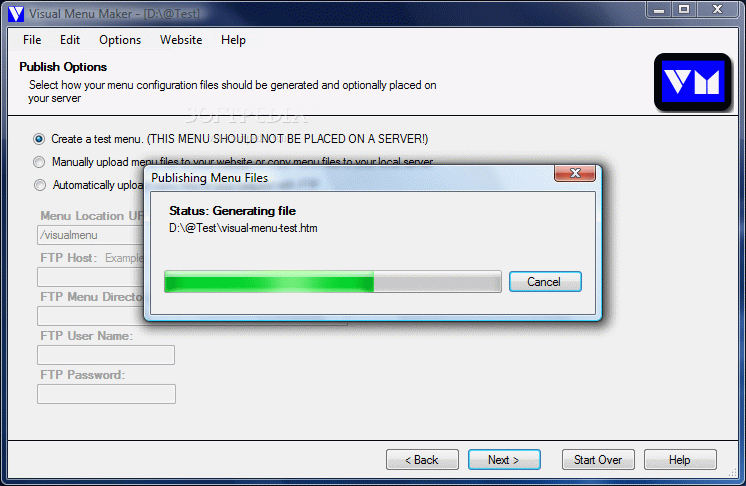
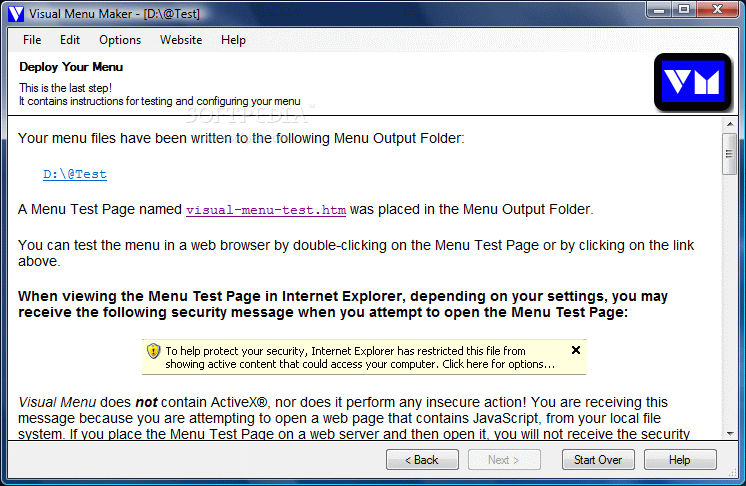
And you are done with the menu. The final options provided by Visual Menu Maker are related to the way the menu should be generated. Either create a test menu, upload the files manually to the website or upload them directly to the website via FTP connection.
The Good
If you don't laze around, a menu could be ready in two minutes, tops. The intuitive wizard takes you through all the required steps.
The flexibility of the settings is quite something and the templates are not bad at all.
The Bad
Unfortunately, there is no option to add your own templates. The 36+ choices available are sufficient for the majority of the users, but moving the limit a little further is always a good thing.
The Truth
Visual Menu Maker is not a professional tool but it delivers professional-looking results. It is highly configurable, but still requires some flexibility. You have 30 days to test it and there is no hindrance into your way. Everything is fully functional for this period.
Here are some snapshots of the application in action: