14 DAY TRIAL //
 If you need to run Windows apps, but love your Mac so much you simply cannot go with a PC, VMware Fusion may be the answer. However, before buying your own copy of VMware Fusion 2, be sure your Mac is prepared to handle the workload.
The Looks
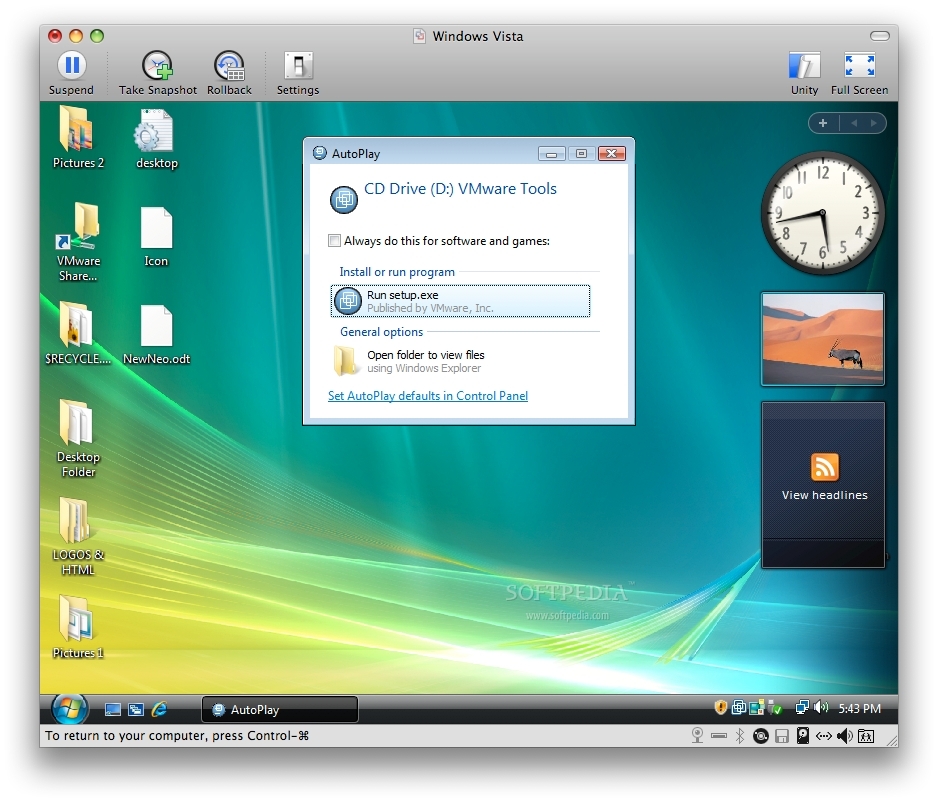
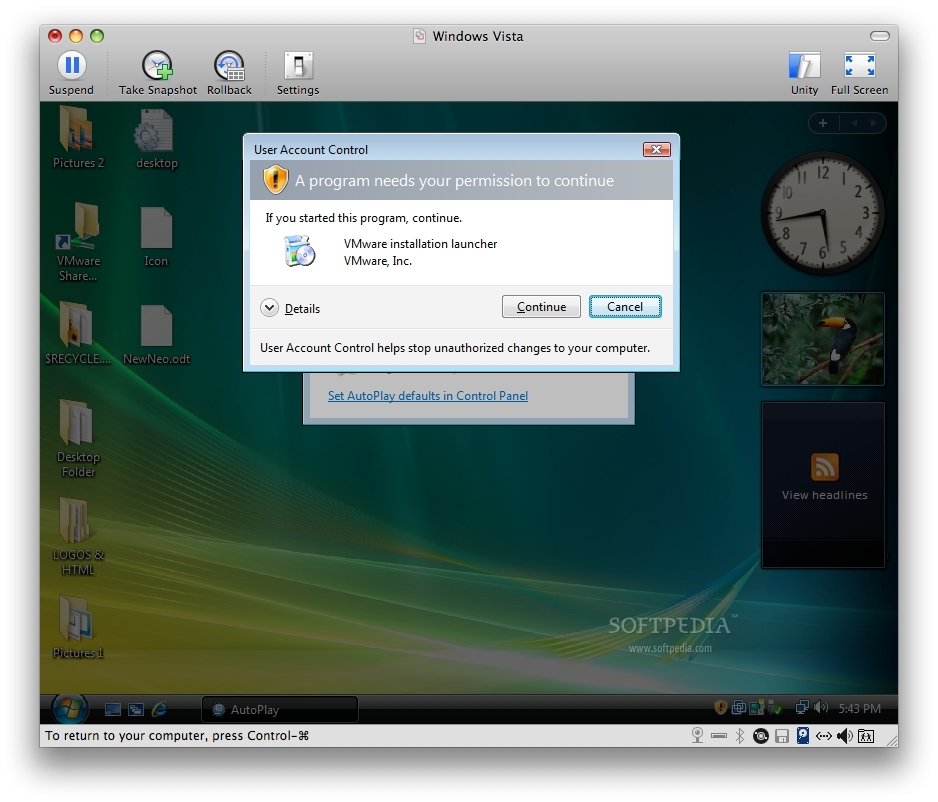
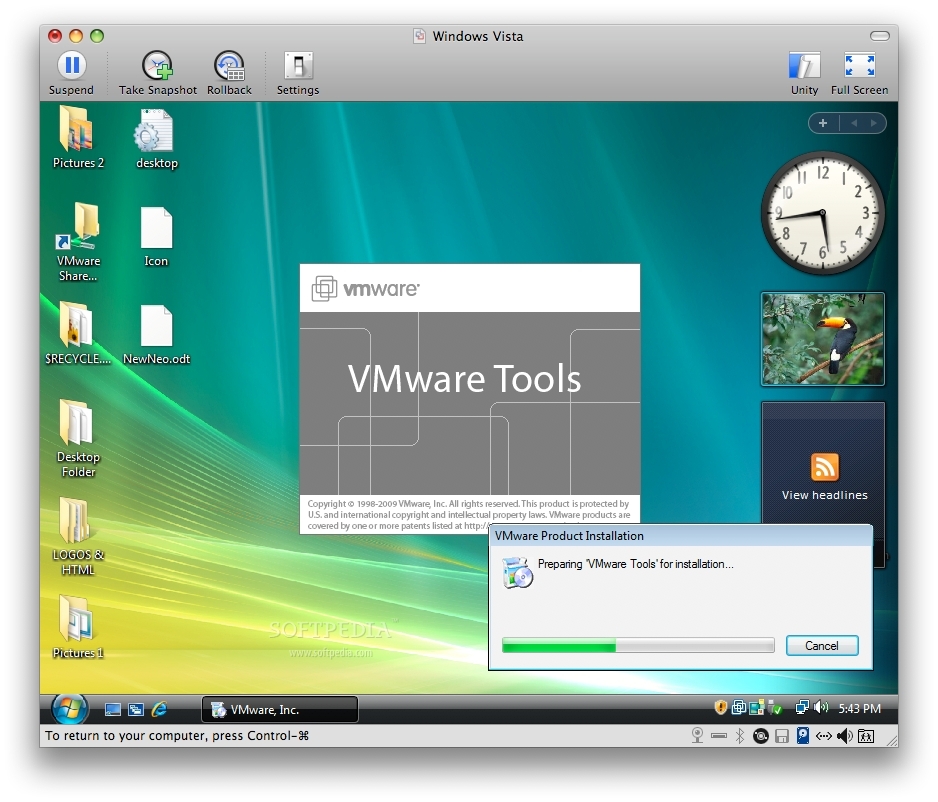
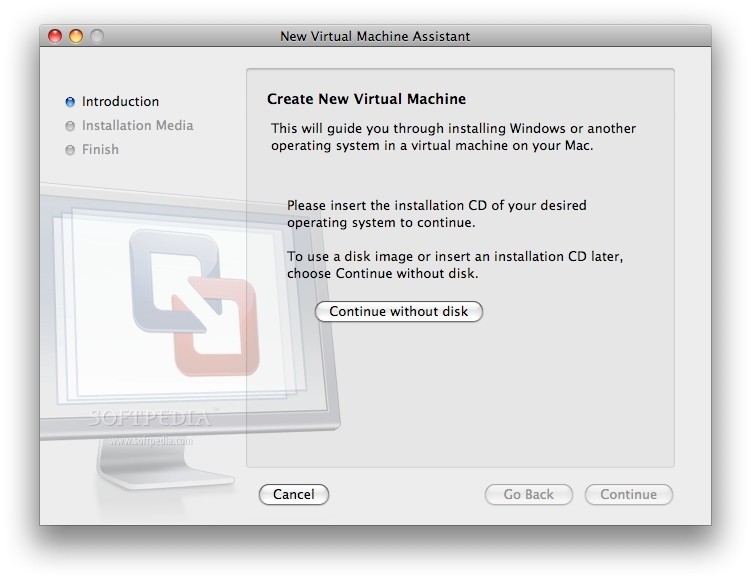
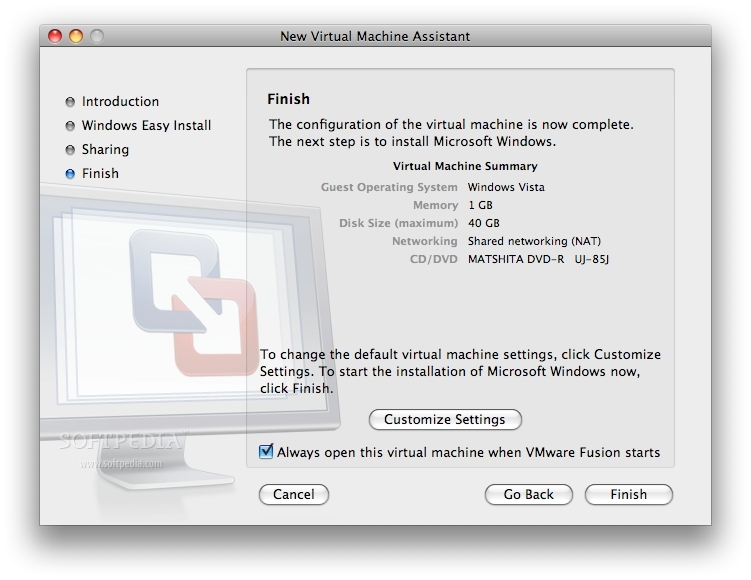
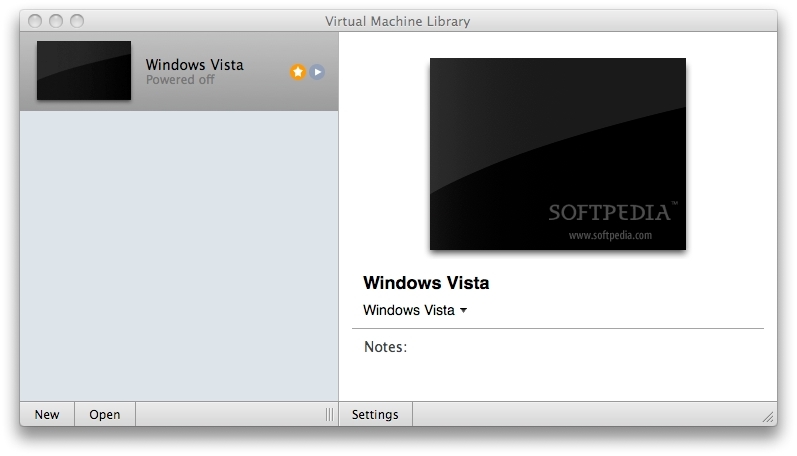
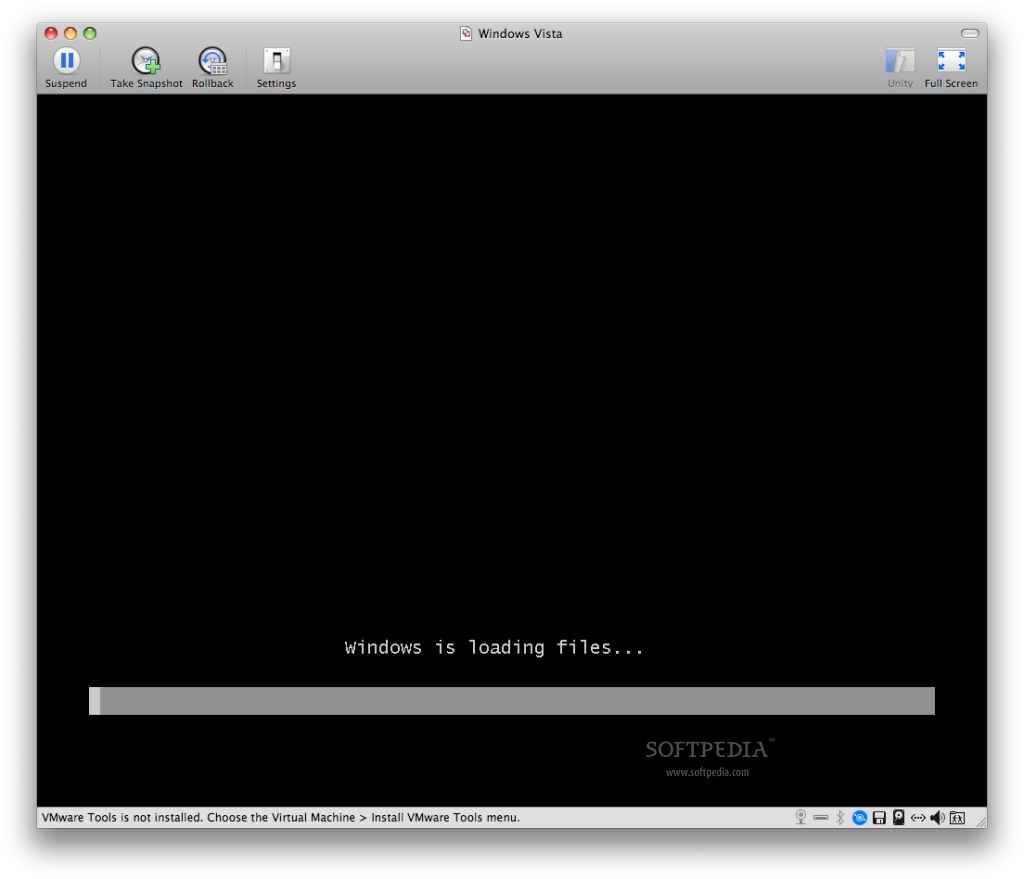
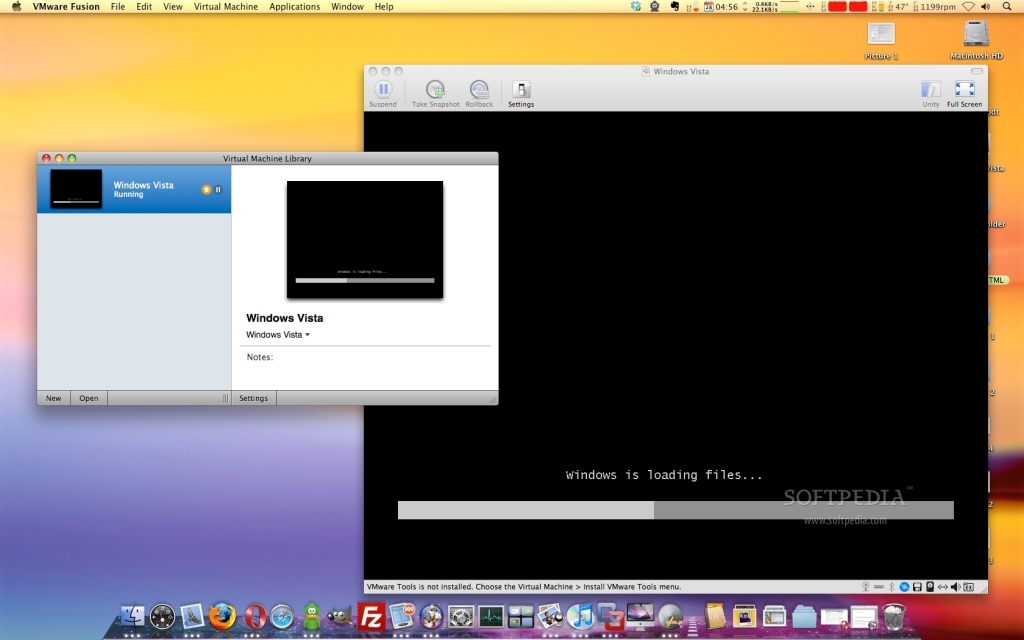
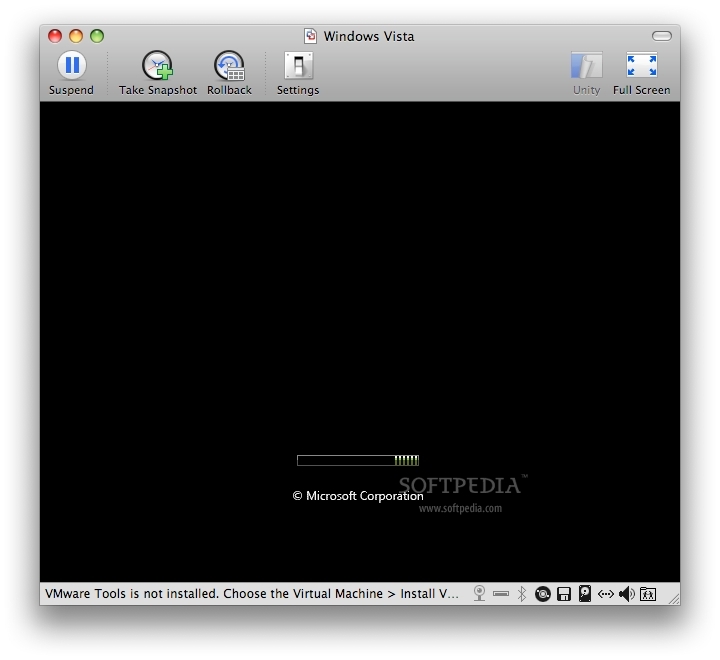
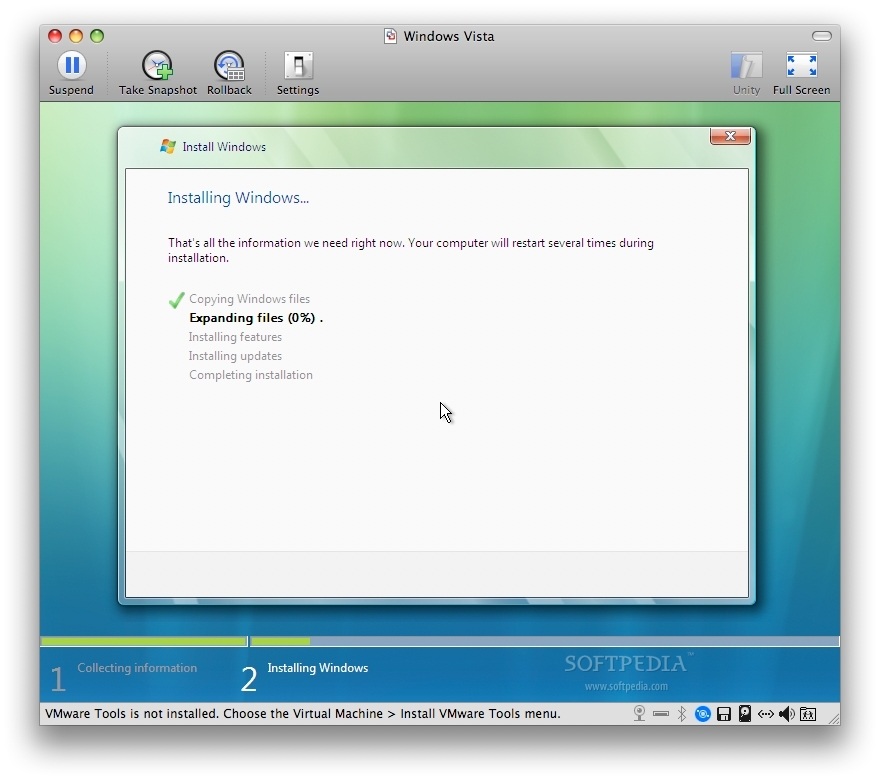
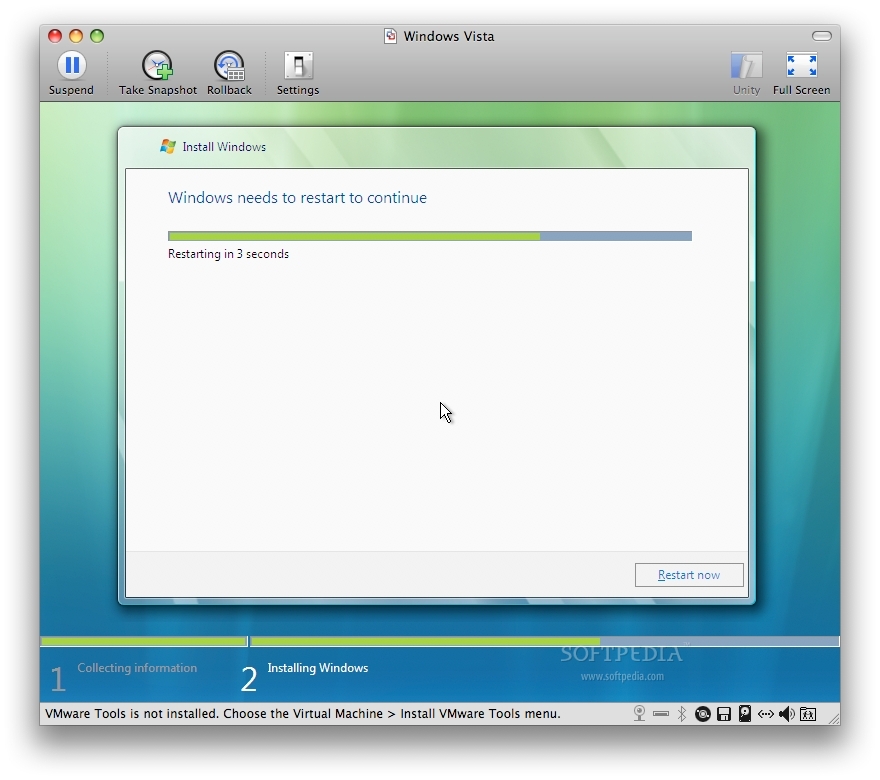
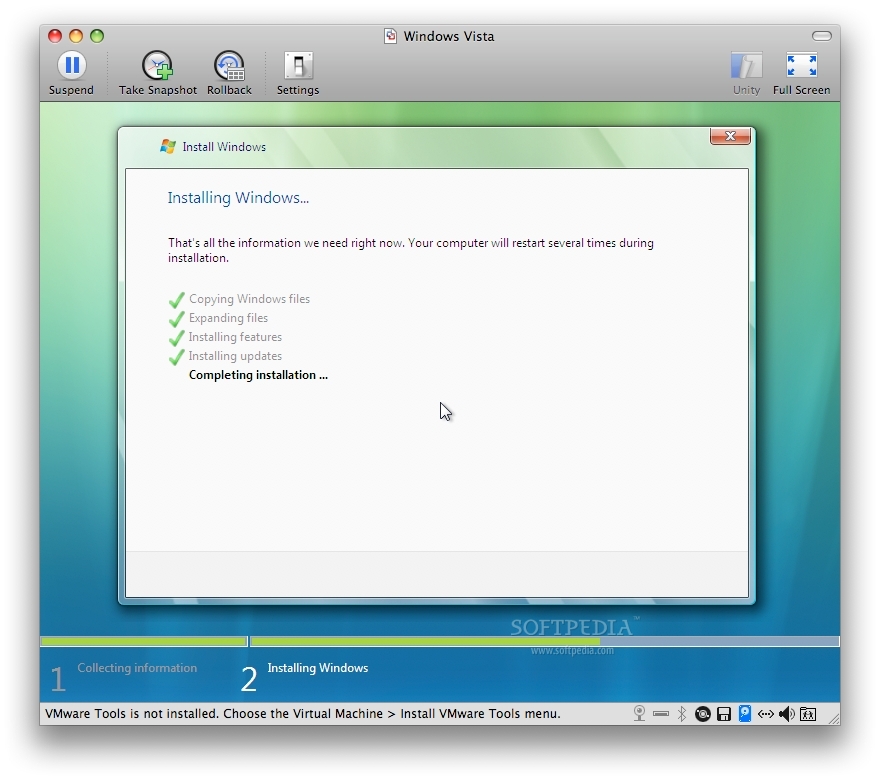
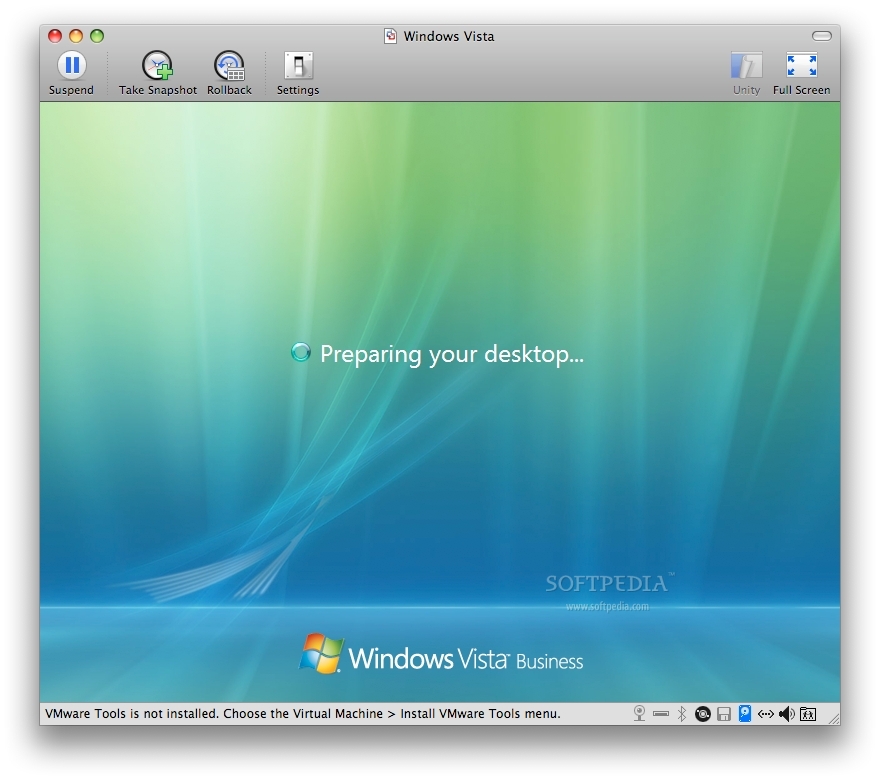
For those who've used virtualization software before, installing Windows Vista with VMware Fusion is as easy as pie. Newcomers too will find the program intuitive. As soon as you slide in your copy of Vista, Fusion partitions your resources for the guest OS, creates a Virtual Machine Library and starts installing the OS. The on-screen information is extremely simple to follow. Just sit back and watch Fusion expand and copy the files, install the features and updates, and restart your virtual PC several times until Vista is installed.
The Works
Guest OS installation takes between 50 and 70 minutes to complete, depending on your hardware and whether you're doing something else while the machine is working. Sure, you don't want to disturb the installation process, but you don't want to waste too much time either. That's why I decided to really put my 2GHz Dual Core iMac to work, to see how much VMware takes the handles exactly. I found that, although it could be resource-hungry at times, other processes weren't generally slowed down by the program as it installed the guest OS.
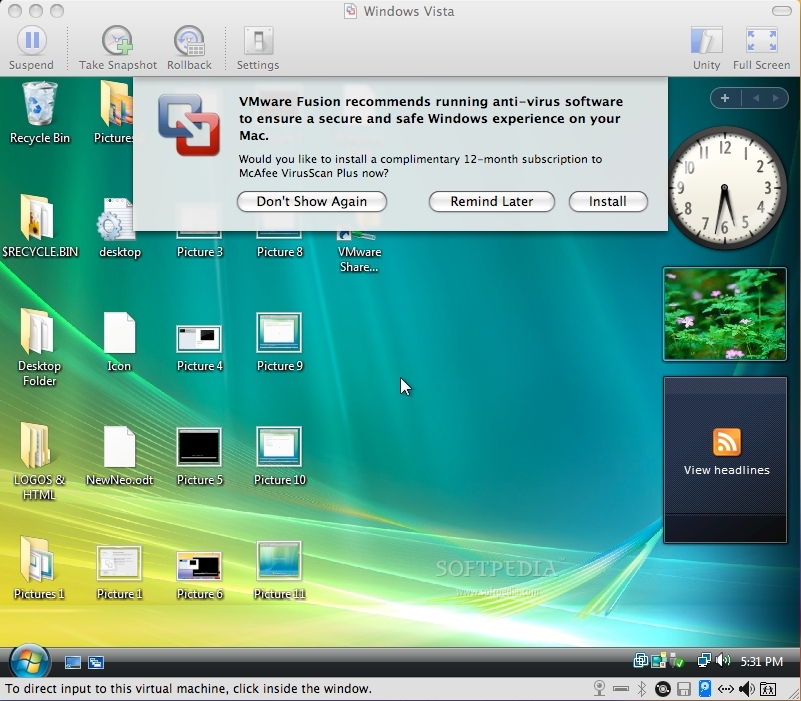
As with VMware Fusion 1.0, you can drag and drop files and folders between Windows and OS X, as well as copy and paste plain text. However, Fusion 2 adds a new functionality – you can also copy and paste formatted text from one OS to the other. To do this and other important tasks, you will need to install VMware Tools. With the VMware Tools SVGA driver installed, Workstation supports a significantly faster graphics performance. The package also provides support required for shared folders and for drag and drop operations. Other tools in the package support synchronization of time in the guest operating system with time on the host, and improve the performance of your mouse.
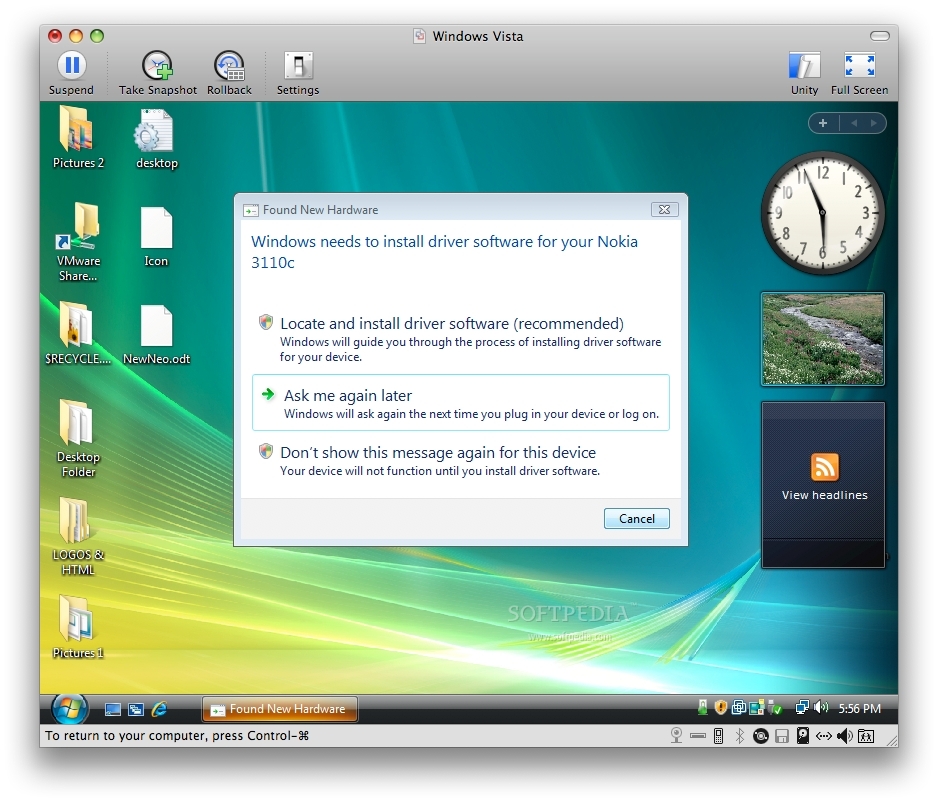
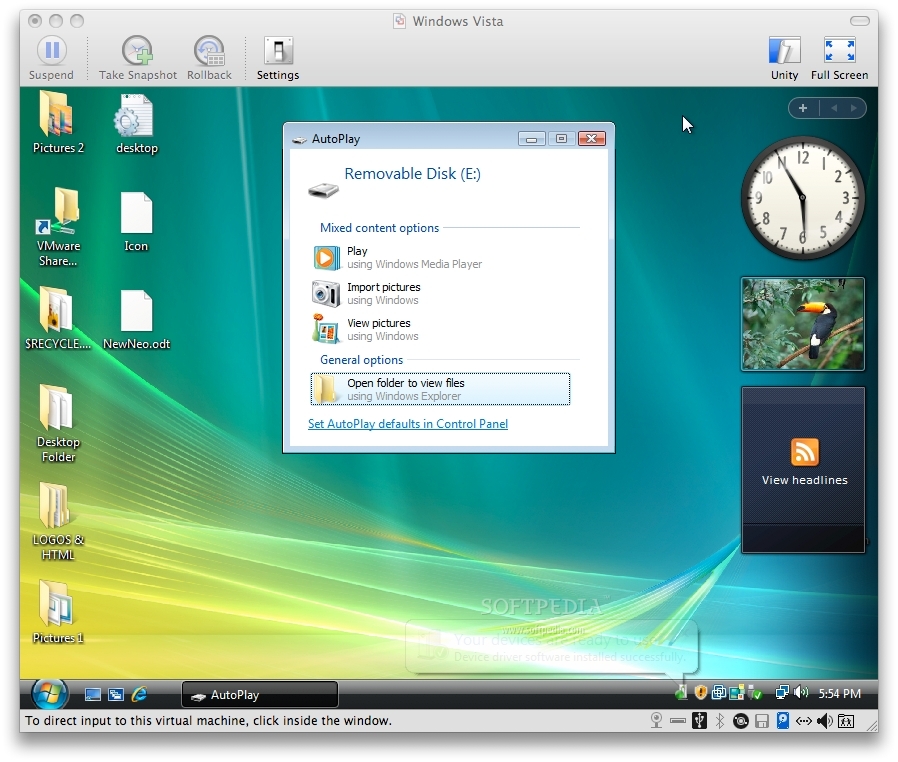
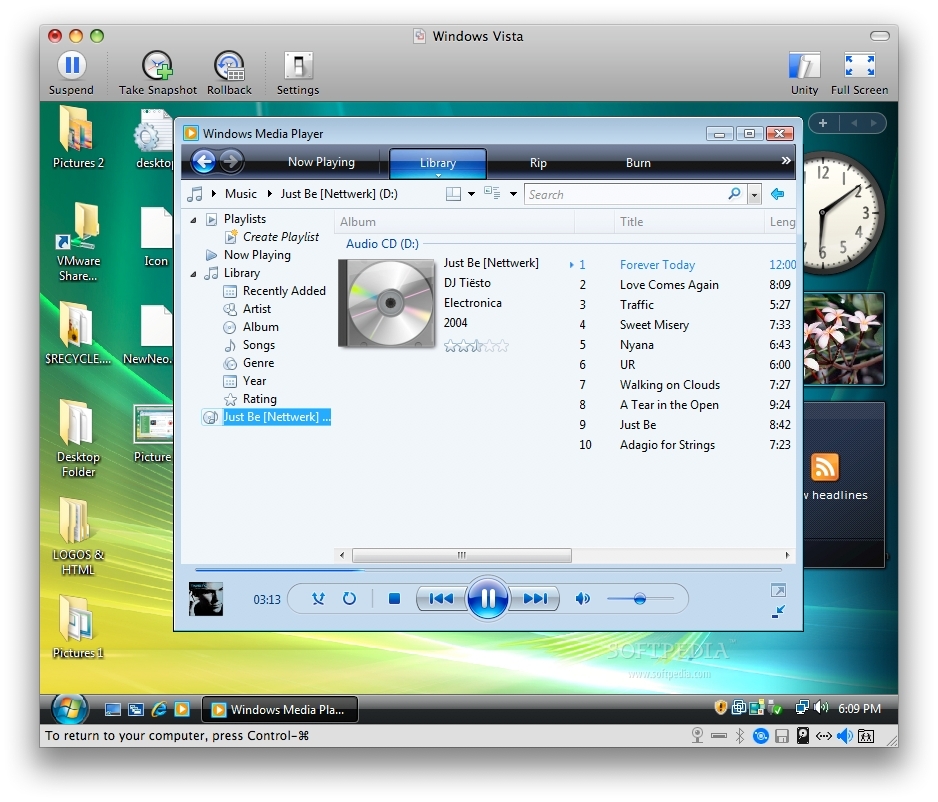
Fusion lets you decide which OS recognizes when a device has been connected via USB. As simple as it sounds, just find yourself in the operating system you want that device present, and connect it to one of your Mac's USB ports. The same goes for inserting a music CD, or a video DVD. Microsoft Media Player immediately detects your actions and acts accordingly. However, USB-connected printers need to be specifically assigned to the virtual machine.
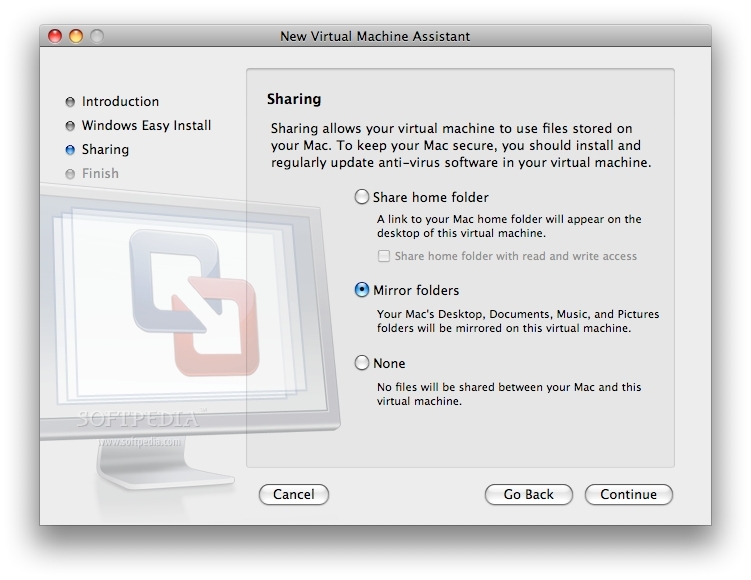
You can create mirrored folders, which, as the name implies, reflect the changes occurring on one OS or the other. You can set up your Windows virtual machine so that the Desktop, Documents, Users, and Pictures folders become shortcuts to those folders in OS X. And, if you're a Time Machine user, don't worry about losing anything in there if you happen to delete something by accident. The Windows-specific files that you throw in there will also appear as Spotlight results, even if the virtual machine isn't running.
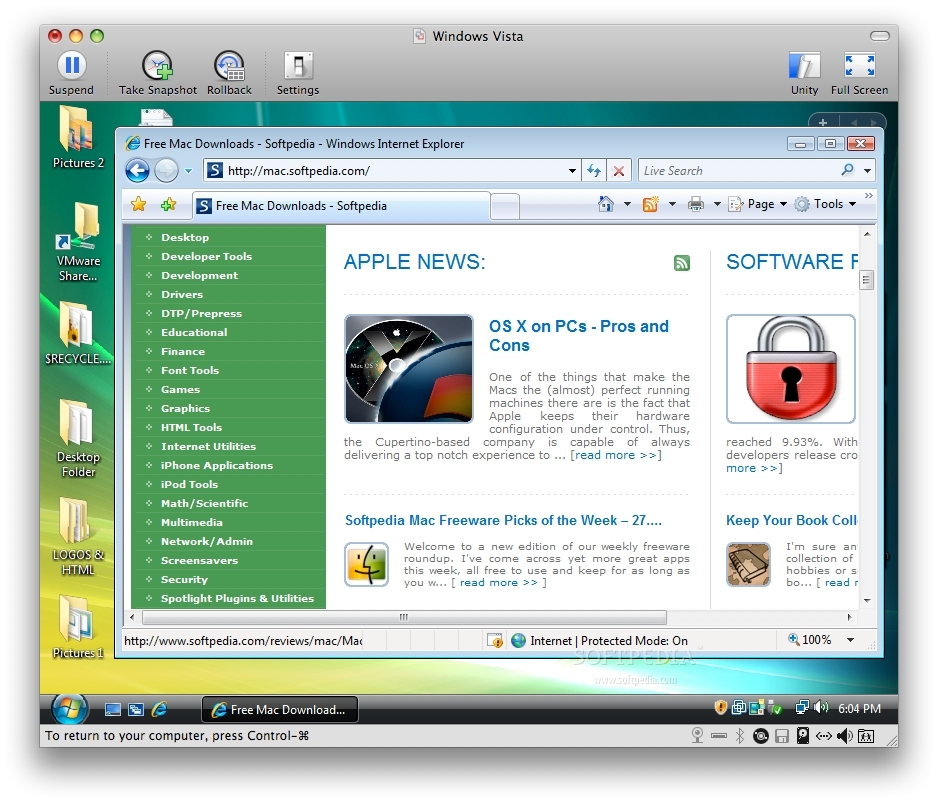
Application sharing is one cool feature, I can tell you that right now. It makes it possible for programs in Windows virtual machines to become visible to OS X. It works the other way around too!
Snapshots are always useful. The feature lets you save the current state of your virtual machine, so you can continue working with Windows exactly where you left off. You can even take a snapshot as you're installing your guest OS and continue from that exact moment when you're ready to finish installing Vista, XP, Linux, or whatever your guest OS of choice is.
The Good
The Bad
The Truth
Here are more screenshots of the program in action:
Setting up a Virtual Machine and Installing your guest OS
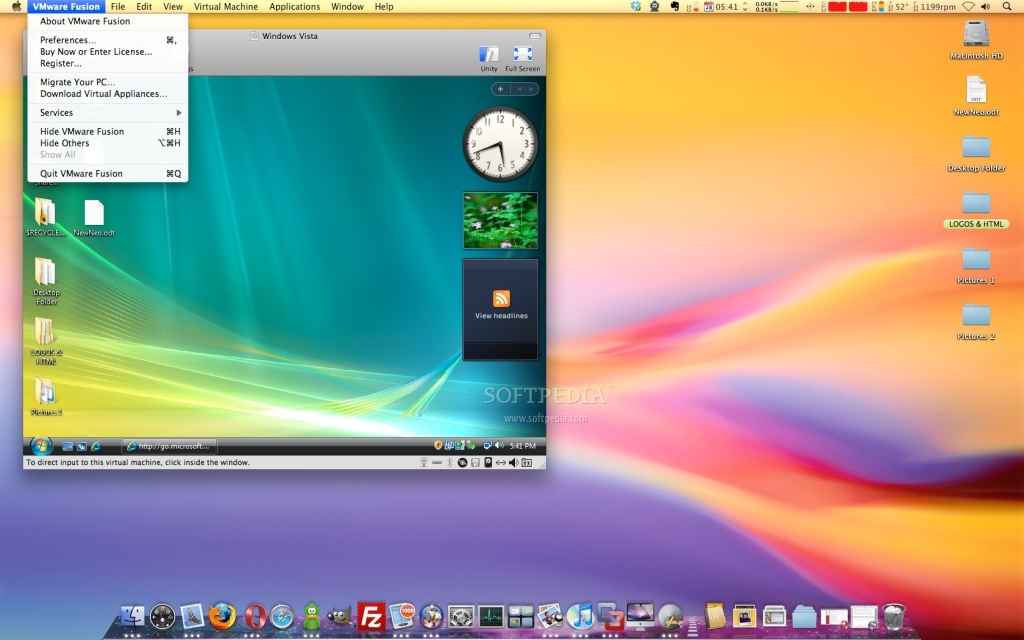
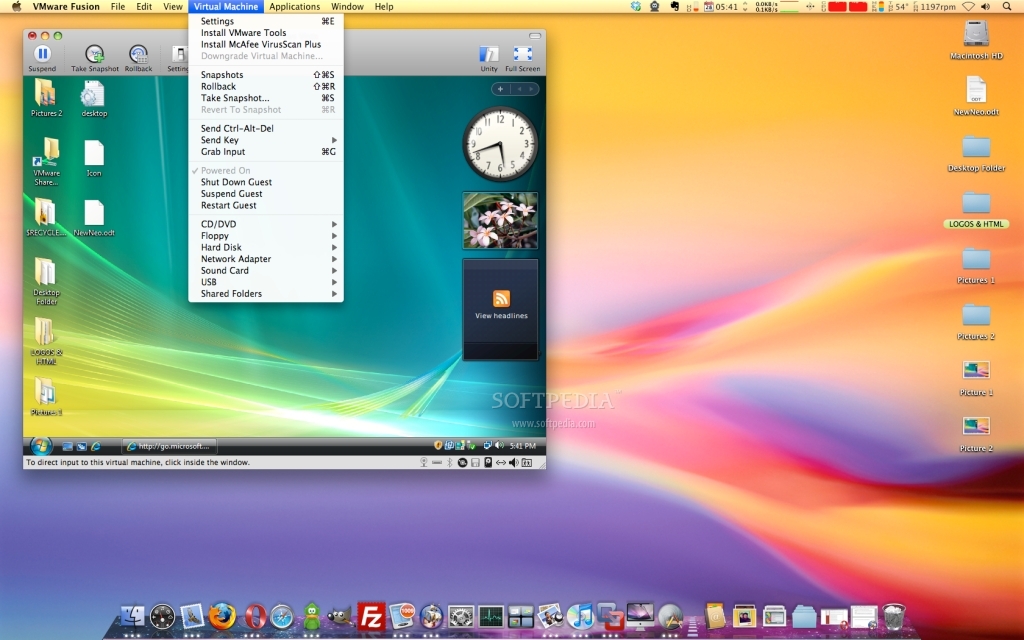
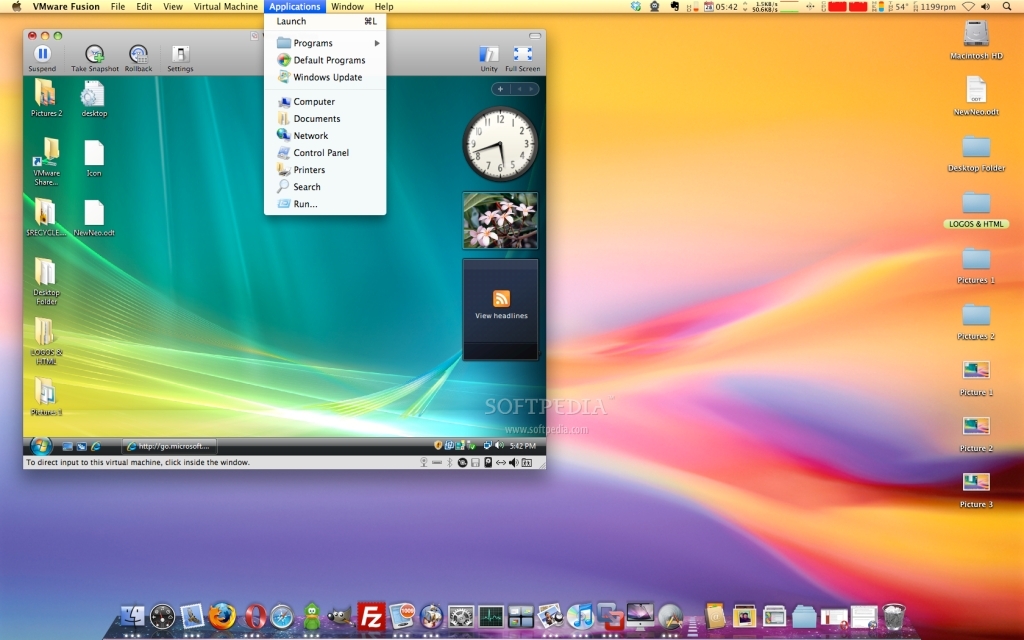
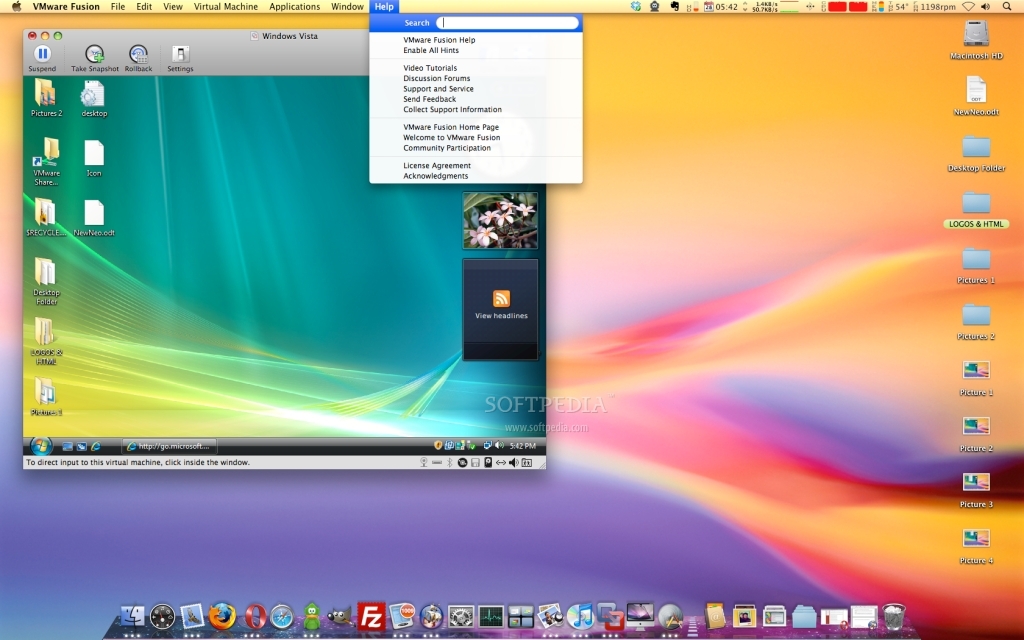
Menubar