One of the greatest things about the century we live in is the fact that everyone in the world is interconnected. In a matter of seconds, you can exchange information with someone on the other side of the planet, which makes it so that speed has become one of the most appreciated features in this respect. This is because it allows you, for instance, to immediately share with your friends that perfect picture you took just a few moments ago. Still, sharing does not mean that the image becomes available for public use, which is why adding a watermark on your work has become such a common practice these days. And, since you will probably want a fast way to do that, iWatermark might be the answer to all your problems.
The Looks
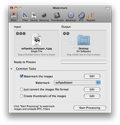
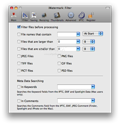
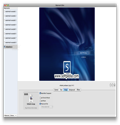
The interface of iWatermark is very simple and has efficiency written all over it. In the top part of the window, you can see the icons for every feature, while the settings panel for each of them opens in the same window. Right under them, you will see two different folders. The first one is the Input folder, where you have to select the path to the images you would like to process, while the one on the right allows you to set the output folder. All the processed pictures will be saved in that particular folder, while the originals are kept intact. The interesting part about this is that you can choose a general folder as an input folder, and use the Filter panel functions to watermark or convert only certain files at a time.
The Works
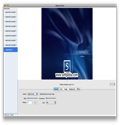
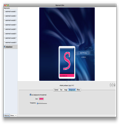
In order to start working with iWatermark on your pictures, you must access the Common Tasks panel and select the action you would like to perform. However, if you want to add a signature to your images, you will have to choose a watermark set first, and this is where you are presented with the option of choosing one of the predefined sets or making new ones. The Edit button provides easy access to the Watermark Editor, where you can see the available templates that you are then to customize, or create your own. Each set can be modified through the five panels situated in the bottom part of the window.
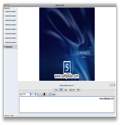
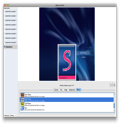
The General panel allows you to set the location by choosing one of the default ones, or by using the Offset ruler. In the same area, you will find a ruler that adjusts the transparency level, but it also offers you the possibility to rotate it, scale it or repeat it until it covers the entire image. The Text panel is a basic word editor, where you can customize the text that you would like to use as watermark. The Image panel is designed to allow you to use images as watermarks, and provides multiple choices in this sense, from using only the image or just the text, or both simultaneously. The same panel enables you to make the white areas transparent. Moreover, you can set a background for your watermark, or use one of the default effects by accessing the Background and Effects panel. Once you are satisfied with the result, press the Use button in the bottom part of the window, and the task is complete. All that’s left for you to do now is to press Start Processing in the main window.
It usually takes a while until you create your own watermark sets but, once finished, you get to use them on an unlimited number of pictures. Of course, this doesn’t necessarily mean that you must keep them all in the editor, as you can bundle a certain set or even bundle all of them together, and reinstall them only when you need to make use of them.
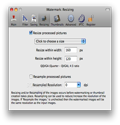
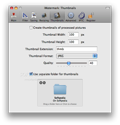
However, this is not all that iWatermark can do. You may also use it to convert the file format of the images, or to create thumbnails. The Edit button situated next to the convert feature leads to the Resizing panel, where you get to set the desired width and height manually or by choosing one of the presets. The same panel offers you the possibility to change the picture resolution as well, but you can also just change the picture format without resizing. In the latter case, you must configure the settings in the Saving panel, which provides support for renaming the file by using prefixes and suffixes, or numerically. The supported formats are JPEG, PICT (no compression), Photoshop Document (QuickTime required), PNG and TIFF. The last function in the Common Task panel provides support for creating thumbnails, while the Edit button leads to the Thumbnails panel, where you can specify the dimension, output format, quality and the output folder.
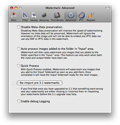
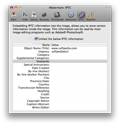
The feature that sets iWatermark apart from other watermarking and batch renaming software is the fact that it can read, but also add metadata, to your pictures. You can see the metadata by pressing the information button that appears when an image is selected in the Input folder. The IPTC panel in the main window is designed to add your own metadata, but you can also do so to your text-styled watermark by accessing the Insert Special function. Furthermore, you can disable this option in the Advanced panel, in order to increase watermarking speed.
Last but not least, the Advanced panel allows you to activate the Auto Processing feature. The novelty that this action brings forth is that you can add new images to your input folder, while iWatermark will automatically detect them and start processing.
The Good
The Bad
The Truth
Here are some snapshots of the application in action:
 14 DAY TRIAL //