14 DAY TRIAL //
 Have you ever wondered how much effort is invested in creating an icon? I guess not. Well, here's the chance to experiment on your own. IconUtils is a set of tools that helps you do anything you want with an icon, from creating one from scratch to downloading them from the Internet, collecting them from your computer or converting them from one format to another.
More than this, IconUtils will allow you to create your own library of icons and even create nice looking cursors for your own use. And even add frames for animations which can be saved under different formats.
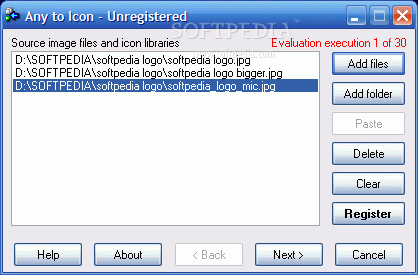
The price of the utility is almost $60 but you are given a trial period of 30 days to test the application and its converting assistants: Any to Icon and Icon to Any. The evaluation reminder will nag you every time you start and close the application but other than this, the software is fully functional.
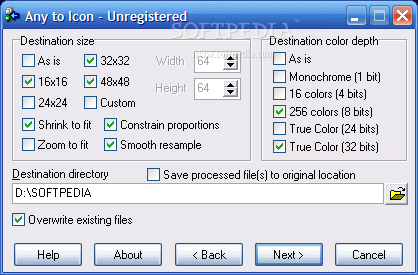
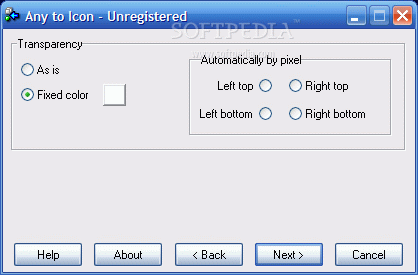
The two assistants that come with Icon Lover (the main application of the suite) will help you convert the classic icon and cursor formats (ICO and CUR) into BMP, GIF, JPG, PNG, RC, TIF, WBMP, PSD, XPM and XBM file formats and vice versa. During the conversion, there are some other options available as well, like setting the size of the resulting file and the color depth.
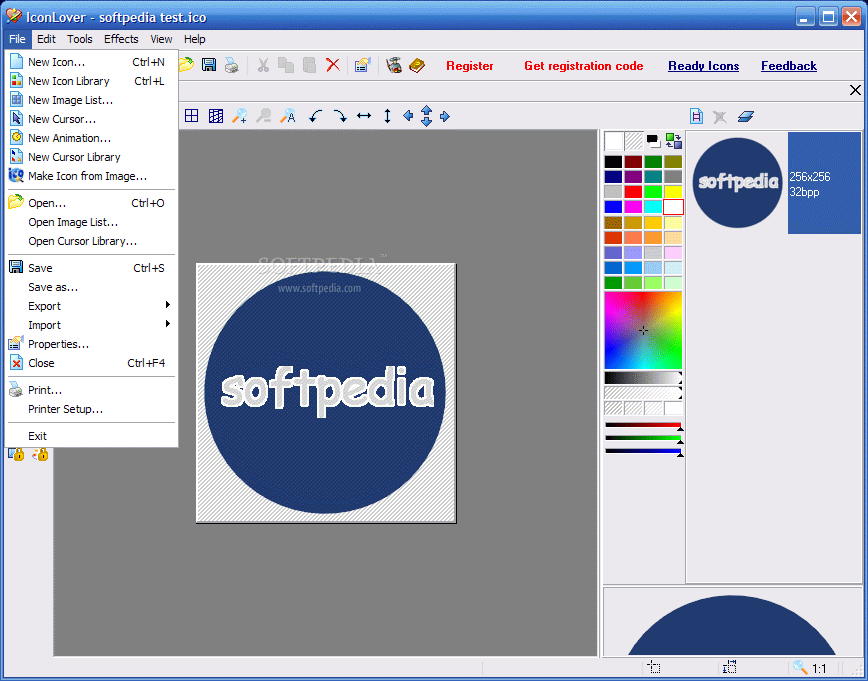
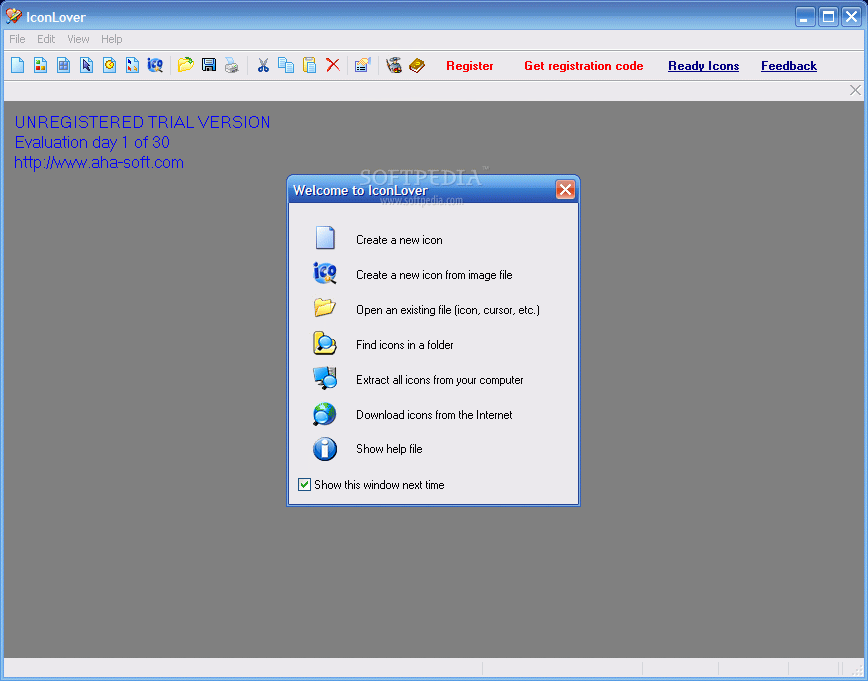
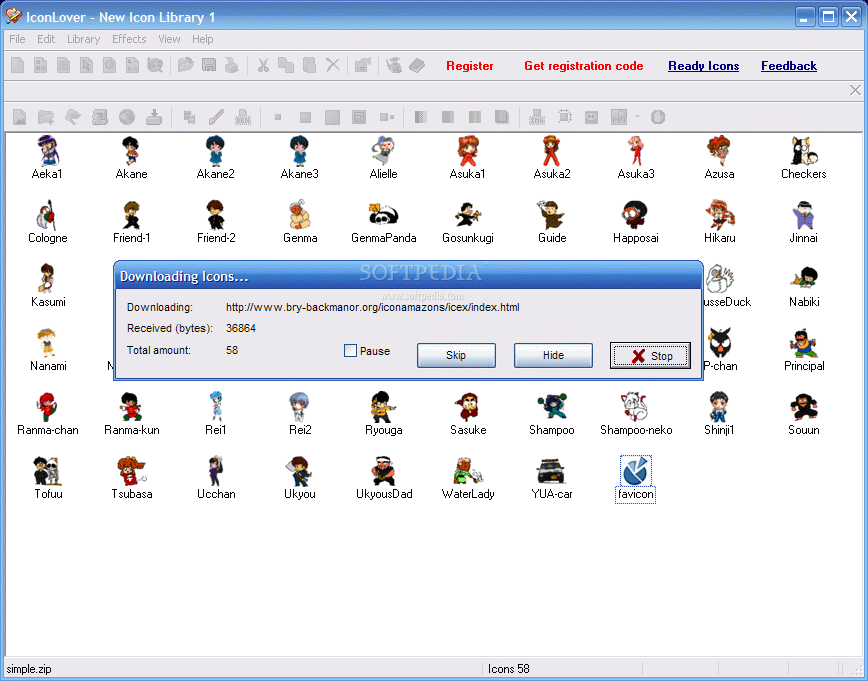
The moment you start IconLover, you will be prompted with a two-step wizard that can be disabled. Its purpose is to set the grounds for the type of work you want to commence. The options are creating a new icon, creating a new icon from image file, open an existent file (icon or cursor) in order to edit it, extract all the icons on your computer, download icons from the Internet or find the icons in a user-defined folder. These are the main options, but you will see that you can do much more than that with IconLover.
The next step of the wizard (if have selected creating a new icon) is making some settings for the file to be created. Thus you can establish the size of the file and the color depth options (monochrome, 16 colors, 256 colors, true colors or true color + Alpha). That is all there is of the wizard, all the rest is up to your creativity and imagination.
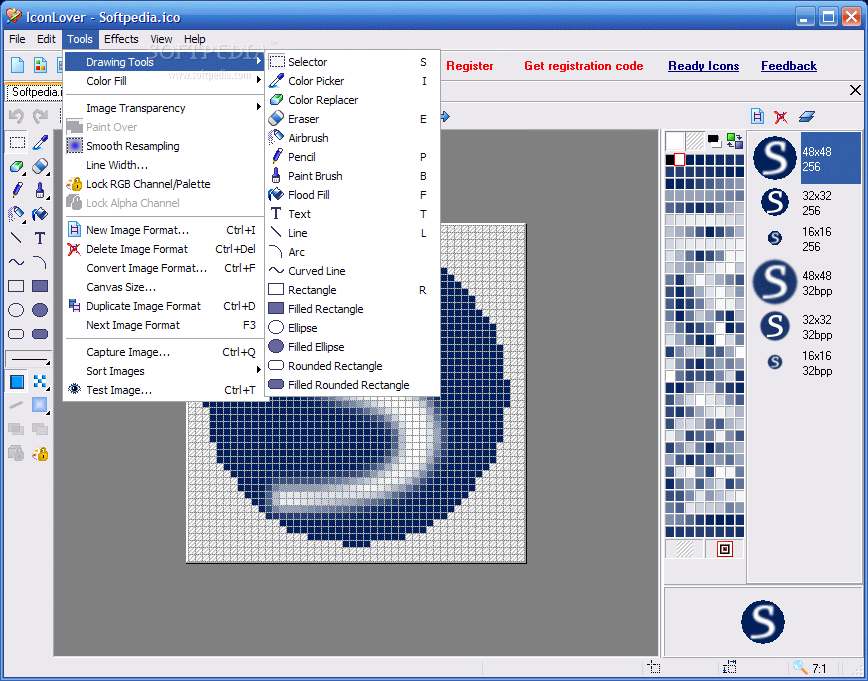
The toolbox is displayed in the left side of the working area and comprises drawing instruments as well as shapes. Color Picker, Selection tool, erasers, airbrush, fill tool, text tool, lines (curved and arc type) and shapes (simple rectangle, rounded rectangle or ellipse and the filled equivalents) are all available in the toolbox. They can help you create beautifully shaped icons.
To twist the looks of your icon, you can appeal to the effects available in the tool bar and menu bar. The icon can be flipped, rotated or rolled in the way you see fit and the icon can be endued with some shadow. The list of effects continues with hue/saturation options, brightness/contrast, opacity setting, colorize, grayscale, negative effect, stroke or color replacing. The list ends with choosing the color palette needed by the user. The options are numerous as well and you can choose from the default colors, system, Windows, Windows XP, MAC OS, Web, BlackCody, Spectrum or Grayscale.
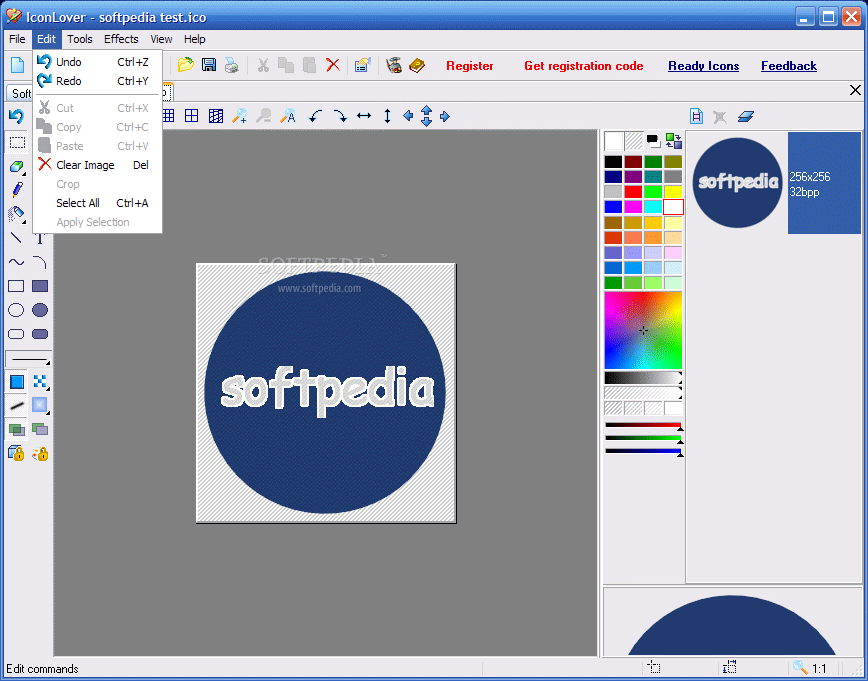
Color filling can be done with full color or using gradient. For that, you need to set the gradient colors in Color Fill under Tools menu. Lower in the menu, you will find the possibility of locking both Alpha an RGB channels. The canvas size can be modified and with it, the entire icon. This option is useful when you decide making smaller elements in the icon. Just draw them in the center of the canvas and then shrink it so that they fit perfectly the borders.
File menu is the key to the other types of work available in IconLover. These include creating of cursors and animations. For cursor editing, the options are the same as for the icon creation. But when it comes to animating things a little, you will have to draw each element at a time and frame by frame. The preview window is available in the lower right corner of the application window and each frame is displayed in the right side as well.
You can go to each frame and modify it. If you want to insert a frame before or after another one there is no problem as upon inserting the frame, you have the possibility of choosing where to place it. The time of the playing can also be changed and the user has the choice of setting the number of ?jiffies? to display a frame (one Juffy = 160th of a second).
The application is very flexible in terms of the features, but you cannot change an already drawn element and you will have to have everything thought in advance. Once you draw a curved line, the only way to modify it is to undo the action and start again. The Good
The application is extremely easy to use and if you put your mind to it, you can achieve great results. The number of effects and drawing tools will definitely come in handy at one time or the other.
The Bad
Maybe I ask too much, but I would have liked to have the option of creating layers and adding the elements this way.
The Truth
I think the same results can be achieved with PaintDotNet and IrfanView. These are both free and the former of them supports layering of the elements. Of course, the number of formats is more limited than in IconUtils and there is no option for downloading icons from the Internet.
Here are some snapshots of the application in action: