14 DAY TRIAL //
 As time passed by, photography became accessible to more and more people. During its early age, it was a luxury that few could afford. As technology progressed, cameras got smaller, cheaper and better. After another few decades, computers started to take over the task of the photo labs and the first digital cameras appeared. In just a few years, digital cameras brought photography to the masses.
Of course, digital photography still has its limitations, especially for the enthusiast that doesn't want to spend 5000 dollars on a camera. When your camera doesn't deliver the best results, you have to compensate with inspiration and digital processing. Adobe Photoshop seems to be leading the market, but its price can be too high for those who just want to have fun and enhance their holiday or weekend photos. Even Photoshop users may need something extra from time to time. Today I may just have the right thing for some of you out there...
It's my pleasure to introduce Photo/Graphic Edges by Auto FX Software, a fun and easy way to make your images special in few steps. It was first launched in 1994 and continued to get better and better since then. This product can be used in two ways - as a standalone application or as a plugin for Adobe Photo Deluxe, Photoshop or Photoshop Elements, Corel Photo-Paint and Jasc Paint Shop Pro. Today we will see what we can get from the Windows standalone application.
The demo version available on the producer's web site has a lot of limitations, but you can still get a taste of the full-featured program. First of all, you can't load or save anything. The program comes with a rich set of images so you can test all the available effects using them.
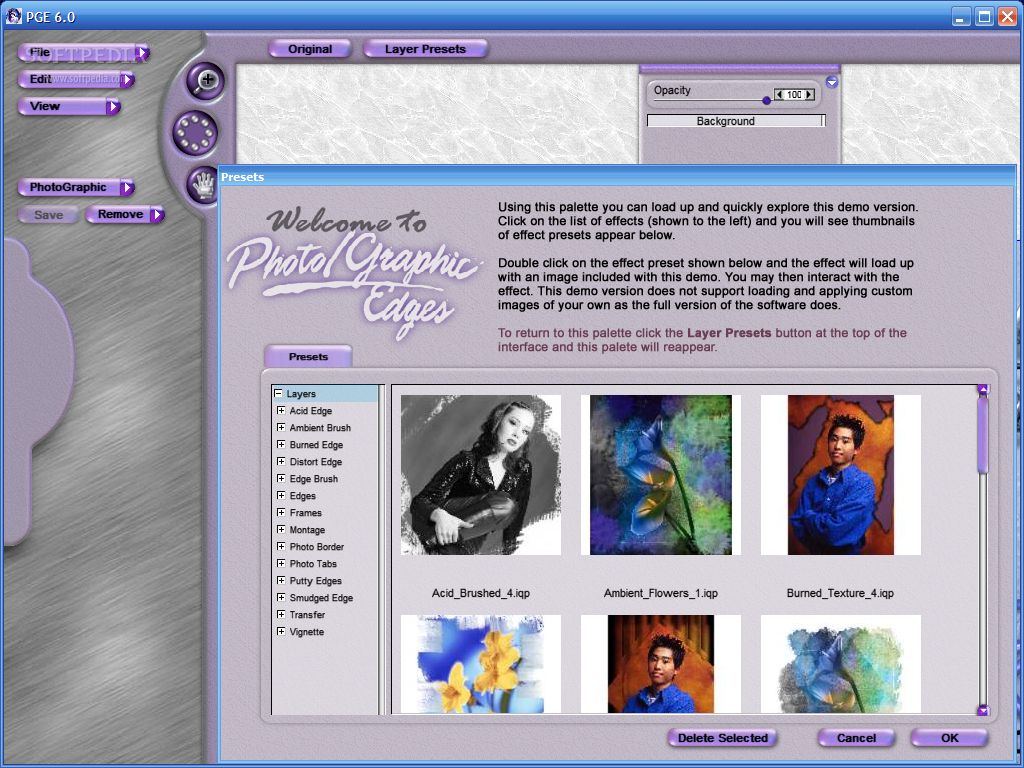
When starting the program for the first time, you will be asked to choose your language and will then be taken to the layer presets palette. Using it you can quickly explore the demo version. To begin, you can browse all the available effects and then decide to try and change the one that you like.
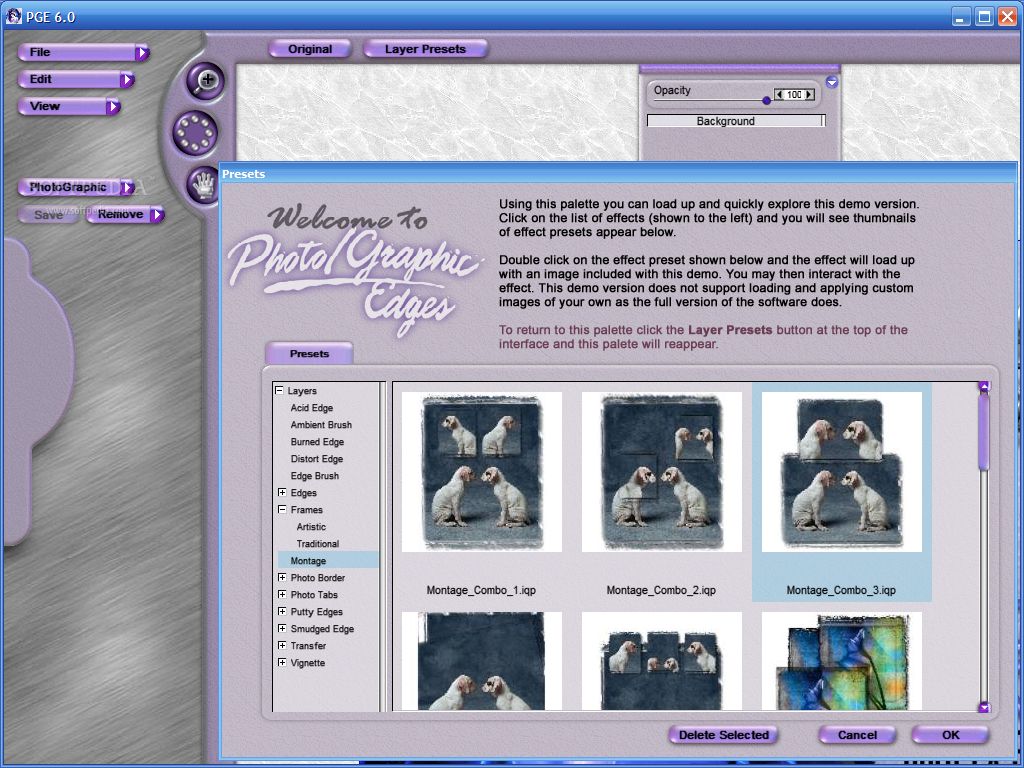
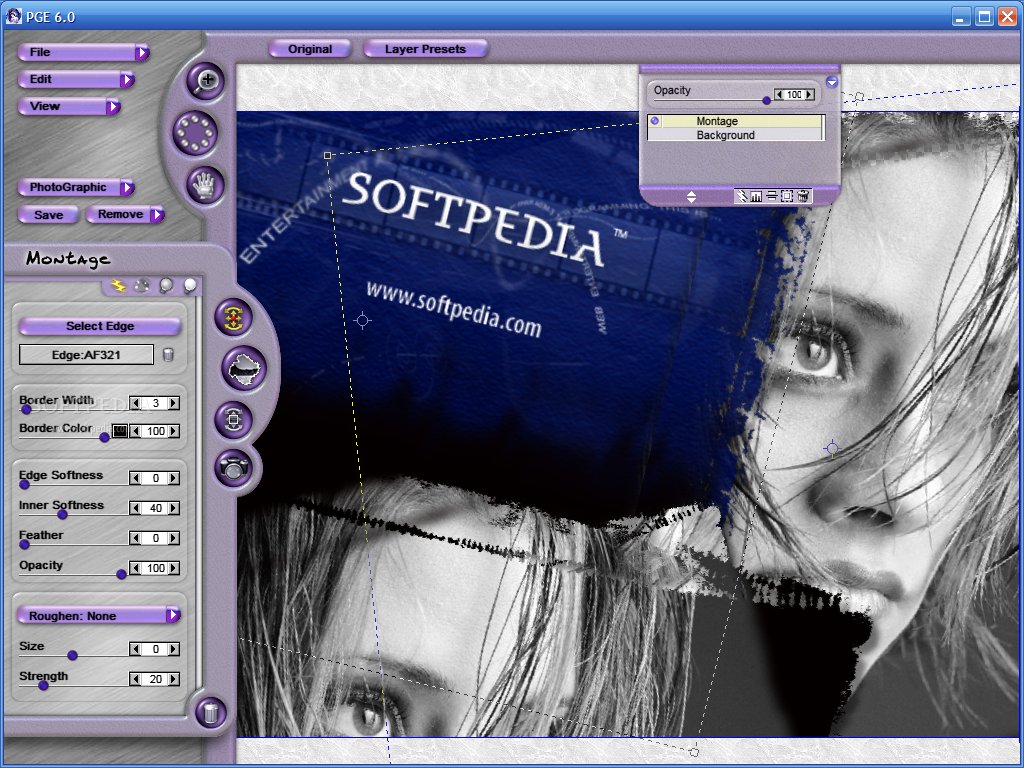
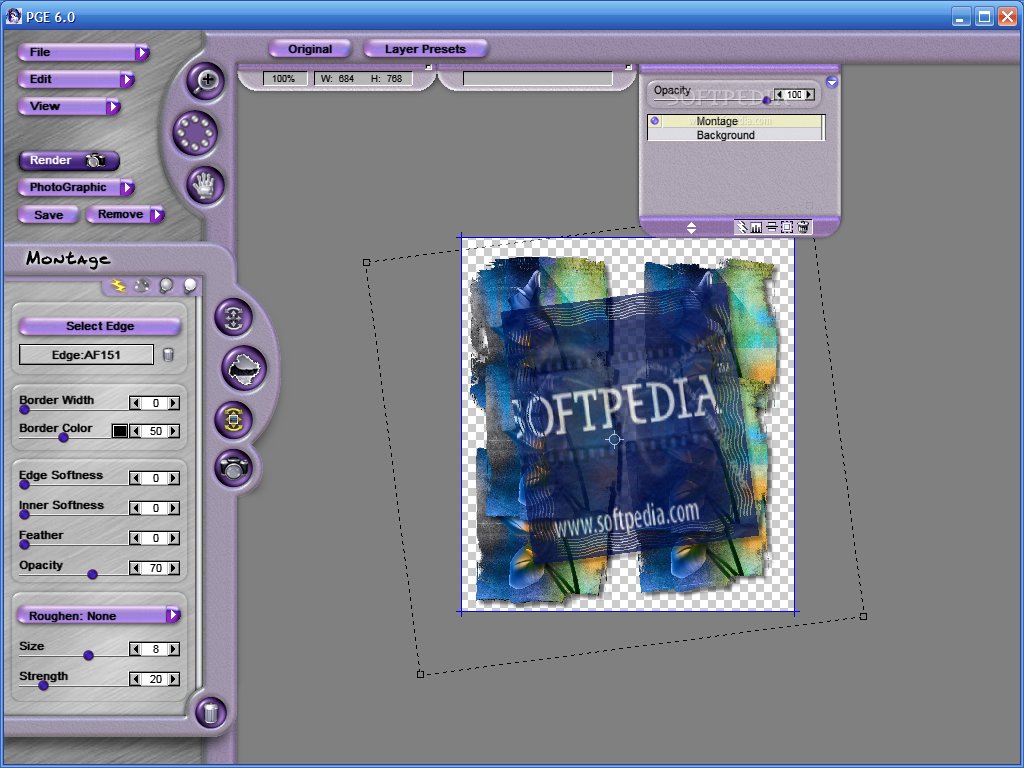
Let's choose a photo montage preset, multiplicity. There are few photos placed each on a different layer, having different edge effects. You can change the edge type for each picture inside the montage and edit its settings, you can add new pictures (strangely, I was able to add my own picture in the demo version and also save the preset after performing the changes, so I am sure you can do the same) or replace existing ones. Think about creating a photo montage with all your family members, each with a different frame!
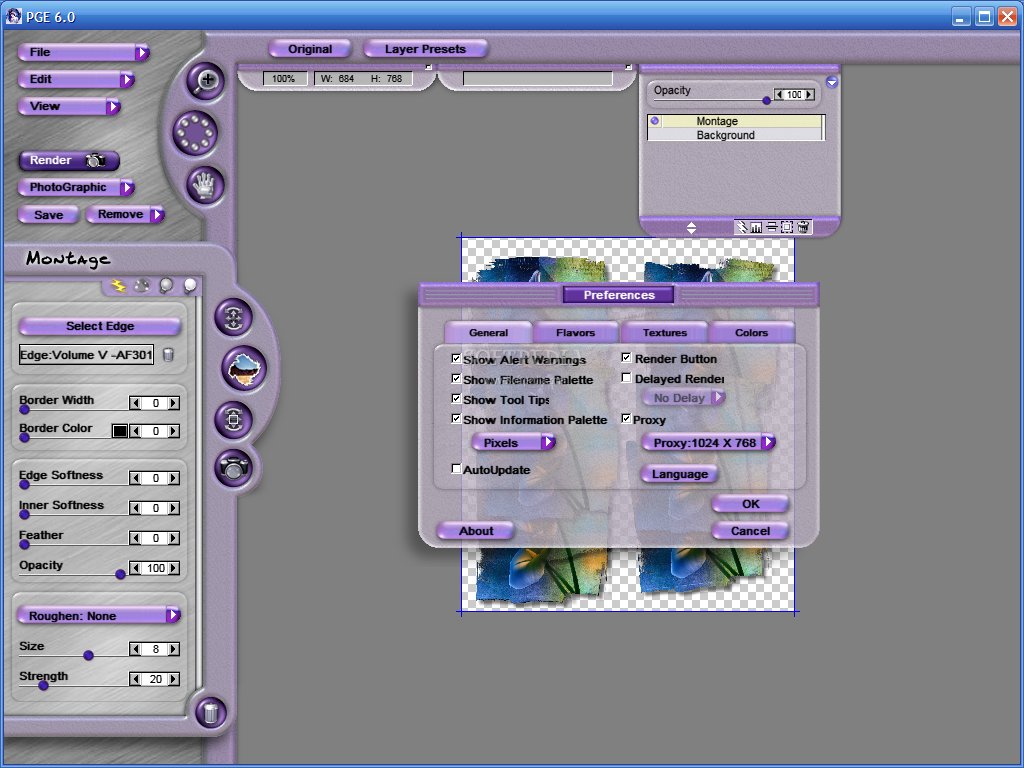
Next, let's check the Preferences that we can set up in this demo version (they are the same as in the full version, so no limitations here!). The beautiful program interface can be customized as you wish, if you feel the need for this. Just go open the Edit menu and choose Preferences.
The colors of the interface ("flavors") can be changed and you can set a texture or a color as background for the work area. The render button can be useful when you know exactly what you want and after performing a couple of changes you press it in order to render the image. Otherwise, you will have to wait for the image to be redrawn each time you make even the smallest change inside your document. You can also enable or disable showing the filename and the information palette.
The Edit menu also gives you the power to undo/redo changes and to reorder the screen objects from front to back. Clicking any object in the preview window and selecting Edit>Send to Back will place the object behind all other objects in the preview, while Send to Front will place it on top of any other objects.
The View menu lets you control preview, zooming and the background color for previewing images. In the main interface, right next to the menus, you can notice three buttons, each having an useful function. The first one is the Zoom Tool, the second is the Memory Dot Control and the Pan Preview Tool is last. Zooming and panning are two operations that can be done in most graphic viewers/editors, so I'll tell you a few words about the memory dots.
While you are exploring the available effects and presets you can take a snapshot of your work using a memory dot. They are very easy to use: click one when you want to save your status, and its color will change after saving your snapshot. When you want to return to the previous status, click the dot and it's done. After reloading a snapshot, the dot is cleared and can be used again.
If you want to quickly preview the content before applying it, then the onscreen catalog feature is your choice. You can preview edges, textures, frames, vignettes and light frames with it.
Another great feature is represented by the presets. They save a snapshot of your work, are resolution independent and take up virtually no memory, so don't worry about saving hundreds of them. They can be added, shared, they are cross-platform and backwards and forwards compatible. In Photo/Graphic Edges you can save and use effect presets and layer presets.
The Transformation Tools allow you to select, move, scale, stretch and rotate items.
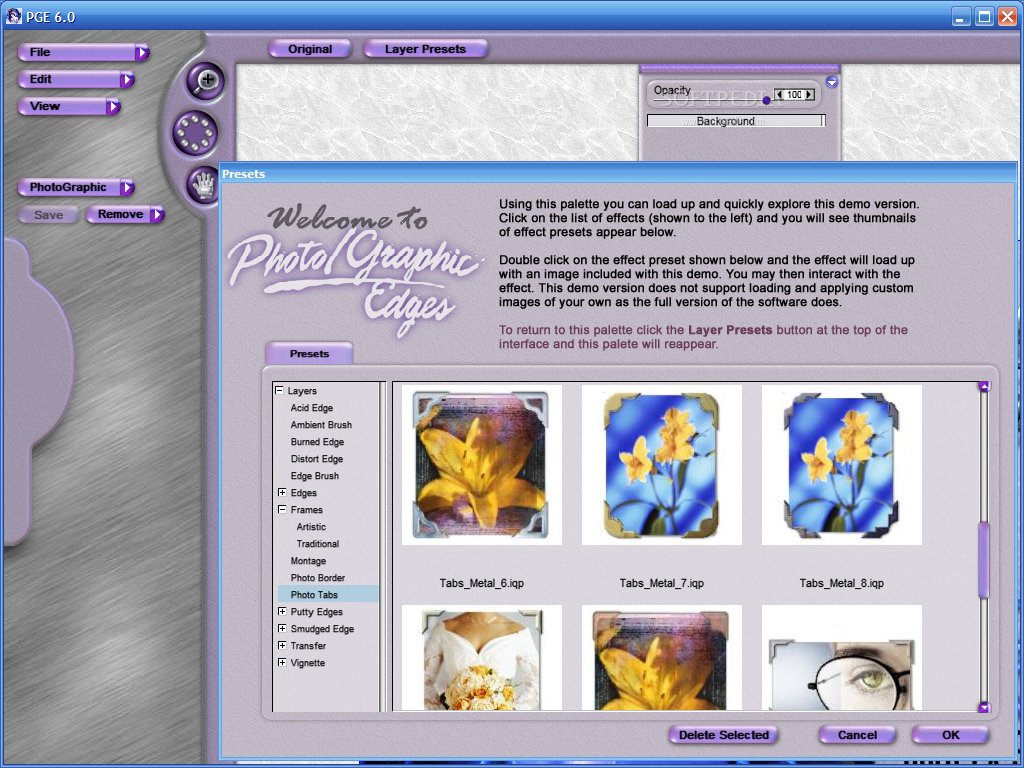
From the available effects I will mention here only a few - Acid Edge, Ambient Brush, Frames, Photo Tabs and Vignette. I am sure you'll be delighted to check the others yourself.
The Layers are maybe the strongest feature when it comes to image manipulation. You can use them in Photo/Graphic edges too. There are six layer types, and you can control four of these. The other two are reserved for the application and cannot be changed. You can control photo, effect, masking and correction layers, while the background image and selection mask layers are the ones reserved.
Before we draw the conclusions, I have to tell you about one more thing - the control tabs. What's their purpose? They enable you to change the settings for effects, surface, light tiles and lighting. For example, the surface controls allow you to add color or textures to background behind the effect and you can choose from over one thousand high-quality textures and surfaces included with the program.
Photo/Graphic Edges redefines the term "joyride" for me. Each good program that I find and even those I've been using for ages are fun. This time it's a bit more - take a great interface, add lots of nice effects, tons and tons of presets, very good functionality and you may find yourself standing "face to face" with Photo/Graphic Edges! Of course everything comes for a price, but you can get a taste of it before buying, and I think it will be a good deal if you decide to get it. If not, I am sure the demo version will be a pleasure to try.
The Good
The program's interface reminds me Kai's Photo Tools interfaces, it's first a work of art, and then a computer program interface. The manual is ready to download from the website and provides a great resource, very detailed and filled with helpful screenshots. Working with layers in Photo/Graphic Edges is easy but still powerful.
The Bad
For beginners, reading the manual is a must. The interface may keep hidden a lot of strong features and options until you find them, and it's better to find this from the manual then after clicking around a day or two...
The Truth
I think that Auto FX Software's products are all great programs, with extremely well done manuals, lots of presets and highly customizable. They may not be cheap, but art is not for free. Photo/Graphic Edges is a member of this family and no exception to the above. Take your time, try it and if you like it, buy it. At least I would...
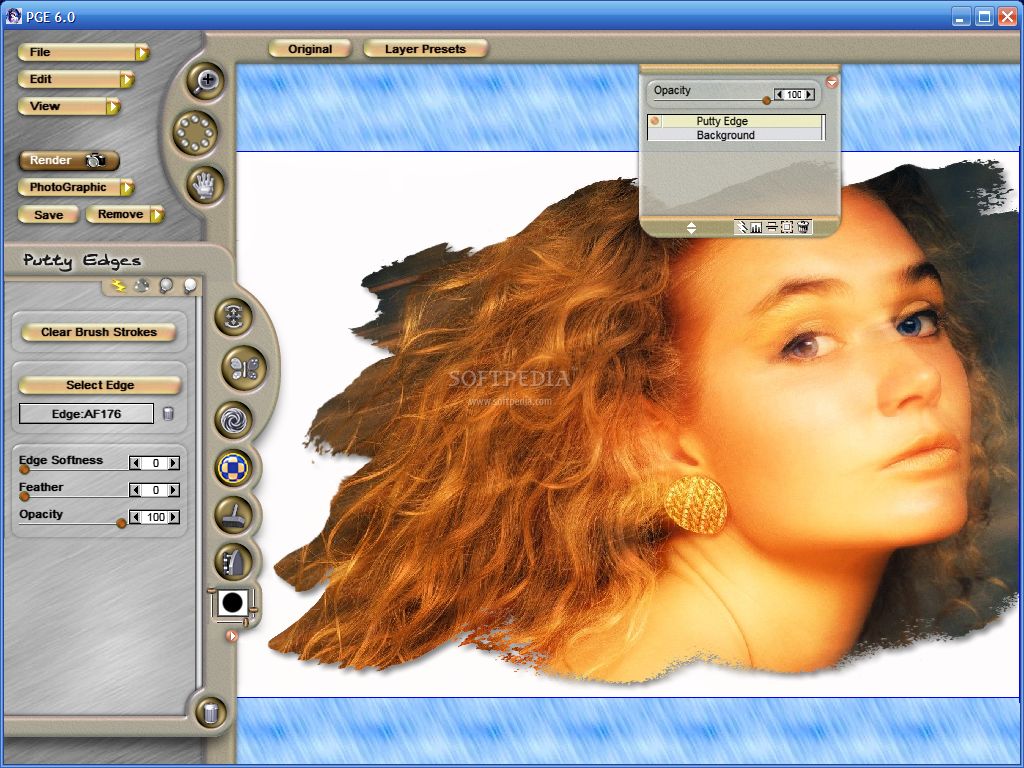
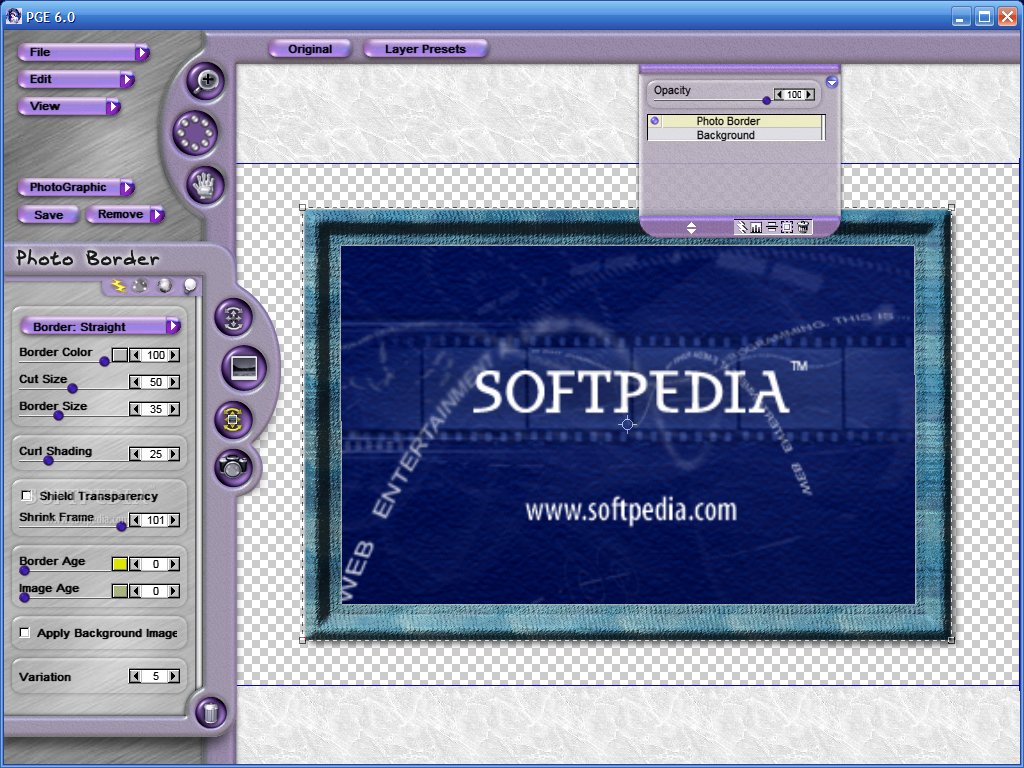
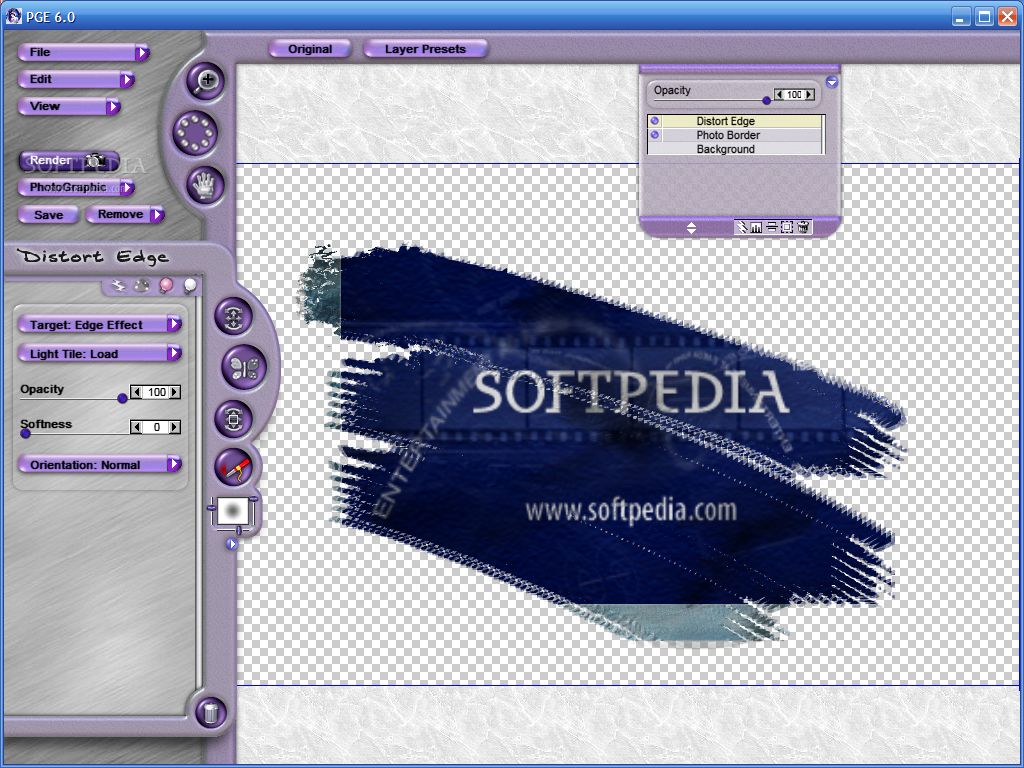
Here are some snapshots of the application in action: