14 DAY TRIAL //
 Snagit is a Windows application that's just been updated to the 13th version. It's capable of taking screenshots and recording videos, has a lot of sharing options, and comes equipped with a versatile image editor to help annotate pictures and apply a wide range of effects.
The software tool brings many new features to the table, such as webcam and HD video recorder, a convertor to turn videos into animated GIFs, and a panoramic feature to grab photos while scrolling. We're breaking down the latest edition of Snagit in the following article to show you how it looks and works.
Snagit - All-in-One tab
The main app window is split into three tabs: All-in-One, Image and Video.
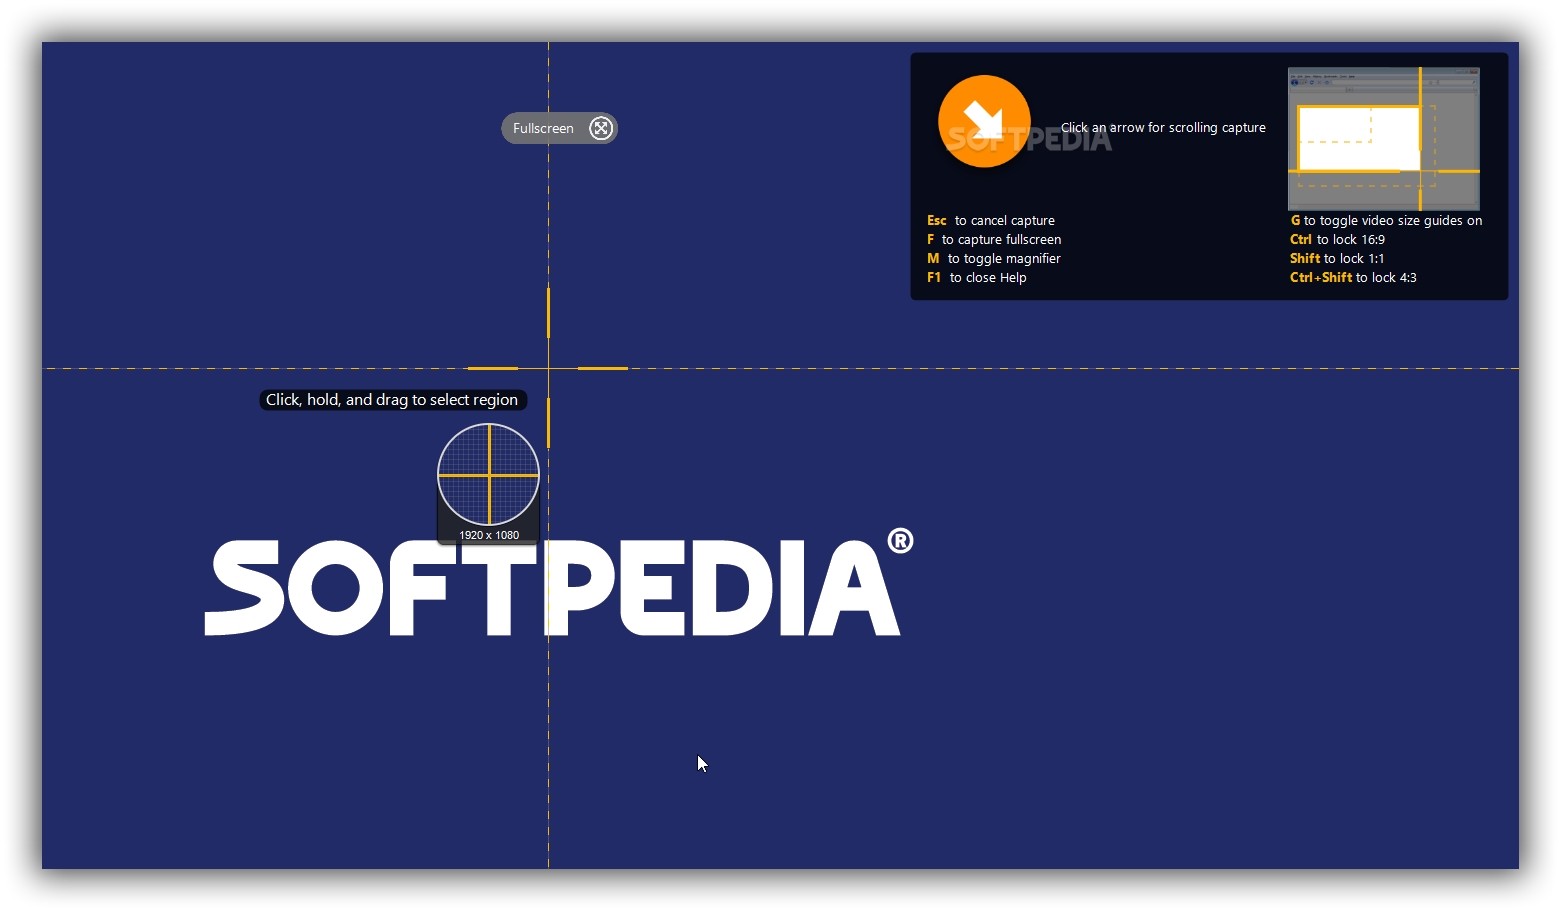
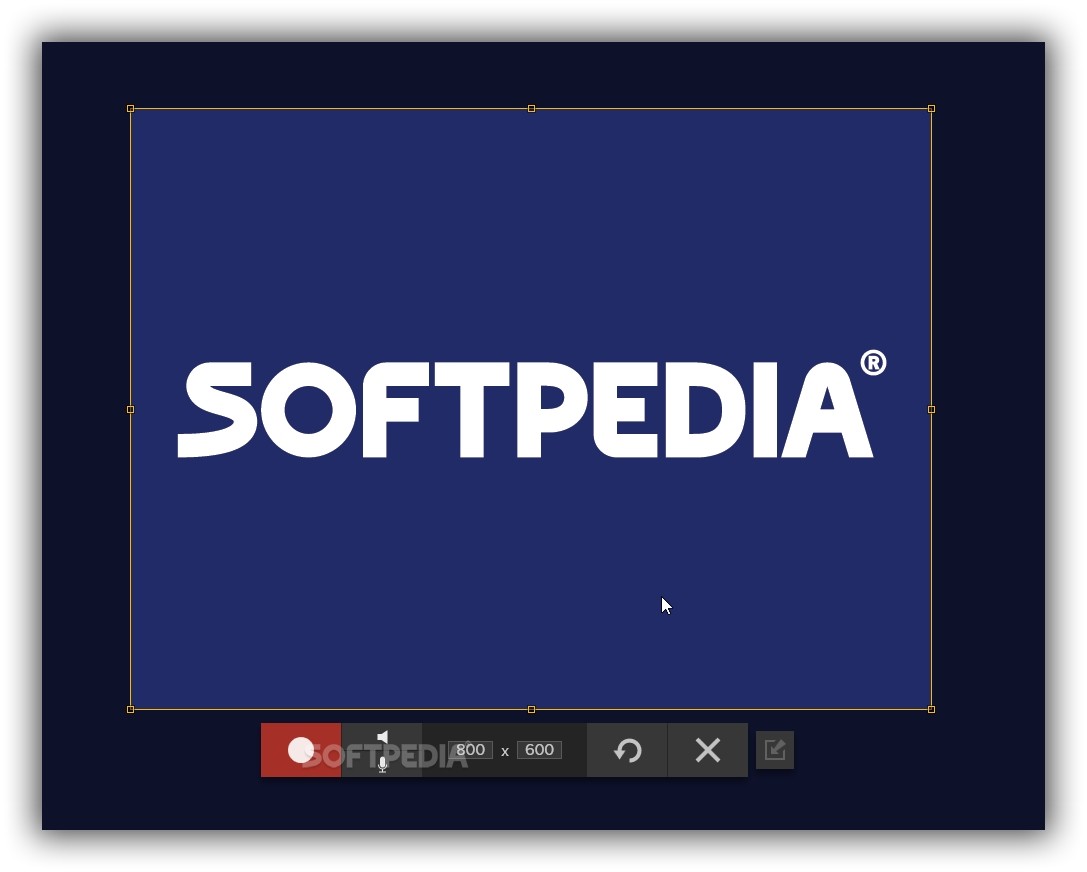
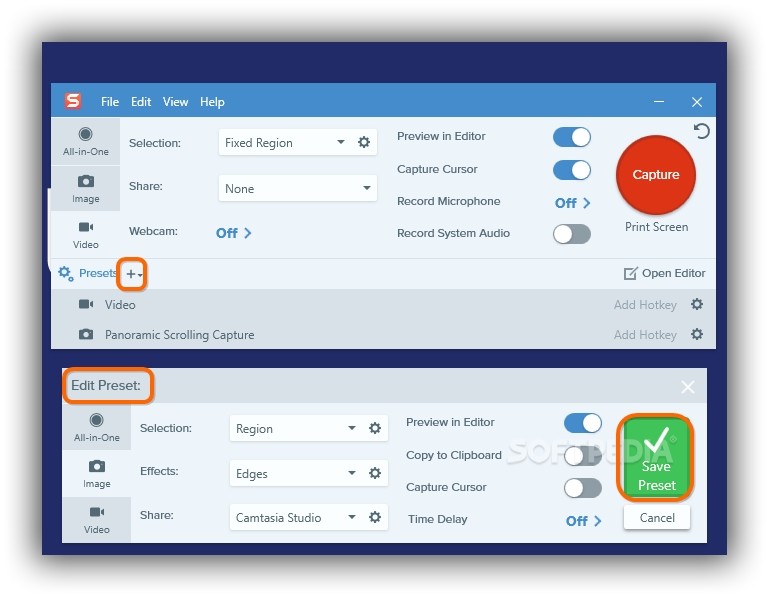
In All-in-One tab, you can take a snapshot of the full screen by clicking the big red Capture button or by pressing the PrintScreen key. By default, the Capture mode is set to Region, where you can click and drag the mouse pointer to grab the selected area.
While in Capture mode, you can press F to capture fullscreen, M to toggle the magnifier that accompanies the mouse cursor, Ctrl to lock 16:9 aspect ratio, Shift to lock 1:1 aspect ratio, or Ctrl+Shift to lock 4:3 aspect ratio.
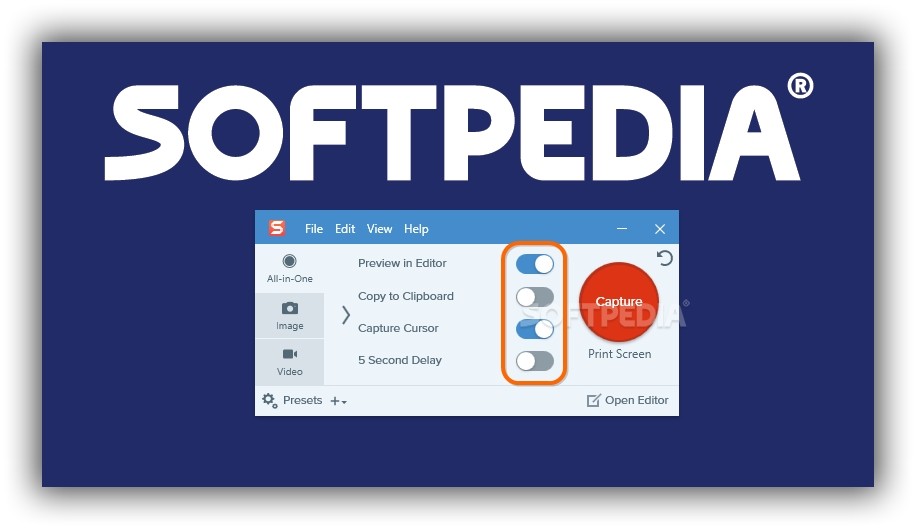
From the All-in-One tab, you can also prevent the app from showing a preview of the image in the Snagit built-in editor (click the Preview in Editor slider to turn it grey), ask the app to copy the image to the clipboard (click the Copy to Clipboard slider to turn it blue), exclude the mouse cursor from the picture (click the Capture Cursor slider to turn it grey), and set a 5 Second Delay before taking a snapshot (turn its slider blue).
All-in-One tab - Selection
Click the arrow on the left of these options to open another area of the All-in-One tab, where you can keep the initial Selection to Region and click the settings icon to Select region at capture (click and drag the mouse) or create a Fixed region by specifying the Width and Height (optionally Set position).
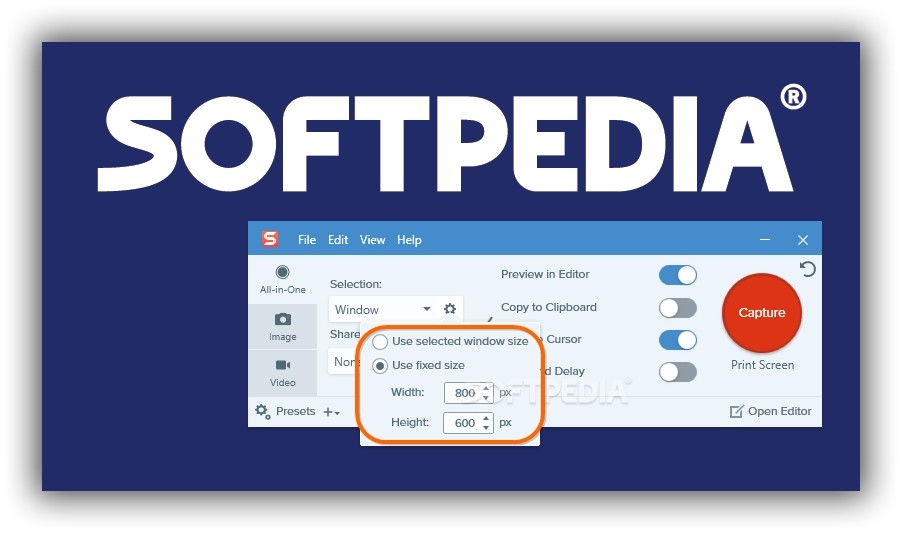
Otherwise, set the Selection mode to Window in order to move the mouse cursor over the window of an open application and capture it with one click, or click the settings button to Use a fixed size (set Width and Height) instead of Use selected window size. You can also set the Selection mode to Fullscreen to grab everything.
All-in-One tab - Share
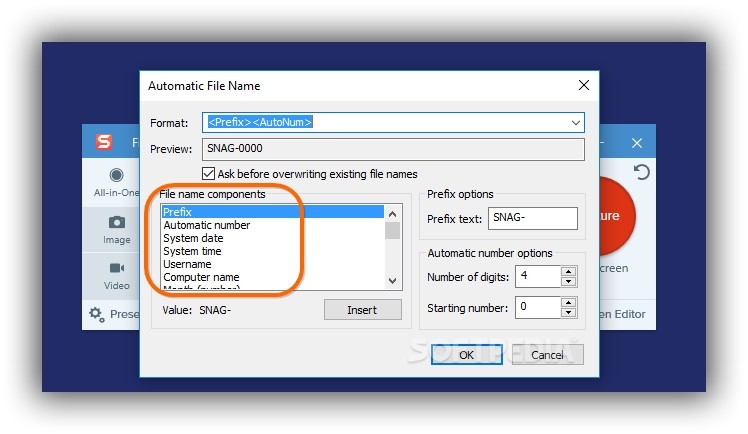
Below this menu is the Share menu, which is set to None by default. If you want to save images to files, click the Share menu, choose File, and click the settings icon to establish the saving location and Image file type: Ask for file name at every capture, Fixed file name or Automatic file name. When it comes to automatic file naming, you can choose the File name components (like Prefix, Automatic number, System time or Weekday) and other properties.
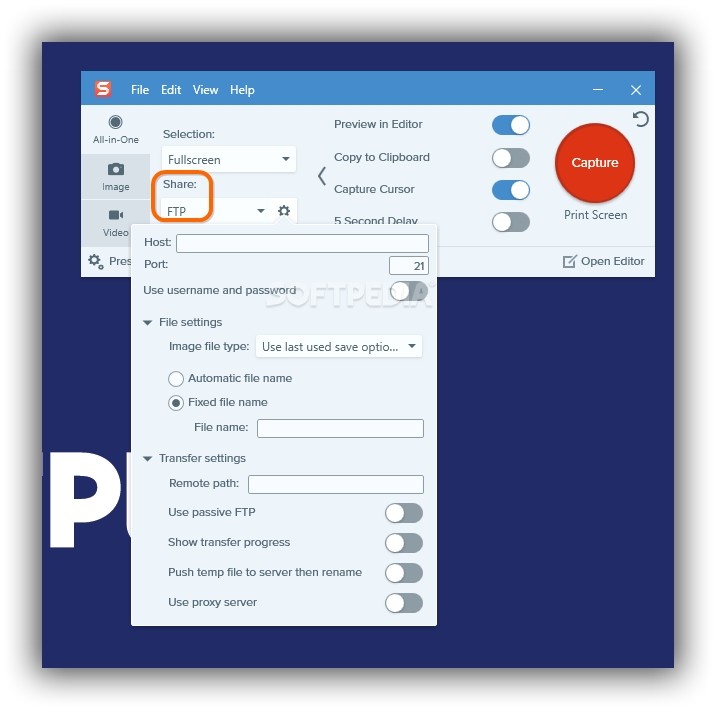
If you want to upload the screenshots via FTP, set Share to FTP and click the settings icon to specify the Host, Port, Username and Password (if required), File settings (image format and file name) and Transfer settings (remote path, passive FTP, proxy).
Other share options include Camtasia Studio, TechSmith Relay, Google Drive and Dropbox. If you want to create multiple Share options (for example, to save the image to file and upload it via FTP too), pick Add another destination from the Share menu and set the preferred output type in the new empty box.
Image tab - Selection
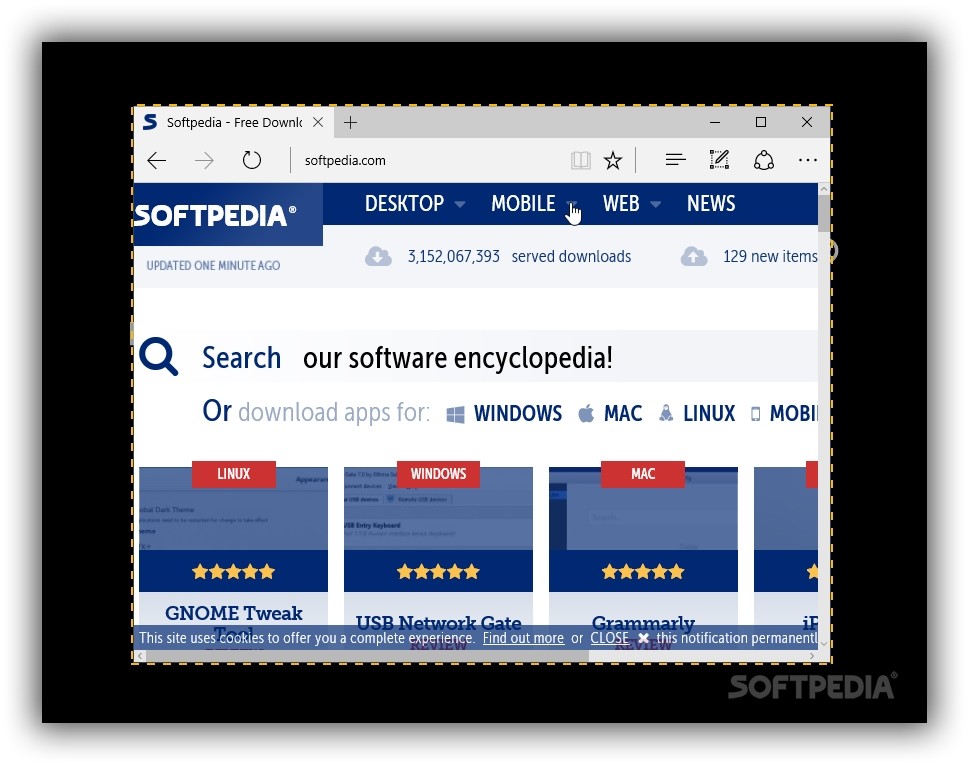
In the Image tab of Snagit, you can set the Selection mode to Region (Select region at capture or Fixed region), Fullscreen, Window (Use selected window size, Use fixed size, Capture active window), Scrolling Window (Start at top left of window, Capture active window) or Panoramic (click and drag to make a selection inside a window, start panoramic mode, scroll left or right to grab more areas of the window).
Open the Advanced submenu of the Selection menu to pick: Menu (Capture open sub-menus, Capture menu bar), Clipboard (Listen for images on clipboard), File (use the integrated file browser to open a graphic file and edit the image), Freehand (click and drag the mouse to create a freely drawn image selection), Object (capture any object from the screen that has margins), Multiple Area (click and drag to create multiple regions to capture in the same picture) or Scanner/Camera (pick the Current source device).
Image tab - Effects
If you want to apply various effects to your captured images, open the Effects menu to select: Border (set the color and width), Filters (grayscale, monochrome, invert colors), Shadow (color, position, size), Caption (custom text, PC name, user name, time and date), Color Replacement (use a color picker to choose a color from the image and select another color to replace it with) or Scale Image (by percentage, to specific width, height or size, lock aspect ratio).
You can also set the Effects to Edges (set position, style, size, border, shadow), Trim (set left, top, right and bottom, auto trim), Color Adjustment (brightness, contrast, hue, saturation, gamma), Rotate Image (set angle, resize canvas to fit), Watermark (set position, scale, emboss, depth, direction) or Image Resolution.
If you want to combine and apply multiple effects for the same image, open the Effects menu to create a new field (Add another effect). The Share menu of the Image tab has the same options as the one from the All-in-One tab.
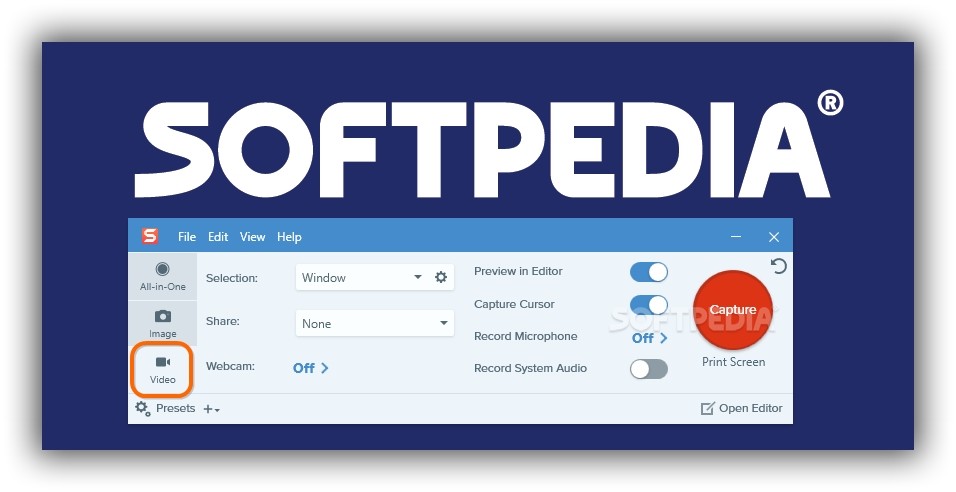
Video tab
The Video tab of Snagit handles video recording settings. You can set the Selection mode to Region (Select region at capture, Use fixed region) or Window (Use selected window size, Use fixed size) and the Share mode to any of the options previously described for the All-in-One tab.
If you have a Webcam, you can turn it on and configure settings for recording webcam footage. Moreover, the application can Record Microphone sound and Record System Audio.
After pressing the red Capture button to enter recording mode, you can start by clicking the red Record button (or press Shift+F9), turn the Recording System Audio and the Recording Microphone on and off, edit the Capture Width and Height, Redo Selection or Cancel. While the app is recording, you can click the II button to Pause (or press Shift+F9) or the square button to Finish recording (or press Shift+F10).
From the bottom part of the Snagit window, click the + button to Save capture settings as a new preset: create a New preset from current settings or create a New preset..., Edit Preset properties and Save Preset. Click Open Editor on the bottom right to launch Snagit's built-in image editor and apply a wide range of adjustments.
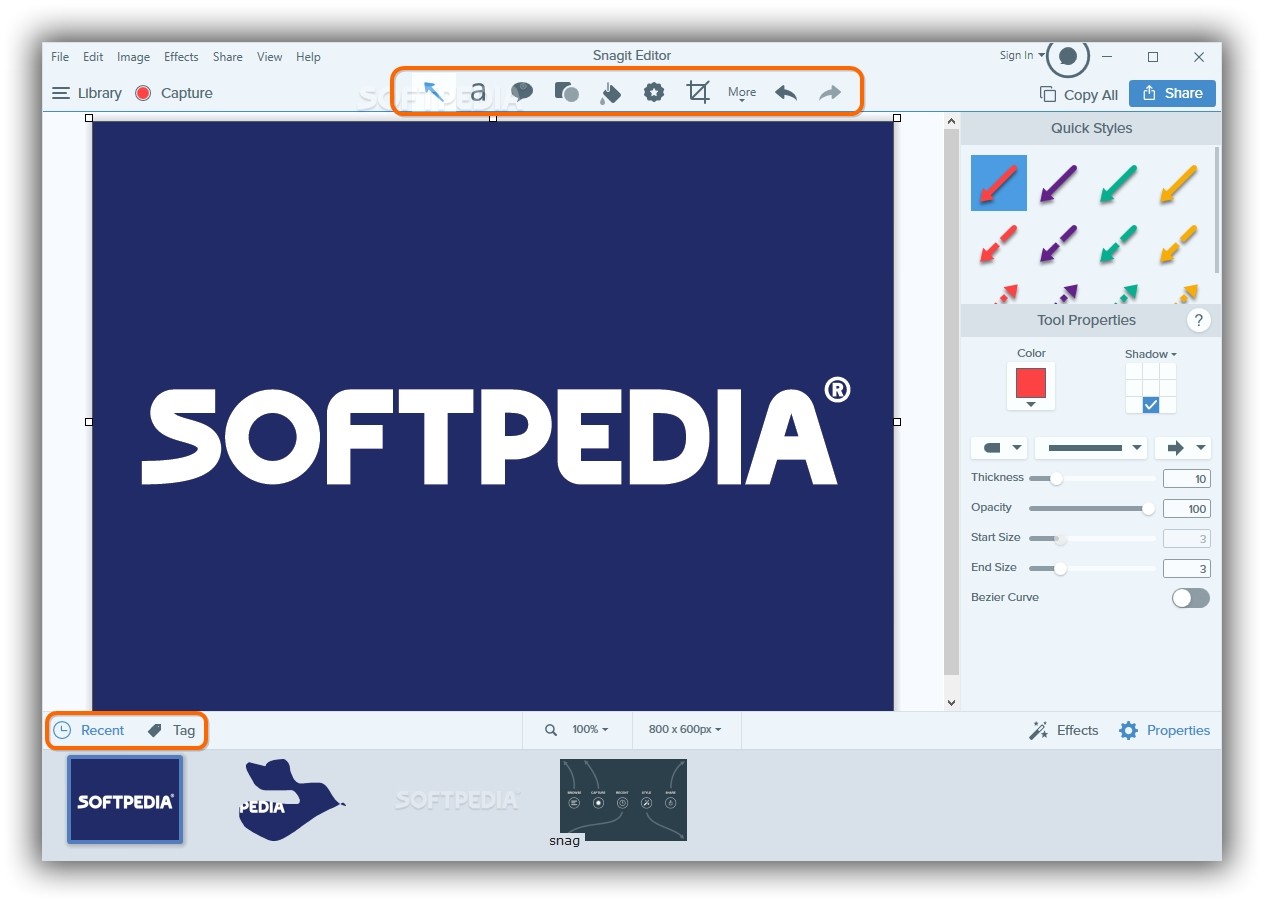
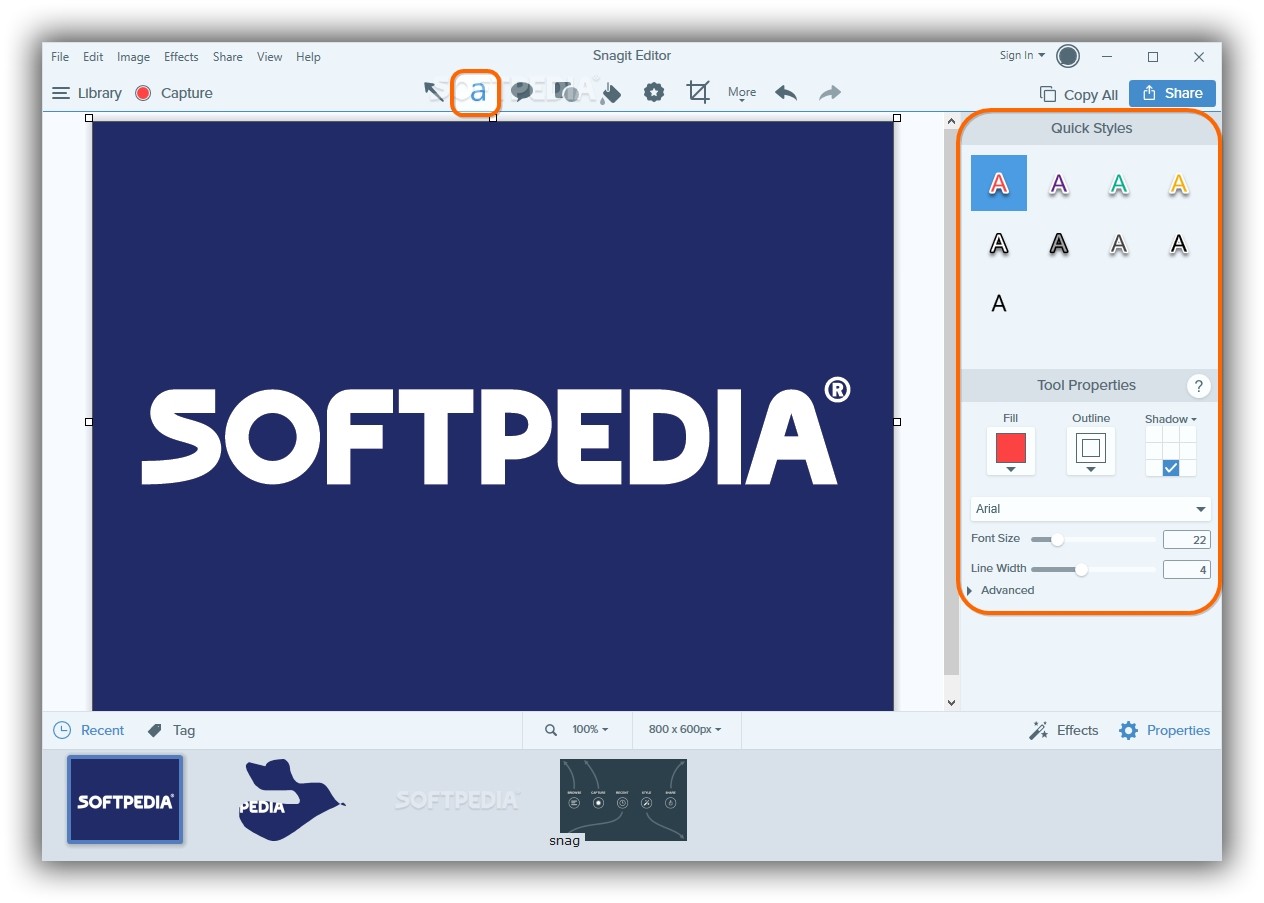
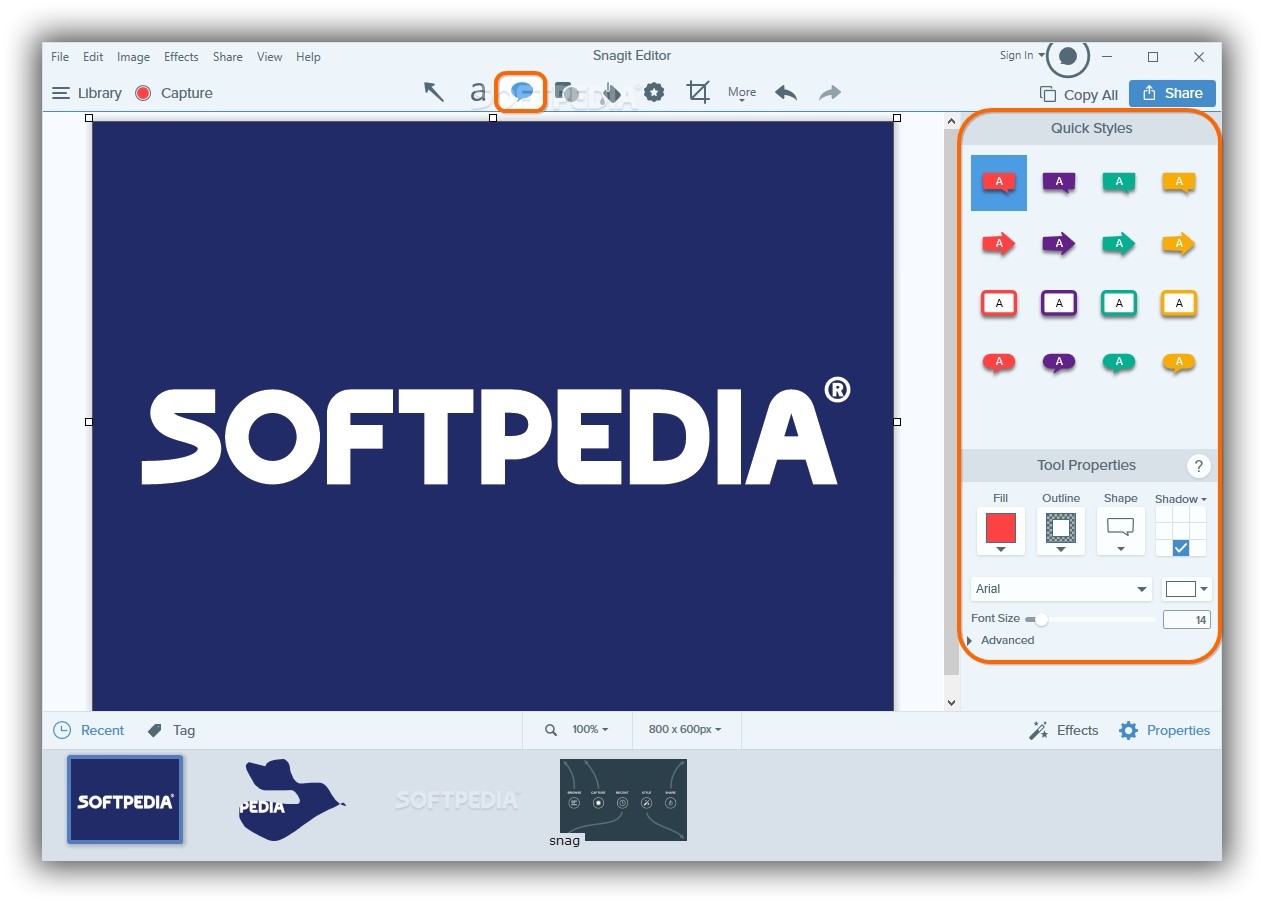
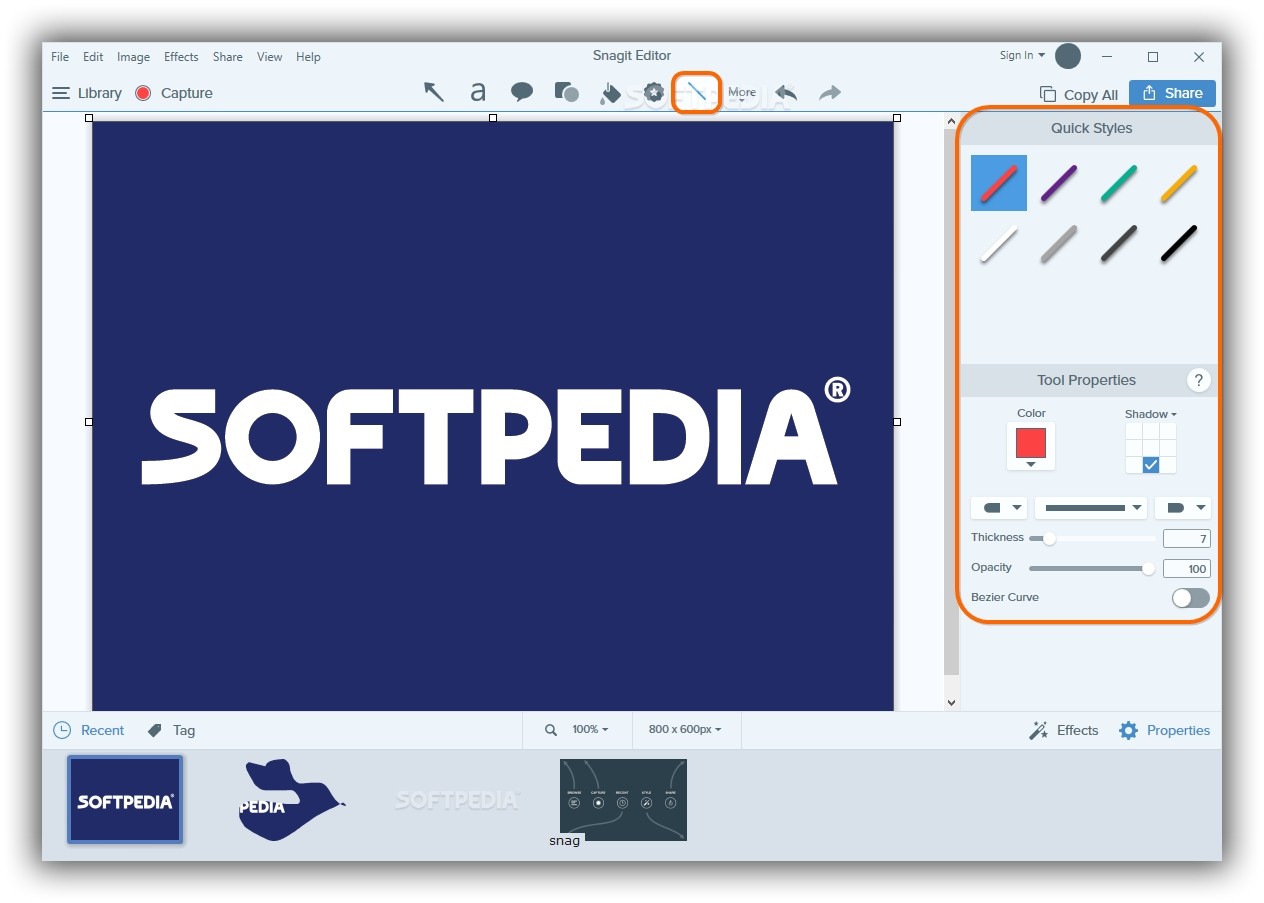
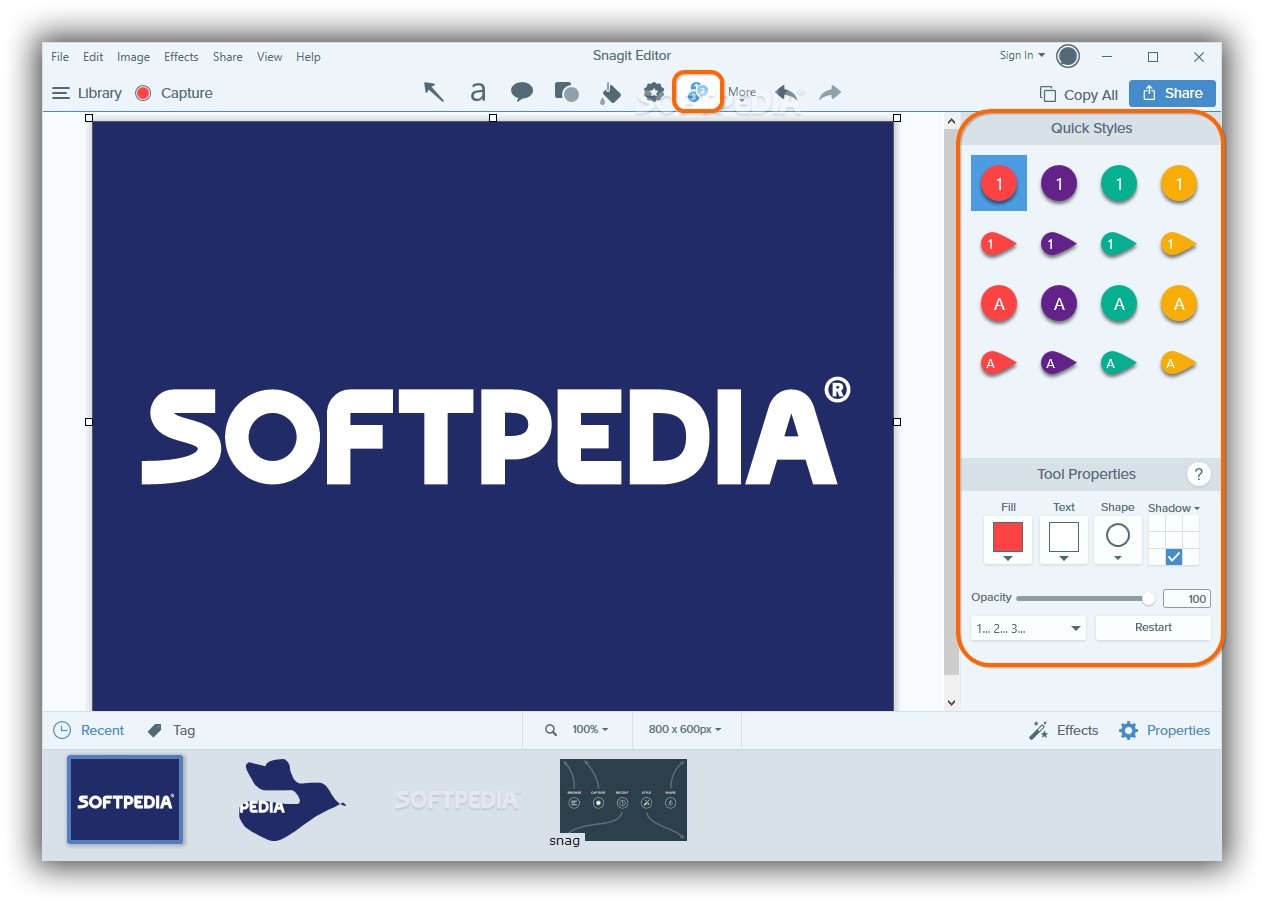
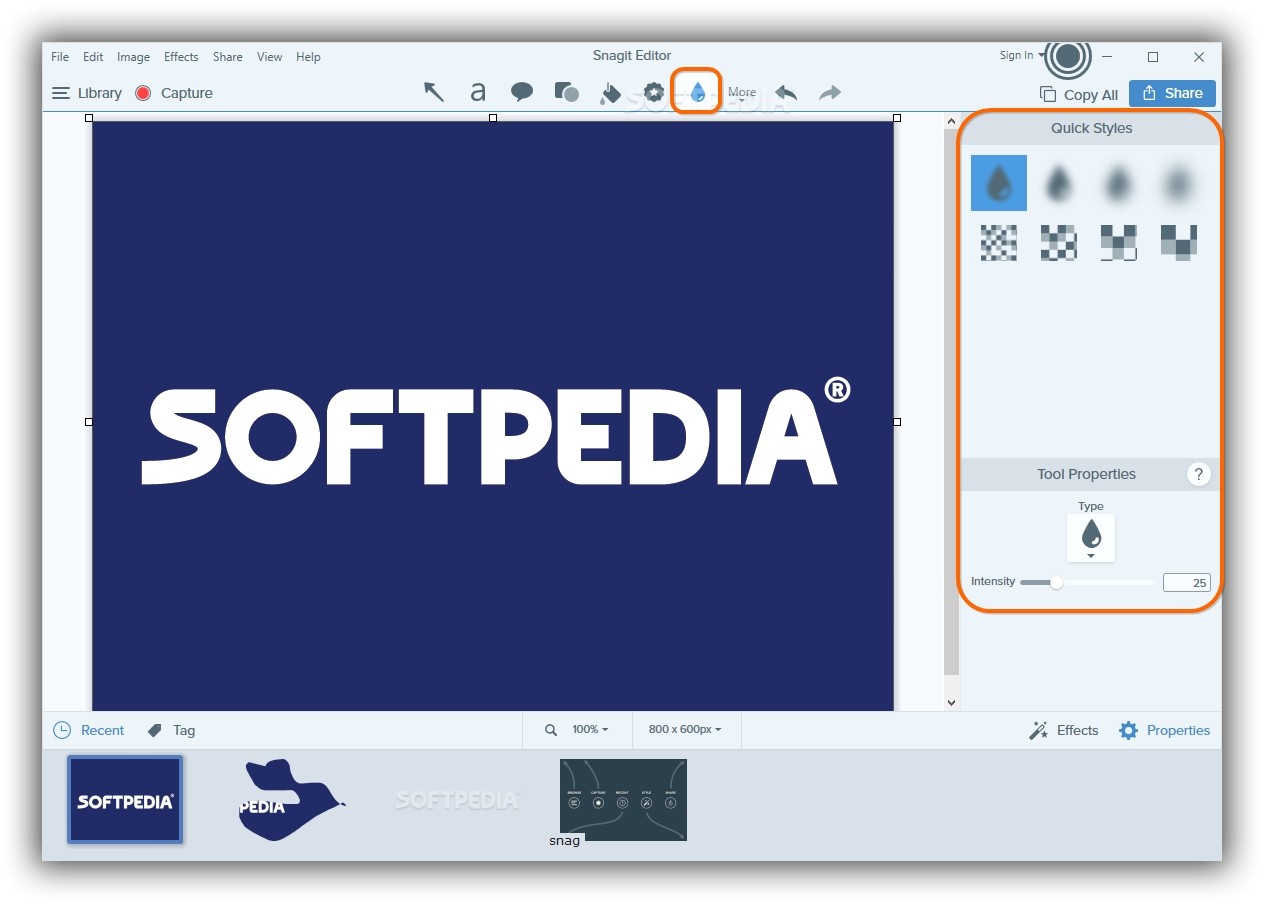
Snagit Editor - Quick Styles
The bottom part of the editor has a strip with Recent captured images, and you can click any of them to make adjustments, as well as assign tags (click Tag while a picture is selected and Type one or more tags).
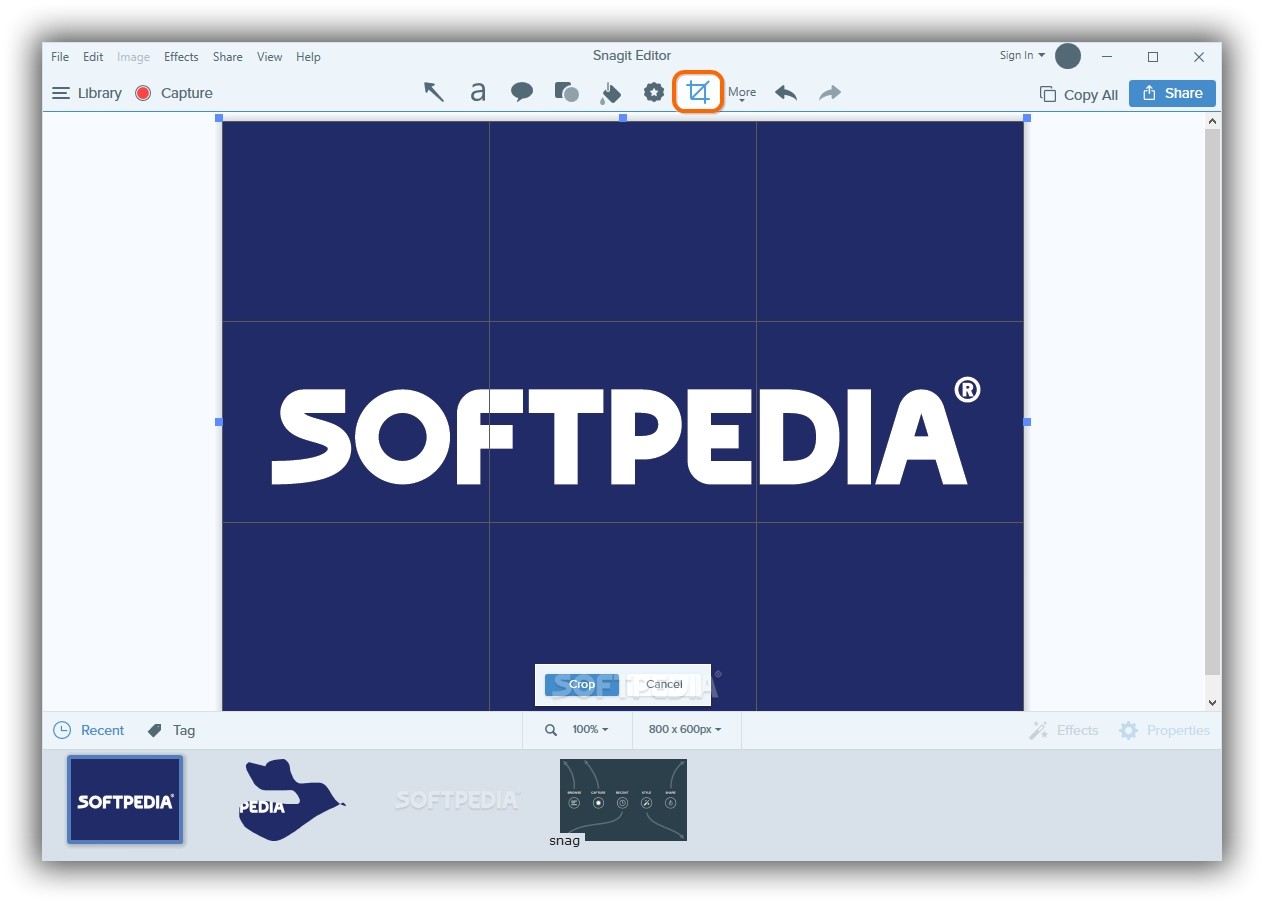
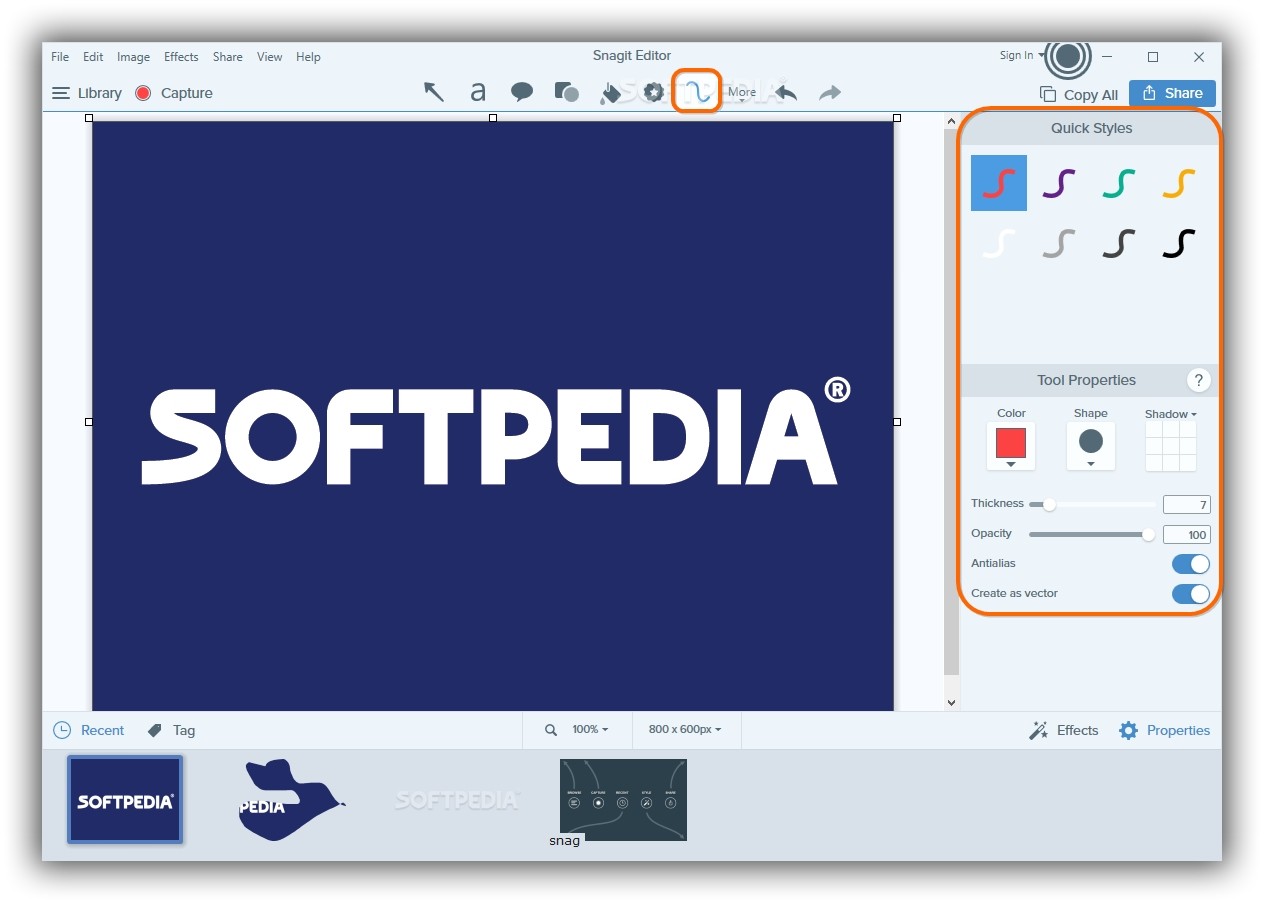
From the right side of the window, you can annotate the picture by exploring the Quick Styles options, which can be selected from the upper part of the window: Arrow (or press Ctrl+1), Text (or press Ctrl+2), Callout (or press Ctrl+3), Shape (or press Ctrl+4), Fill (or press Ctrl+5), Stamp (or press Ctrl+6), Crop (or press Ctrl+7).
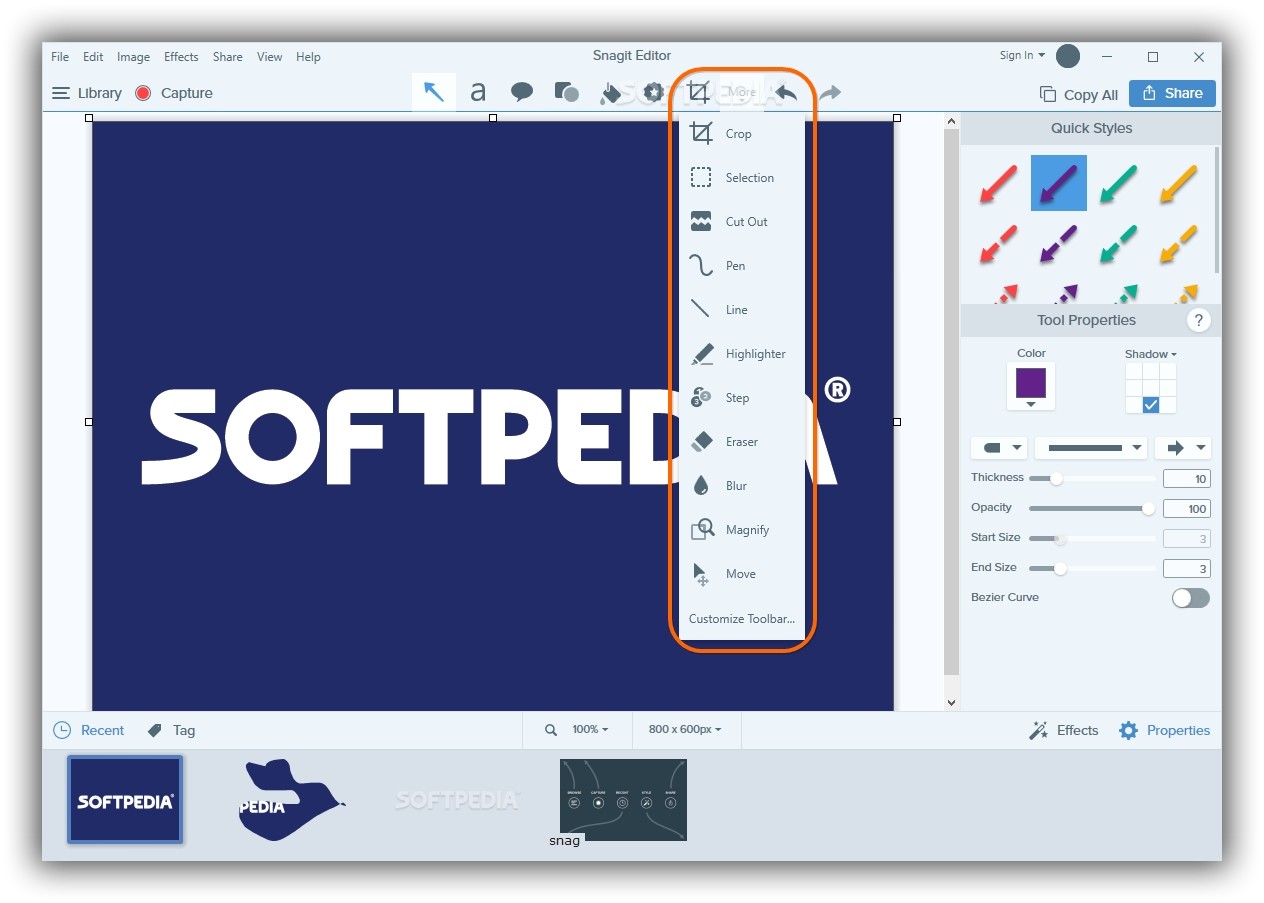
Open the More menu to replace the Crop button in Quick Styles with Selection, Cut Out, Pen, Line, Highlighter, Step, Eraser, Blur, Magnify or Move. You can also Undo or Redo option by clicking the last two buttons on the upper bar (or by pressing Ctrl+8 or Ctrl+9), as well as pick Customize Toolbar from the More menu to drag favorite Drawing Tools, Menu Items, Share Destinations onto the toolbar for fast access.
Each type of tool has customization properties. For example, you can select an Arrow type and click and draw on the image to create arrows, as well as set the Color, Shadow position, Thickness, Opacity, Start and End Size, and Bezier Curve.
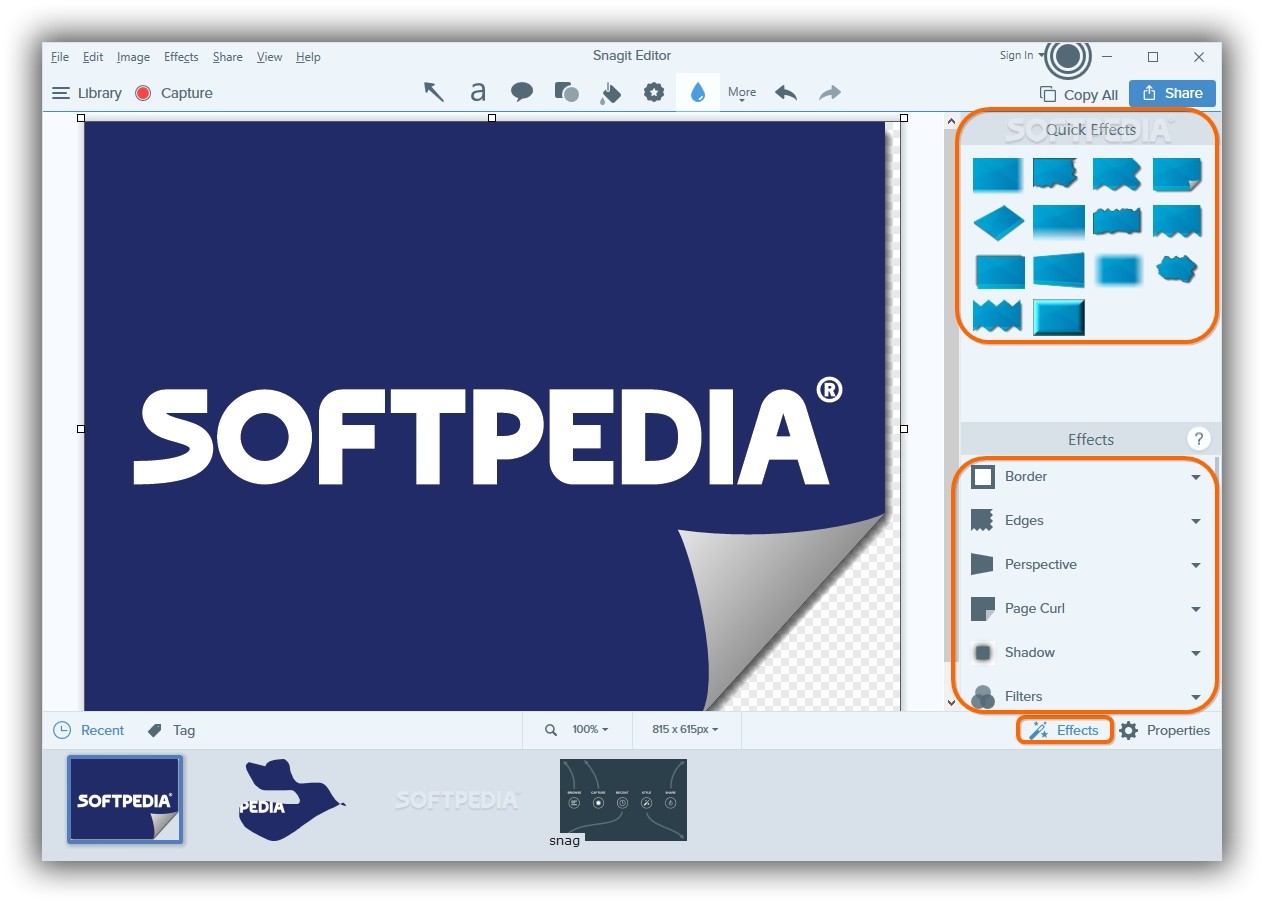
Snagit Editor - Effects
Switch from Properties to Effects on the bottom right (just above the image strip) to view a list of Quick Effects with predefined settings that can be applied to the currently selected picture, involving Edge Effect, Page Curl and Shadow.
You can view all in the Effects pane as well as click any effect to add it to the photo after configuring settings: Border (set color and width), Edges (set position, style, size, border, shadow) or Perspective (set horizontal and vertical angle, border color and width, shadow color, position and size).
Other effects include Page Curl (set corner and size), Shadow (set color, position and size) and Filters (set soften, sharpen, opacity, monochrome, grayscale, invert colors). Click Apply to add the effect as well as Add to Quick Effects if you want to insert an effect with the customized settings into the quick list.
Snagit Editor - Share and Library
The entire canvas can be copied to the Clipboard by clicking the Copy All button from the upper-right side of the Snagit Editor window. Click the blue Share button next to it if you want to save the image to File, upload via FTP, copy to Clipboard, paste inside a new Word document, Excel spreadsheet, PowerPoint presentation or OneNote page, send to Camtasia Studio, upload to YouTube (for captured videos only), sync to Dropbox or Google Drive, as well as send via Email, to Printer, to TechSmith Relay or to any Program from your computer.
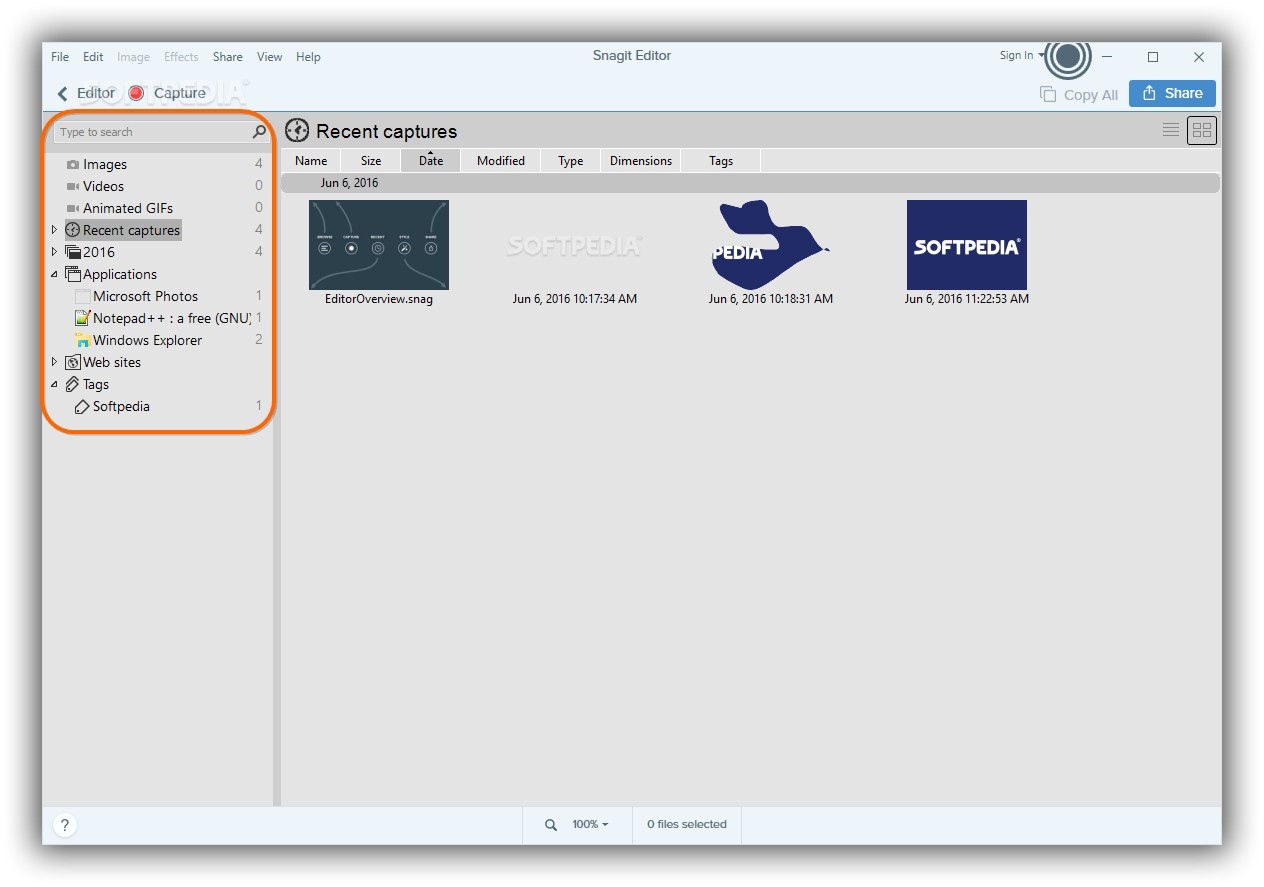
From the upper-left corner of the Snagit Editor, you can access the Library to view recent captures organized by file Name, Size, capture Date, Modified time, Type, Dimensions or Tags. They are also organized into folders by Images, Videos, Animated GIFs, year and Tags. Click the Type to search box above the left column to quickly track down a particular item.
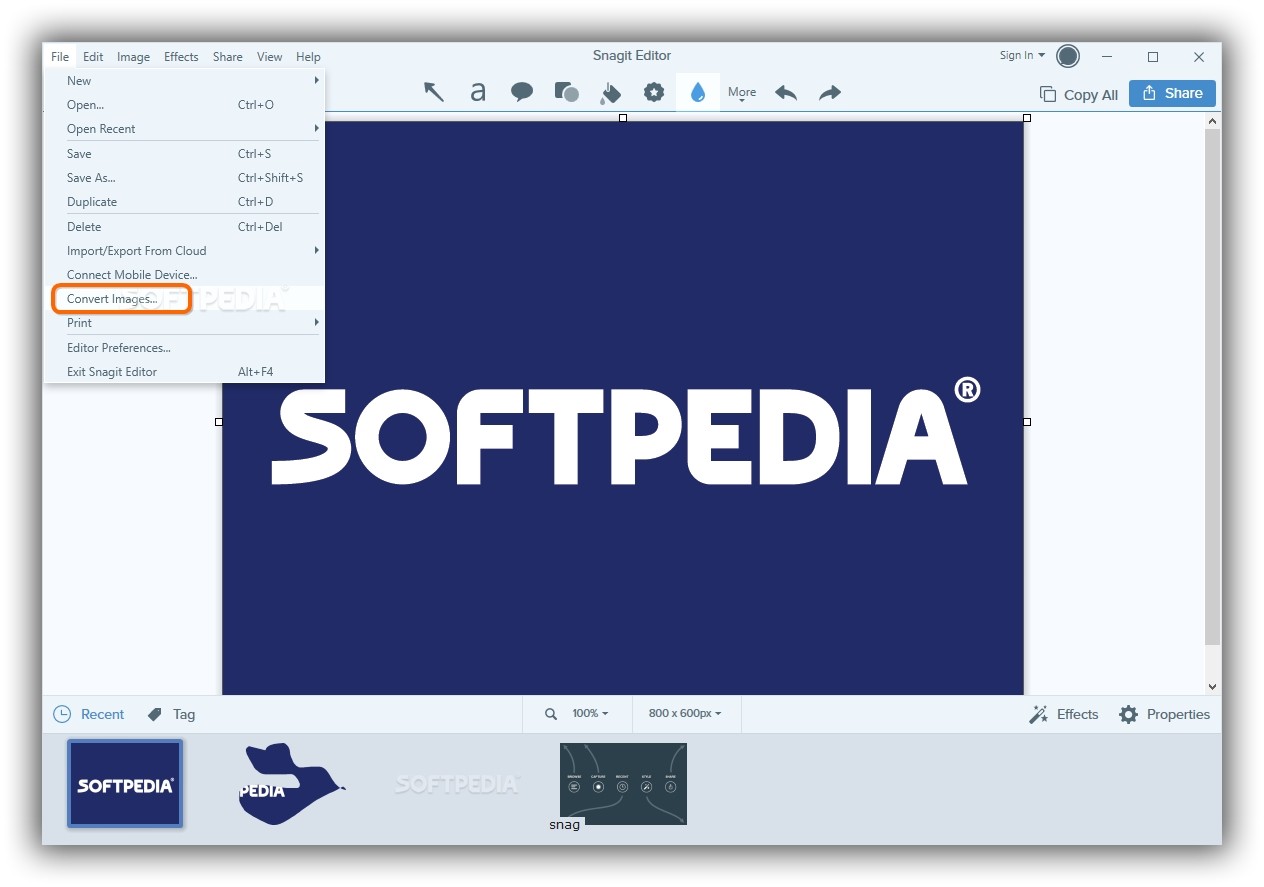
Snagit Editor - Connect Mobile Device and Convert Images
Open the File menu of Snagit Editor to Connect Mobile Device and send images and videos from your computer after installing the TechSmith Fuse app (available for Android, iOS and Windows Phone).
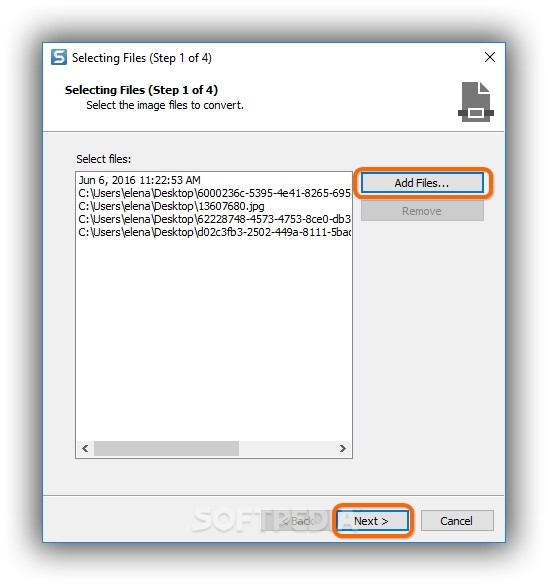
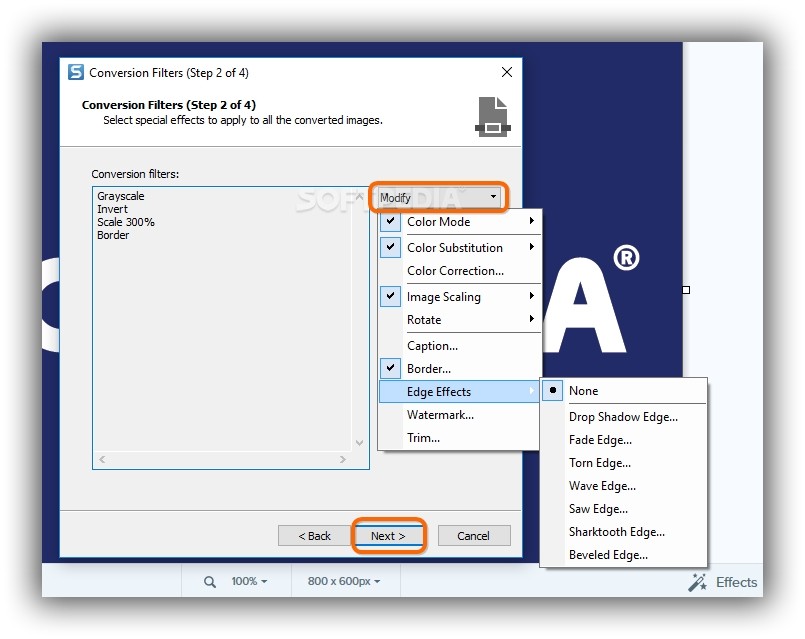
Go to File -> Convert Images if you want to change the file type of multiple photos at the same time. In the wizard, click Add Files and use the integrated file browser to locate and insert multiple selected photos into the task list, click Next, click the Modify menu in the Conversion Filters step to apply various Conversion filters. Click Next.
In the Output Options wizard step, click the folder icon and use the tree view to locate and set the saving directory for the new images, select the new File format from the drop-down menu, press the Options button to customize image properties, set the File name mode (original or automatic), and click Next, then Finish.
Play our video guide below to see what the app looks like. You can also download Snagit.
Snagit Explained: Usage, Video and Download
Snagit is a professional image screenshot and video recording tool. Check out our article to find out how it works: http://www.softpedia.com/blog/snagit-explained-usage-video-and-download-giveaway-504907.shtml

Softpedia Giveaway
We are giving away 15 FREE licenses (at $49.95/€43.97 value) for Snagit 13. Each license has a lifetime availability, can be activated anytime, can be installed on two PCs, and supports free minor updates (v13.x yes, v14 and above no). To get a chance to win, write a comment in the section below and give your feedback on Snagit by next Tuesday, June 14, 2016. Don't forget to pair your comment with a valid email address so that we can contact you if you win. We'll list the winners on this page. -- UPDATE: And the winners are: Anthony, Manide, scot, Have, Gitesh, justanotherokie, Myrul, Pardeep, Nathan Koepke, hakah, Sengottuvel, Sonia, mrsgil, Priscilla, fortunes. We have contacted all winners. Thank you to all participants!