14 DAY TRIAL //
 Planbook is a comprehensive tool for scheduling courses. You can use it to quickly create a course plan, edit the plan dynamically and sync it with other event management online tools. Are you a teacher or are you planning to become one? One of the biggest challenges that you will have to overcome as a teacher will be to find the perfect balance between what is compulsory in a curriculum and what your students enjoy learning.
As a young teacher everything could seem clumsy and hard to achieve considering there are so many variables in the game. How could anyone predict the way that a course will evolve during a whole semester?
There can be all sorts of obstacles that can change your initial courses plan: your students need more time grasping certain concepts or they are simply distracted.
Furthermore, you can see yourself in the situation when you have not the proper physical means for teaching a lesson the way it should be taught. For instance you need a projector, a special lab, more computers or some other piece of special equipment.
And even when you have everything you need the notions could be too abstract and clumsy or you, as a teacher haven't found yet the right method for explaining the standards included in the curricula to your students.
There can be tons of such reasons that can delay your scheduling and put you in the situation of having to adjust the original course plan.
Luckily there are software solutions like Planbook, that will help you plan your courses in a professional and efficient way.
The Looks
When you open Planbook, you will first see the scheduling page. This page aims to help you easily add new courses in your agenda.
The scheduling page displays, on its left side, two calendar panels and, on its right side, a text field on the top of a text area, for adding new courses.
Below the calendars and the text fields you have seven check boxes for the days of the week when you plan to teach the previously added courses.
Finally, on the bottom of the page, you have a list with four radio buttons, that lets you choose the type of schedule that fits your method of teaching best.
To be able to go further you have to fill in at least one course name and to hit the Add Course button.
Once this step has been completed, you will be shown a new window, with all the courses arranged in a table with rows and columns. The columns indicate the days of the week and the dates when the courses will take place. The rows display the name of the classes and the hours between which each one of them will be held.
The courses are displayed on the rows in the same order as they appeared in text area, that you have previously completed in the scheduling window.
Furthermore, on the right side of the table you will see a sidebar with three text fields for filling in additional courses related information. From top to bottom, you can fill in the name of the teacher, the assigned homework, other additional public info or even attach a bunch of documents.
On the top of the sidebar you will also see a horizontal menu, with three tabs: Standard, Custom and Assignments.
The above described structure of the sidebar appears when the Standard tab is active. When you hit the Custom tab you will see in the sidebar a list with three Custom-labeled text fields and the same field for Attachments. Finally, when you select the Assignments tab you will see in the sidebar an area where specific tasks, with name, date and details, can be added, and a field for attaching related documents.
The Works
First of all you have to create a list with courses and specify the days of the week when you want to teach them. You can do that by simply selecting the appropriate check boxes provided in the scheduling window.
After you have created your courses schedule, organized by days, you can proceed to the next step. Before hitting the Continue button, pay attention though to the fact that, after proceeding to the main planning window, you will not be able to get back to this page.
The next opened page is called the display view and its main goal is to let you visualize all the courses organized by days in a comprehensive and editable table.
In this page you can also visualize all the courses arranged by week or by month. To do this go to the View menu and choose the option that you need.
Also in the View menu, you will find shortcuts for jumping to a specific date in the table or for displaying a sidebar on the left side of the table, with a quick search field and a list with all the courses. To add, remove or change the colors of a course you can use the options provided in the Schedule tab. Here, besides the options for changing the appearance of cells you will also find options for changing the course times and for ordering the lessons by day.
The thing that I like most is that, at this step, Planbook lets you customize your course's schedule even more. You can, for instance, insert a week at the begging of the year or extend the teaching year with a week, so that you can match the curriculum requirements with your student's rhythm of learning.
Moreover, you can simply right click on a lesson, choose the Bump Lesson option and schedule it for another day. You can also delete a whole day or make it a Non-School Day if an unexpected event occurs and the lesson cannot be held.
For modifying a record on the fly you can also open the Inspector window.Through this window you can add further details and standards to a selected course, or attach files from your disk.
For managing standards you can open a separate window by using the special option provided in the Tools menu. In this window you will see a list with all the standards attached to a course, and you will have the option to edit the currently selected entry, add a new one, and, most important, export or import a whole list of standards.
Still, for adding a lot of standards quickly the best method is to enter them into your favorite spreadsheet application (including the free Google Docs), export them as a CSV and import them into Planbook. This method is also easier to use when you have to designed nested hierarchies with lots of sub-standards.
For the ones that haven't figured out by now what a standard refers to in this particular context, it is worth mentioning that, a standard is a kind of milestone set by the teacher in order to stay close to the curriculum.
Another very useful feature can be accessed through the Tools menu: the iCal Sync Manager allows you to sync your Planbook schedule with your iCal events.
Furthermore, taking into account that after modifying all the details of a course, you will probably want to see all the changes applied simultaneously, in the same window, Planbook lets you instantly access some statistics.
For visualizing these statistics (or reports as they are called by Planbook), go to the Reports menu. This way you will be able to visualize and print a weekly report, a daily lesson plan as well as a unit, tag or standard report.
Unfortunately, the results returned are not actually reports, in the sense of sheets with data analysis, reviews or written assessments made by teachers at the end of the year, but simple previews of the data displayed in the courses'table, filtered after certain keywords or displayed with a different layout.
And since we mentioned the word assessments, they can be indirectly deduced from the way the students have completed their assignments.
The Good
The Import and Export options are very useful when it comes to populating your classes entries with standards. The best method to do that is to import the standards from a spreadsheet.
Planbook lets you adjust your schedule on the fly by providing you a so-called full screen editing view in the planning window.
In addition, Planbook provides plenty of options for visualizing and filtering the courses schedule per day, week or month.
The Bad
The role of the fields that appear in the window were you are supposed to fill in new standards are not so straightforward. Luckily this window has a button for returning to the planning mode.
Also, the names of the menu tabs or the options included in the contextual menus are not so transparent. For instance, words like Standards, Units and Custom or options like Bump Lesson or Reports, don't let you find out at a glance what's behind them.
In the Report tab you have options for visualizing the courses organized after certain criteria and not for analyzing or computing anything.
Creating Standards in a nested manner requires a little practice, as you have to initially create the CSV files and then to import them into Planbook. As a matter of fact, this is also a feature that needs additional work: Planbook allows you to import only CSV files.
The Truth
Besides allowing you to highly customize your plans, Planbook lets you sync your plans with your iCal events and publish them on the Internet, so that your students can see the latest changes in real time.
As any good piece of software though, Planbook also has some problems: its menus have a bunch of ambiguous terms and the navigation options need further adjustments.
All in all, Planbook provides a good environment for planning your courses wisely and efficiently, taking into consideration both the curricula and your student's rhythm of learning.
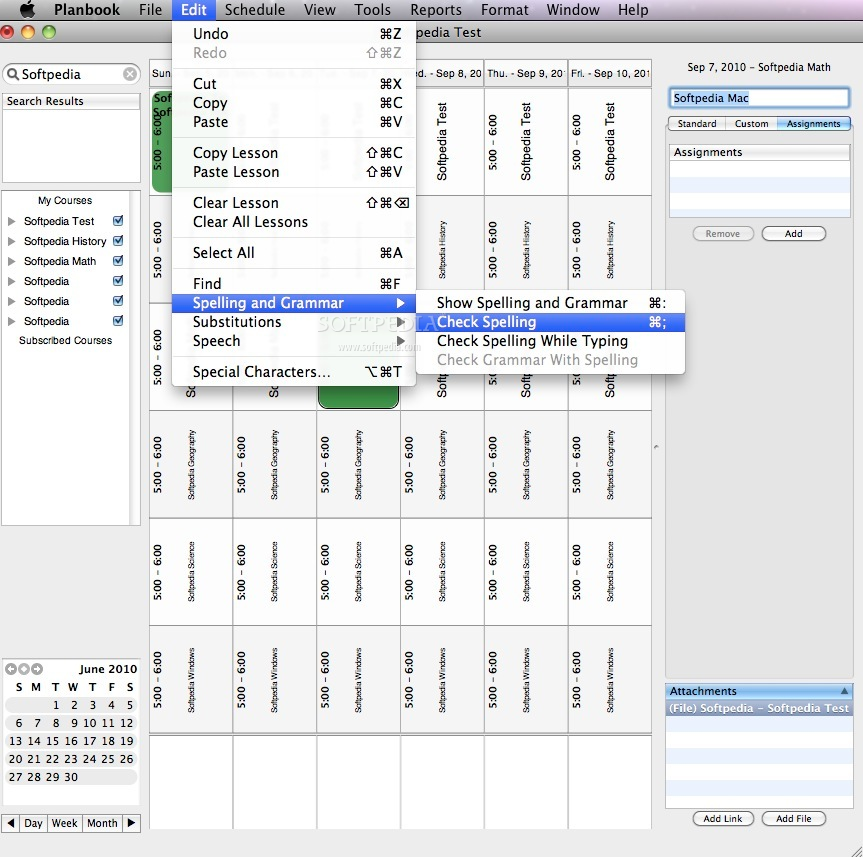
Here are some snapshots of the application in action: