14 DAY TRIAL //
 Making interesting presentations is never easy. Although you have spent a lot of time preparing your material, you are always afraid that your audience will get bored, or that your explanations are not clear enough and everything will be ruined. Of course many of these fears are without merit but what you can do is be as prepared as you can be and obviously make sure you have all the tools you need.
Developed to provide support for teachers and public speakers that are usually giving an interactive speech, Uniboard combines the beneficial features of a whiteboard with the novelty of using web resources, slides presentations and simple but efficient applications via your pen and graphic tablets for your comodity. And to make things better Uniboard also allows you to podcast your presentations even if the feature is in Beta stage at the moment.
The Looks
Uniboard is designed to cover your entire desktop although it can be easily hidden using a keyboard shortcut (Command+H). In this regard, only the Uniboard toolbar remains visible on the right side of your desktop, allowing you to quickly return to the application main window, capture a screenshot of the entire desktop, a certain area or a specific window. The captured images can be further imported to Uniboard onto the current page, to a new one or just added to the library folder. This way you can easily browse through your applications and have Uniboard ready at all times.
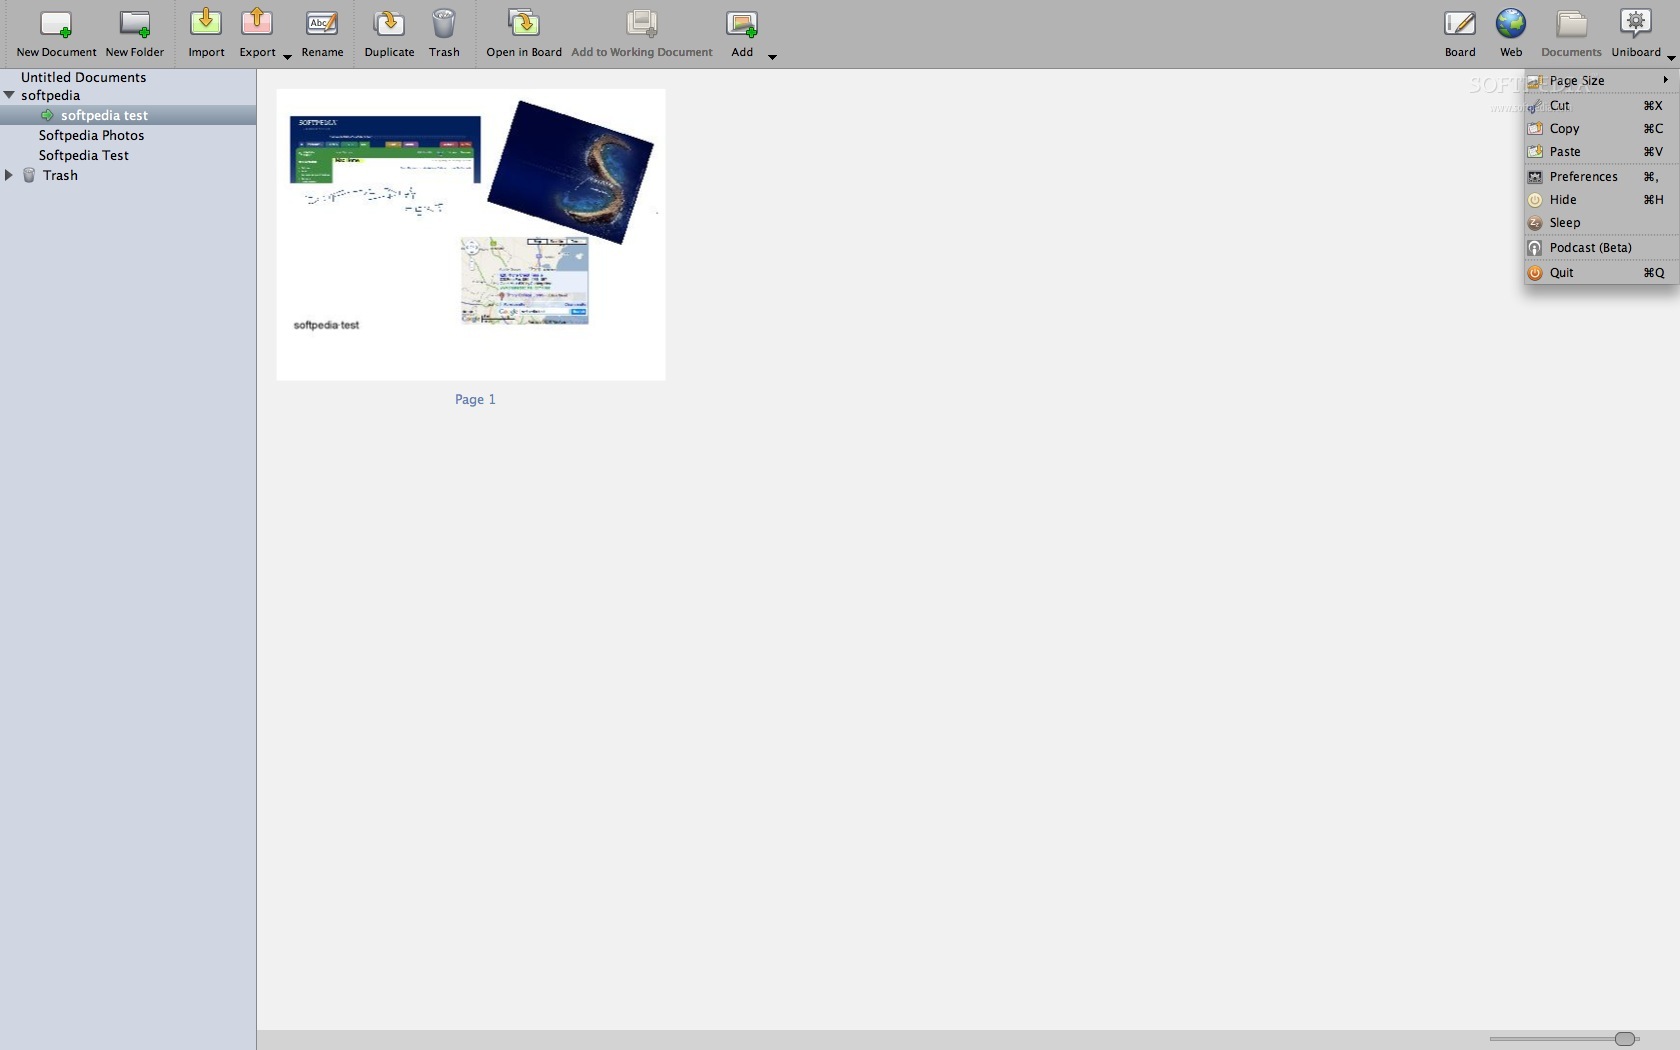
The Uniboard interface is very clean and uses one main window to provide quick access to most of its features. On the top of the window you will be able to see the toolbars for each of the three main tabs that organize Uniboard’s capabilities: Board, Web and Documents. Each tab can be accessed through the buttons situated on the right side and once selected it will cover the entire window. The Last button situated on the right side allows you to customize the page size, access basic features like cut, copy and paste, the Preferences window, the Podcast feature, hide the Uniboard application or enable the sleep mode.
The Works
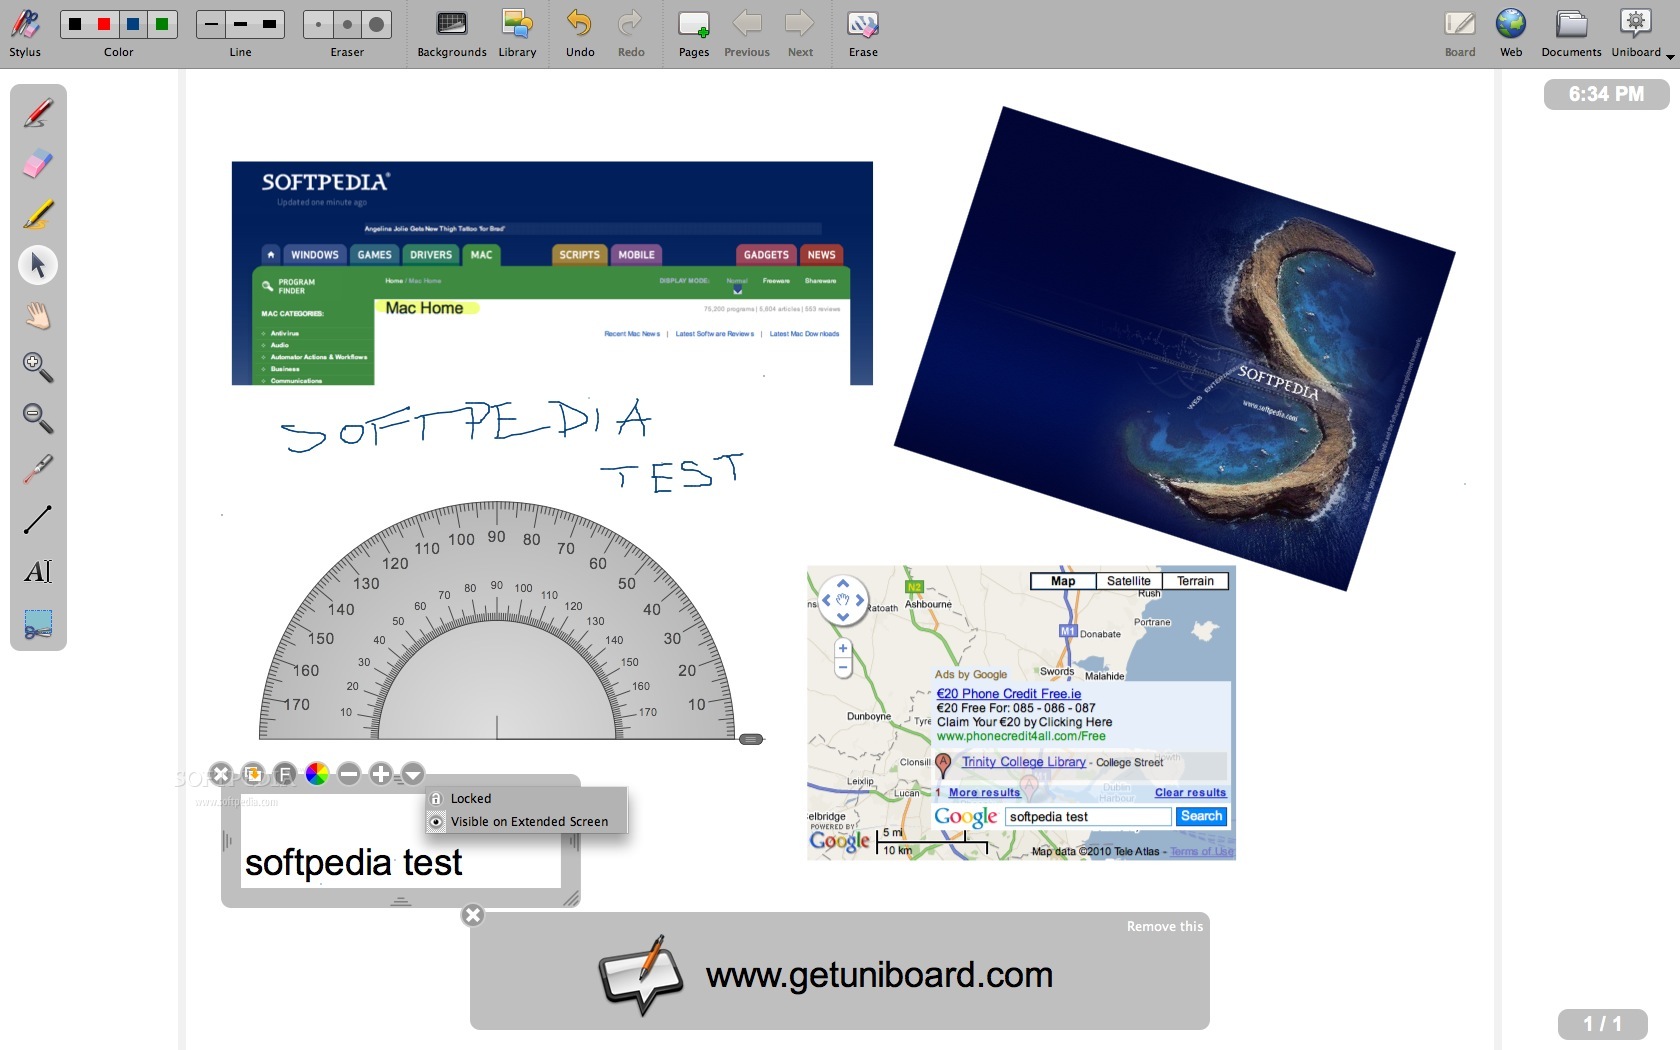
The Board provides tools specific to a whiteboard making it the perfect space for conducting your presentations. On top you can see the toolbar that allows you to access the Stylus toolbox (contains the following tools: pen, eraser, marker, selector, hand, zoom in and out, pointer, line, add text and capture area), customize the color and size of the line, pen and marker tools, set the eraser size, change the background style and color (plain or grid, light or dark), access the library, undo and redo buttons, add pages, forward and backward buttons for browsing through pages and erase.
Note that the erase function offered by the Stylus toolbox has a different behavior than the Erase button from the main toolbar: the first one allows you to choose what you need to remove while the last is immediately erasing all the changes made using the Uniboard tools.
Certain items, like the text entries for example, have their own toolbar on top of each text case that allows you to simply remove it, duplicate it, change the font style and color, change the text size, lock its position and make it visible on the extended screen. If you are dealing with a capture the same rule applies but the customization options are different. The ones worth pointing out are that you can change its size by adjusting the containing window and you can rotate it by holding down the button situated on the top right corner.
All these tools are great if you are working on a slides presentation for example and you need to spontaneously add explanations or specifications but Uniboard also provides support for dynamically adding data during your speech.
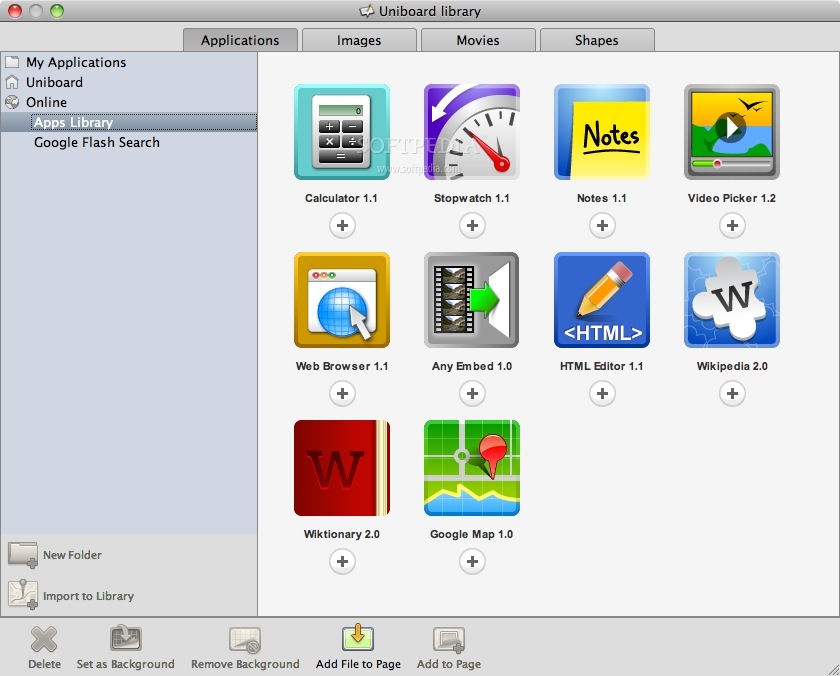
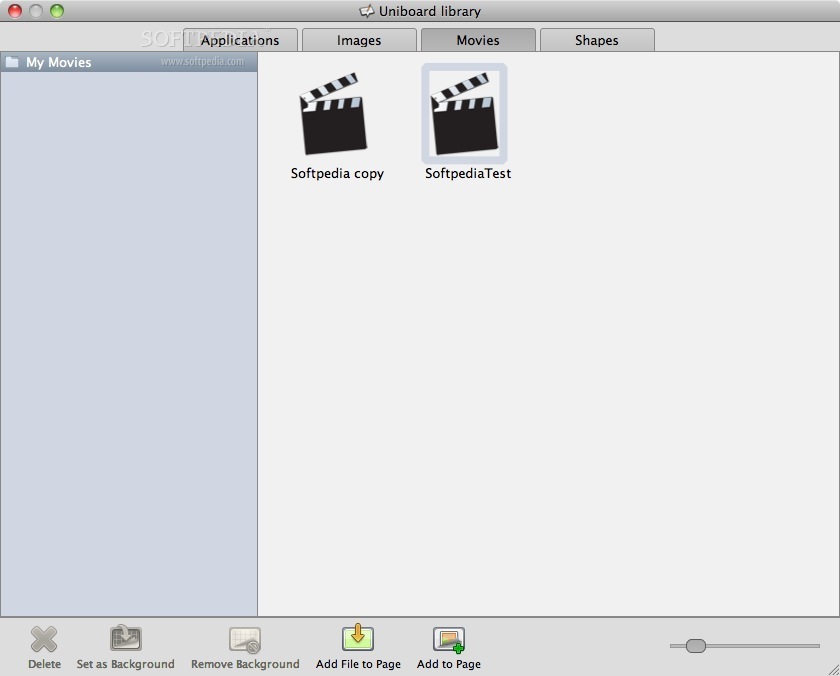
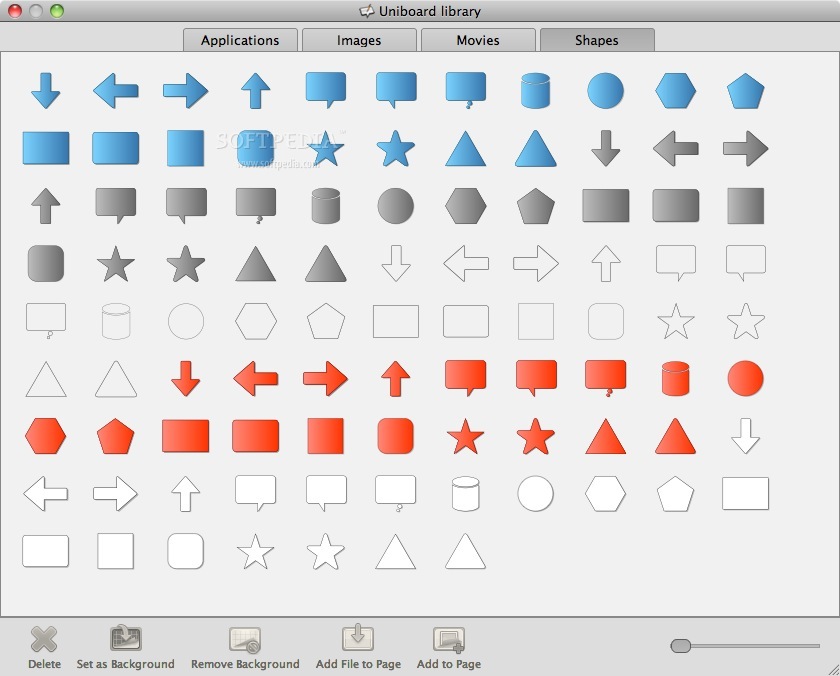
The easiest way to add new elements is via the Library window that is also organized by tabs: Applications, Images, Movies and Shapes. The Shapes tab displays the Uniboard shape templates that you can quickly add to your page although you cannot add new ones to your library. Through the Movies panel you can add movies located on your hard disk to your presentation and their containing window will provide the basic features of a media player (play, stop and sound on/off).
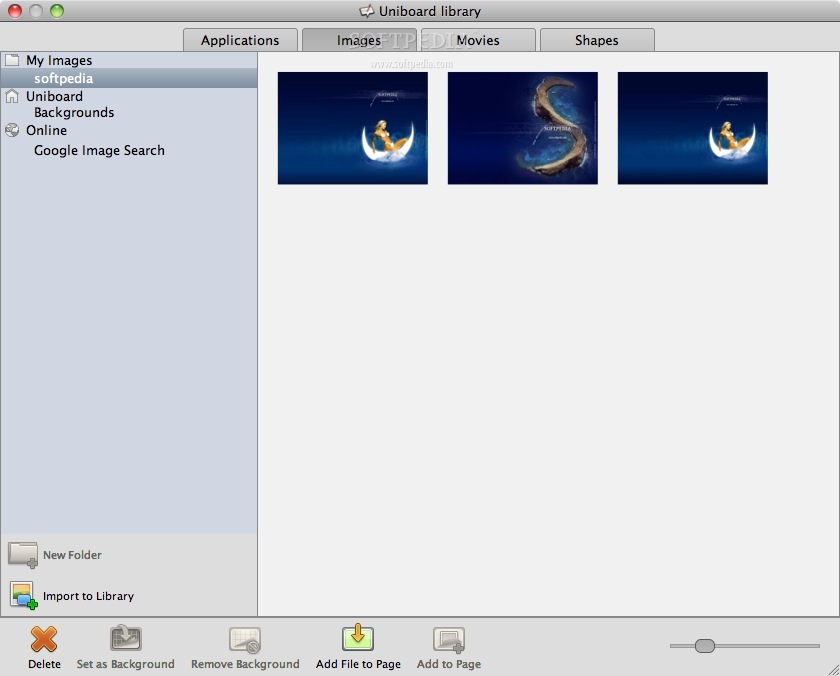
The Images tab provides more customizing options allowing you to create your own image library. The imported images can be included in the current document or set as background. The same area provides access to a larger list of Uniboard background templates (that can also be added as simple images) and to the Google image search built in engine.
One of the original Uniboard features is represented by the applications concept: you can create your own and then include them in your projects or use one of the applications provided in the library by default. Currently Uniboard is offering the following applications: Mask, Ruler, Compass, Protractor, Color Picker, Notes, Stopwatch, Video Picker, Wikipedia and Wiktionary. Further you will be able to browse the Uniboard online applications library or use the Google flash search engine.
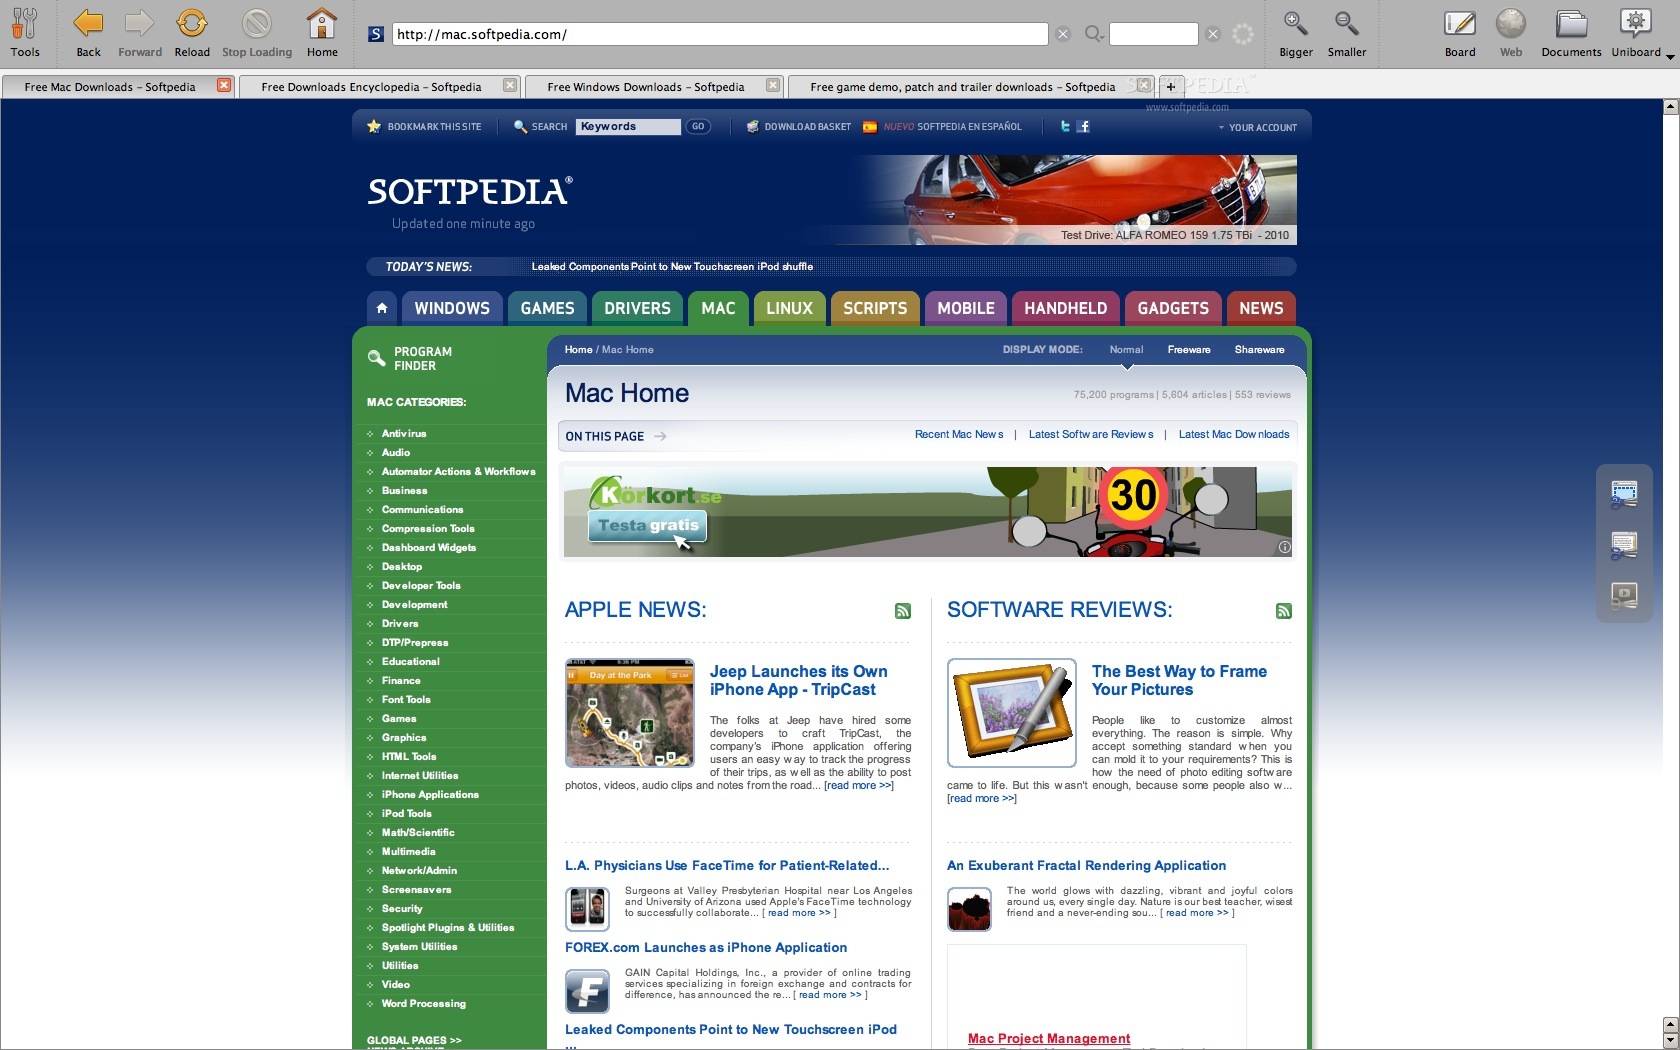
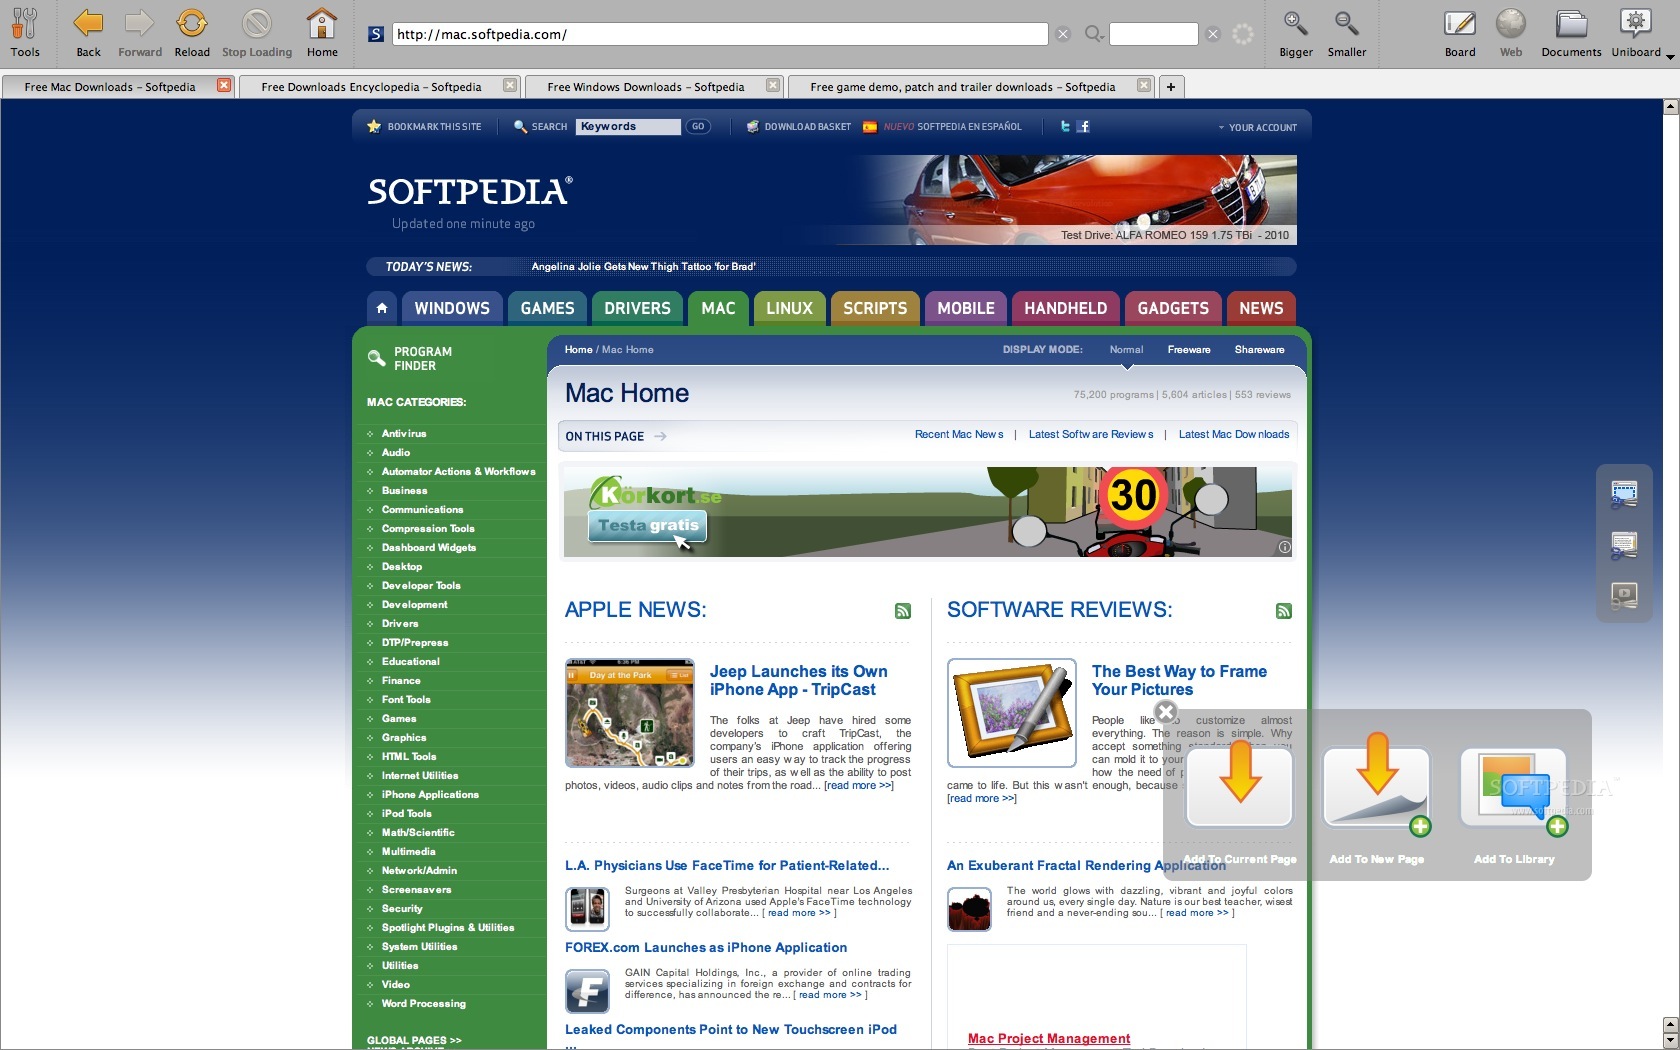
If you still need other resources and you must go online you can do it using the built in web browser. Once you access the Web tab the entire window will transform into a browser offering basic capabilities: go home/back/forward, reload, stop loading, add tab, search, zoom in/out, a field where you can see your current location, but also offers access to the Uniboard specific features (capture area, window or video). Unfortunately, during testing the capture video feature did not work properly (the button did not became active). Most likely this is not simply a limitation, since the only one specified by the developers for this particular version is the fact that a banner is displayed on the bottom of the main window.
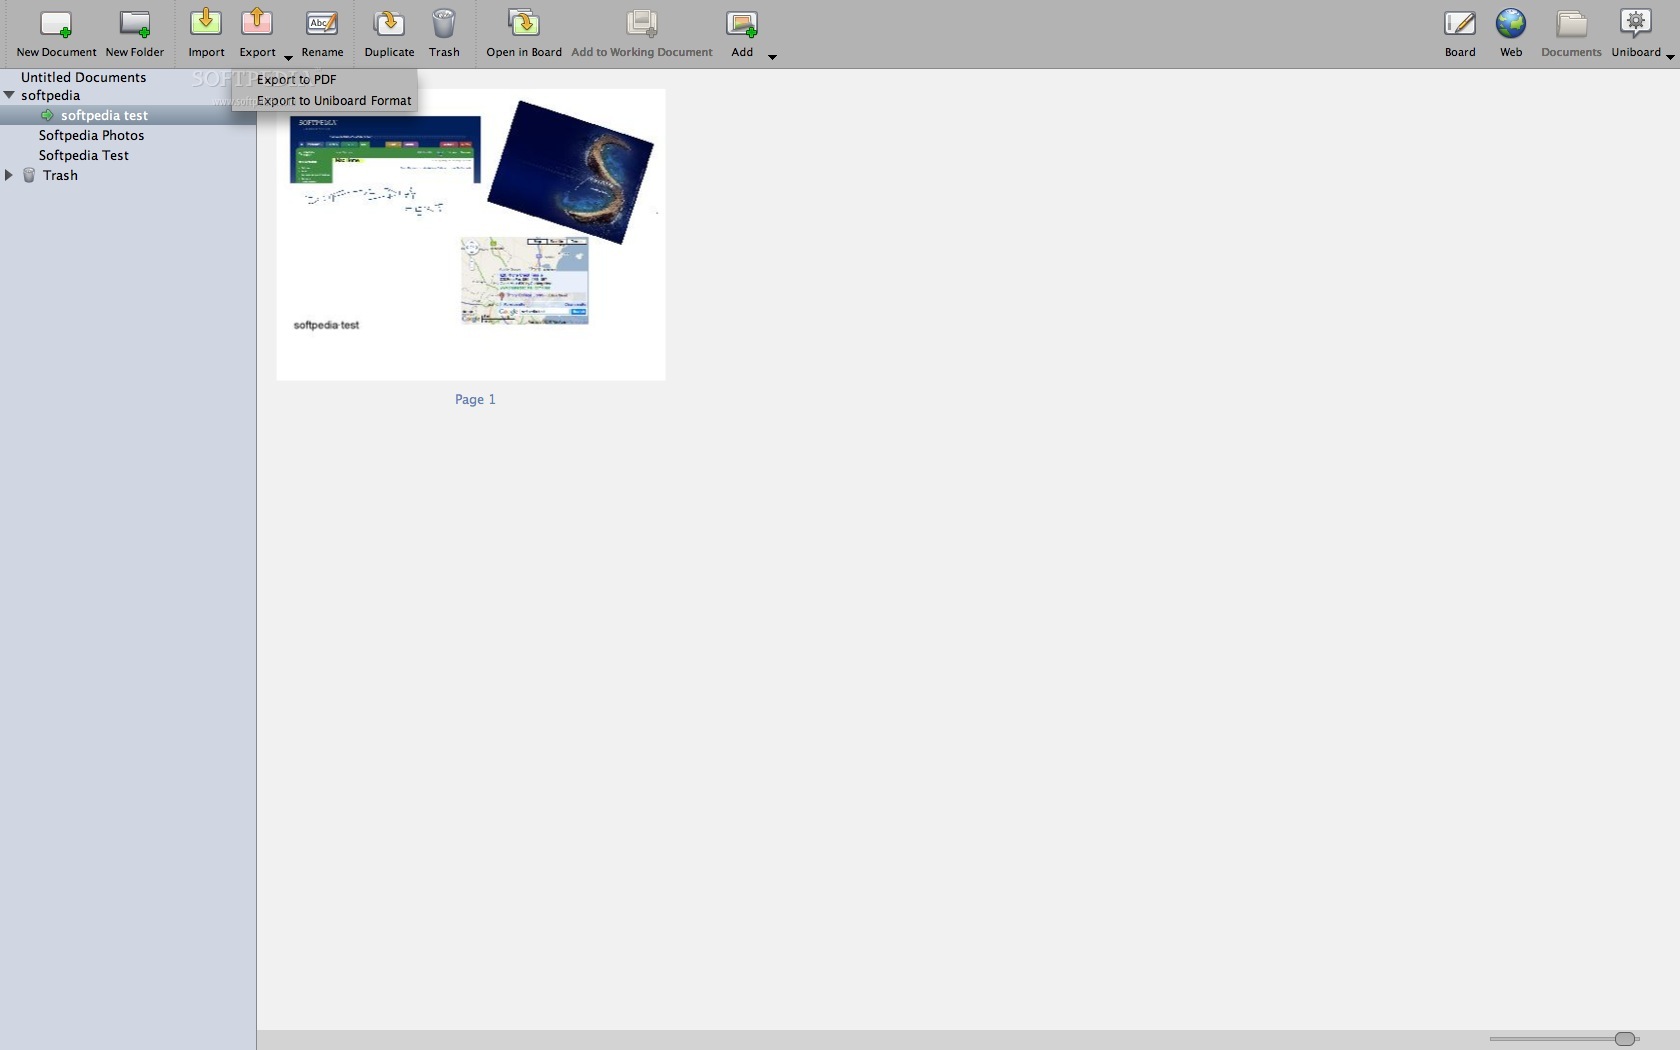
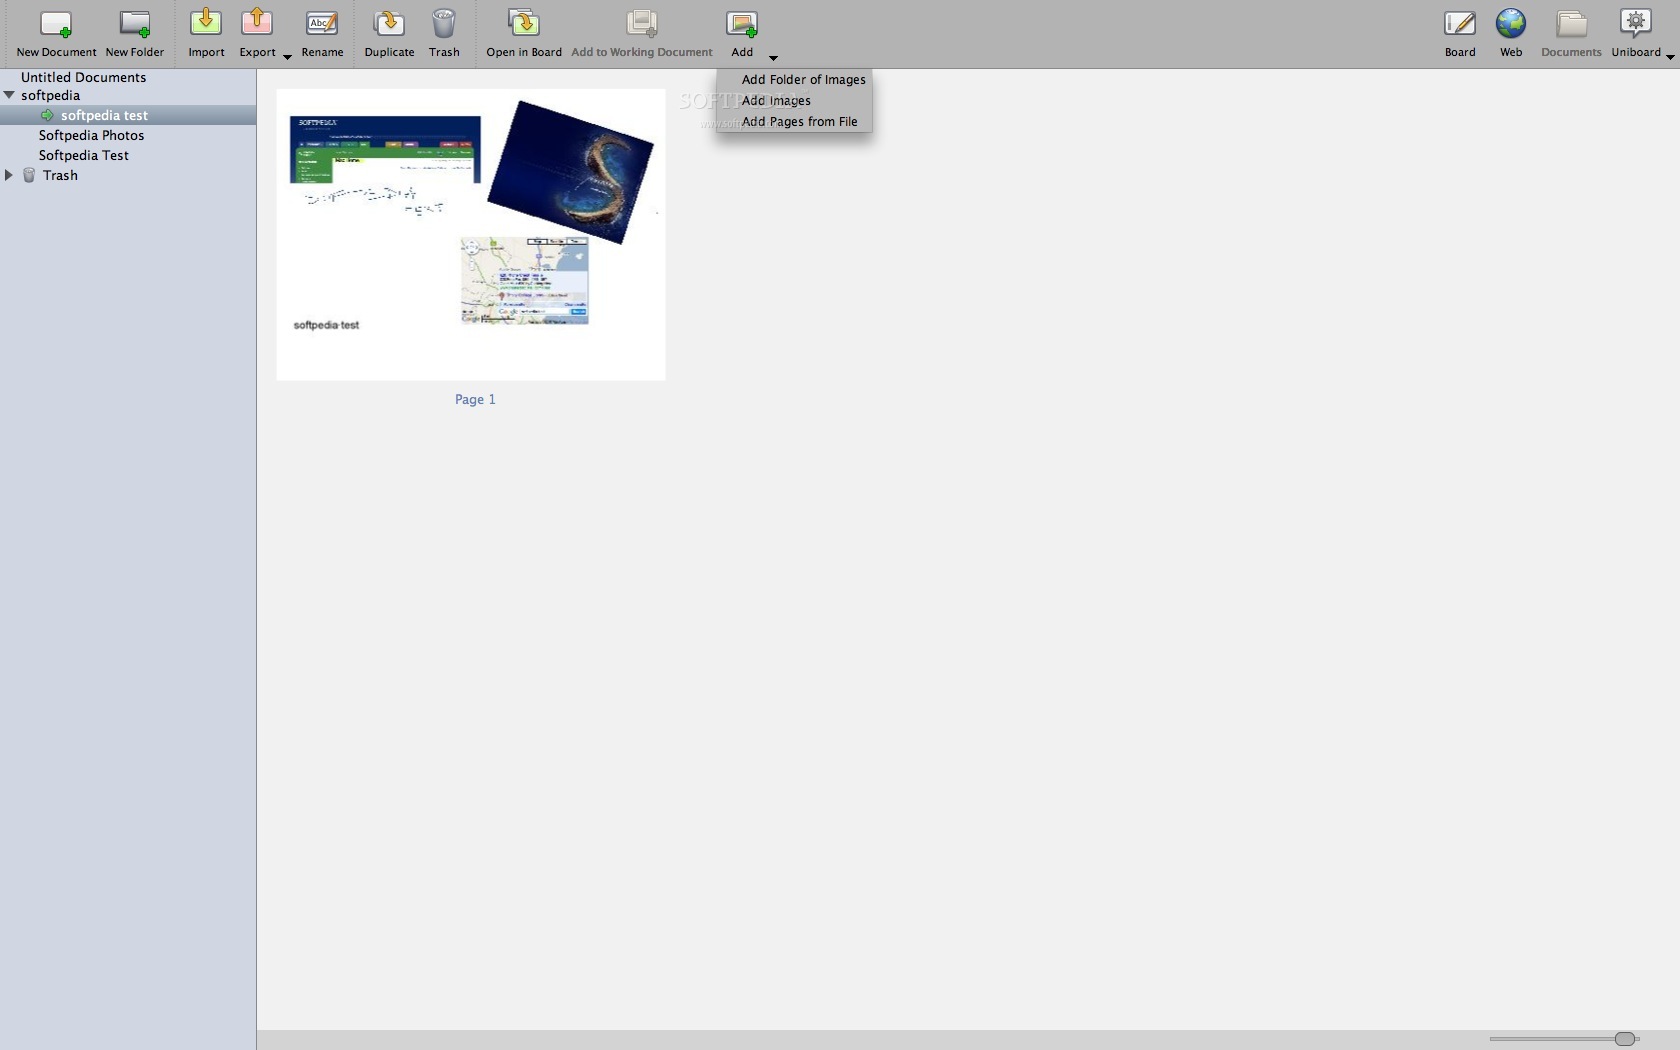
Another important part in the Uniboard dynamic is the Documents tab where you can organize your sessions. Each time you start a new document it will be named using the current date and time and all the modifications will be automatically saved. Obviously, you can easily rename the document and organize them by folders but you may also import certain files, export the main document (to PDF or Uniboard format), duplicate, send to Trash, open in Board, add the currently selected page to the working document or simply add a certain image, folder of images or pages from your hard disk. All of these actions can be performed via the toolbar situated on top of the main window. This way you can easily store your presentations in case you need to share them with others.
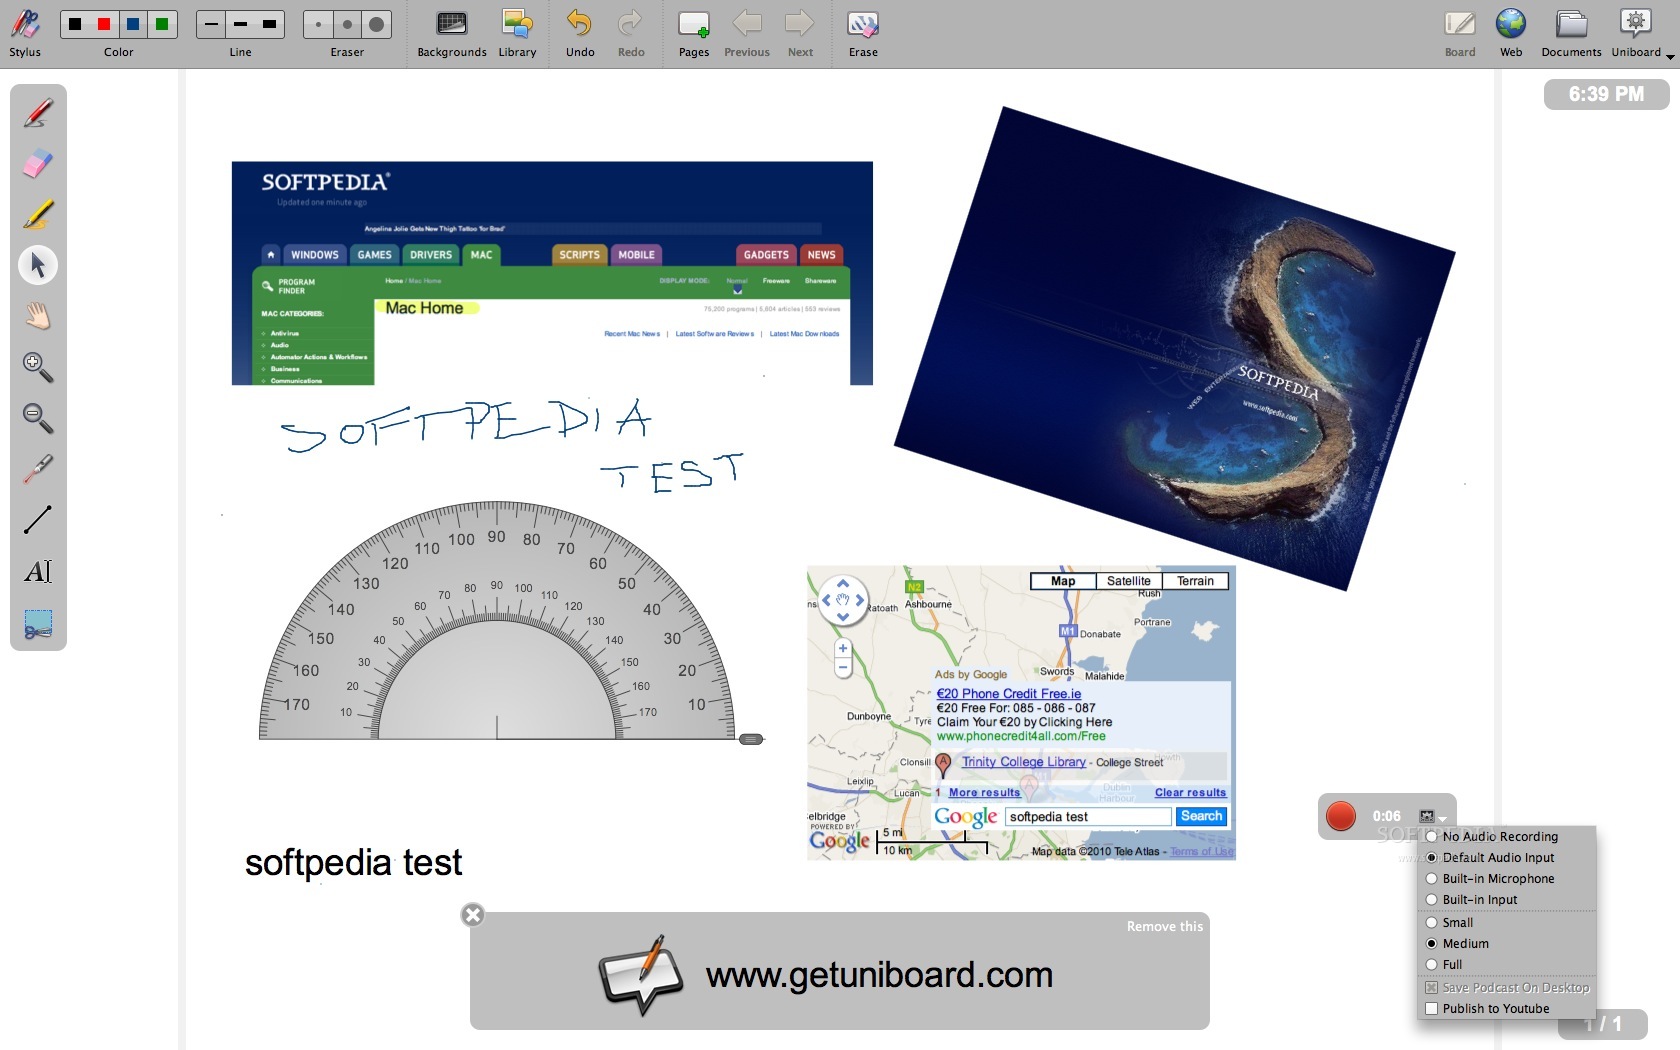
Still, the best way to do that is to record a podcast for each session. This way you will also be able to put things in order and capture any additional audio comments. The Podcast window will appear initially on the bottom of the window but it can be moved through drag and drop to any convenient location. The window provides the start and stop buttons, a timer showing the current video length and a Preferences menu that allows you to specify the audio input device (if the audio recording is enabled), the video quality and if you want to publish it on YouTube. By default the podcast will be automatically saved on your desktop.
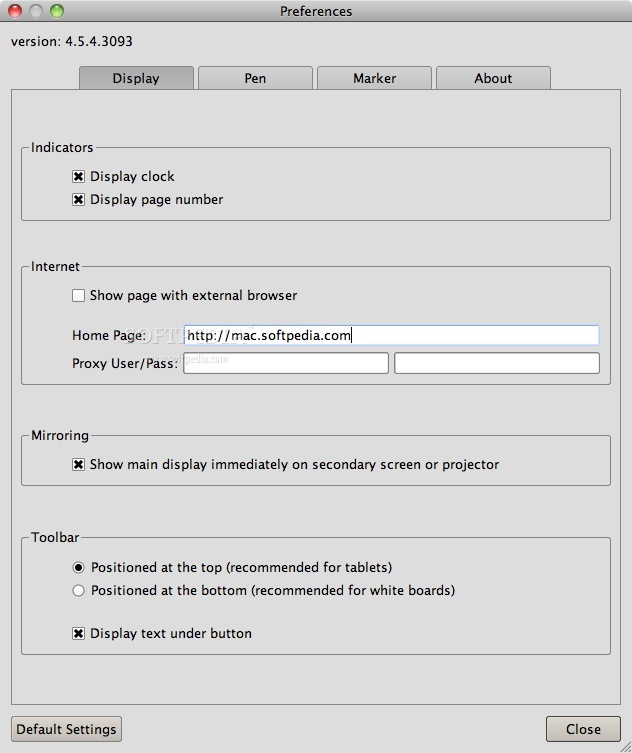
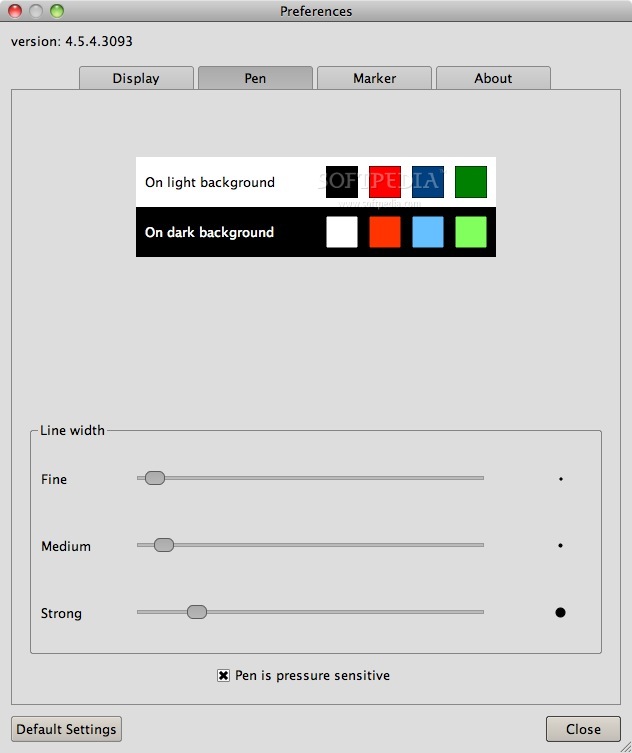
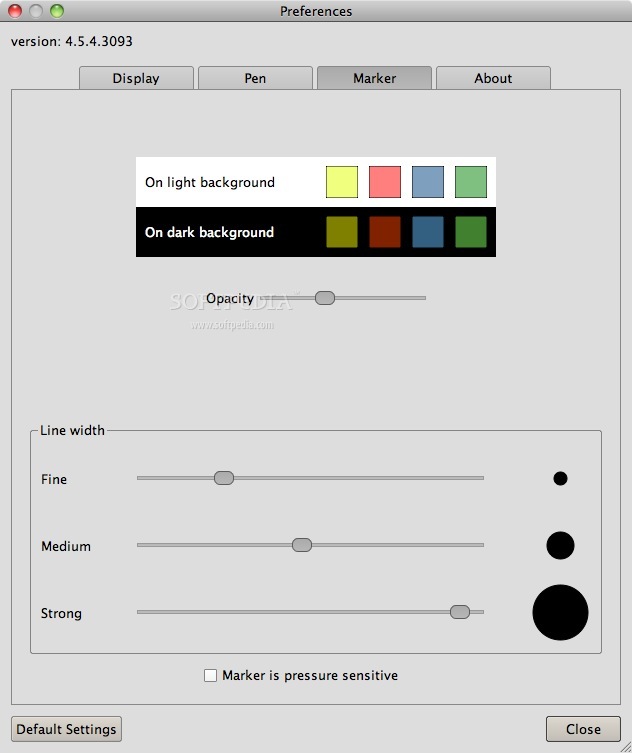
Uniboard does not provide many customization options when it comes to the applications behavior but the few that are available can be accessed via the Preferences window that is also organized in three different tabs: Display, Pen and Marker. The Pen and Marker tabs allow you to change the default colors available on the main toolbar depending on the background style: dark or light. You may also adjust the line width, specify if the pressure sensitivity should be enabled and the opacity level for the marker.
As far as the display is concerned you may choose to see the clock and the page number on the main window, specify the toolbar position (top or bottom), have text displayed under each button and make sure you are going to see the main display immediately on the secondary screen or projector. When it comes to the internet settings Uniboard gives you the possibility to see the pages using an external browser (this way if you press the Web button your default web browser will be launched), set the homepage for the built in browser and use Proxy settings.
The Good
The Bad
The Truth
Crea tus propias presentaciones interactivas
Here are some snapshots of the application in action: